 FREE 1 to 3-Day Delivery on Orders $149+ Details

How to Install SKYJACKER REPLACEMENT STEERING STABILIZER on an 87-06 Wrangler
Installation Time
30 minutes
Tools Required
- 3/8ths ratchet
- ¾” 3/8ths socket
- Rubber hammer
- 11/16” socket
- Pliers

Shop Parts in this Guide
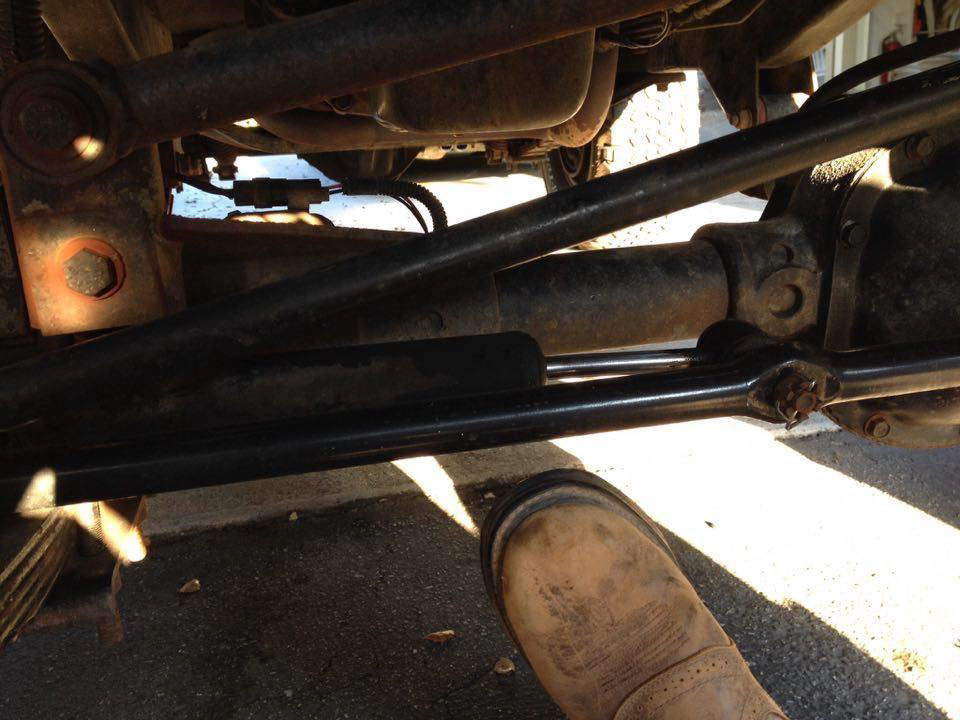
Installation Instructions:
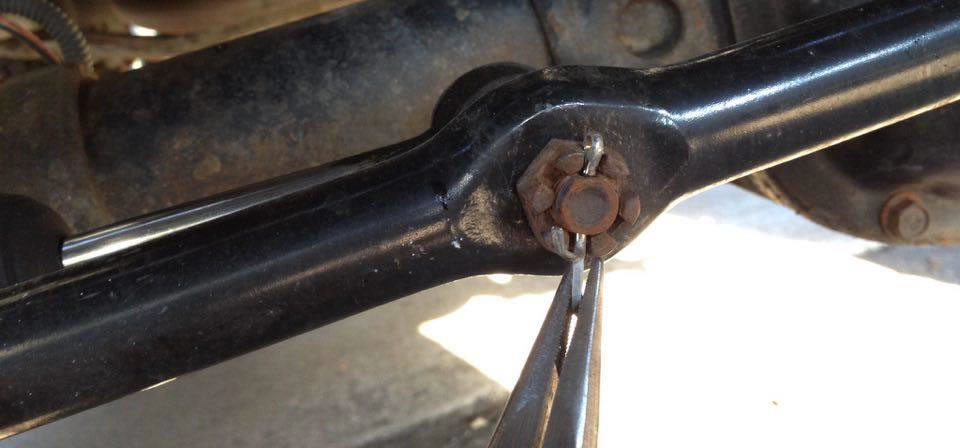
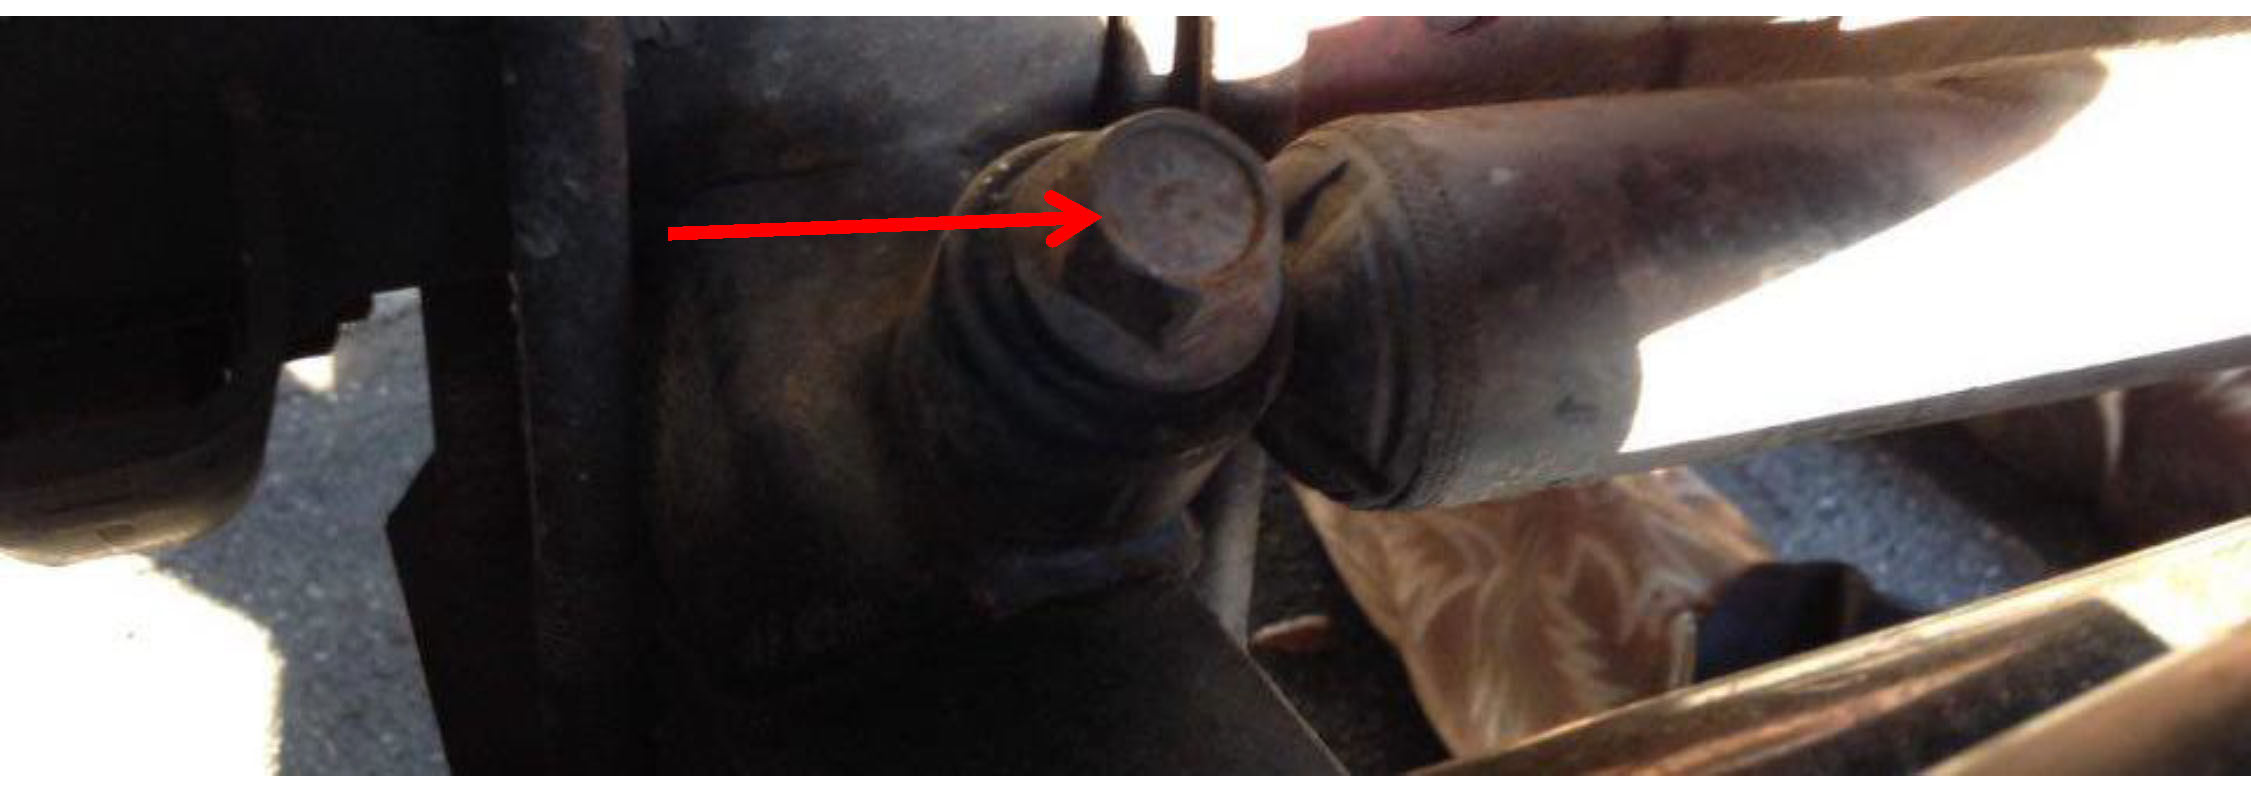
1. First remove the castle nut and cotter pin securing the right side of the old steering stabilizer onto the tie rod; using pliers, ¾” 3/8ths socket, and a 3/8ths ratchet.
2. Bend the cotter pin straight so you can pull it out.
3. Remove castle nut. And smack out the stud with a rubber hammer. Be sure to hit the stud straight on and not too hard. If it’s rusted in there, spray some PB blaster to break up the rust.
4
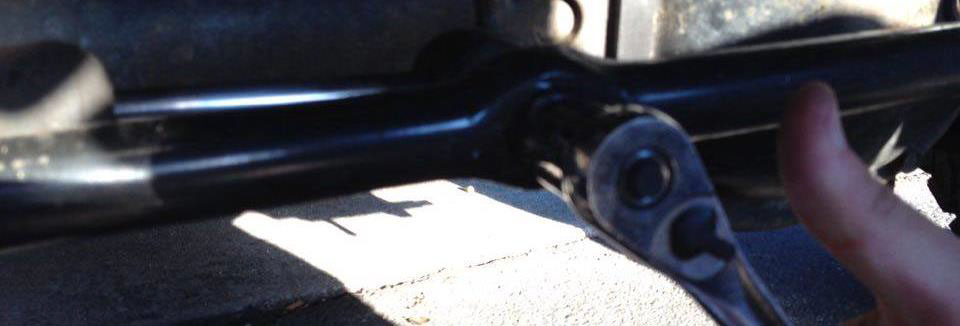
5. Remove the bolt securing the left side of the steering stabilizer, using a ¾” socket and 3/8ths ratchet. You’re going to be reusing the old bolt for the new stabilizer.
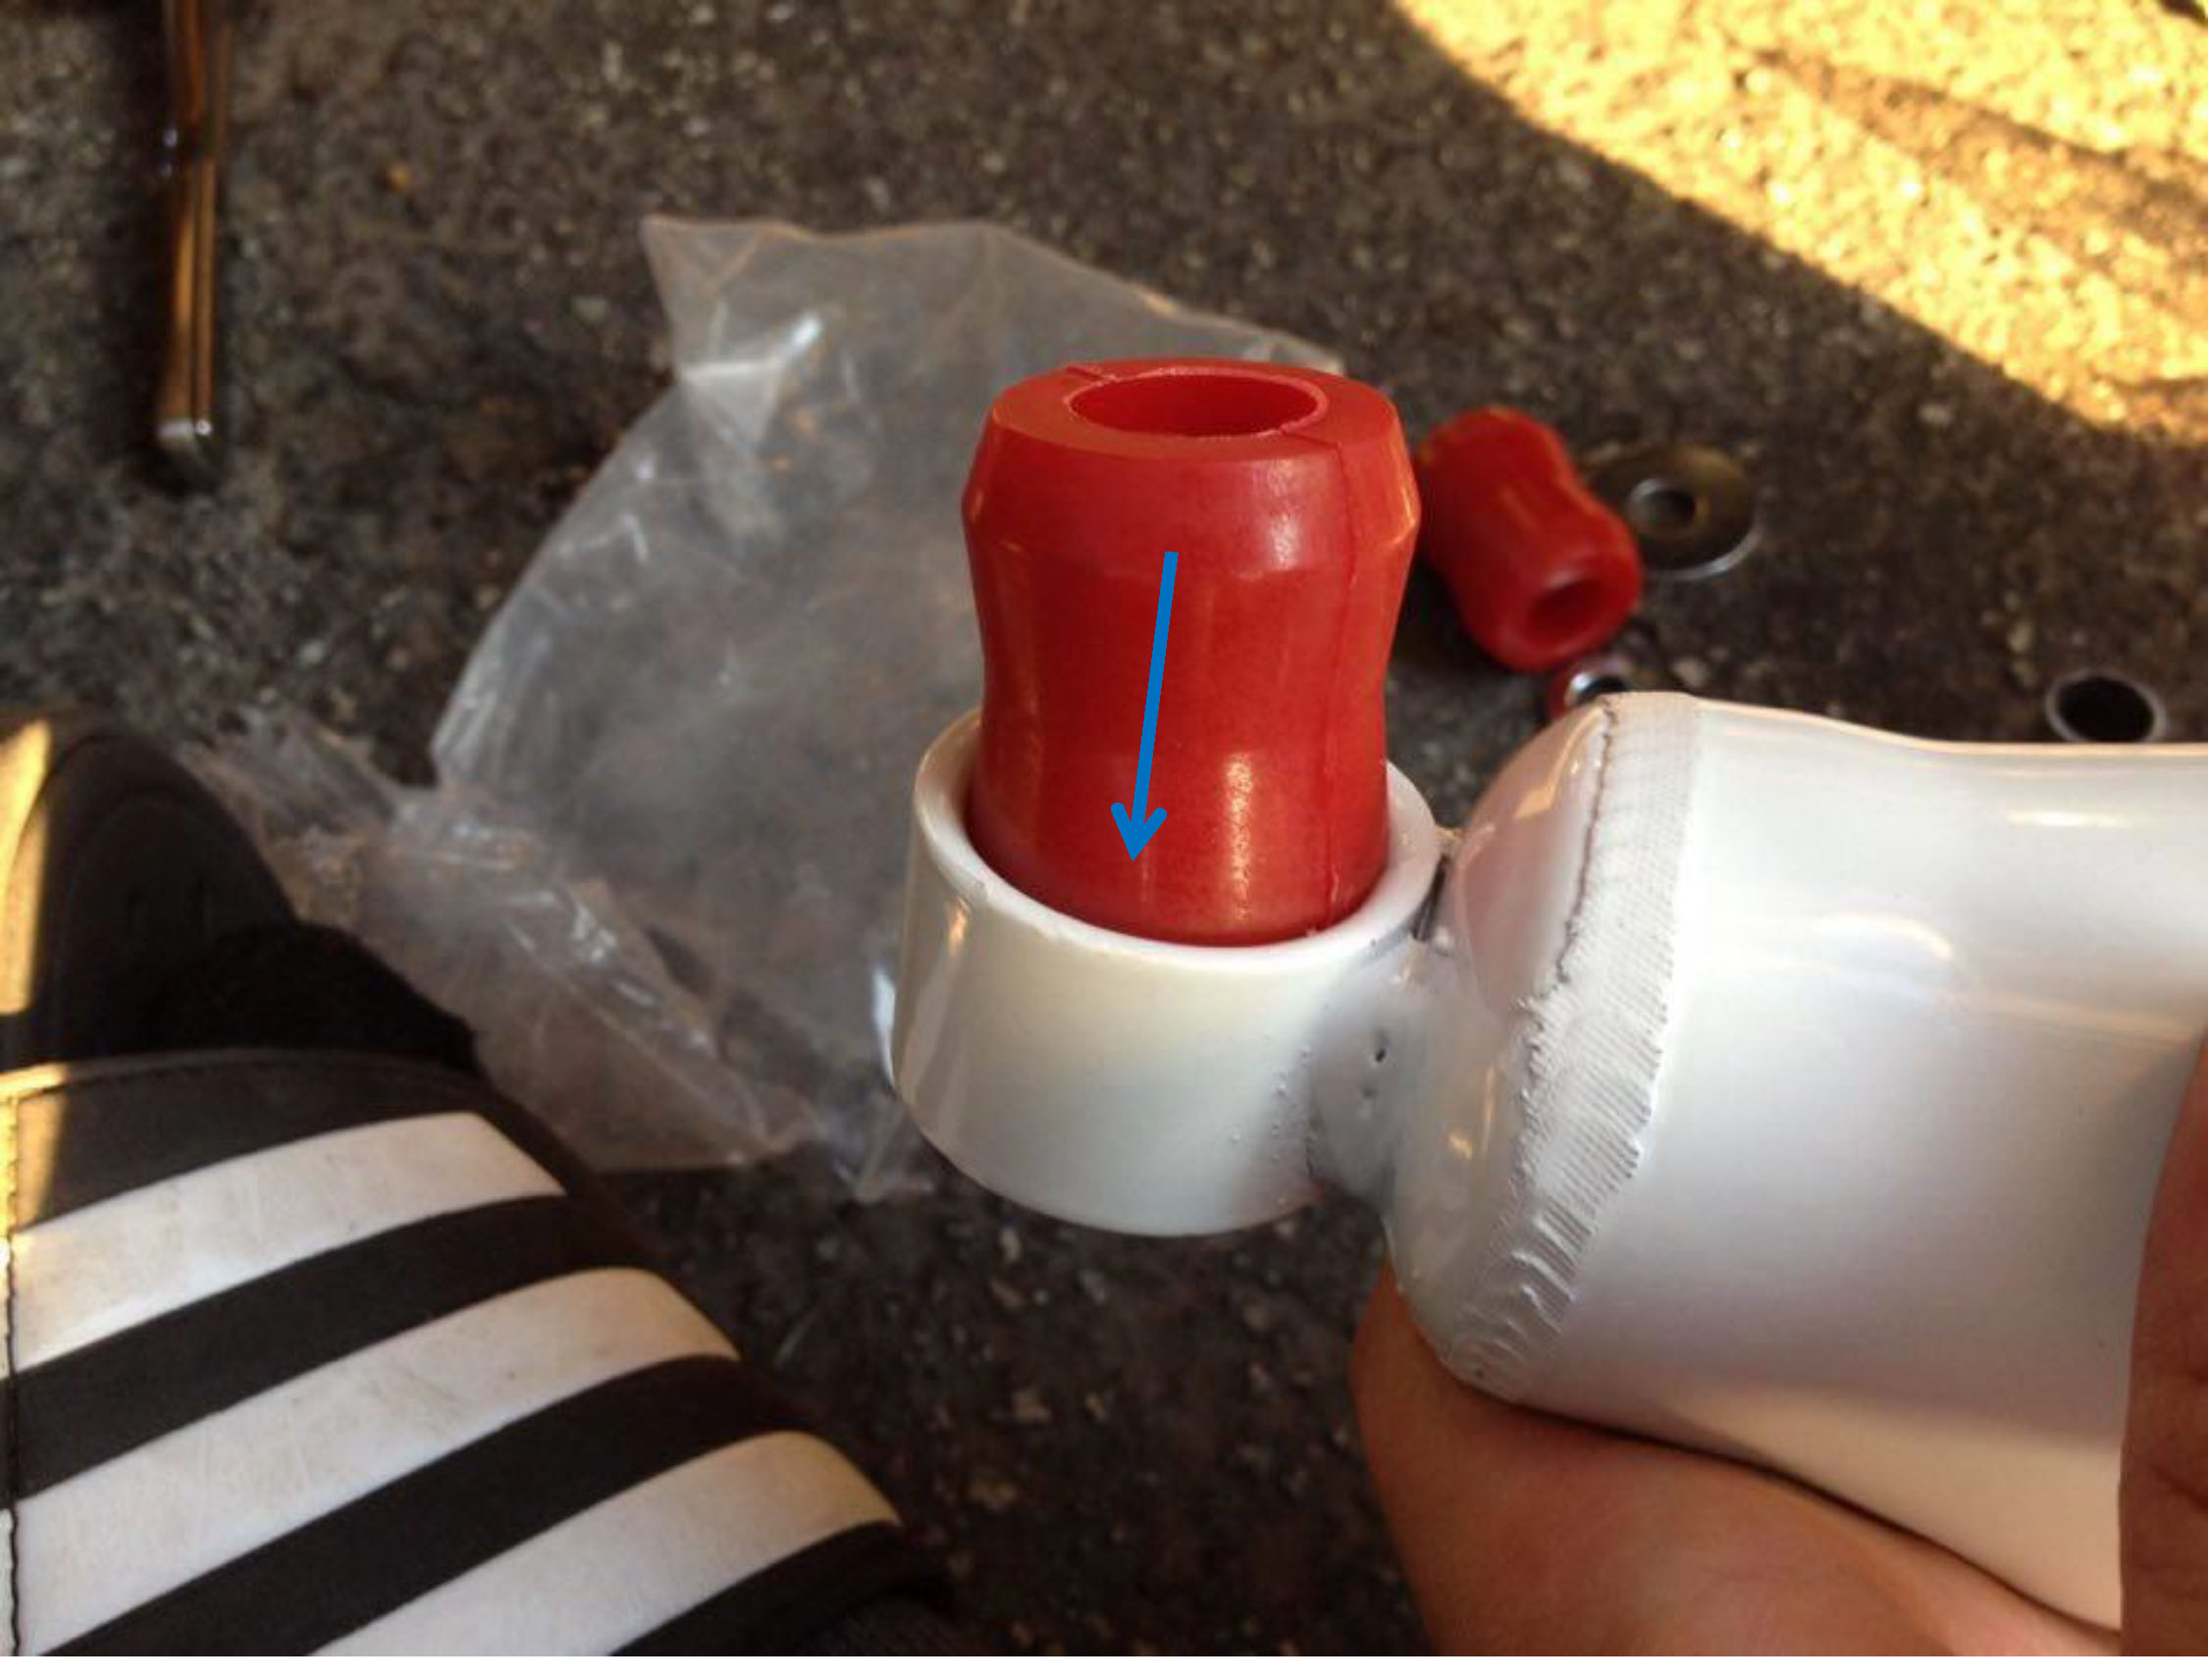
6. Now install the rubber bushings into both ends of the new Skyjacker steering stabilizer. Push the bushing through far enough so that it’s an even amount of material on both sides. I recommend using silicone spray if it gets tough to push them in.
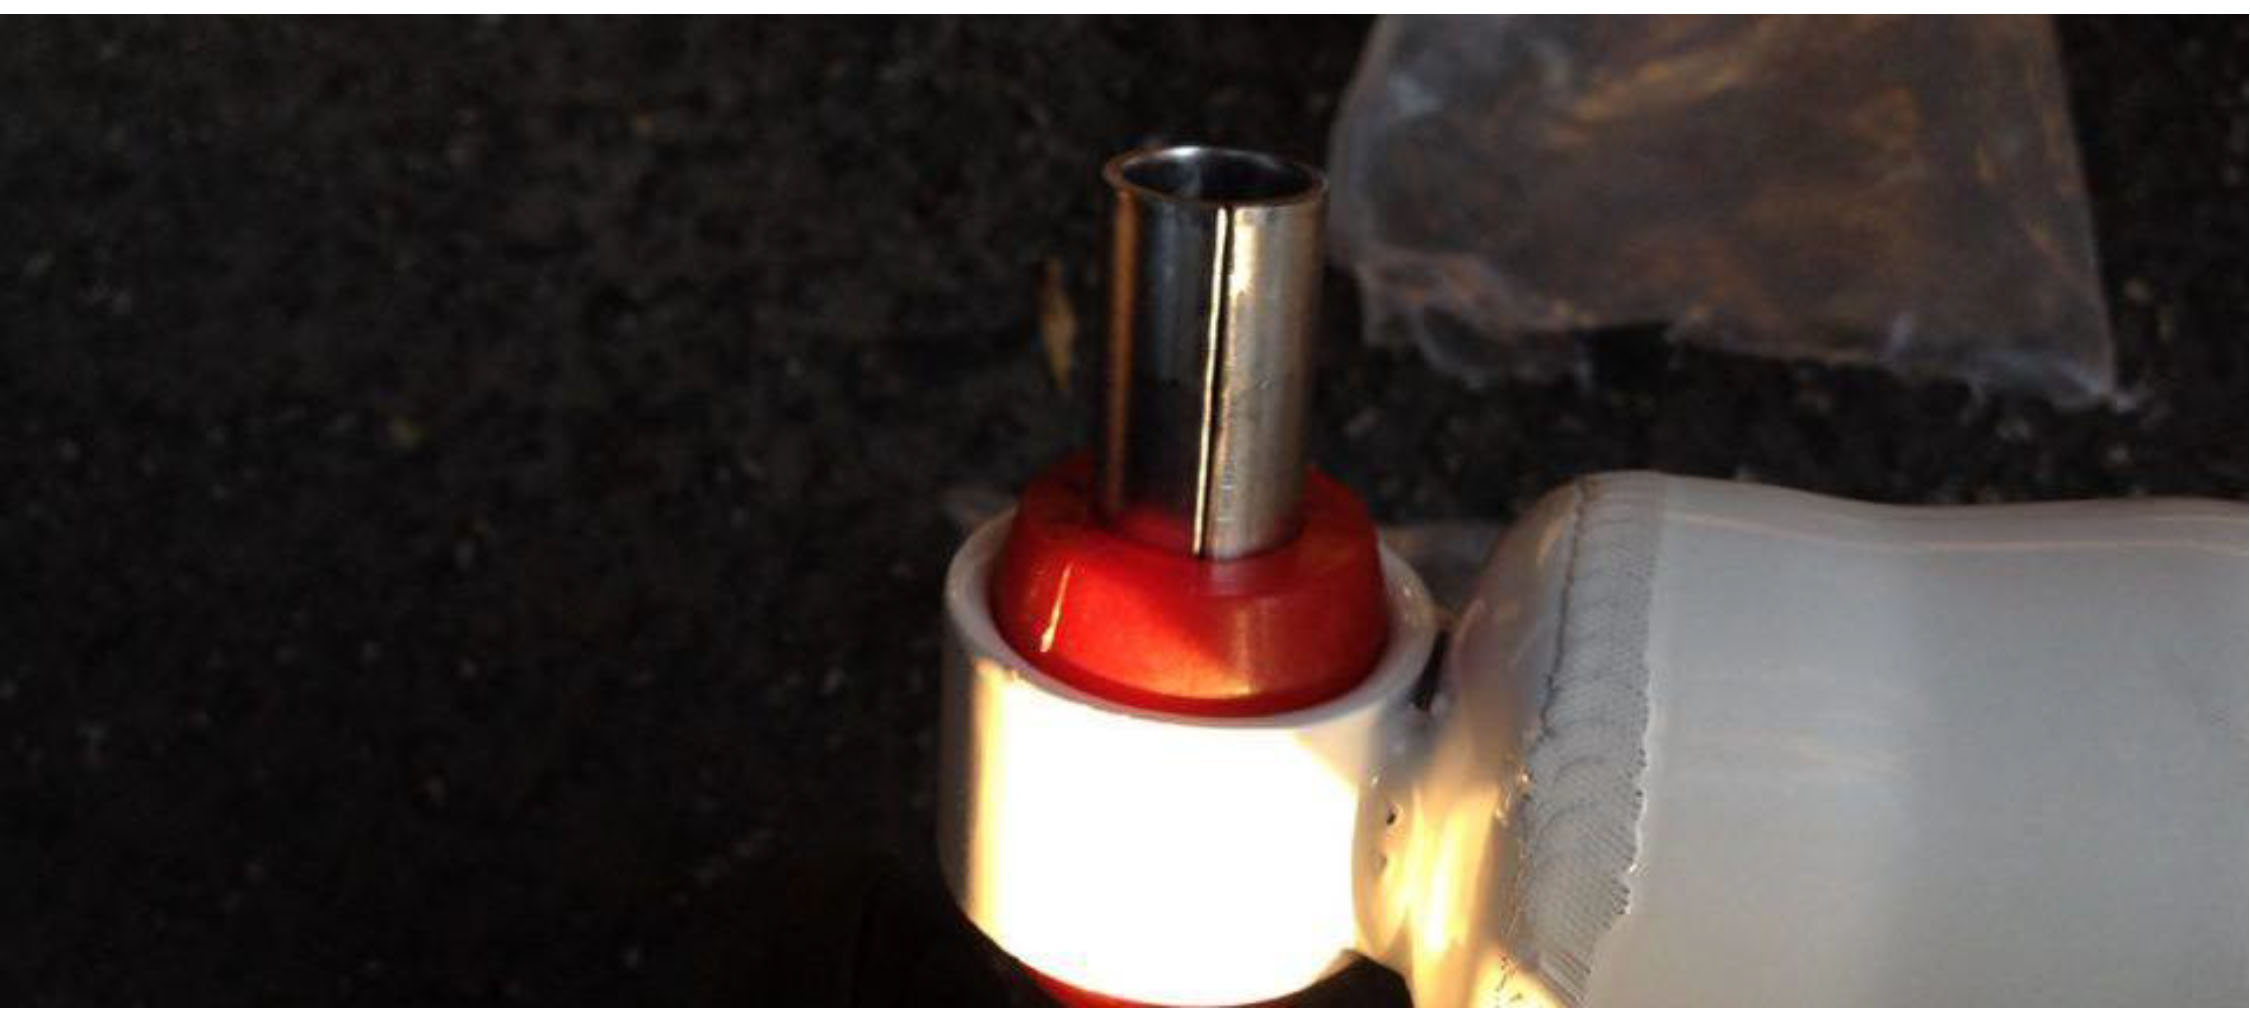
7. Next install the metal insert into the end of the stabilizer that uses the long ¾”-head bolt (not the one that bolts into the tie rod).
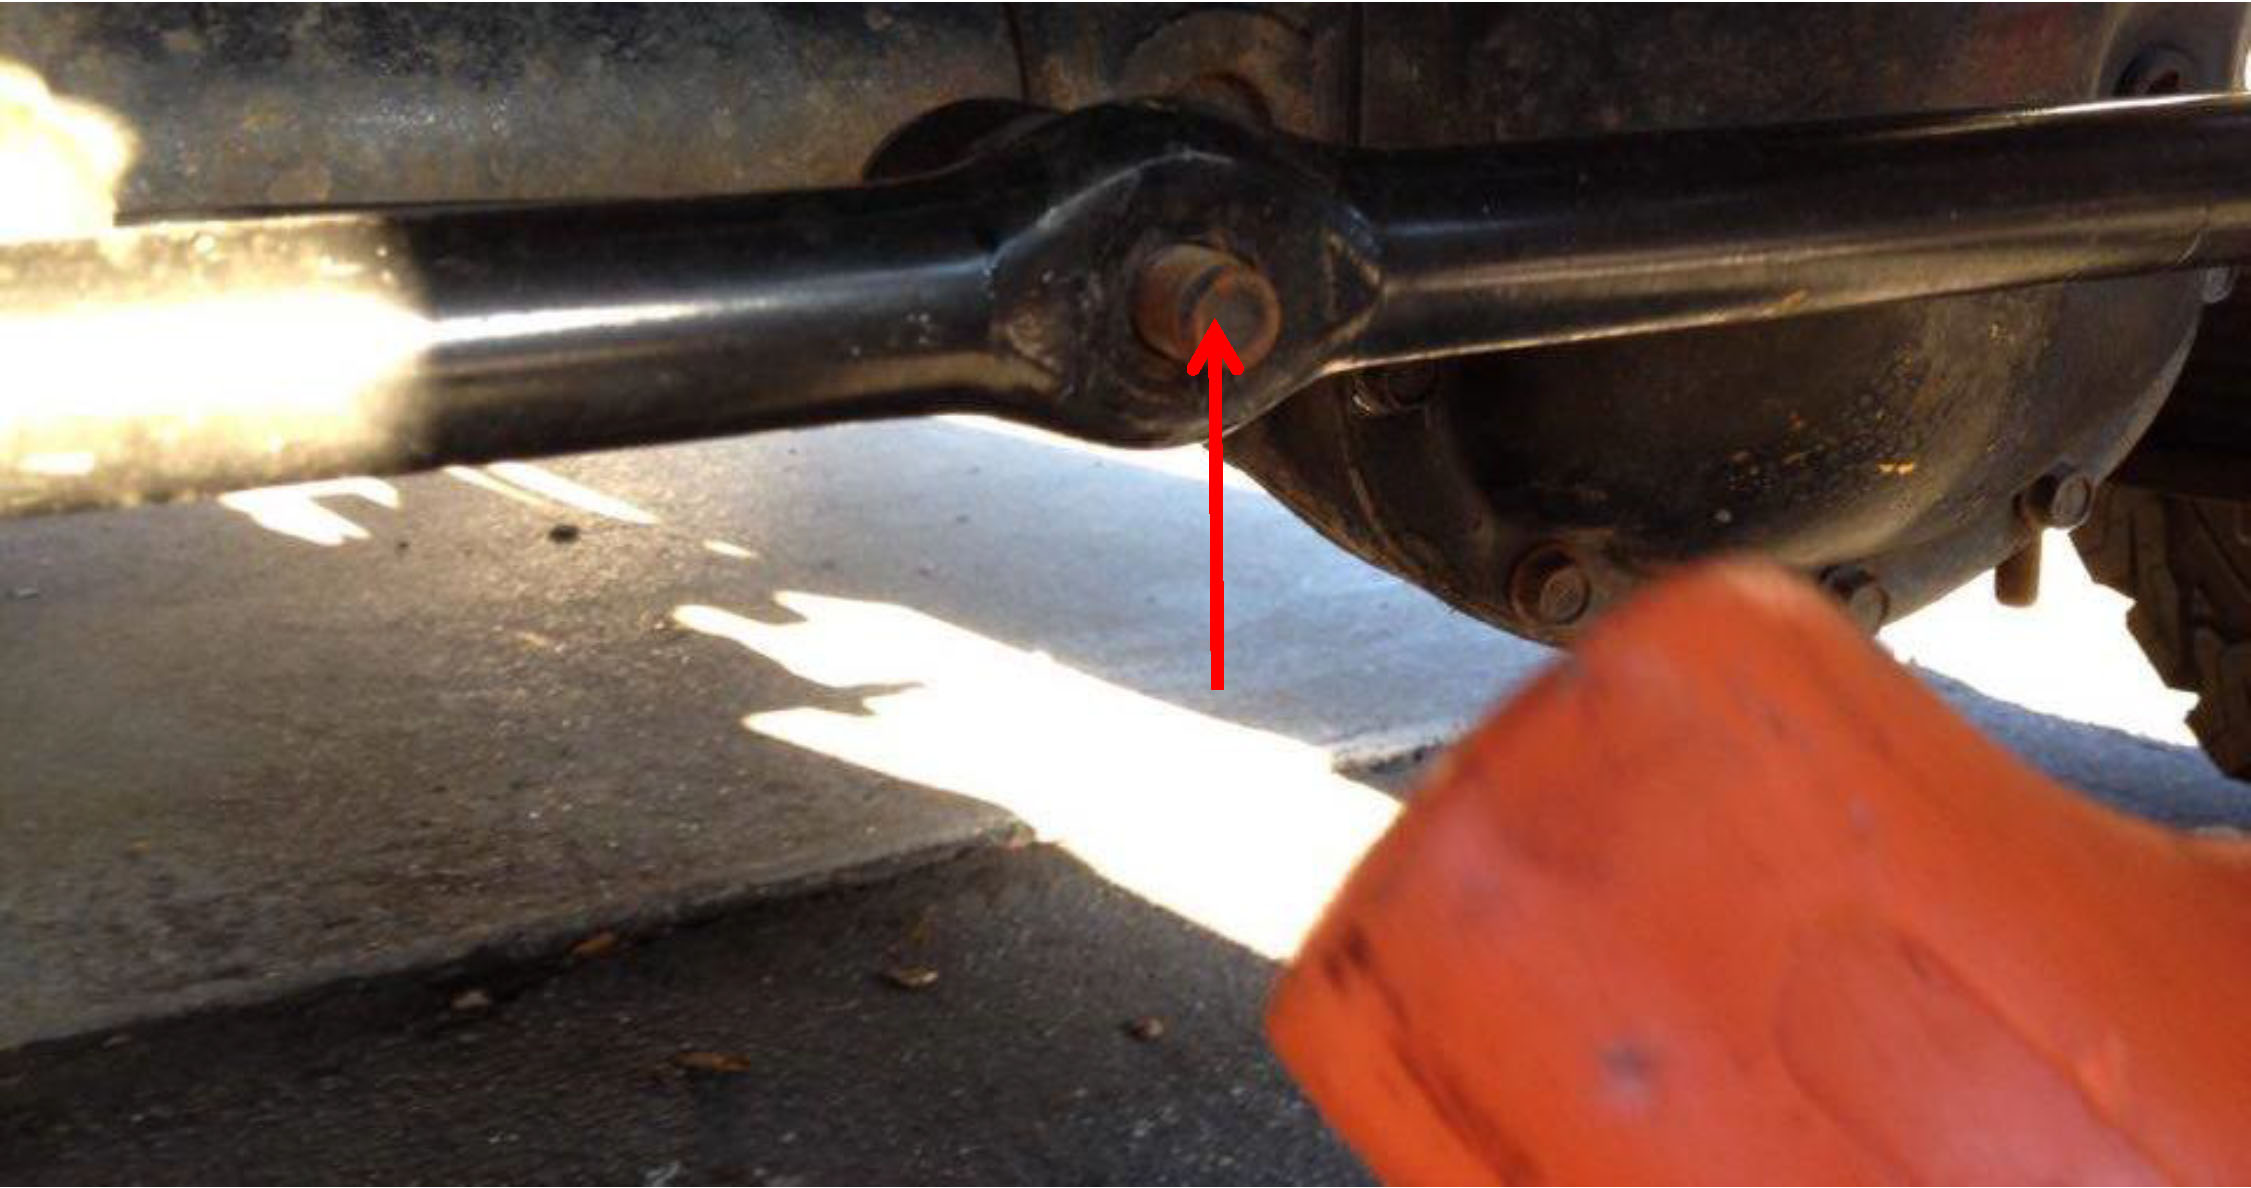
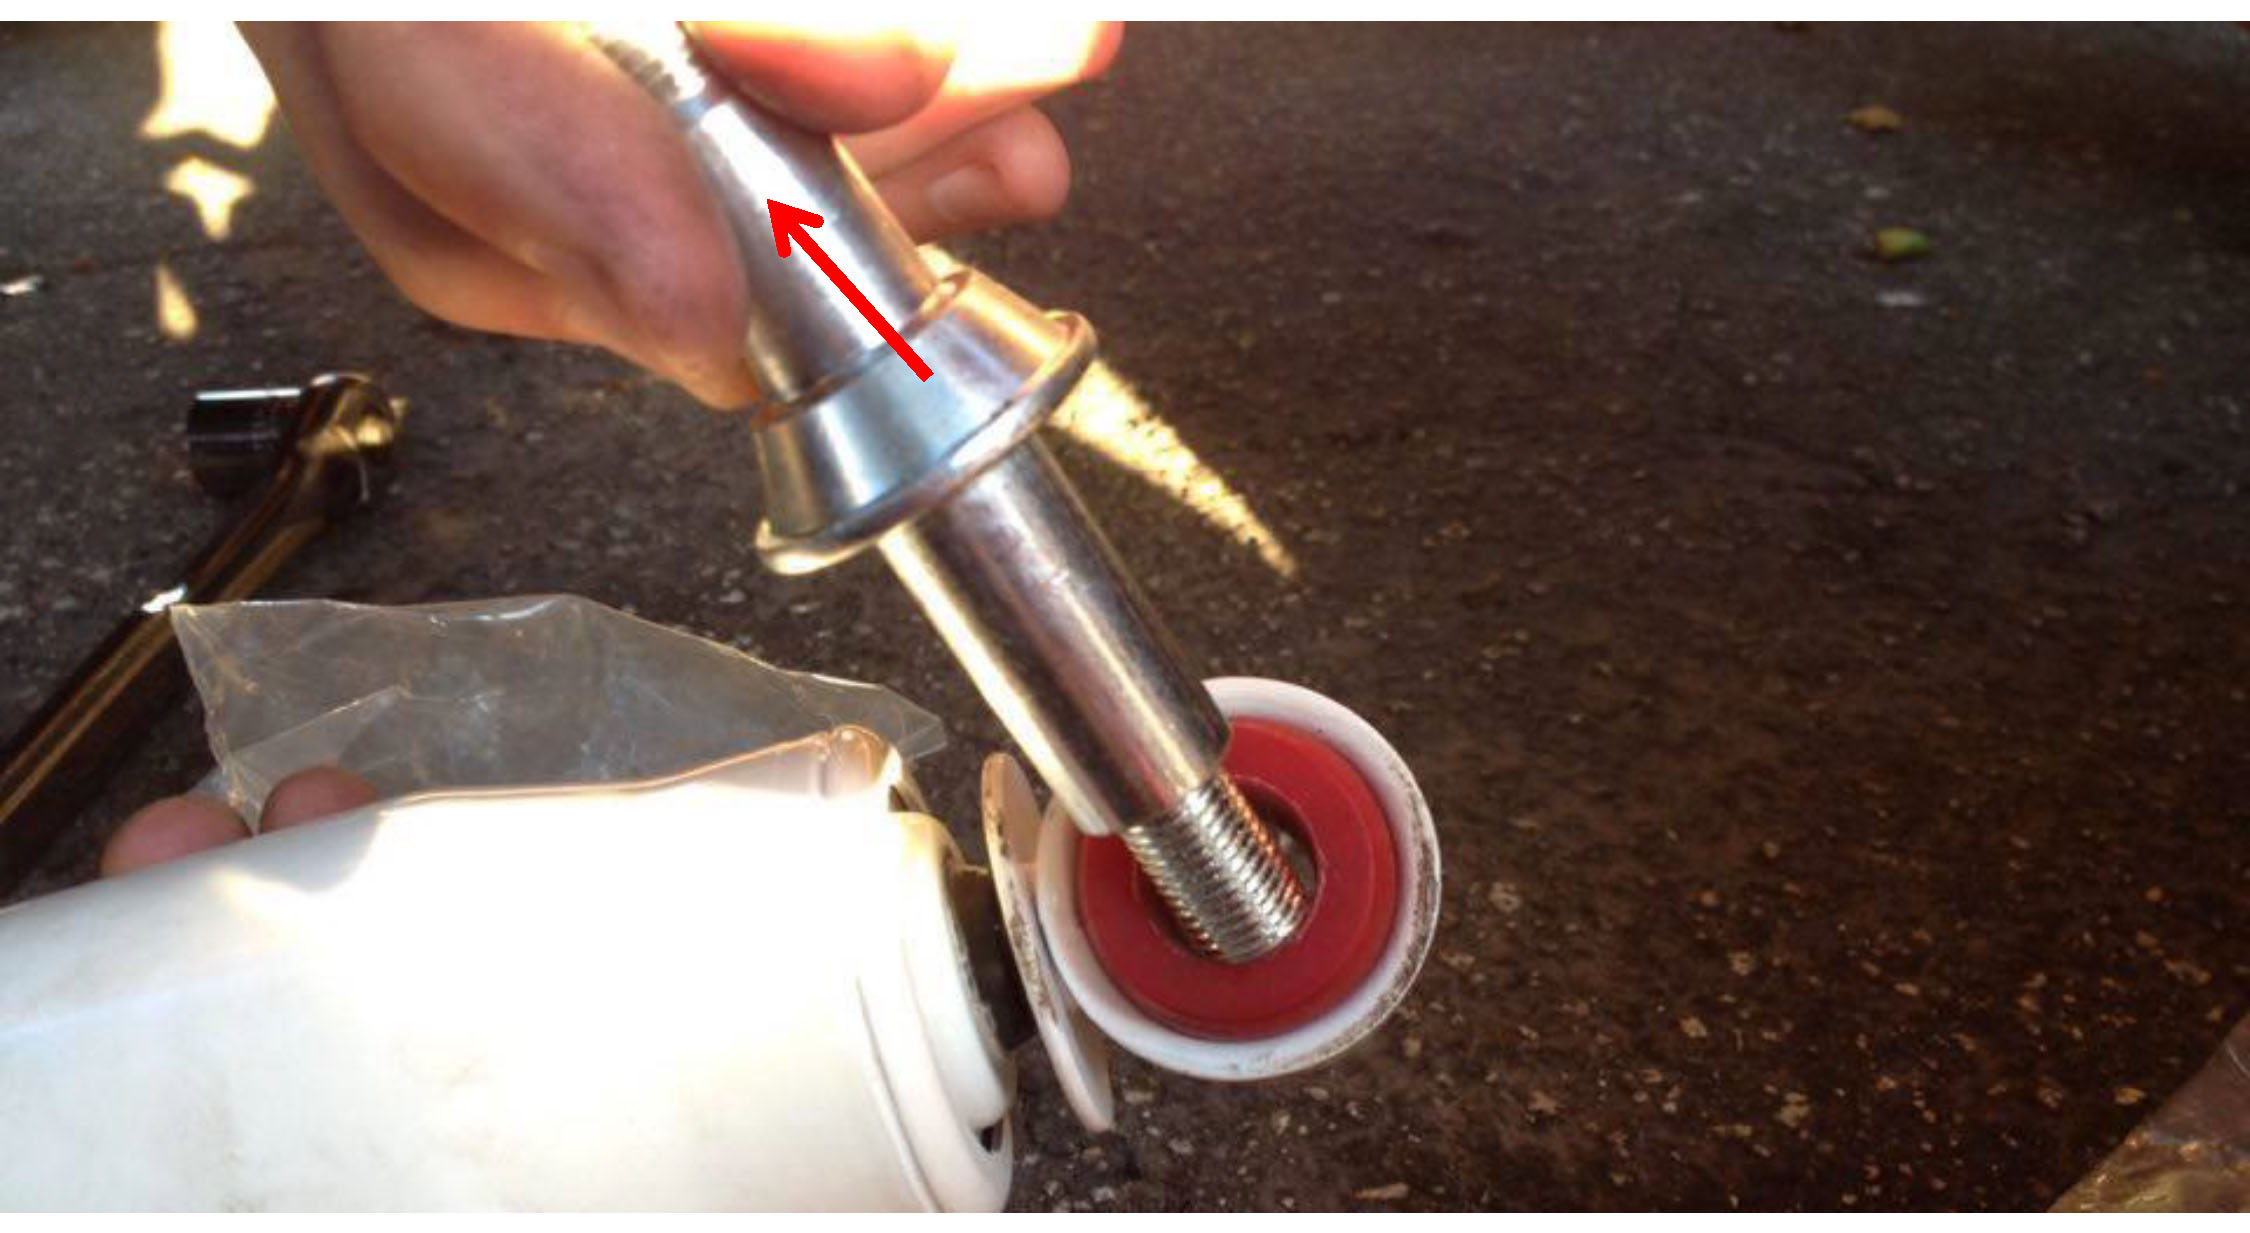
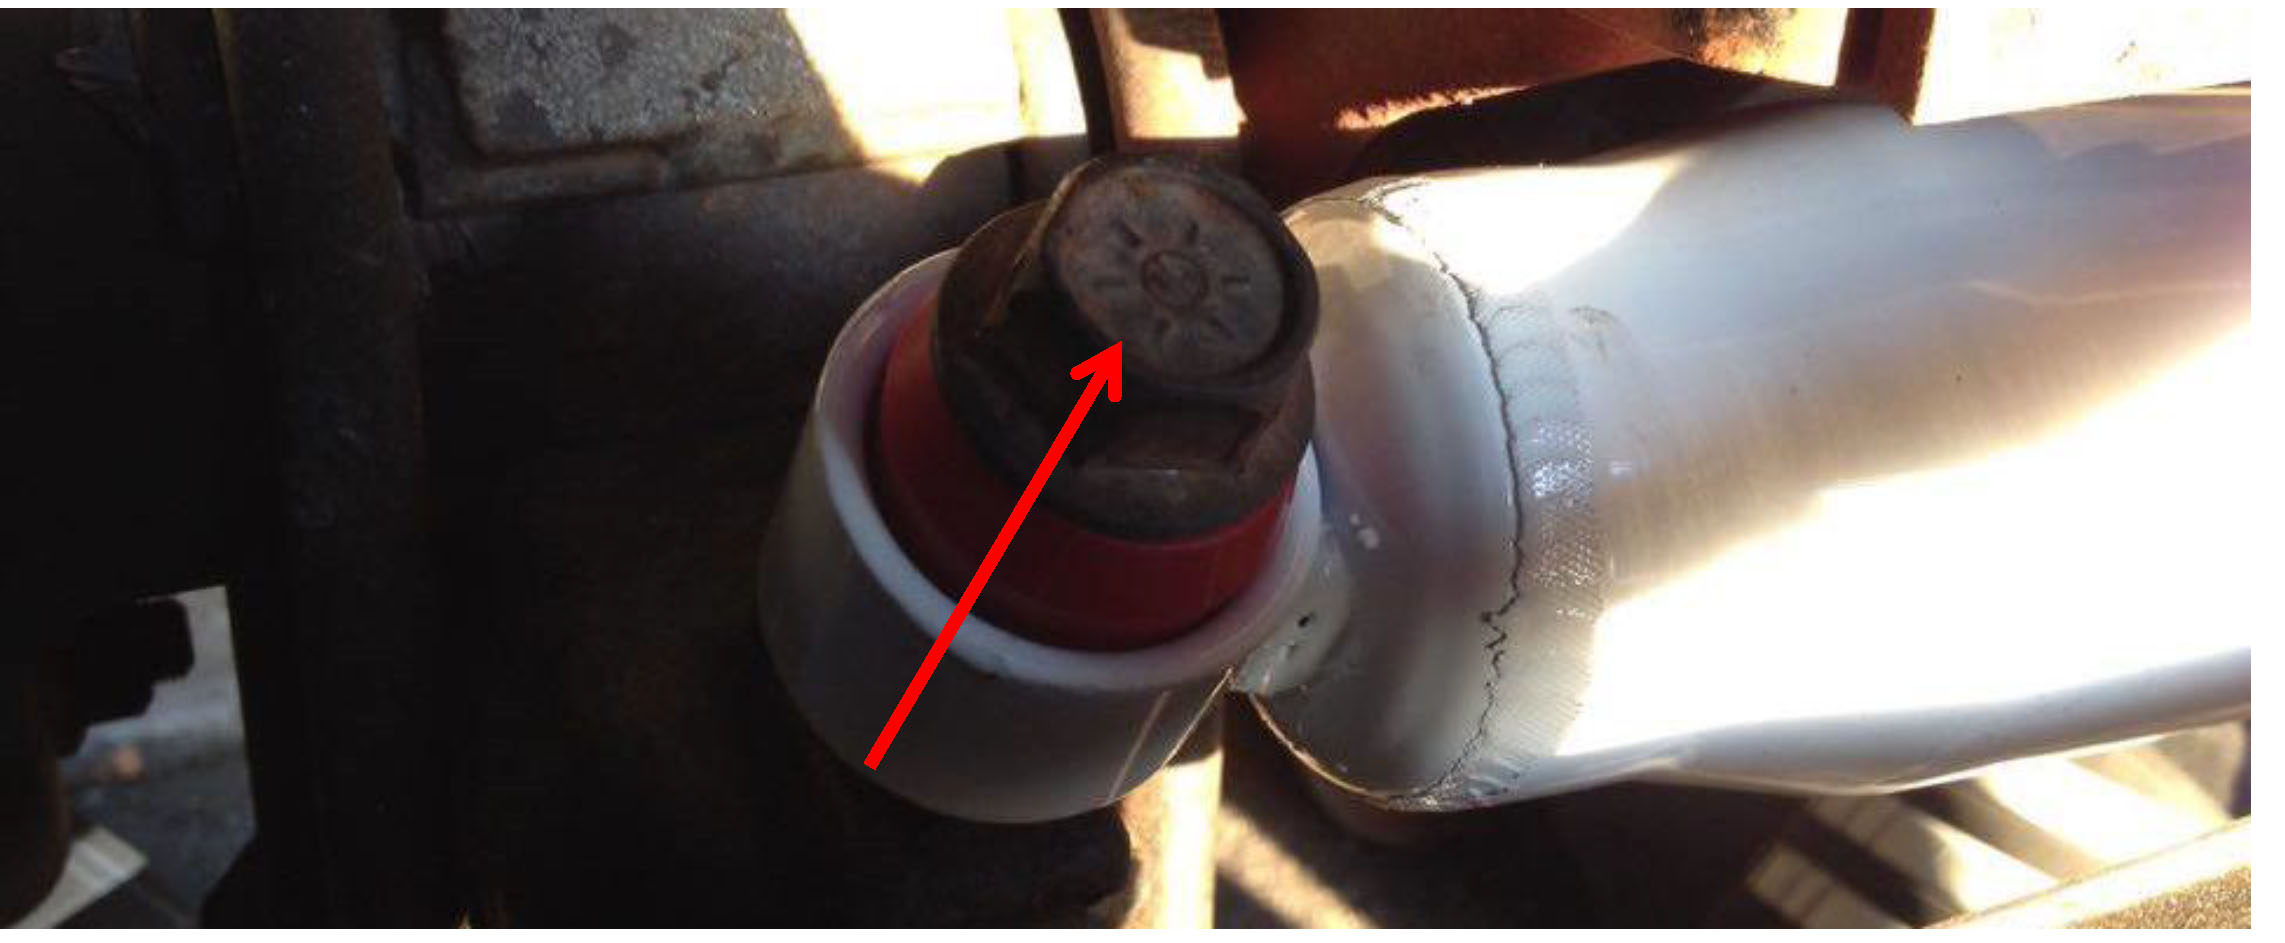
8. Install the new stud with both ends threaded into the tie rod with the hole in it. And install washers on the back of the stud as shown in the next few pictures. The red arrow pointing upwards is indicating that the cone shape jutting inwards is supposed to face towards the front of the jeep. The end of the stud with the washers should face the rear of the jeep. (If you choose to) Before you bolt down the new stabilizer, install the red dust boot that comes with it. Slide it onto where the bare metal is showing.
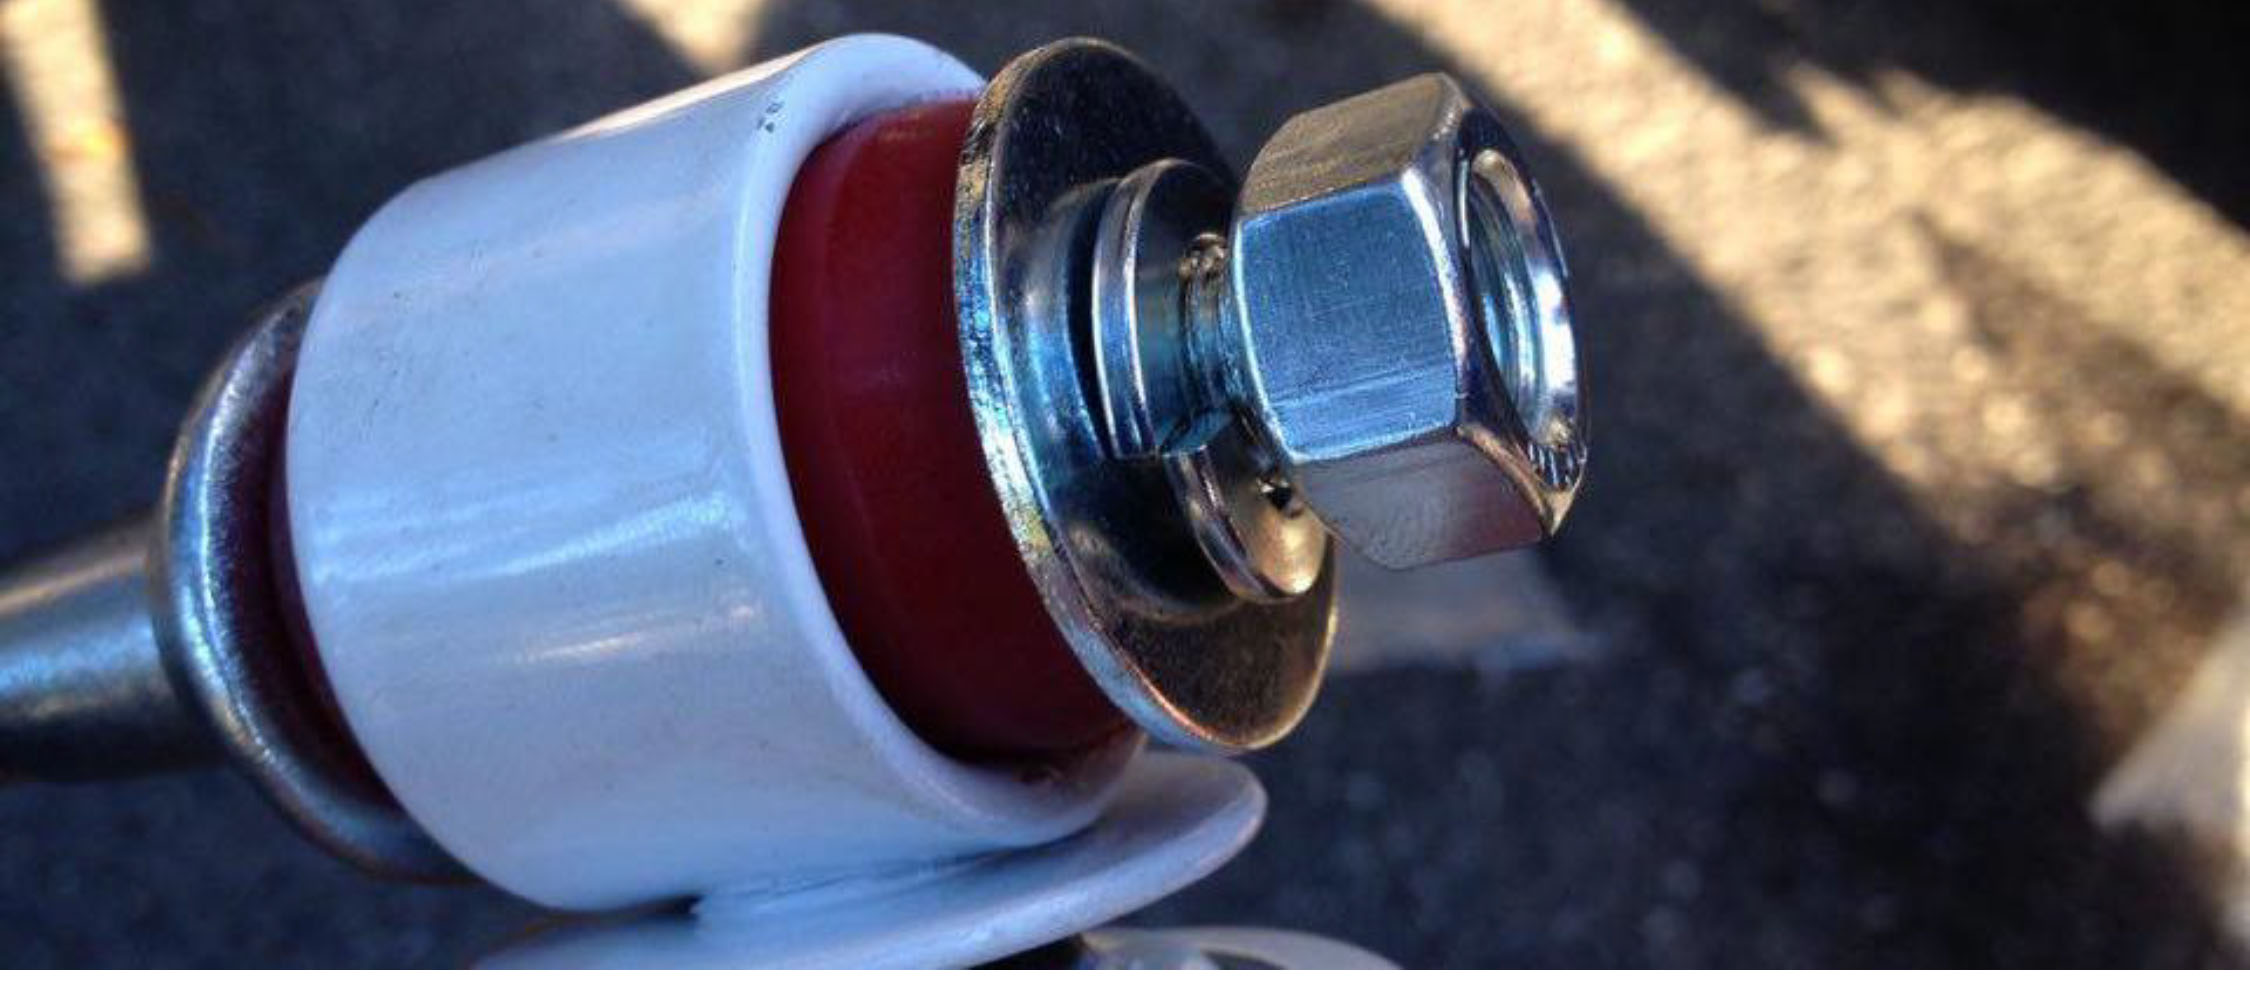
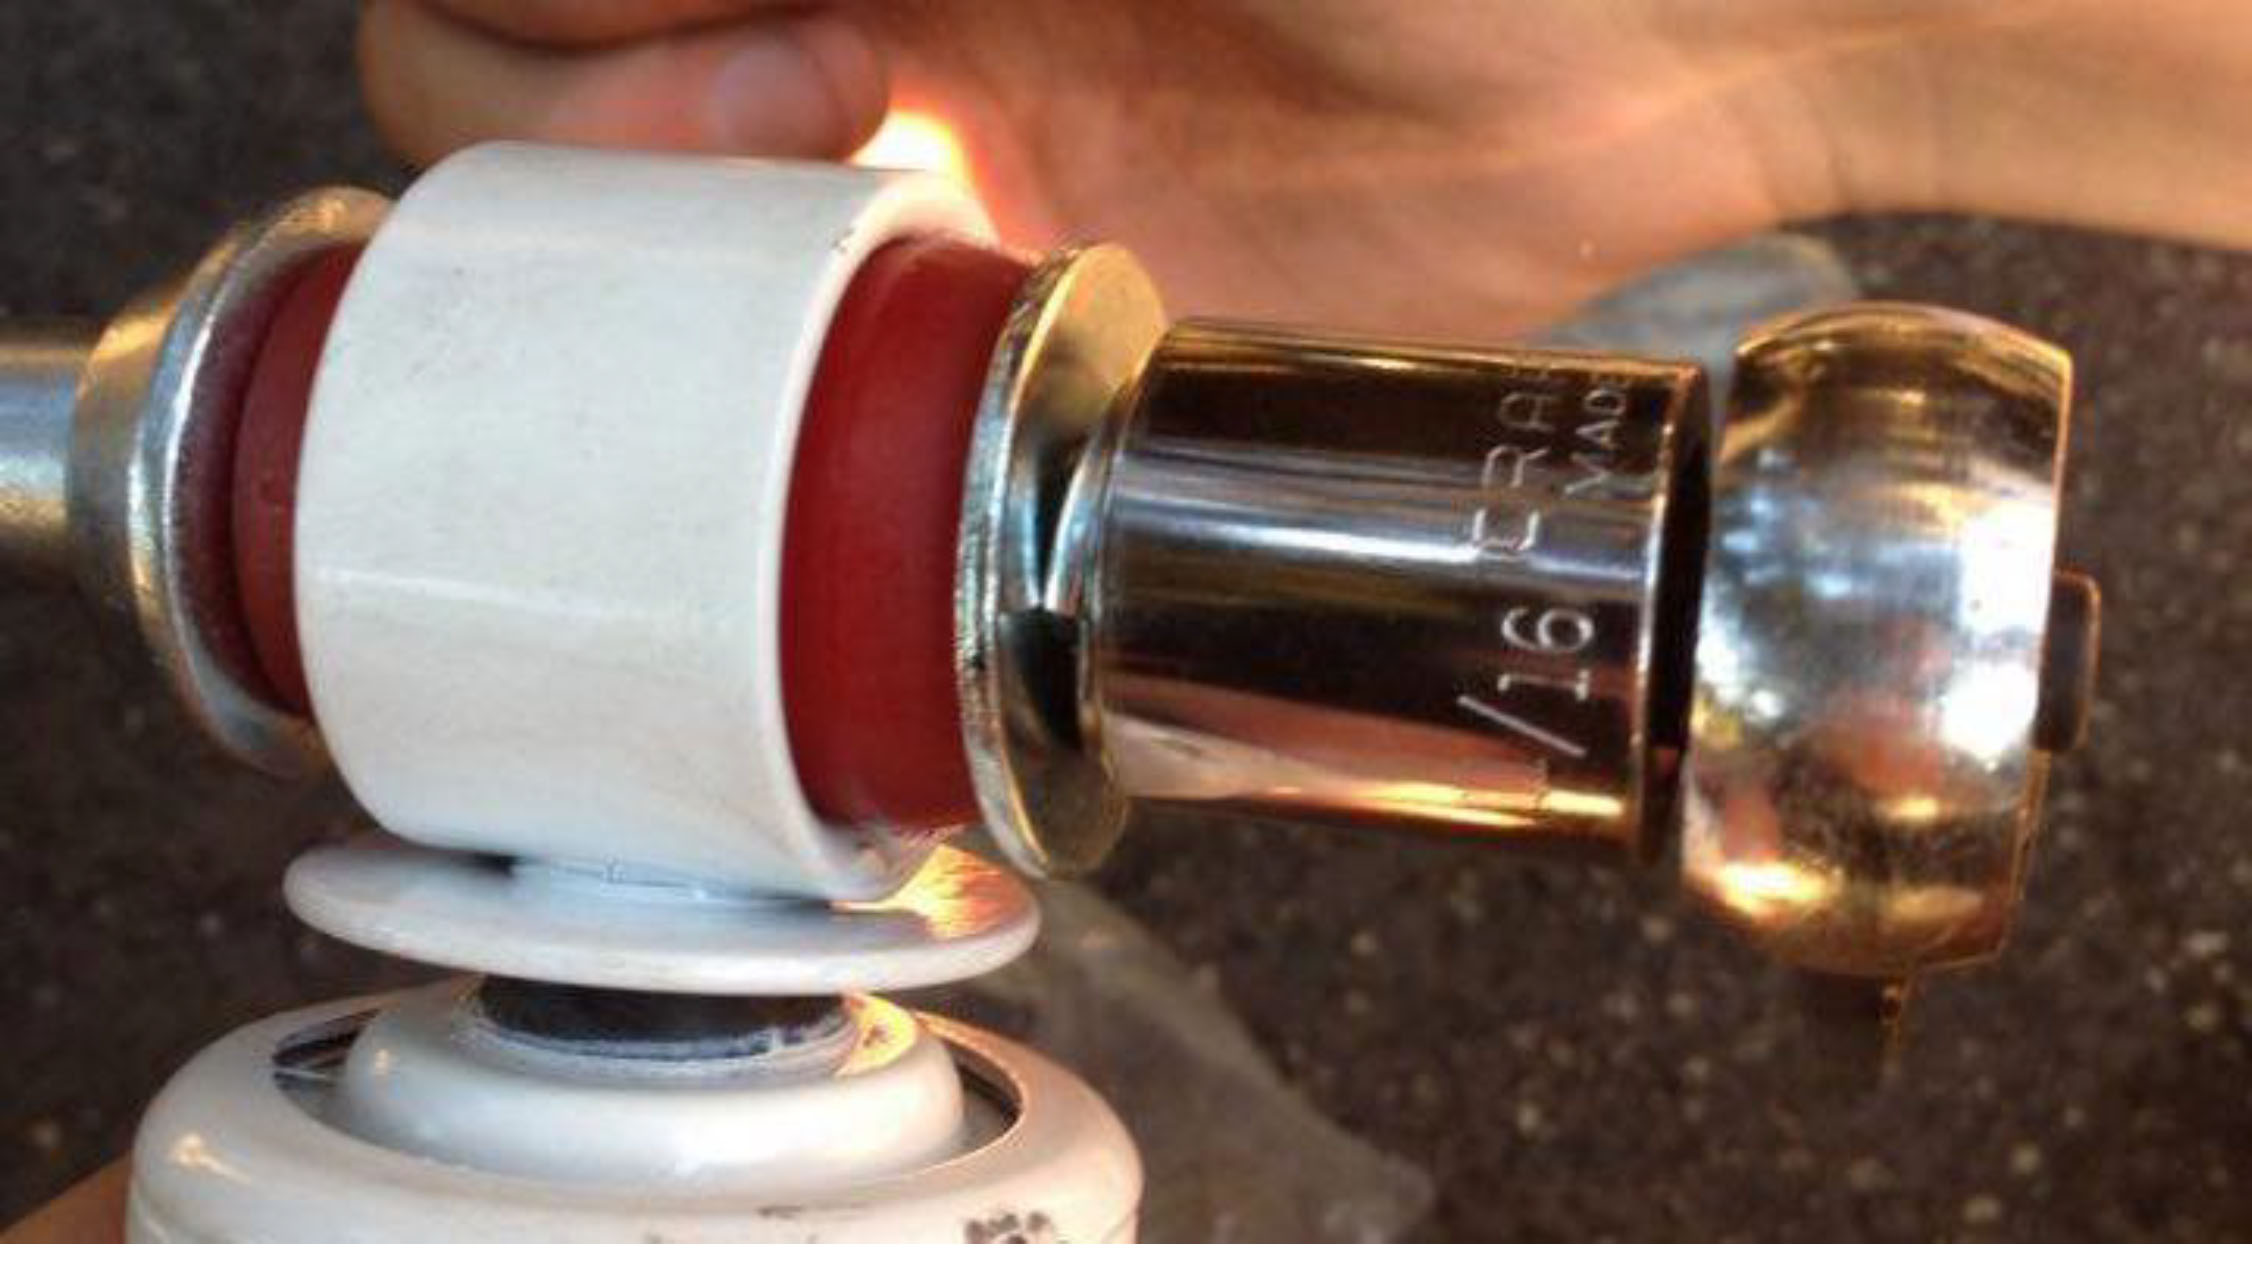
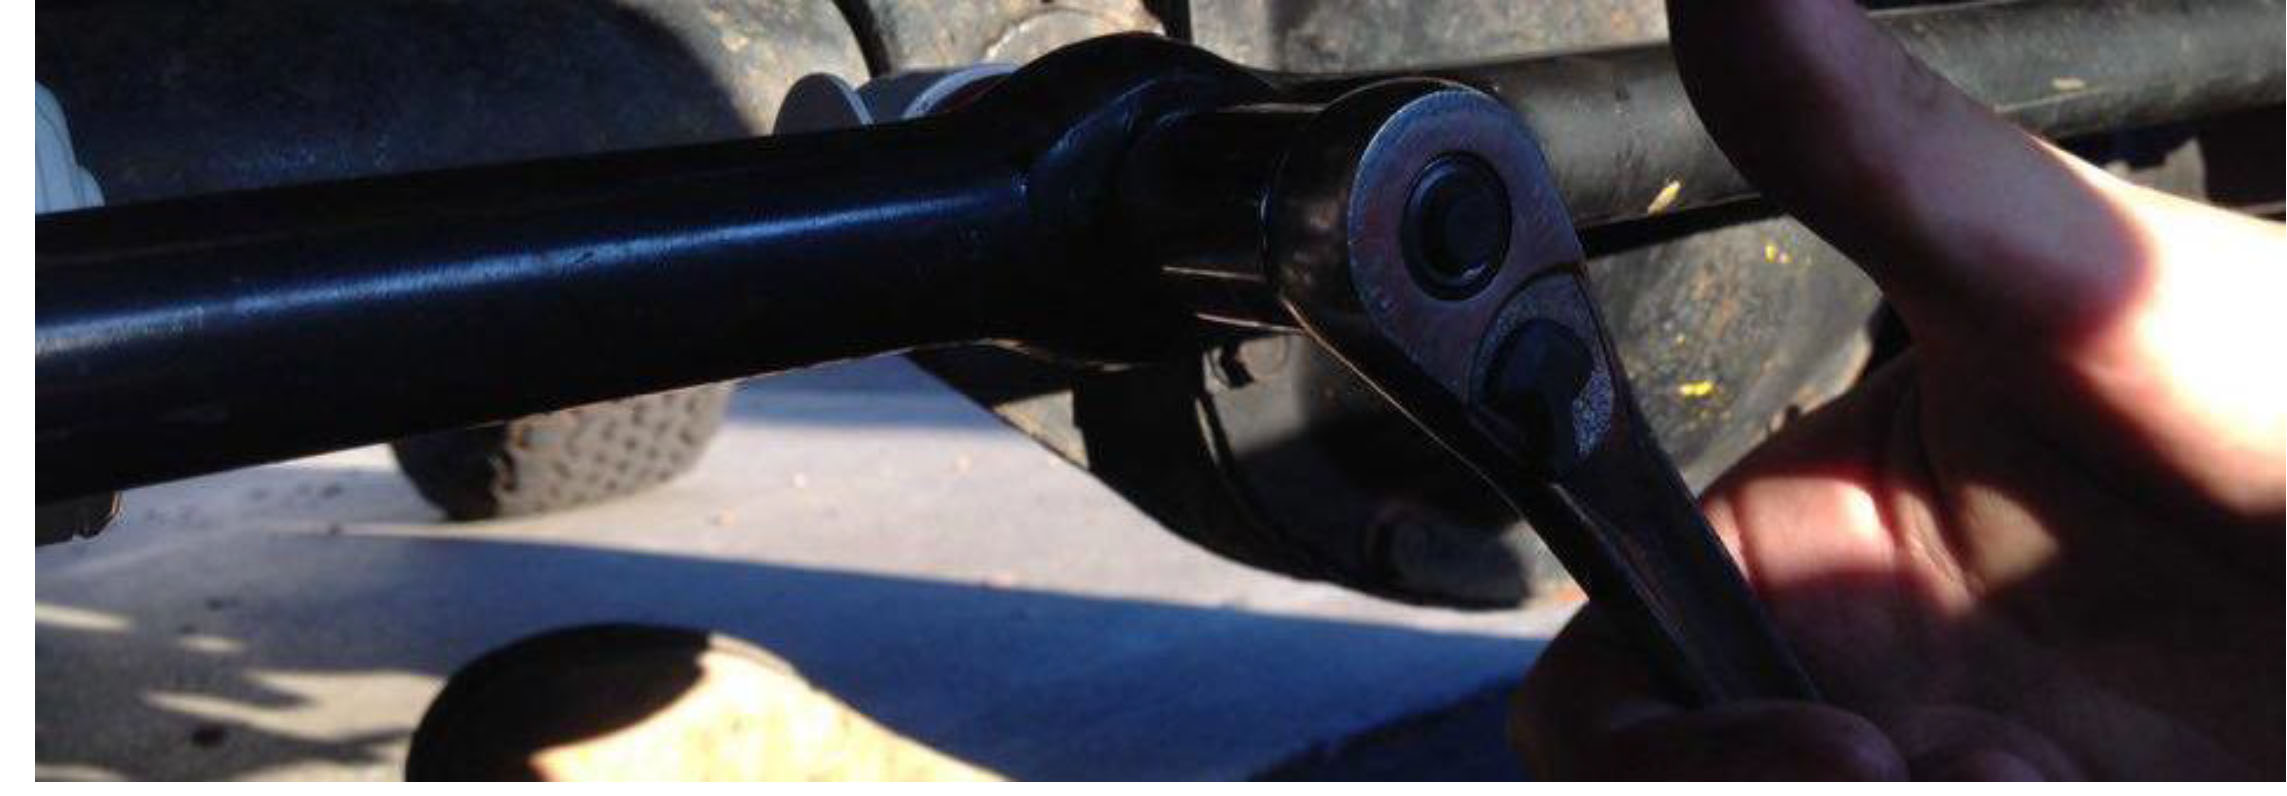
9. Tighten down the nut keeping the washers in place with an 11/16ths 3/8ths socket and a 3/8ths ratchet. Tighten down the nut until it fits snug against the red bushing. Then tighten down the bolt a quarter turn past snug, securing the left side of the stabilizer, using a ¾” 3/8ths socket and 3/8ths ratchet.
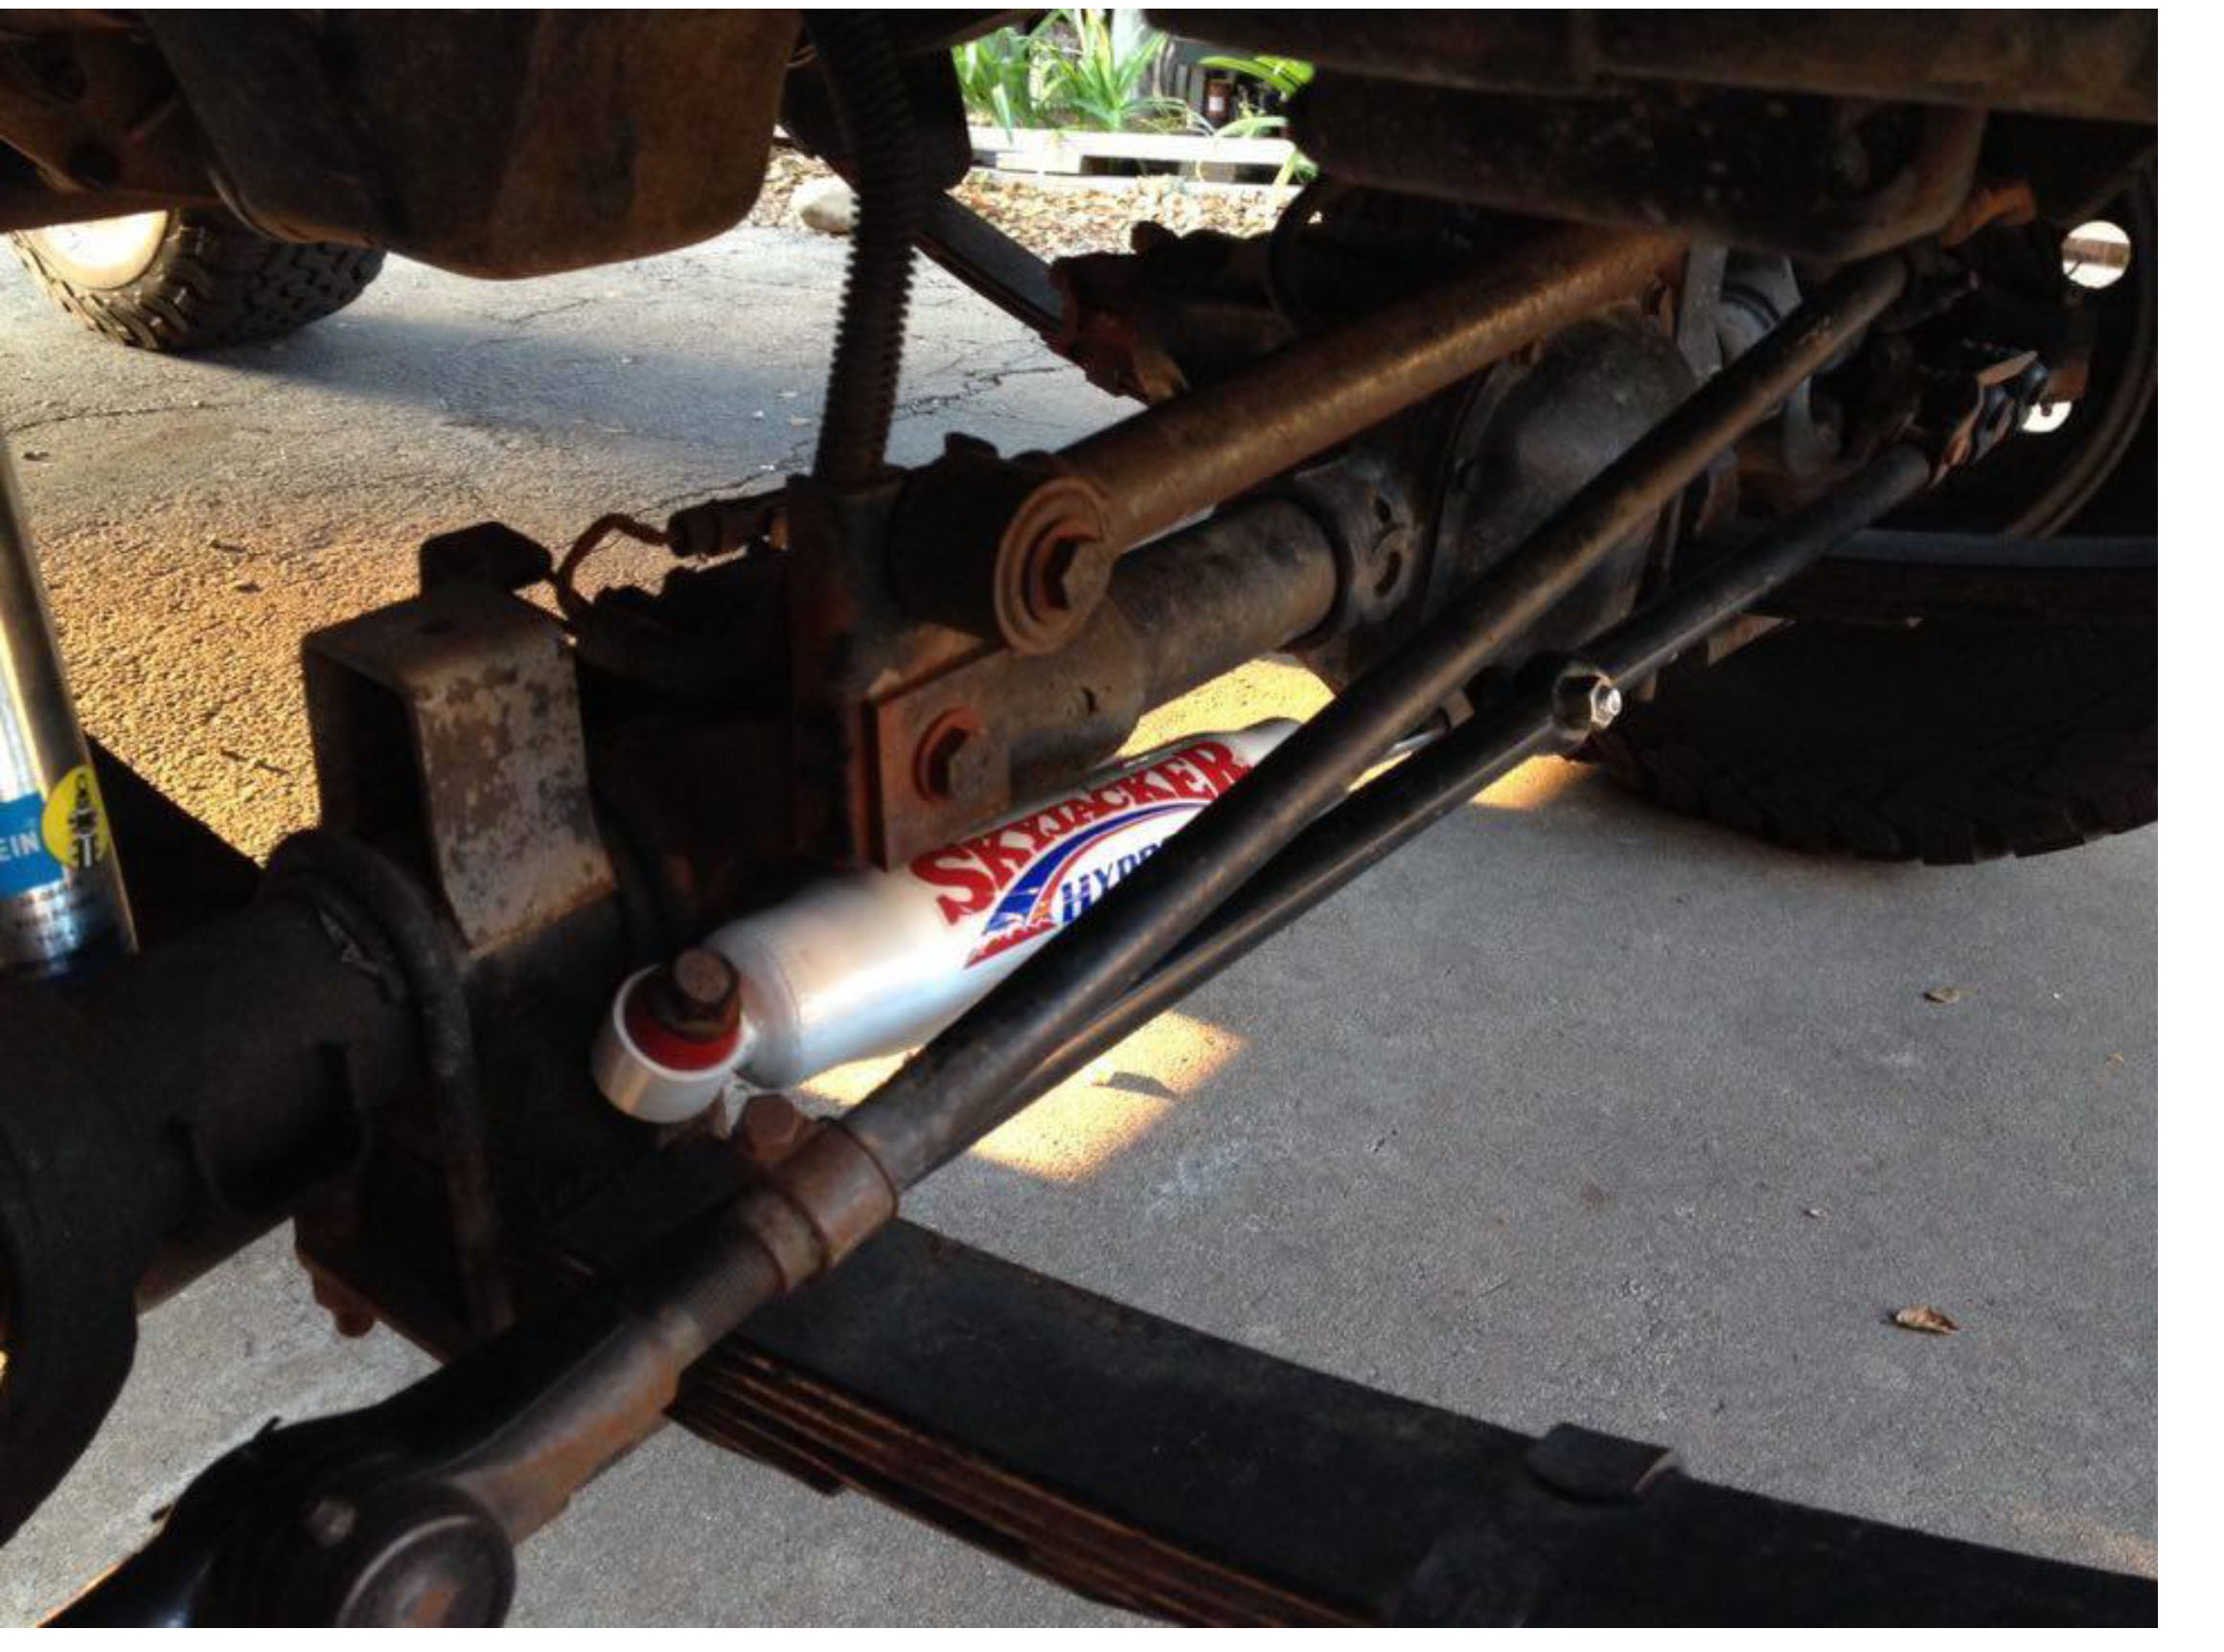
10. Next tighten down the nut holding the right side of the stabilizer onto the tie rod, using a ¾” 3/8ths socket, and a 3/8ths ratchet. Don’t forget to install the sticker that comes with the new steering stabilizer, if you choose to.
11. Enjoy your new steering stabilizer!
Installation Instructions Written by ExtremeTerrain Customer Payton Hays 8/16/2016
