 FREE 1 to 3-Day Delivery on Orders $149+ Details

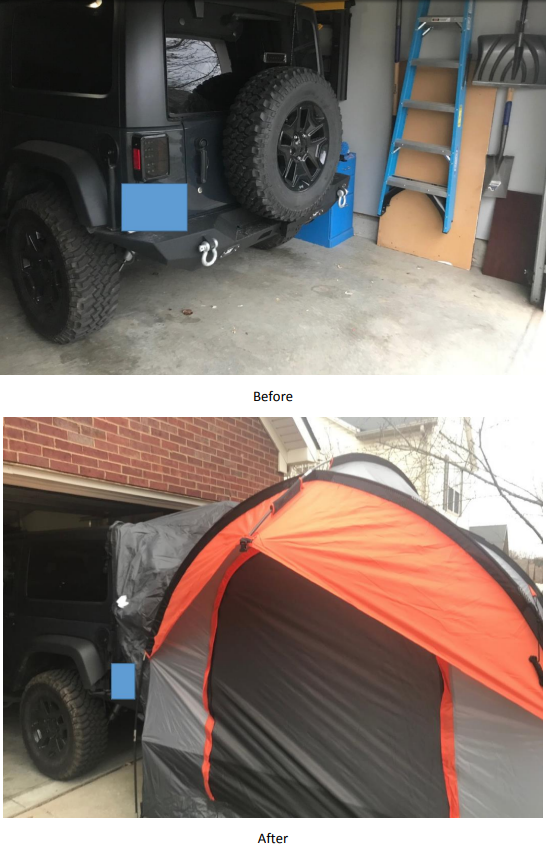
How to Install Rightline Gear SUV Tent on your Jeep Wrangler
Shop Parts in this Guide
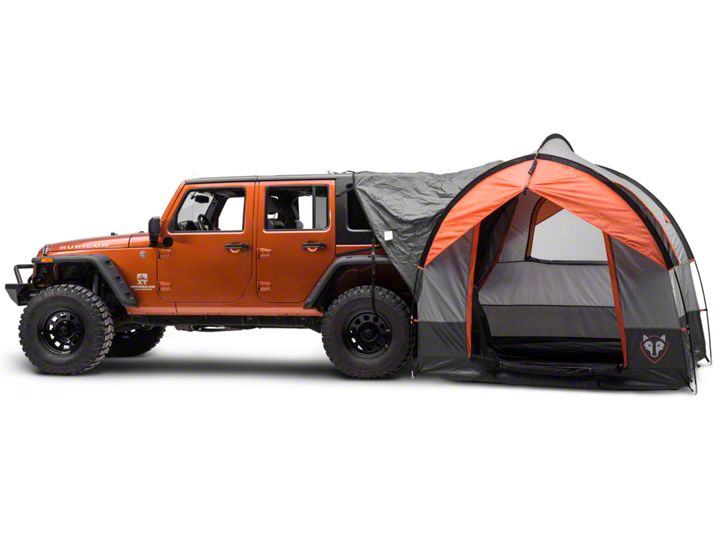
1. Carefully open the package using a box cutter or knife (Figure A) and ensure the tent and all equipment are included and undamaged.
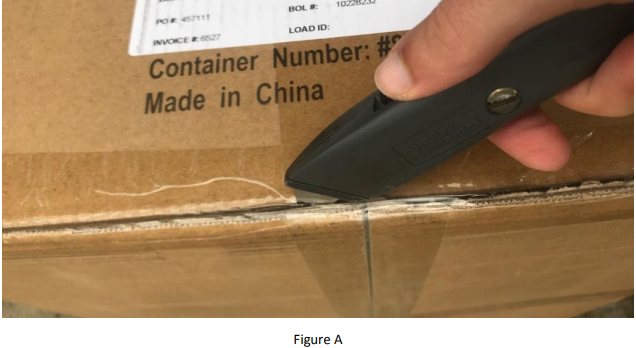
2. Lay out the tent fabric with the flooring on the bottom (Figure B).
3. Weight or stake the four corners of the tent, ensuring the floor is pulled flat/smooth.
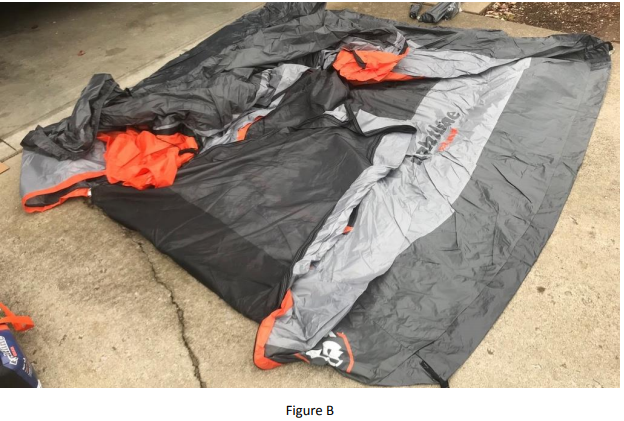
4. Thread the end poles (longest poles) through the end pole sleeves (one for each side) (Figure C).
5. Thread the top pole (shortest pole) through the top pole sleeve and two awning pole sleeves (Figure D).

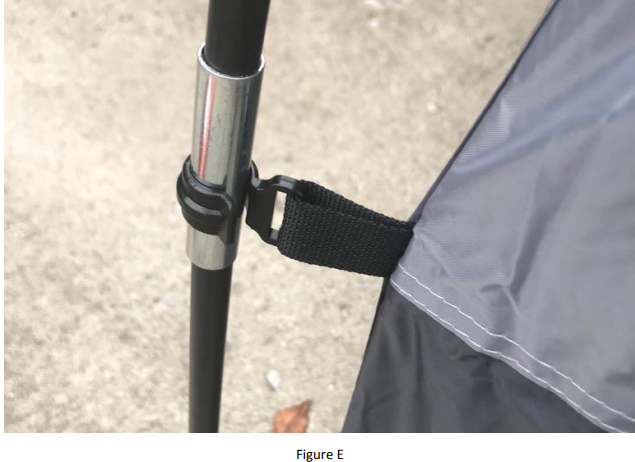
6. Place each of the end poles into the awning pole pockets (will require bending the poles) and clip in the poles (Figure E).
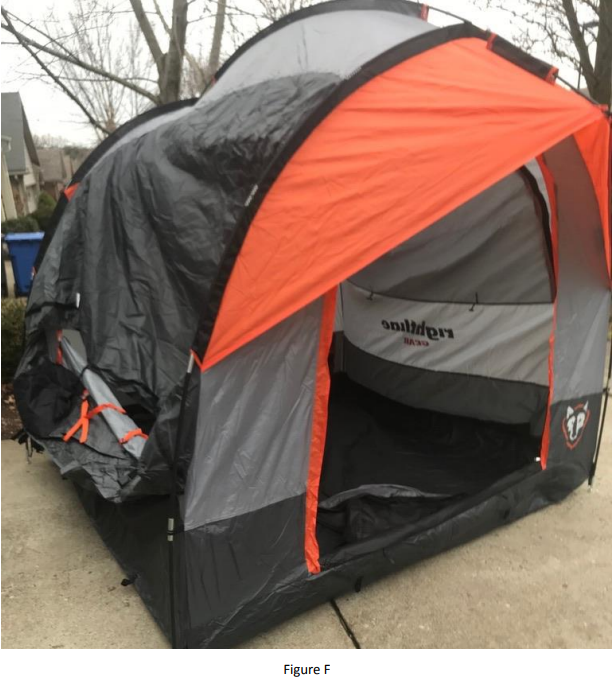
7. Raise the tent (Figure F) (with end poles bent) until the ferrules can be placed over the pole pins.
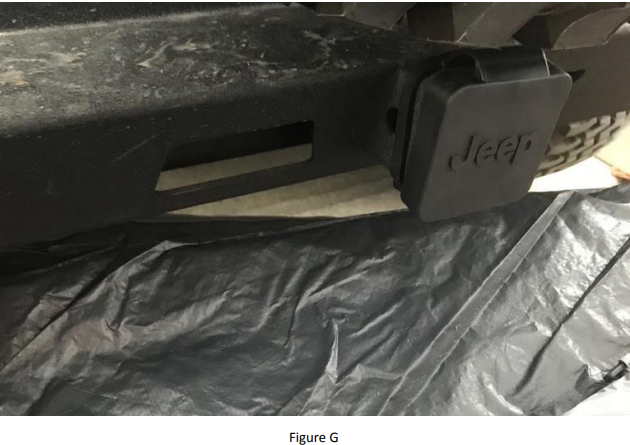
8. Place the lower sleeve under the vehicle's bumper (Figure G) but above the muffler.
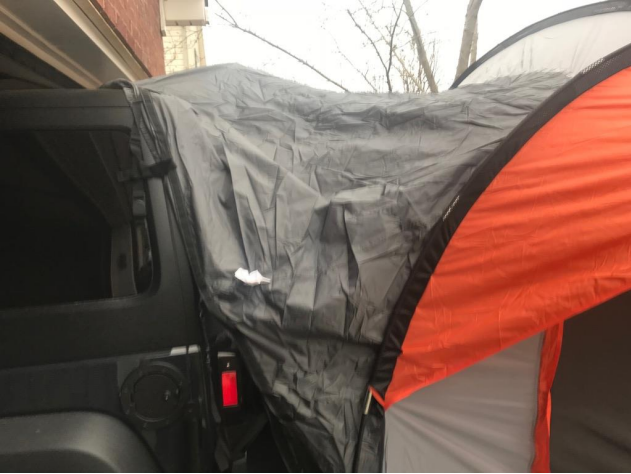
9. Place the upper sleeve over the raised rear hatch door.
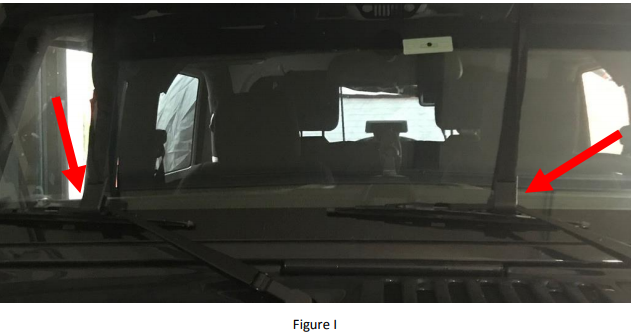
10. Buckle the upper sleeve's two top straps around the roof rack. If the vehicle is without roof rack, clip the extension straps to the top straps and attach the extension straps' J-hooks to the vehicle's windshield wipers (Figure I).
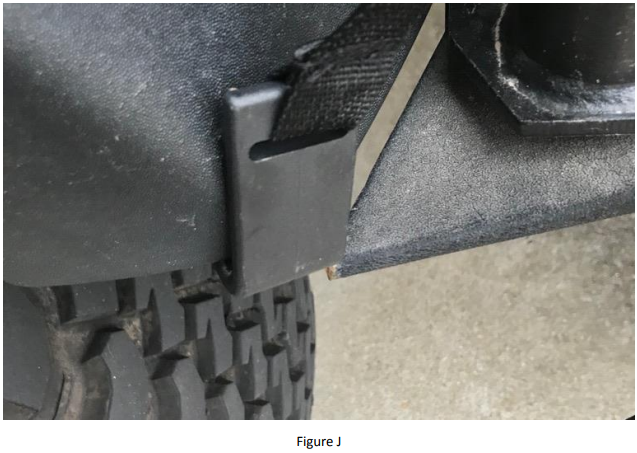
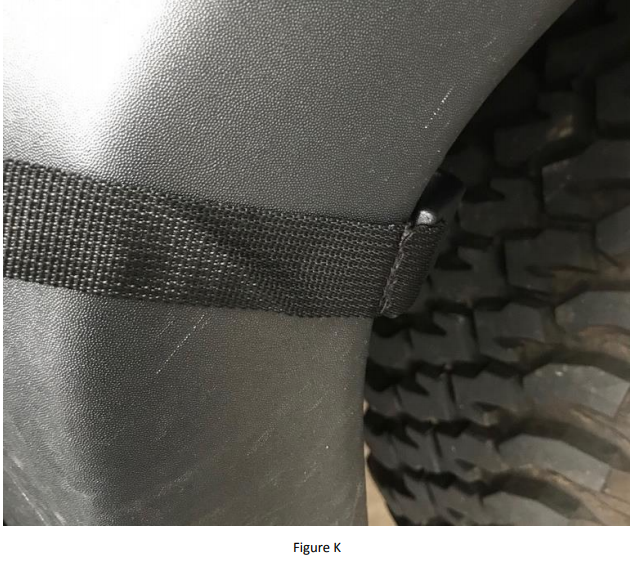
11. Adjoin the clips for the lower sleeve (Figure J) and upper sleeve (Figure K) to the rear bumper or rear wheel well.
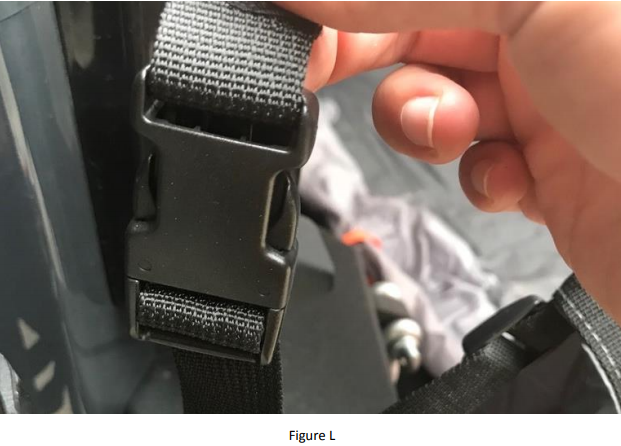
12. Buckle and tighten straps into place (Figure L).
13. Ensure all straps are fully tightened and snug and that there are no gaps between the vehicle cabin and the tent.
14. Optional: Tie the guy lines to the four corners of the tent and stake them down (best for windy conditions).
Installation Instructions Written by ExtremeTerrain Customer J. Sandlin 12/5/2017.