 FREE 1 to 3-Day Delivery on Orders $149+ Details

How to Install REDROCK 4X4 SIDE ARMOR - On Wrangler JK 4-Door
Installation Time
2 hours
Tools Required
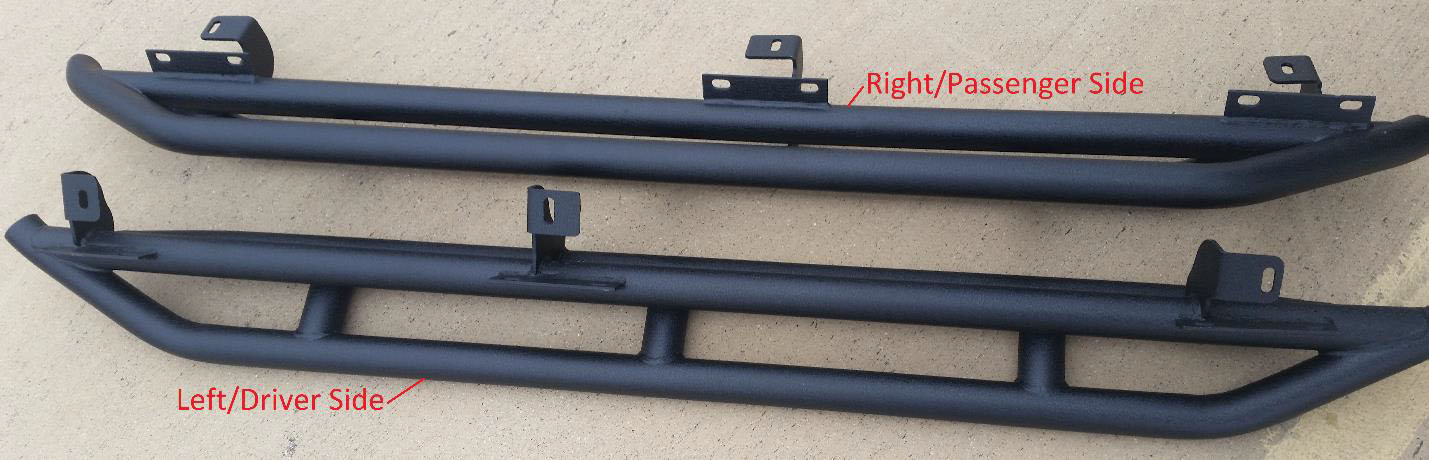
- 2X Side Armor (1 Left side/1 Right side)
- 1X 10mm Sockets
- 1X 13mm Socket
- 1X Socket Wrench
- 1X Open ended 10mm Wrench (or another 10mm socket and socket wrench and a 4” extension)
- 6X bolts
- 6X Large washers
- 12X bolts and nuts
- 24X Small washers

Shop Parts in this Guide
Pre-Install Notes: If you have a friend to help with the install you can cut the install time to 1.5 hours. Installation Instructions:
1. Check and ensure all hardware is accounted for. The kit includes two rails (one is for the Left/Drivers Side and one is for the Right/Passenger.)
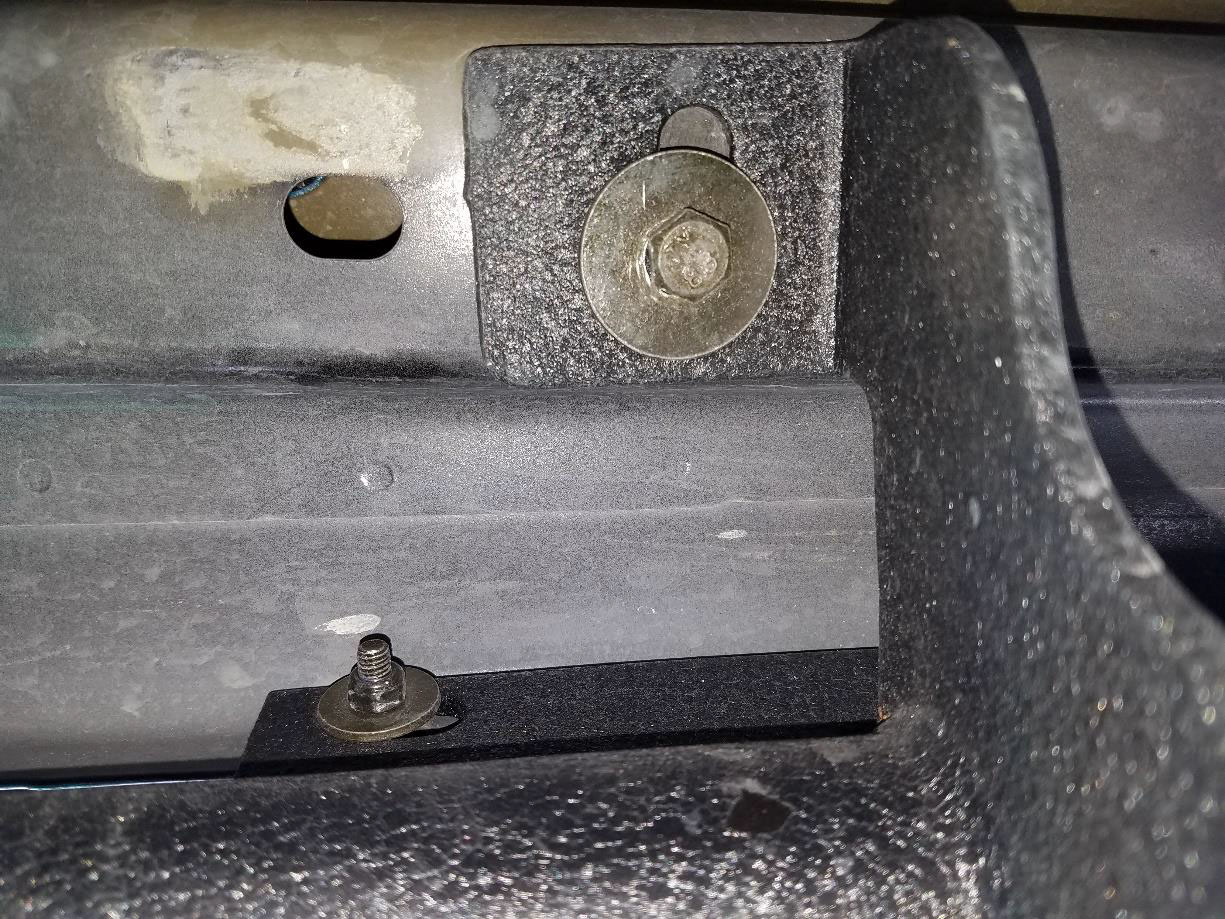
2. First locate the 6 holes on the side of the vehicle in the pinch seam at the bottom.
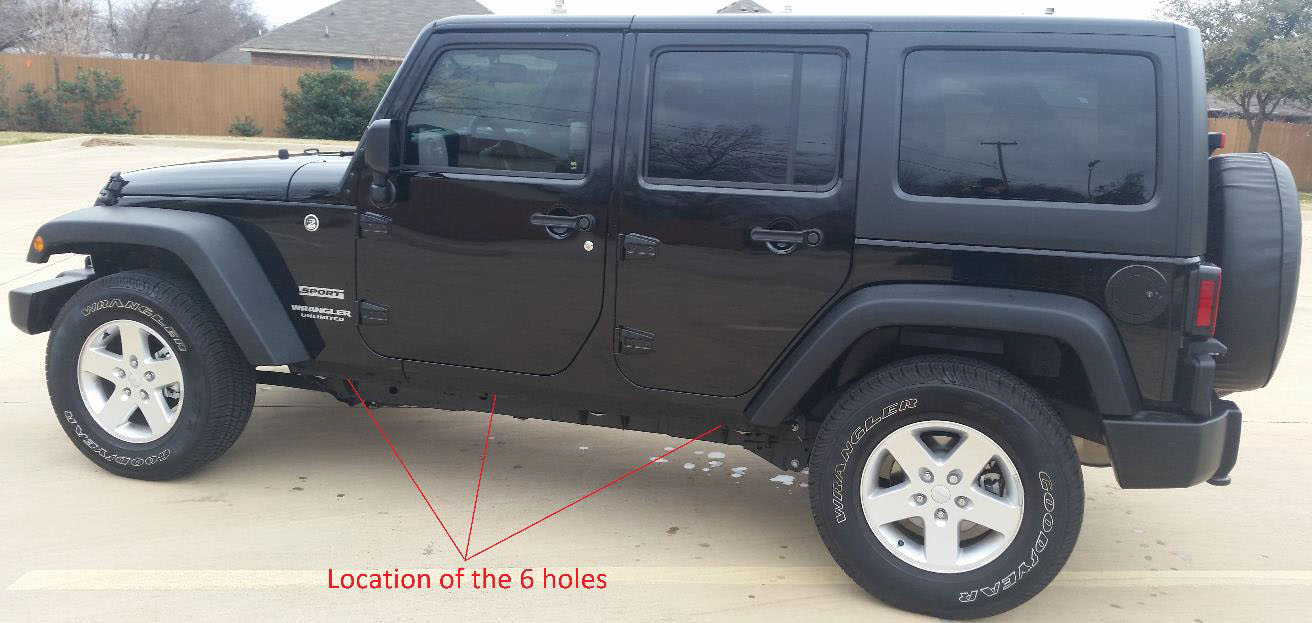
3. Second find the three threaded holes on the underside of the vehicle. They will be near the 6 holes in the pinch seam.
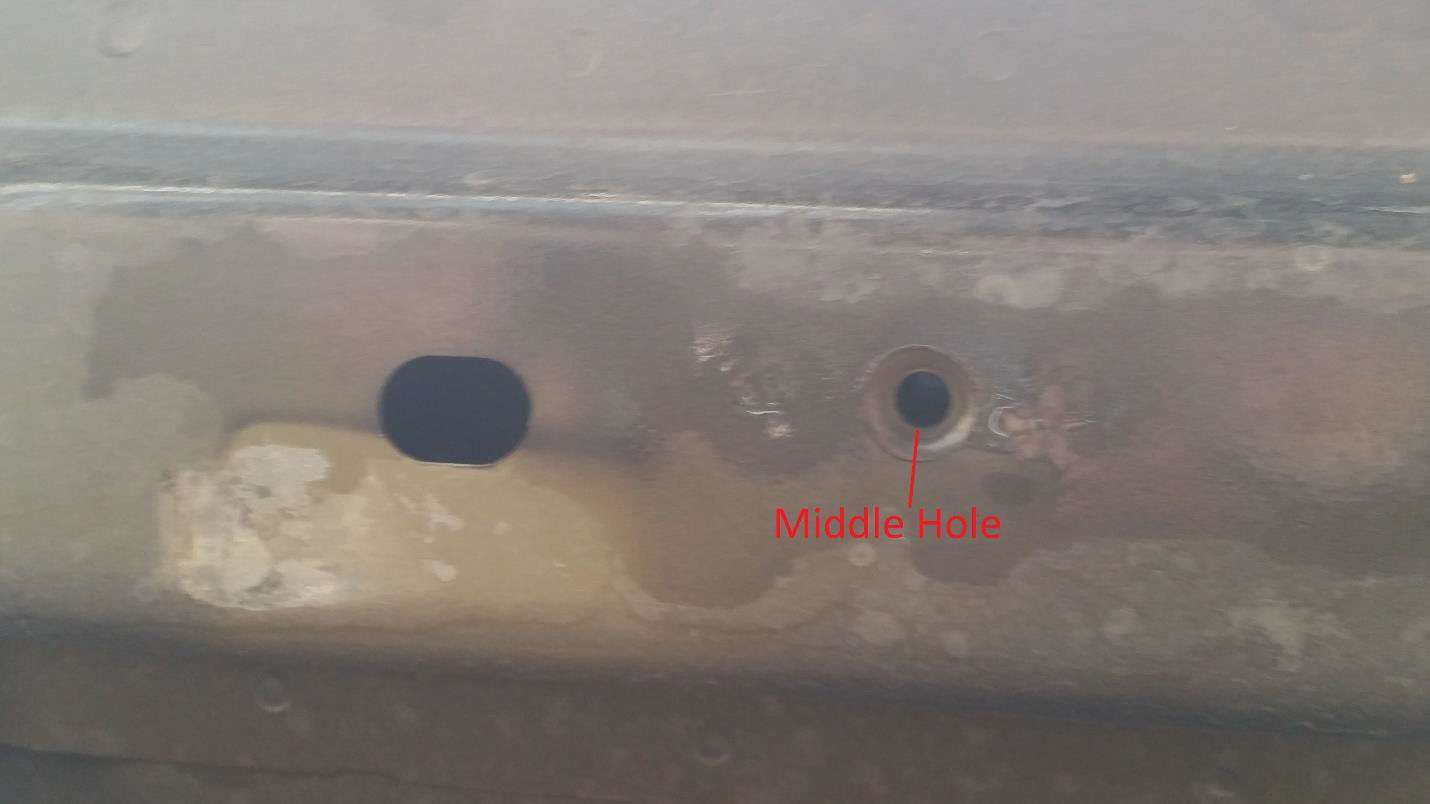
4. While holding the rail in place insert the middle 13mm bolt with the large washer and tighten, but do not tighten the bolt all the way.
Note: Make sure that the “I” bracket is on the inside of the pinch seam.
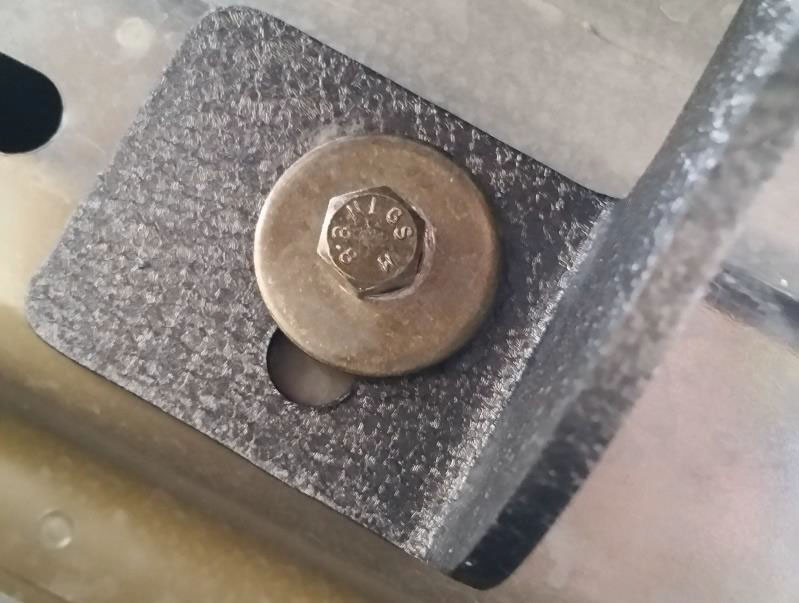
5. Insert the other two 13mm bolts with the large washers and tighten all the way. Then go back and tighten the middle bolt all the way.
6. Insert the 6 10mm bolts so that there is a washer on either side of the pinch seam. And put the nuts on as tight as they’ll go by hand.
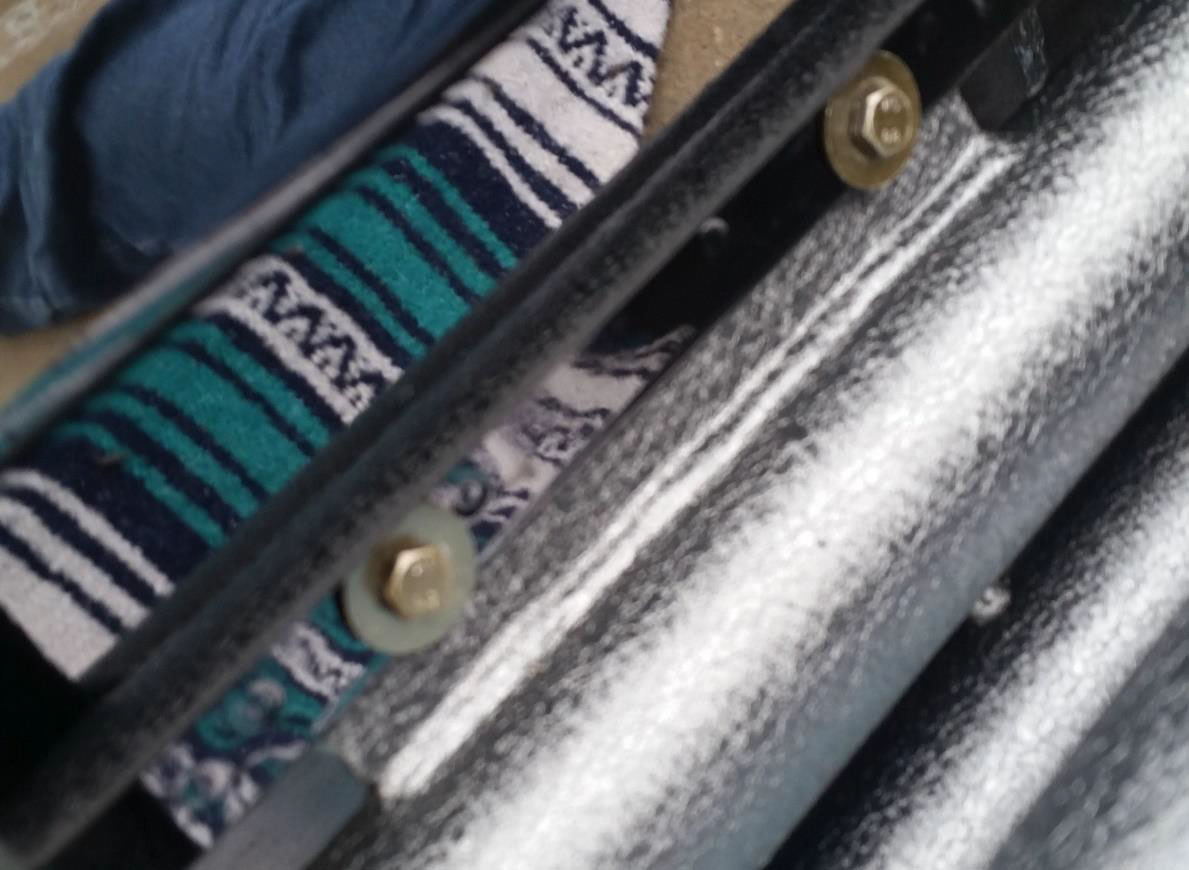
7. Using either two socket wrenches with two 10mm sockets, or a single socket wrench with a 10mm socket and an open ended 10mm wrench; tighten all six nut/bolts on the pinch seam.
8. Repeat steps 2 through 7 for the other side.
9. Revisit all nuts/bolts to ensure hardware is secure and tight.
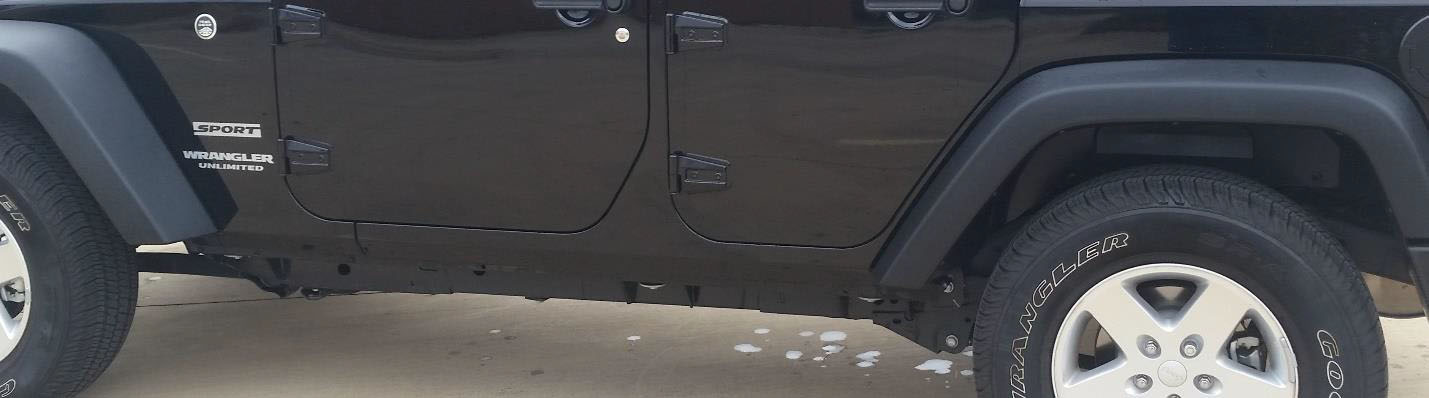
Before
After
Installation Instructions Written by Extreme Terrain Customer James Freiheit 7/14/2016