 FREE 1 to 3-Day Delivery on Orders $149+ Details

How to Install JLT V3.0 Black Oil Separator - Driver Side (12-18 3.6L Wrangler JK) on your Jeep Wrangler
Installation Time
15 minutes
Tools Required
- 8mm Socket
- Socket Wrench
- Phillips Screw Driver

Shop Parts in this Guide
1. First open your hood.
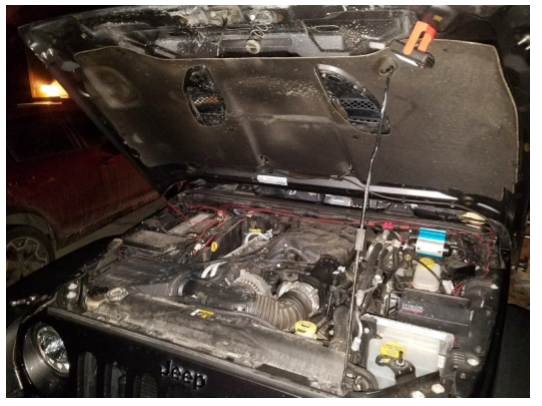
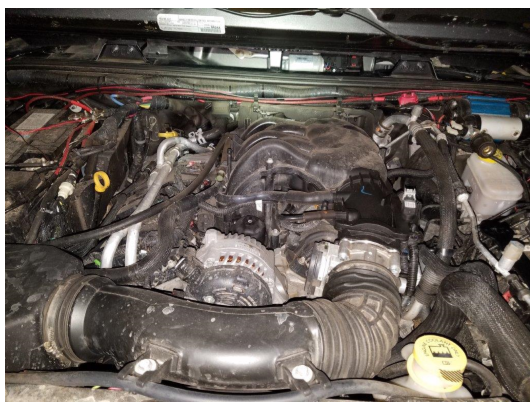
2. If installed, remove the plastic engine cover by lifting up the front then pulling forward until it pops free.
3. Using an 8mm socket, remove the bolt holding the AC line to the back of the ECU.

4. Using the bolt removed in step 3 and an 8mm socket, install the new JLT bracket as shown. Be careful not to overtighten the bolt.

5. Insert your new oil separator next to the new bracket and route the 2 hoses under the throttle body as shown below. On the top of the oil separator the “J” should be toward the rear, making the “JLT” readable from the passenger side.
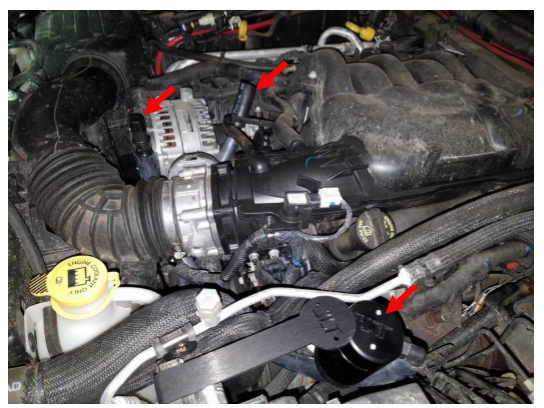
6. Align the screw holes on the oil separator and the bracket. Using the supplied screws and Philips screwdriver, attach the separator to the bracket as shown.
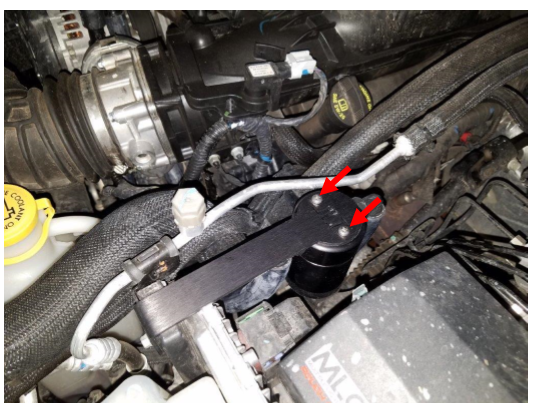
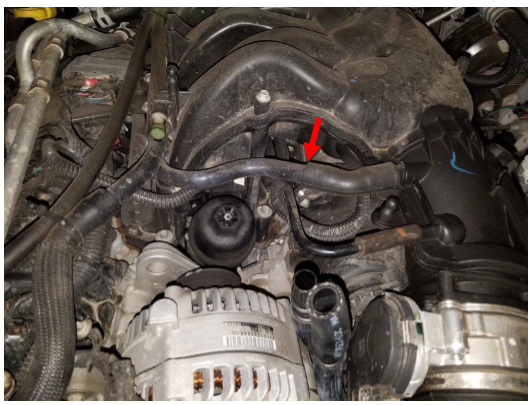
7. Disconnect the hard PCV line from the angled rubber connection at the point shown below.
8. Plug the JLT hose with the rubber female end to the hard PCV line. Plug the JLT hose with the male plastic end into the angled rubber connection as shown below. Make sure both connections are fully inserted.

9. Reinstall your engine cover if desired.
10. I also recommend cleaning or replacing your air filter to get the most out of your new JLT oil separator. Remove the air filter by unclipping the 4 clips on the air box shown below, then lift up the top.

11. Now just close your hood and enjoy!
Installation Instructions Written by ExtremeTerrain Customer John Parker 1/18/2018