 FREE 1 to 3-Day Delivery on Orders $149+ Details

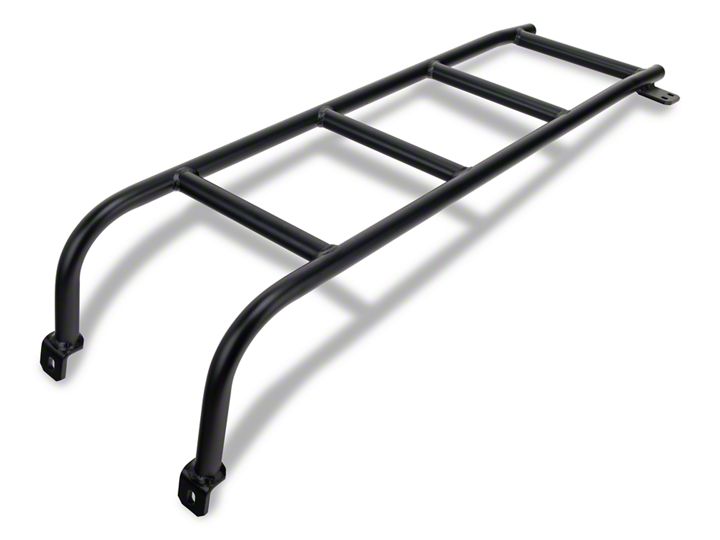
How to Install Garvin Adventure Roof Rack Ladder (07-18 Wrangler JK) on your Jeep Wrangler
Installation Time
1 hours
Tools Required
- Box Cutter/Knife
- Pliers
- 13mm Socket
- Socket Wrench
Shop Parts in this Guide
Note: This product requires a pre-existing Garvin Adventure Roof Rack. This product will not work without it.
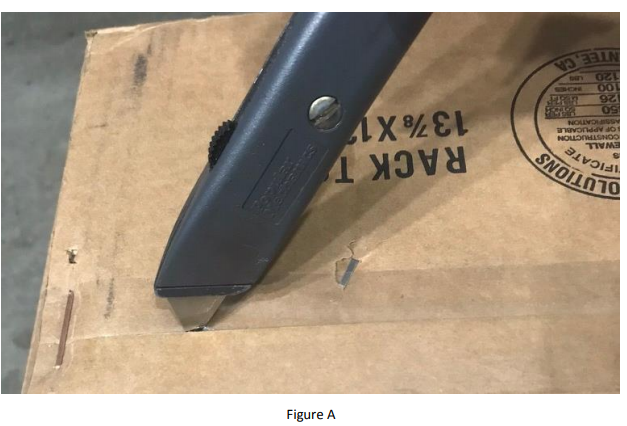
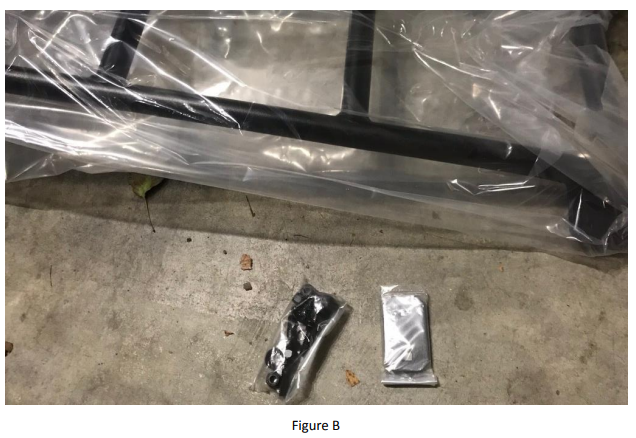
1. Carefully open the package using a box cutter or knife (Figure A) and pliers. Ensure the ladder and hardware are included and undamaged (Figure B).
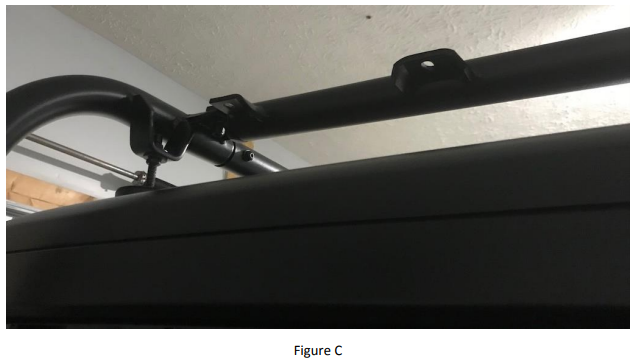
2. Locate the ladder support brackets on the rear passenger portion of the Garvin Adventure Roof Rack (Figure C).
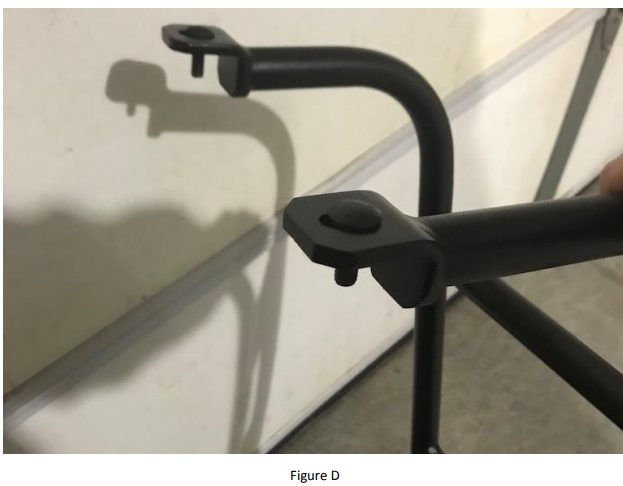
3. Insert two carriage bolts (supplied) through the top portion of the ladder (Figure D).
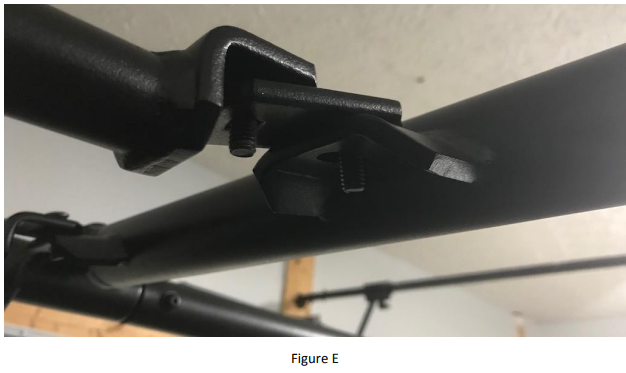
4. Insert the connecting bracket (supplied) to the support bracket closest to the front of the vehicle using a carriage bolt (supplied) and insert the carriage bolts from the top of the ladder into the connecting bracket (front facing) and support bracket (rear facing) (Figure E).
5. Place a flat-washer and nylon locknut (supplied) on the underside of all three carriage bolts and hand-tighten (Figure F).

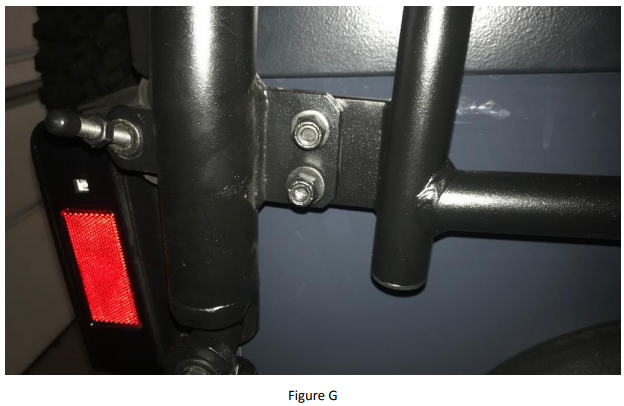
6. Insert two carriage bolts through the lower ladder support bracket and the support bracket on the rear passenger side support bar of the roof rack and hand-tighten (Figure G).
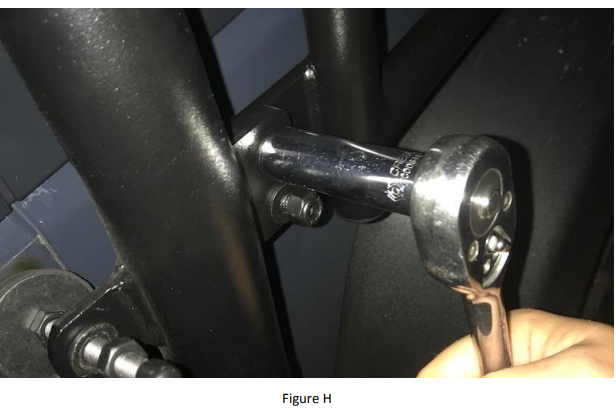
7. Tighten down all the locknuts using a 13mm socket wrench (Figure H).
Installation Instructions Written by ExtremeTerrain Customer J. Sandlin 10/24/2017.
