 FREE 1 to 3-Day Delivery on Orders $149+ Details

How to Install Tuffy Security Console Insert (11-18 Wrangler JK) on your Jeep Wrangler
Installation Time
25 minutes
Tools Required
- T-20 Torx Bit and Driver
- Knife or Pry Tool
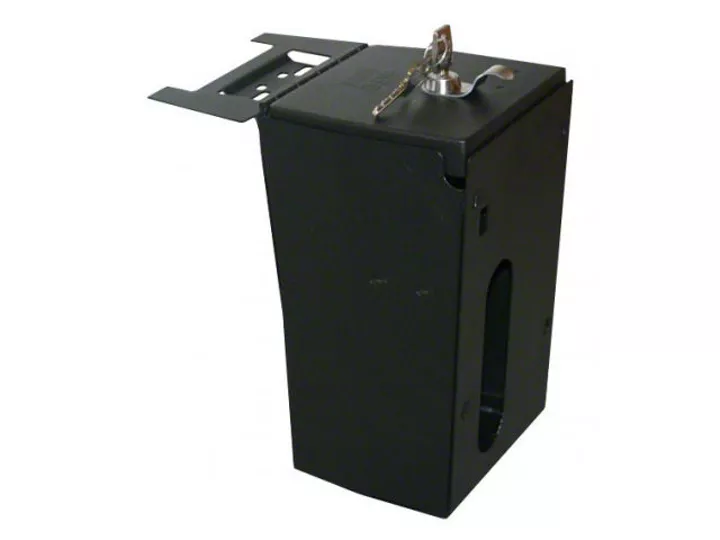
Shop Parts in this Guide
1. Open console and remove any contents including rubber inserts from tray and bottom of console.
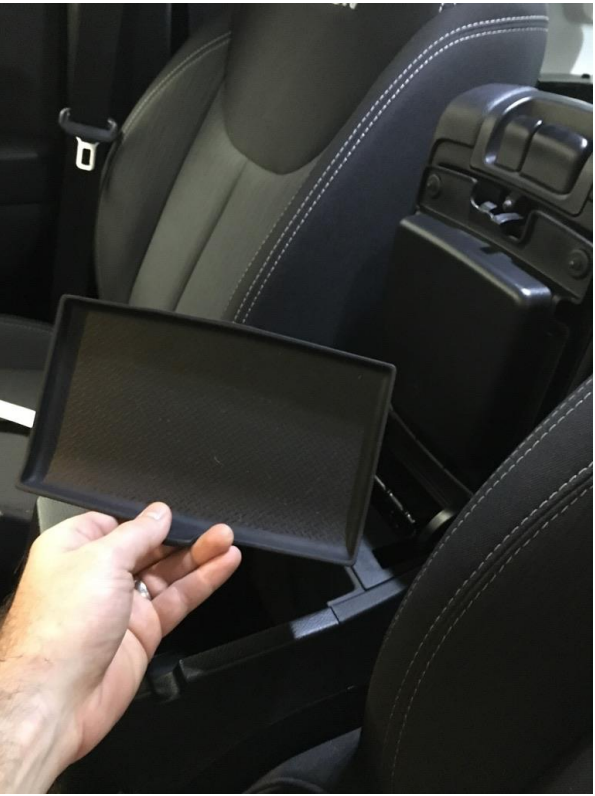
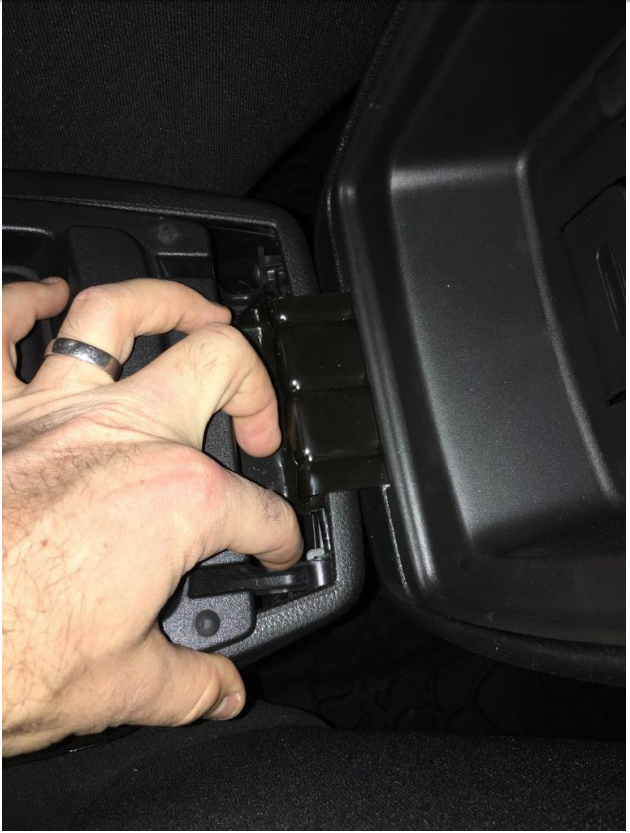
2. Using knife or other pry tool, pry up and remove plate at back of console that covers the screws attaching the console top (Note: the console top and tray will both have to be “up”).
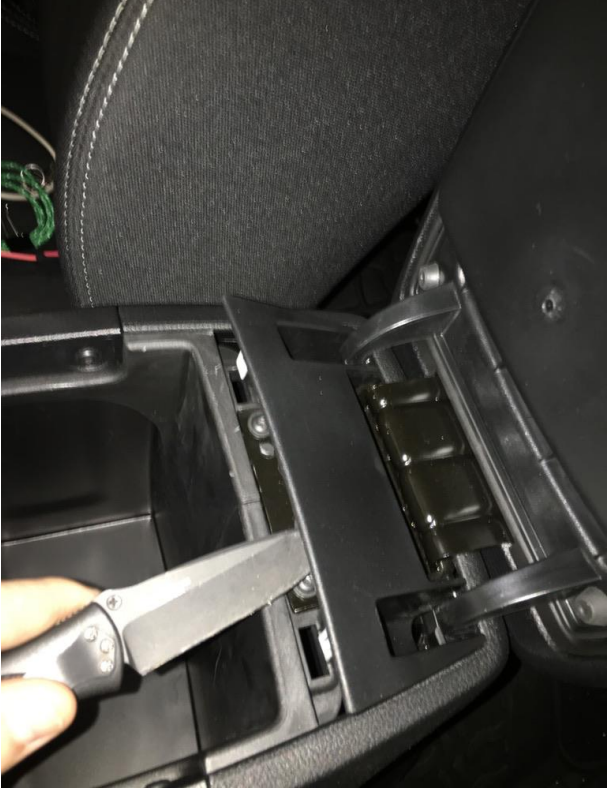
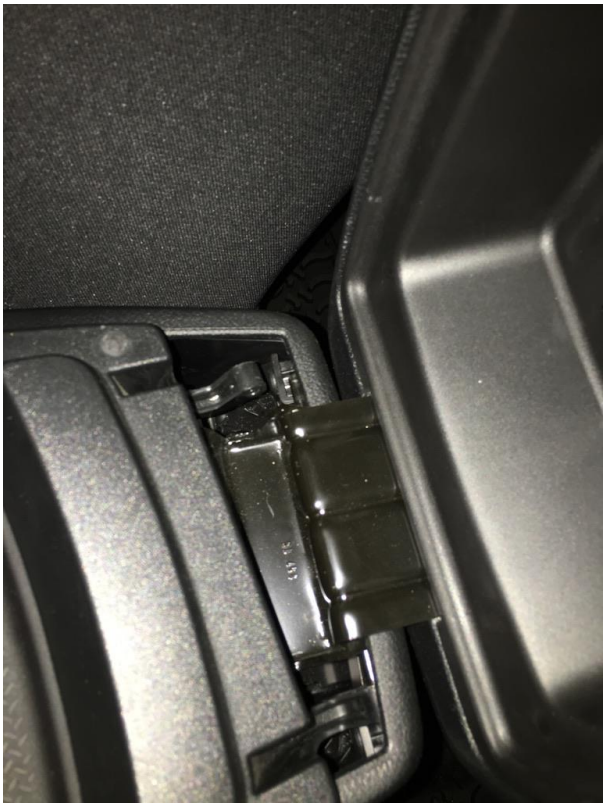
3. Remove the console tray by pressing out (toward the seats) on the attachment arms and sliding them off of the mounting / pivot attachment points.
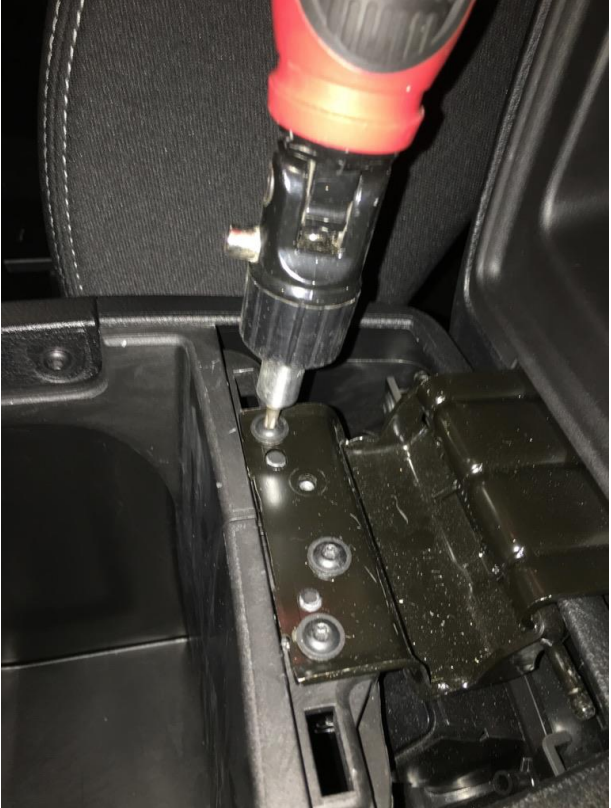
4. Using the Torx bit and driver, remove the four screws connecting the console top to the console housing and set all aside.
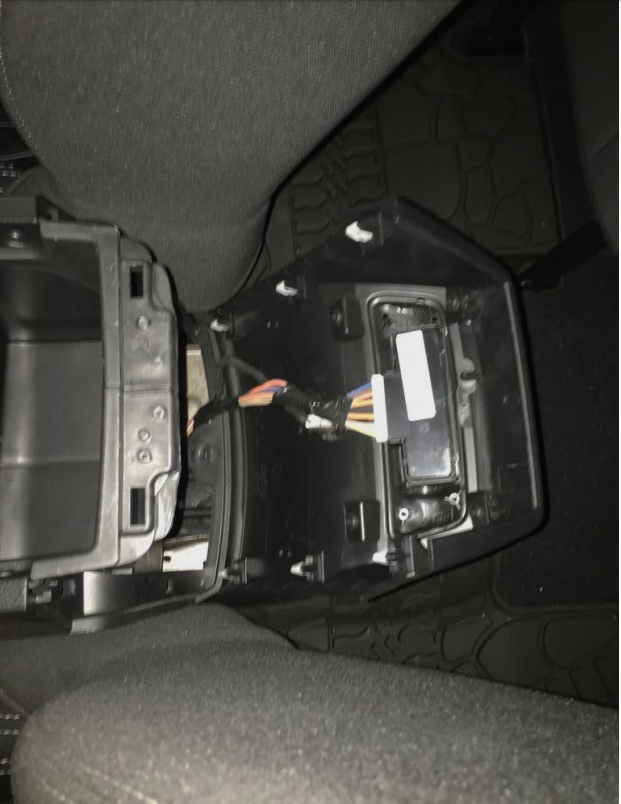
5. If desired, the rear of the console housing can be un-clipped and pushed back out of the way using a knife or pry tool to give some more working room, but this is not necessary.
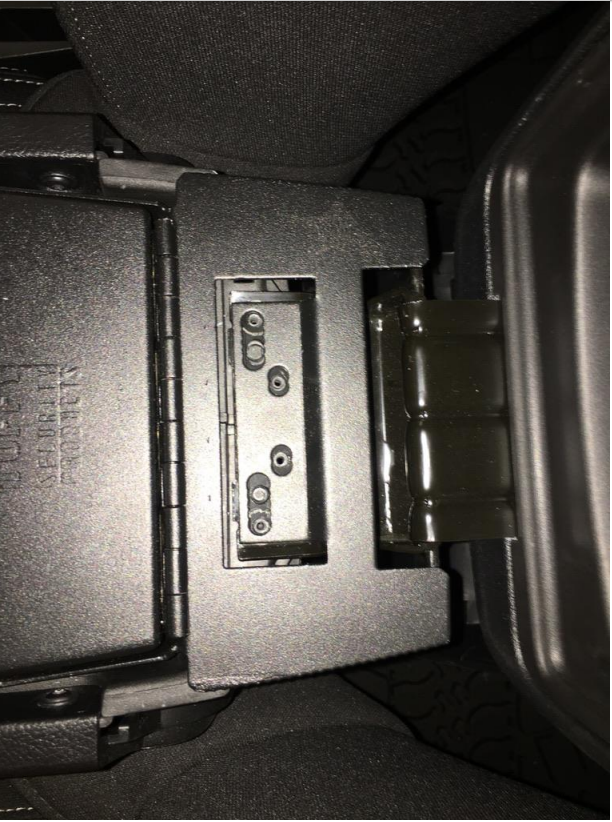
6. Slide the console insert into place aligning the screw holes with the mounting holes in the back of the console.
7. Slide the connection plate on the console top under the rear plate of the console insert aligning it’s mounting holes with the mounting holes in the back of the console.
8. Reinstall the four mounting screws removed previously with Torx bit and driver; make sure that the console top is aligned properly and make any adjustments necessary.

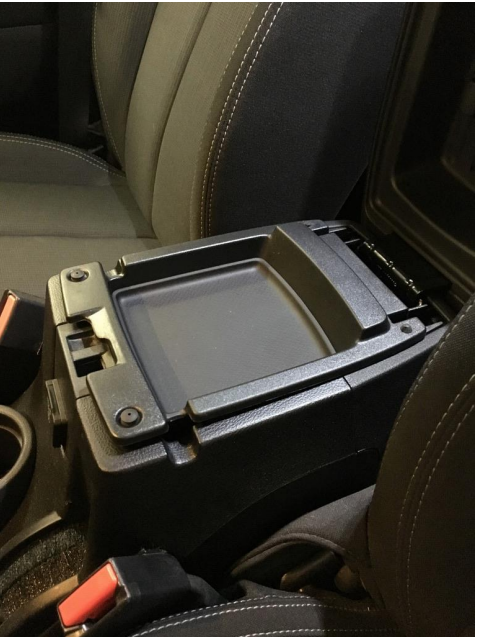
Before
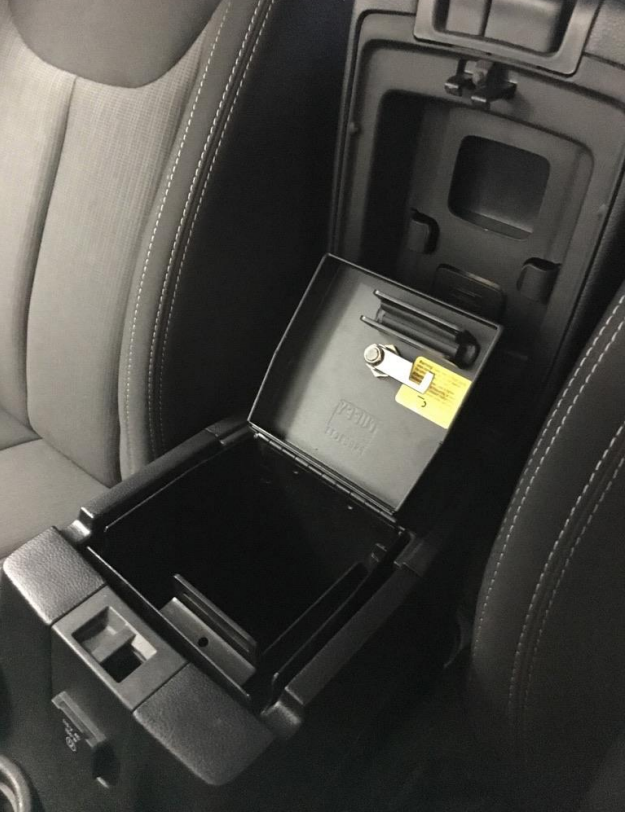
After
Installation Instructions Written by ExtremeTerrain Customer Brian Dunn 12/28/2017.