 FREE 1 to 3-Day Delivery on Orders $149+ Details

How to Install Snyper Evap Canister Skid Plate (12-18 Wrangler JK) on your Jeep Wrangler
Installation Time
1 hours
Tools Required
- Box Cutter/Knife
- 10mm Wrench
- 13mm Wrench
- 13mm Socket
- 16mm Socket
- Socket Wrench
- Socket Extension (optional)
- Pliers

Shop Parts in this Guide
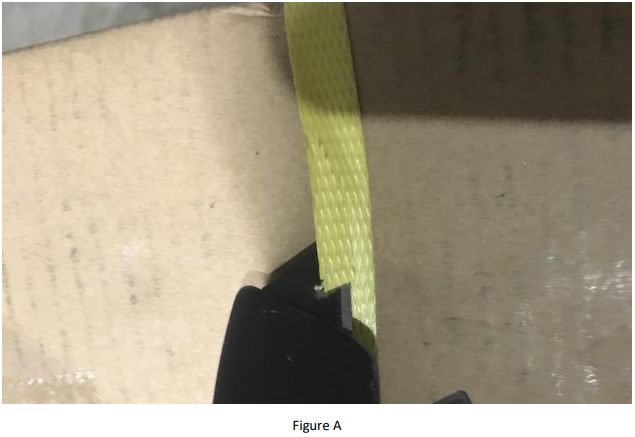
1. Carefully open the package using a box cutter or knife (Figure A) and ensure the skid plate and hardware are included and undamaged.
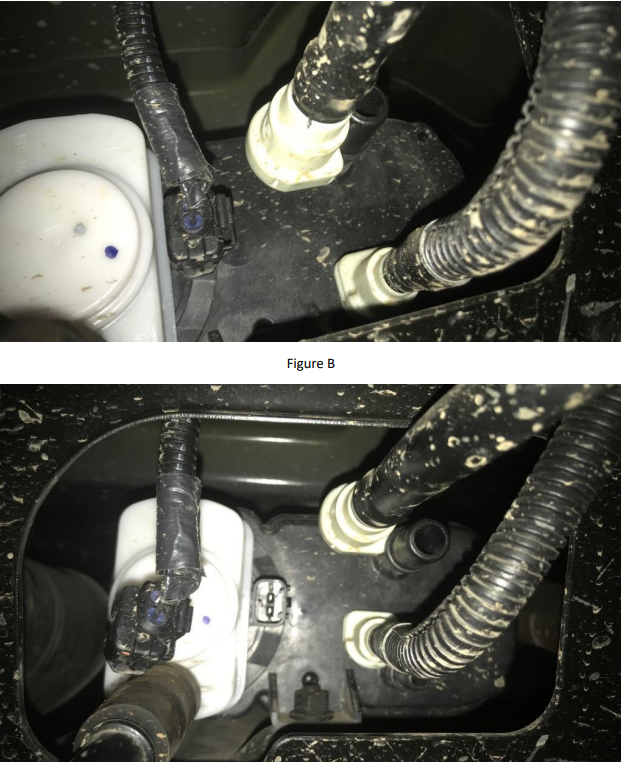
2. Locate the evap canister and disconnect the connector and hoses using pliers (Figure B and Figure C).
3. Remove the three bolts holding the evap canister to the frame using a 16mm socket wrench (Figure D). Keep these bolts for installing the new skid plate.

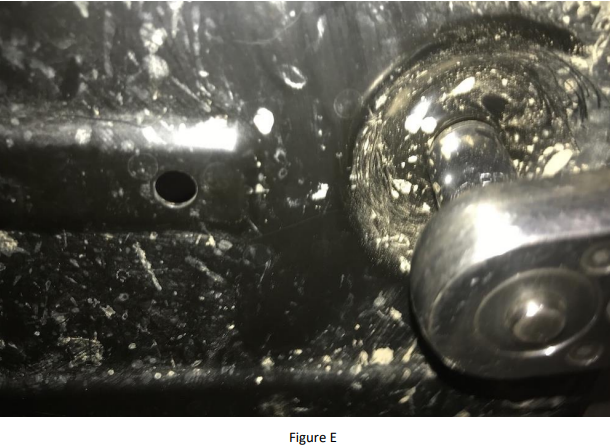
4. Remove the bottom bolt of the evap canister using a 13mm socket wrench (Figure E). Keep this bolt for installing the new skid plate.
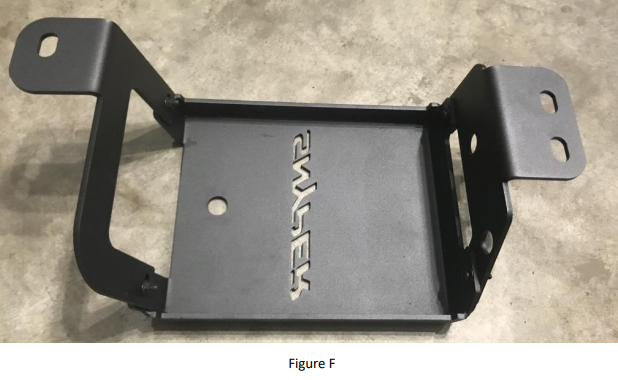
5. Connect the brackets to the Snyper Evap Canister Skid Plate using the supplied M6 button head bolts, M6 flat washers, and M6 serrated flange nuts and an Allen wrench (provided) and 10mm wrench (Figure F).
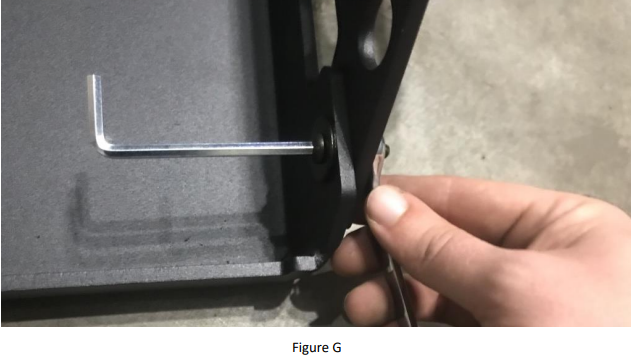
6. Tighten all the bolts (Figure G).
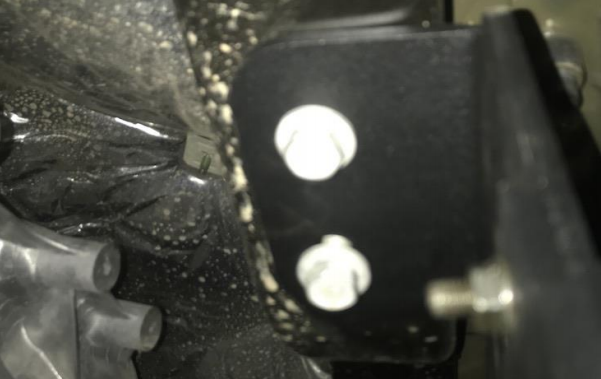
7. Mount the skid plate and evap canister back to the frame using the bolts removed in Steps 3 and 4 (Figure H).
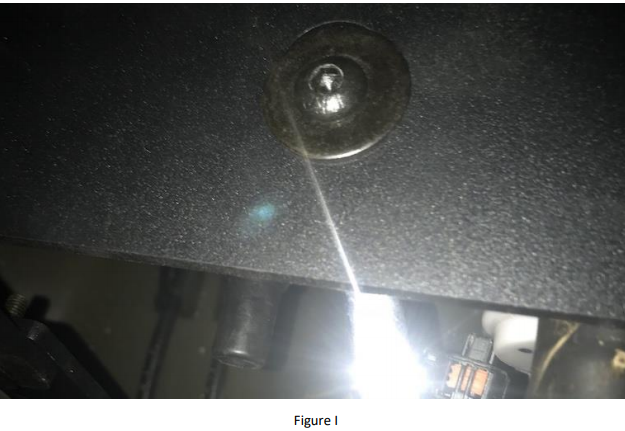
8. Mount the evap canister to the skid plate using the M8 hex socket button head bolt, M8 large washer, M8 small washer, M8 split lock washer, and M8 hex nut and an Allen wrench (provided) and 13mm socket wrench (Figure I).
9. Reconnect the hoses and connector to the evap canister (Figure J).

Installation Instructions Written by ExtremeTerrain Customer J. Sandlin 02/08/2018.
