FREE 1 to 3-Day Delivery on Orders $149+ Details

Earn Store Credit for Your Videos!

Step by Step Instructions
1. Take your Before Photo. This should be one horizontal photo of the part or area being replaced. Below is an example of a front bumper Before Photo.
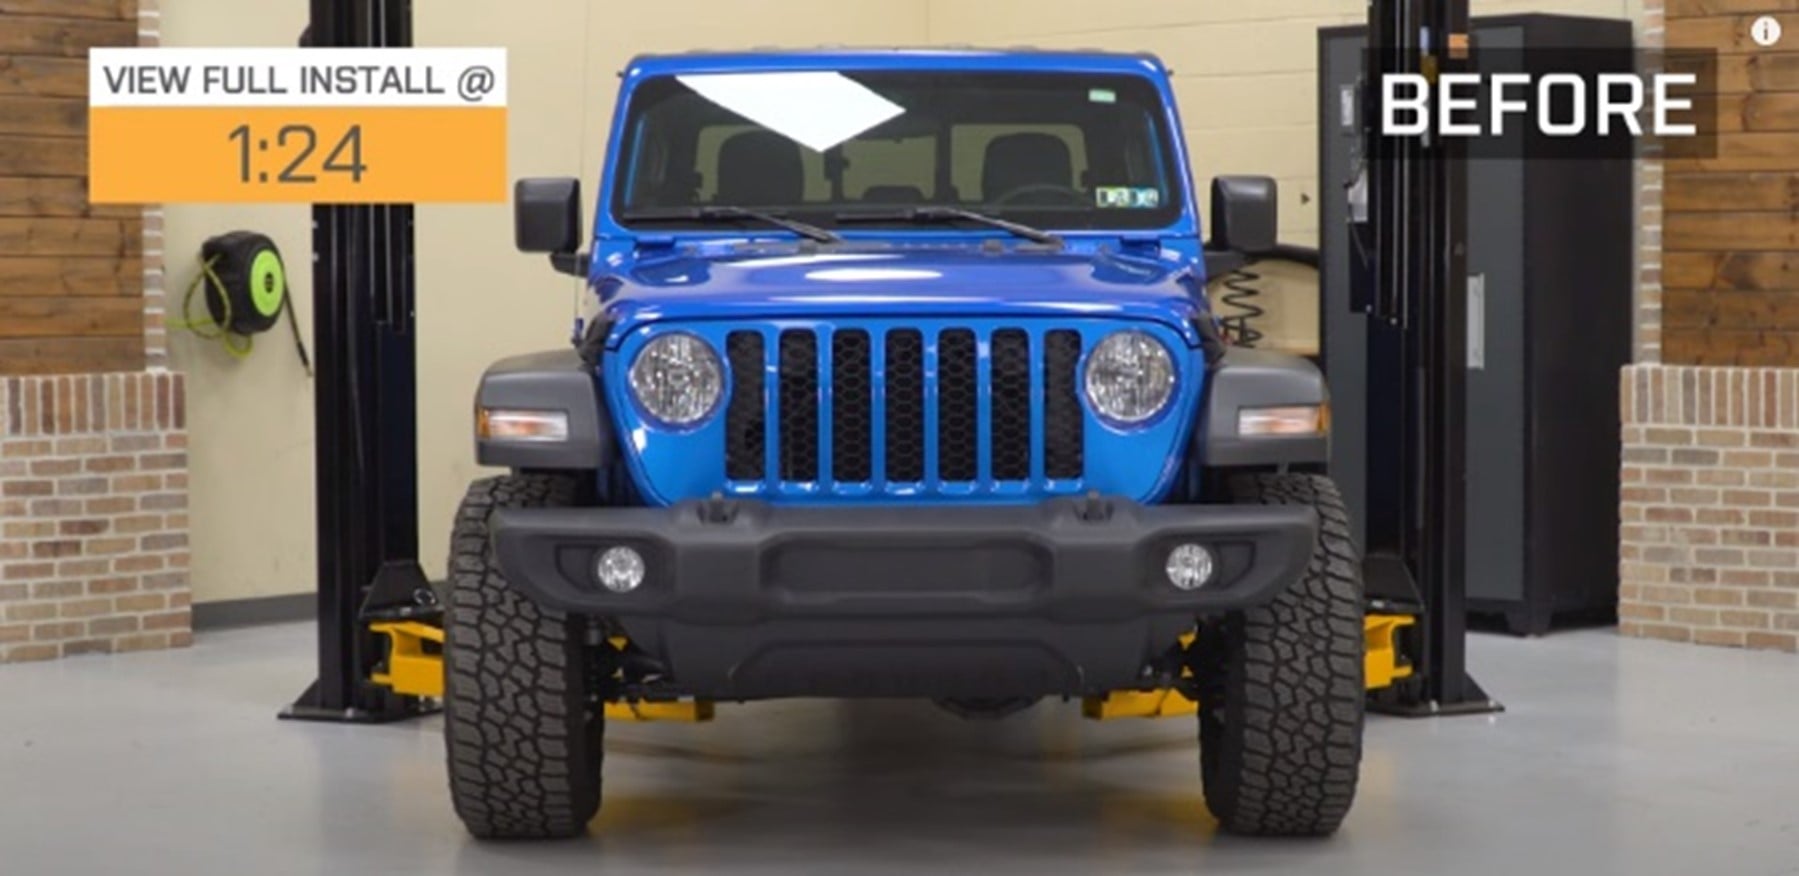
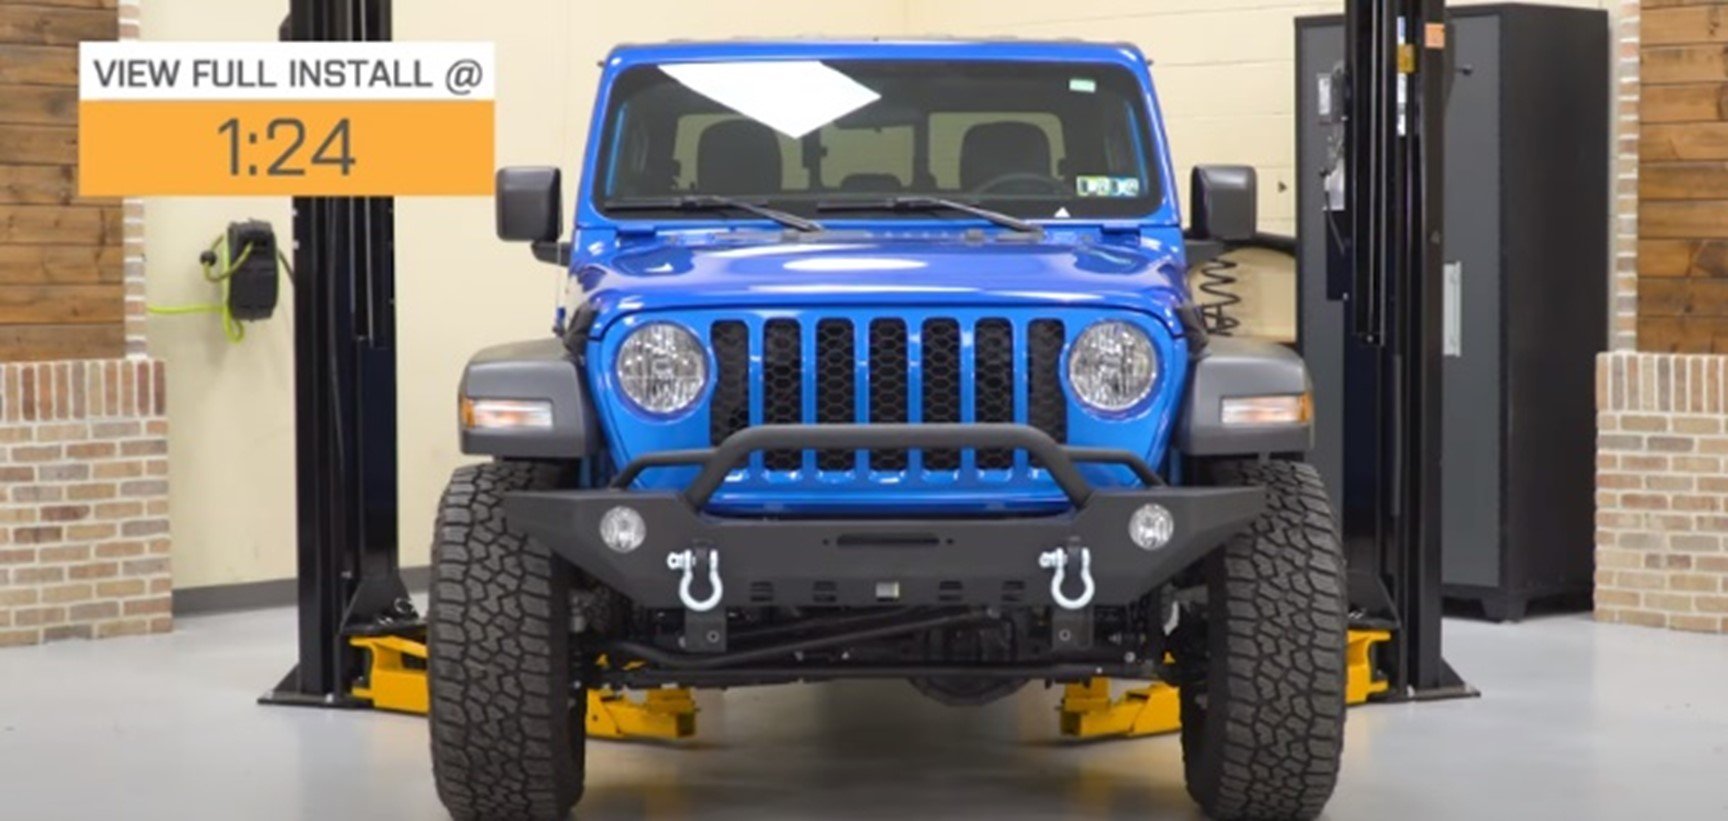
2. Film the full removal of the old, stock part. Start each step by speaking the directions and mentioning the tools required.
3. When installing the new part, follow the instructions that are included in the box. If the product does not come with instructions, try to find the instructions online. If you cannot find them online, please make sure to install the part fully and talk through each step. Avoid holding the directions in front of your face or in front of the camera.
4. Feel free to give tips and tricks along the way to help fellow enthusiasts!
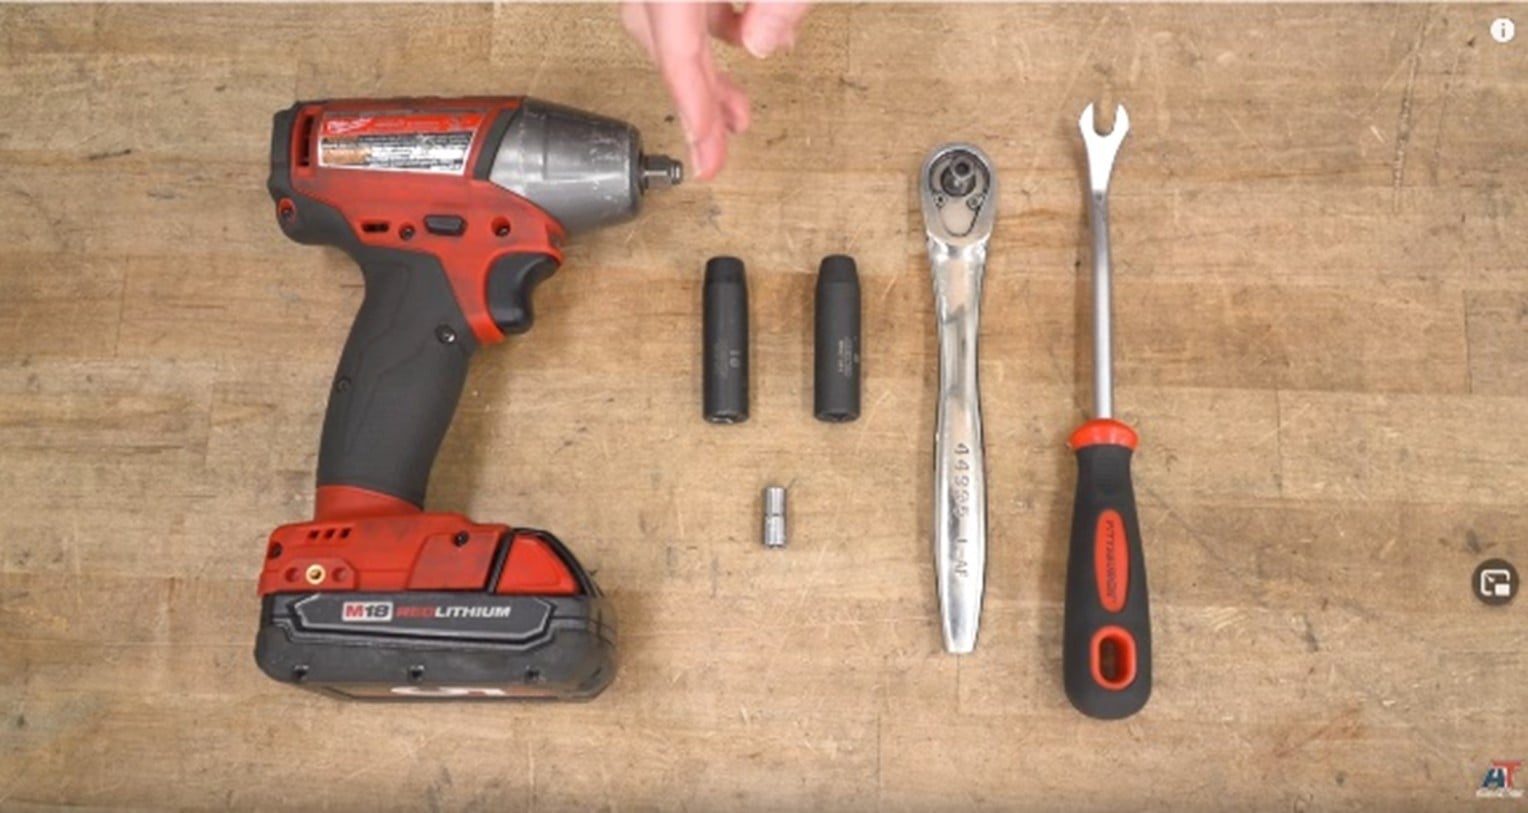
5. After the install is complete, place tools on table or clean surface. Shoot a video showing the tools while naming each one including bits, socket sizes, etc.
6. Take your After Photos. 5–10 horizontal photos of the same area, plus a close-up of the new part
7. You will receive a DropBox email with a File Request folder. Use the link in this email to upload your photo and video files.
8. Once we receive and approve your footage, we'll add store credit to your account!
Self Install Instructional Video - ExtremeTerrain
DropBox Instructions - ExtremeTerrain
Customer Install - Exhaust Example
HELPFUL TIPS
IF FILMING LIGHTING: Take photos with the lights both on and off, before the product is installed and after the product is installed.
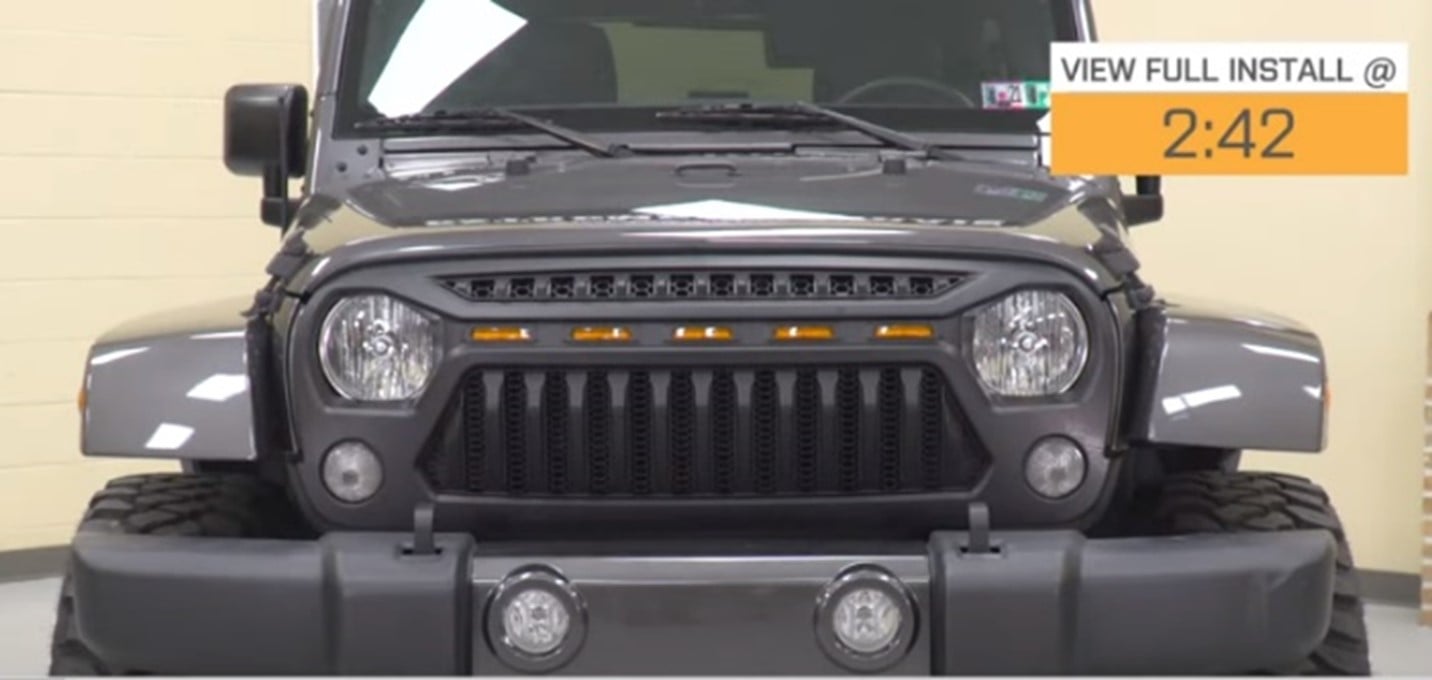
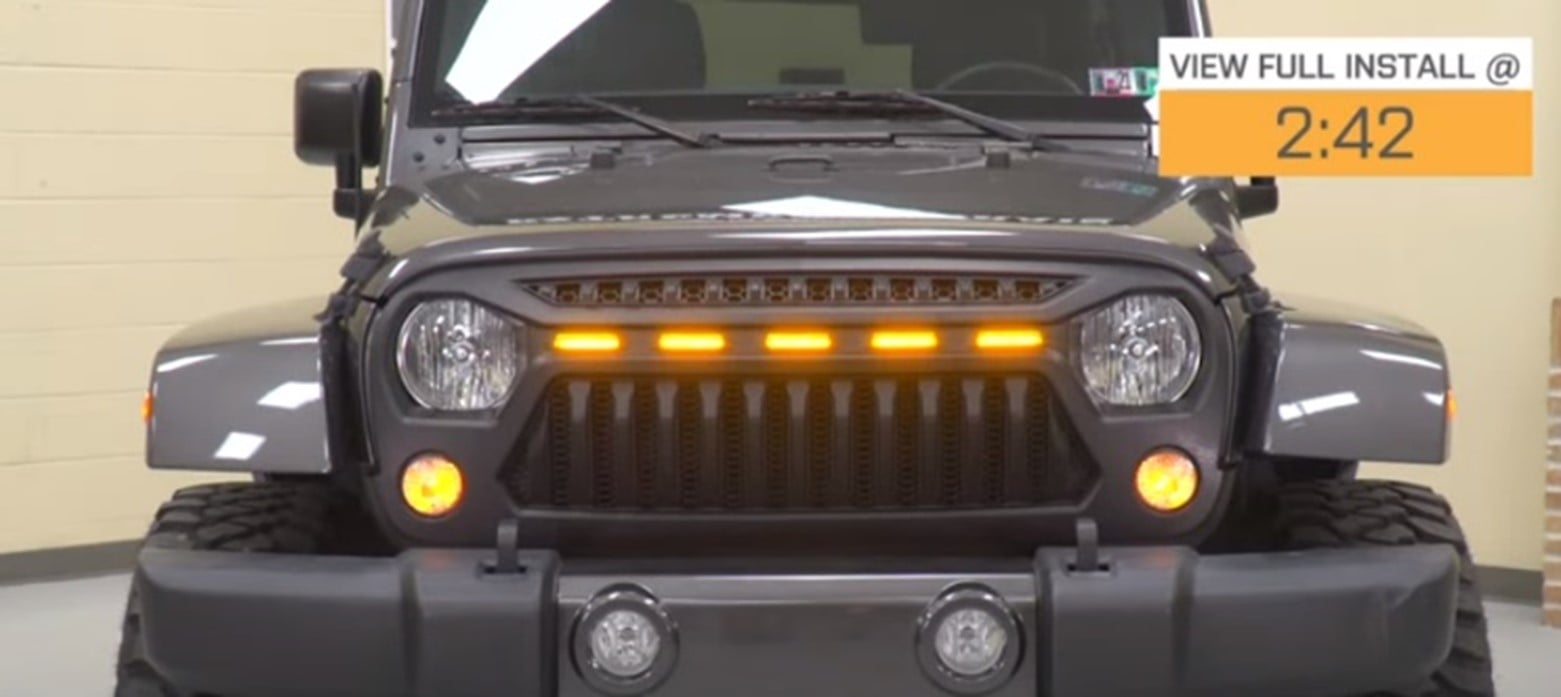
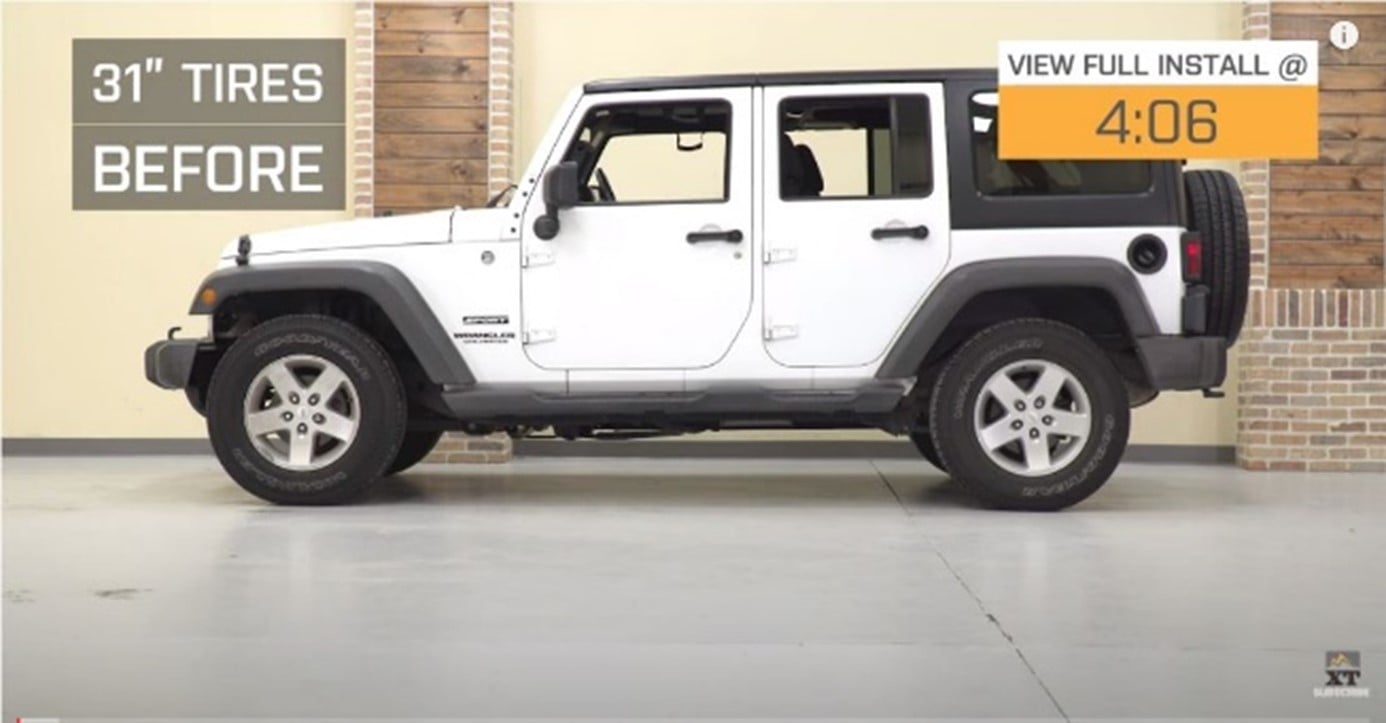
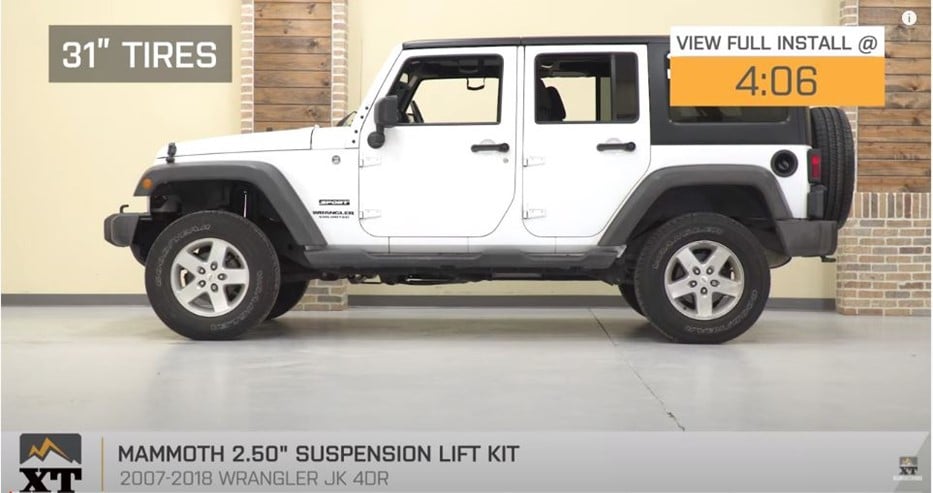
IF FILMING SUSPENSION: Take side-angle photos before the product is installed and after the product is installed.
IF FILMING EXHAUST:
Before & After Sound Clip: For exhausts, along with before and after photos, we require a before and after SOUND CLIP of the exhaust. You will rev your engine and film the exhaust from outside of the vehicle to get these sound clips.
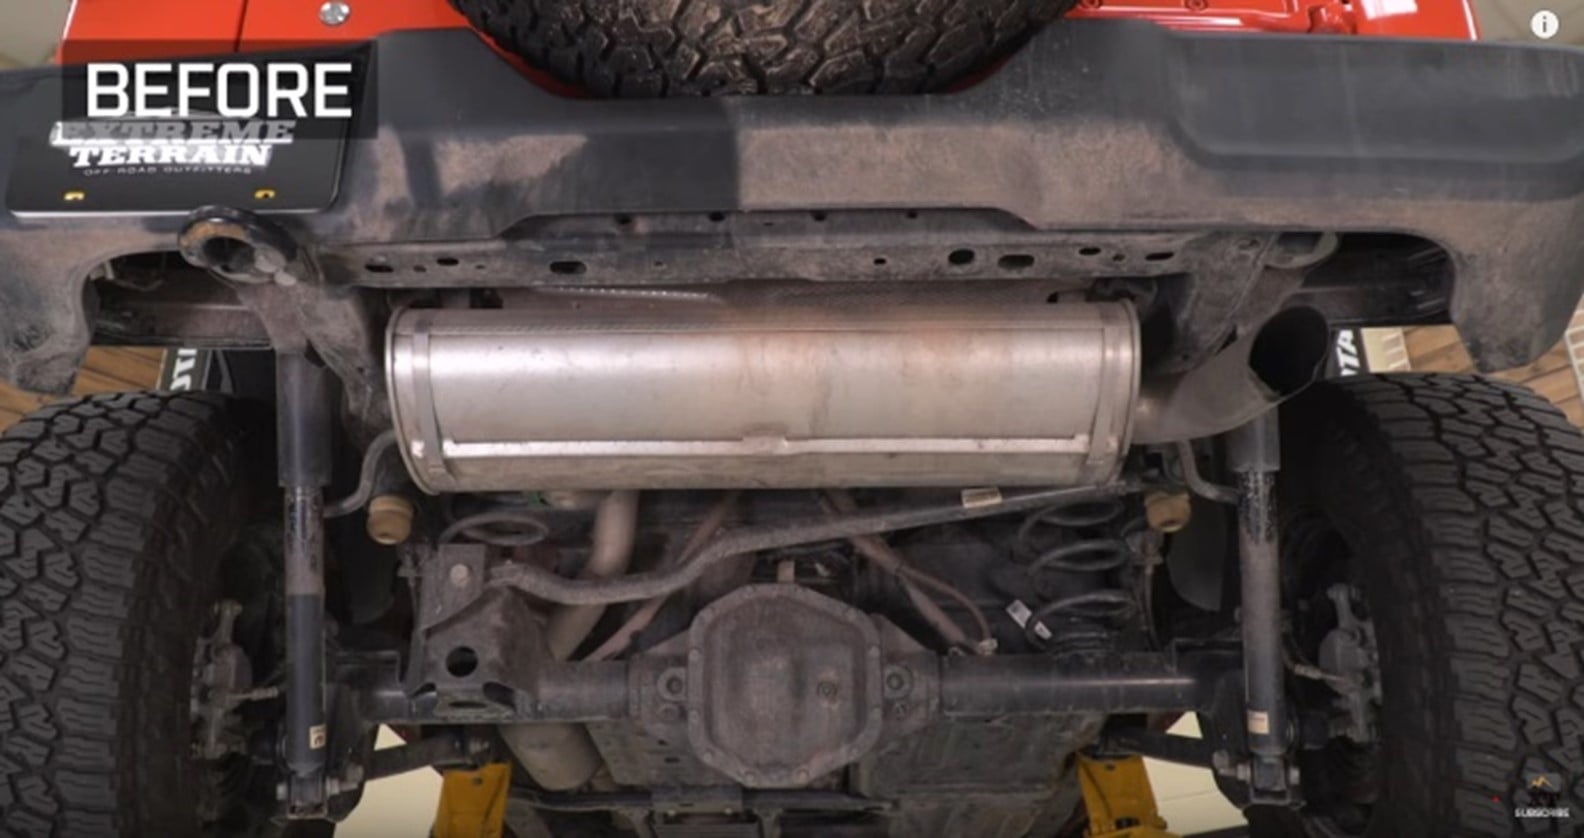
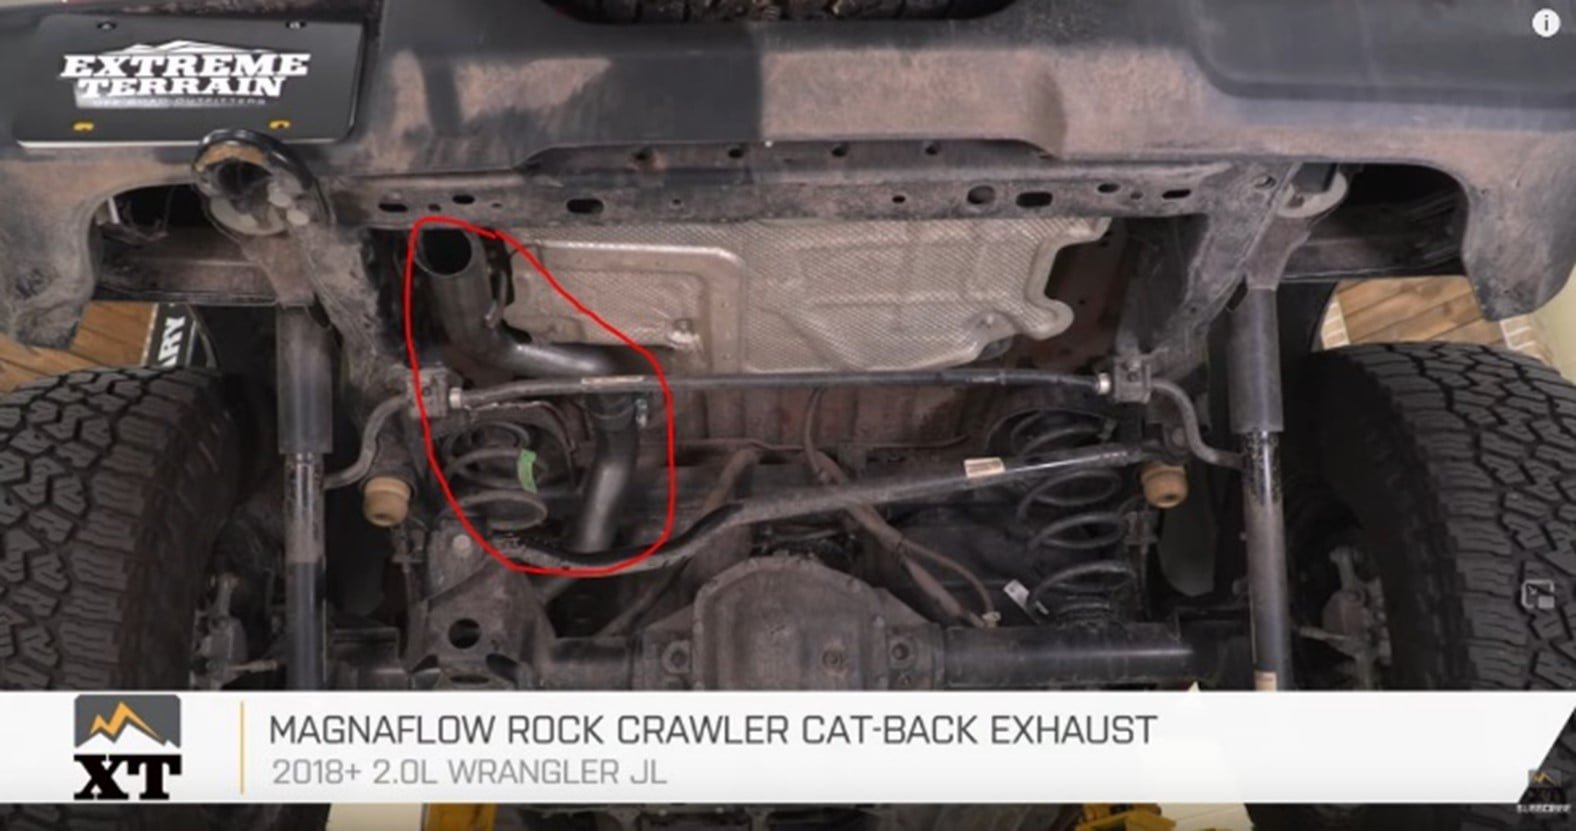
Before & After Photos: Please reference the photos below. Try to get as much of the exhaust in the photos for the before and after install images.