 FREE 1 to 3-Day Delivery on Orders $149+ Details

How to Install Rugged Ridge Euro Headlight Guards - Black (07-18 Wrangler JK) on your Jeep Wrangler
Installation Time
20 minutes
Tools Required
- Flathead Screw Driver
- T15 Torx Head Screw Driver
This installation guide will illustrate how easy it is to install the Rugged Ridge Euro Headlight Guards (Item # J14531).
So after I had finished putting different lights on the front and back of my Rubicon, I wanted to make sure that those lights would be protected. I figured why not put the Rugged Ridge Euro Guards on them! These Guards were easy to install, and gave my Rubicon just the look I wanted.
1. The first thing you have to do is remove the grill from your Jeep. There are a couple of steps to this, but it is easy enough.
2. First, lift your hood, and detach the plastic clips holding the top of the grill in place. Be very careful with this, as they break easily.
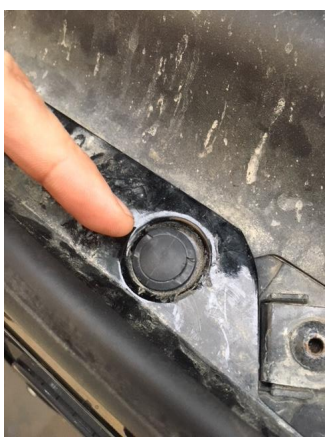
3. With a flathead screwdriver, carefully pry up the head of the clip and gently remove it.
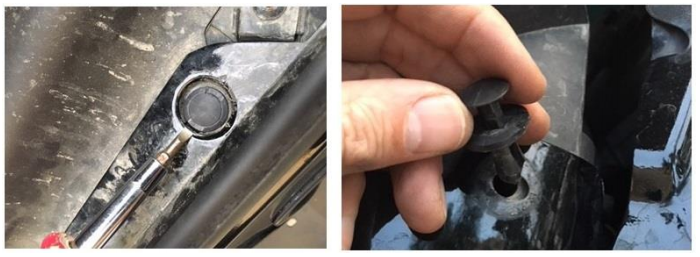
4. Once the clips are removed, gently pull the top of the grill toward the front of the Jeep. There are a series of clips on the inside of the grill holding it in place.
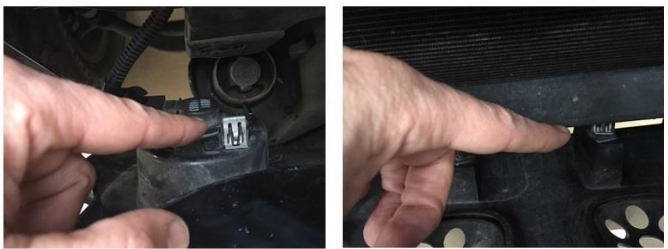
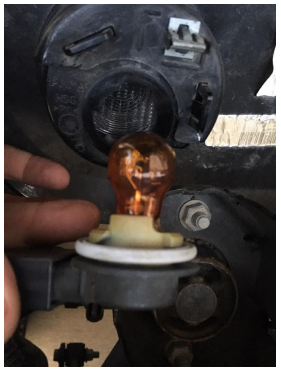
5. Now that you have the grill pulled from the Jeep you need to detach the turn signals. This is done by simply turning the bulb housing and removing the actual lamp from the turn signal
6. You have completely detached the grill. Put it to one side, and you are ready to start on the headlight guards.
7. Remove the headlamp bezels by taking a T15 torx head screwdriver and remove the screws holding the headlamp in place.
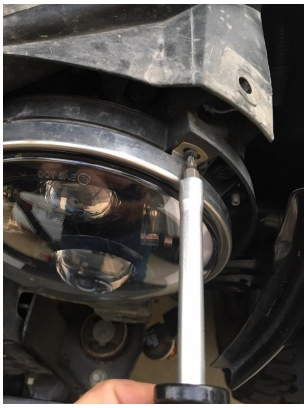
8. Once you have the screws removed, take off the original bezel ring, you will not be using it again. Make sure you keep the original screws, however, you will need them
9. Take one of the Rugged Ridge Euro Headlight Guards, and hold it in place over the headlamp. They only go on one way, so look at the spacing of the brackets.
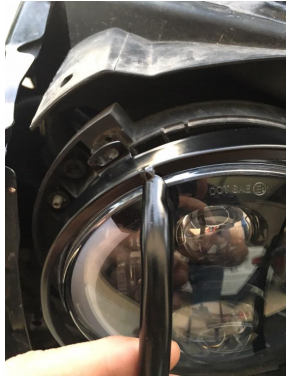
10. Using the T15 Torx again, install the original screws holding the new guard in place.
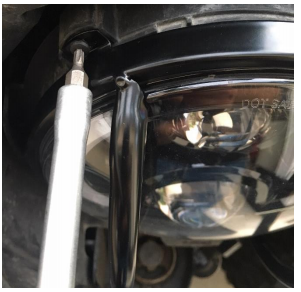
11. Now your guards are installed, and you are ready to reinstall the grill. In reverse order, install the turn signals, and push the clips in place at the bottom of the grill. Next, reinstall the plastic clips at the top of the grill, and close the hood.
12. You are ready to hit the trail, without worrying about your tail lights getting broken by a stray branch. Enjoy!
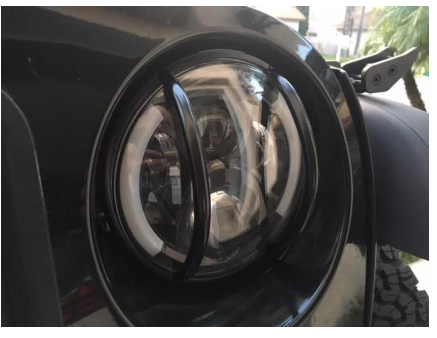
Before
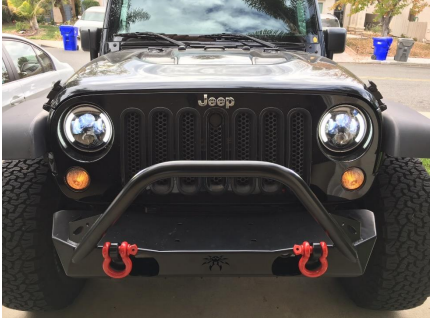
After
Installation Instructions Written by ExtremeTerrain Customer Terry Hunt 1/17/2018.
