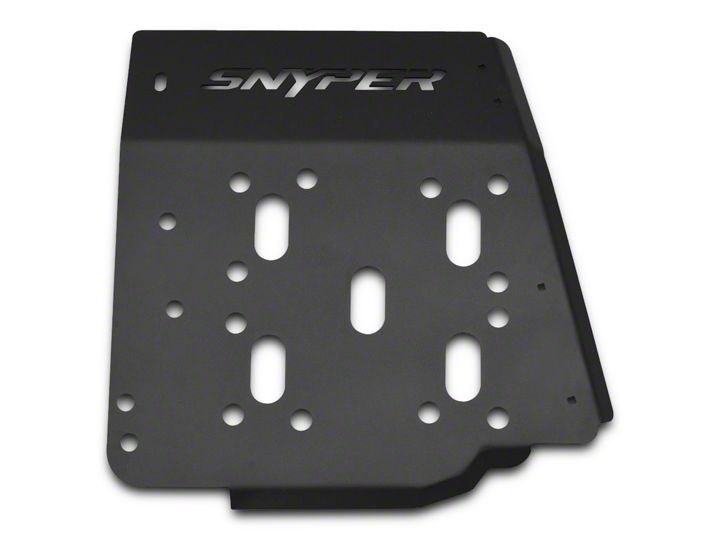

How to Install Snyper Transfer Case Skid Plate (07-18 Wrangler JK) on your Jeep Wrangler
Installation Time
1 hours
Tools Required
- Box Cutter/Knife
- 13mm Socket
- 18mm Socket
- Socket Wrench

Shop Parts in this Guide
1. Carefully open the package using a box cutter or knife (Figure A) and ensure the skid plate and hardware are included and undamaged.
2. Remove the two front M8 bolts from the factory skid plate (Figure B).
3. Remove the two rear M8 bolts from the factory skid plate bar (Figure C).
4. Remove the factory skid plate to reveal the transfer case (Figure D).
5. Install the mounting bar using an 18mm socket wrench and the M8 bolts removed from the rear factory skid plate. Ensure the flange of the mounting bar faces the front of the vehicle (Figure E).
6. Mount the transfer case skid plate to the mounting bar using the M8 carriage bolts, M8 flat washers, M8 split lock washers and the M8 hex nuts (provided) and a 13mm socket wrench (Figure F).
7. Mount the front of the transfer case skid plate using the two M8 bolts removed from the factory skid plate (Figure G).
8. Tighten all bolts.
Installation Instructions Written by ExtremeTerrain Customer J. Sandlin 02/04/2018.

