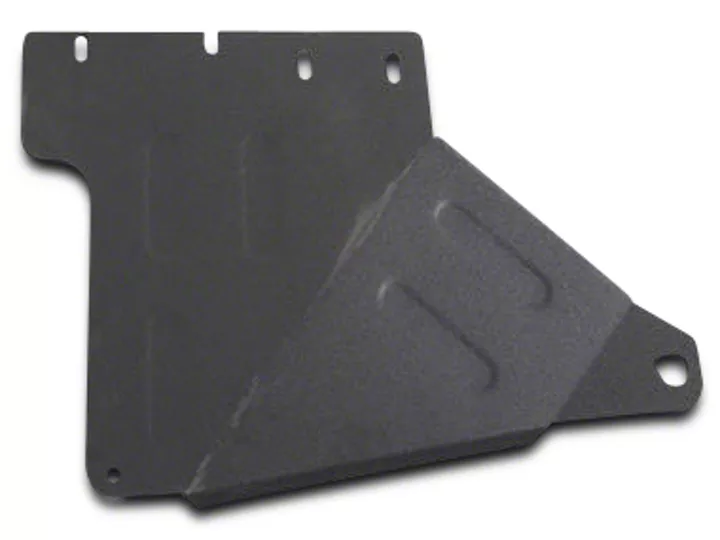

How to Install Smittybilt XRC Transfer Case Skid Plate (07-18 Wrangler JK) on your Jeep Wrangler
Installation Time
30 minutes
Tools Required
- 18mm Socket
- Socket Wrench
- Torque Wrench
- Jack
- Jack Stands

Shop Parts in this Guide
1. Start by parking on level ground. Use a jack and jack stands to lift the front of your Jeep.
2. Using an 18mm socket, remove the 4 bolts holding on the stock transfer case skid plate. Set aside the stock skid plate, but keep the bolts.
3. Using an 18mm socket, loosen the 3 bolts holding the stock transmission skid bar.
Note: If you are still using this stock skid bar then just loosen the bolts, but if you are getting rid of it you can remove it now.
4. Slide the skid plate bolt slot onto the skid bar bolt loosened in step 3. Then use one of the stock bolts with the supplied large washer to attach the skid plate to the frame rail. Keep both these bolts loose at this point.
Note: I recommend having a friend or jack to hold the skid plate in place.
5. Next, hand insert the stock bolts into the crossmember in the locations shown below. Note: You may need to loosen or remove the other bolts on the skid plate to get these bolt holes to line up.
6. Now use the stock bolt with the supplied bolt spacer to attach the skid plate to the gas tank.
7. Next, tighten all the bolts. I recommend hand tightening them all, then fully tightening them using an 18mm socket. Torque them all to 48ft/lbs, including the 2 skid bar bolts loosened in step 3.
Note: I was unable to get the middle bolt hole to align on the crossmember, probably because my crossmember is bent. If you have trouble with it, the skid plate is ok with only the other 4 bolts.
Installation Instructions Written by ExtremeTerrain Customer John Parker 2/22/2018.