FREE 1 to 3-Day Delivery on Orders $149+ Details

How to Install Recon Turn Signals with Amber LEDs on your Wrangler
Installation Time
1 hours
Tools Required
- Phillips Head Screwdriver
- Flat Head Screwdriver
- Electrical tape
- Pliers
- Drill
- Philips Head Drill Bit
Pre-Installation Notes:
When installing the headlights, install them one at a time because if both headlights are attached incorrectly, then there is a possibility that a fuse could blow. Also, make sure that when screwing the resistors into a metal part of the Jeep, make sure no wires are touching the resistors because the resistors can melt these wires.
Instructions
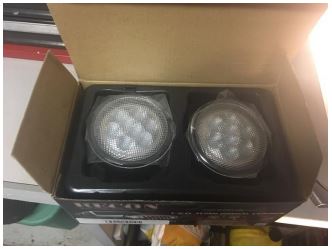
1. Remove the two LED headlights from the box. Take off the plastic covering the headlights. Two resistors are also included in the box (one for each headlight).
2. Remove the plastic screw clips on the grille with the Philips head screwdriver, to take the grille off.
3. Do not try to pull the grille right off the Jeep because the turn signal wiring must first be detached.
4. Pull the red tab to be able to detach the turn signal wiring from the turn signal housing.
5. Press the clips holding the turn signal housing inward so that the housing can slide out of the grille.
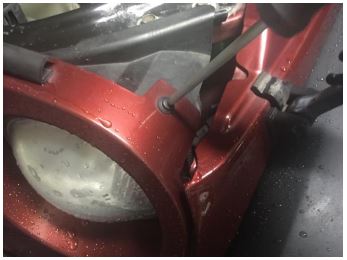
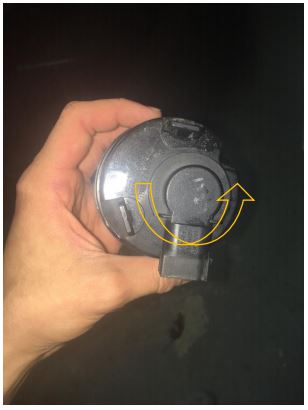
6. With the turn signal housing out of the grill, turn counterclockwise on the piece which holds the light to the outside housing.
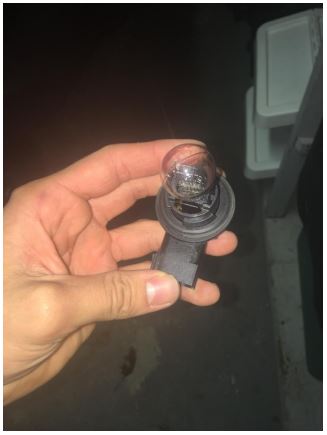
7. Then remove the factory halogen lightbulb from this piece.
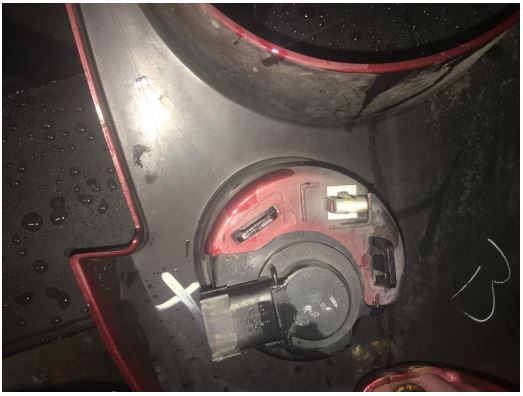
8. Here the two are shown detached from one another.
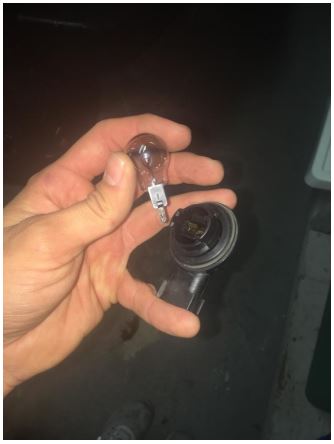
9. The halogen lightbulb can be put to the side. Take the black piece that held the halogen bulb and attach it to the new LED headlight.
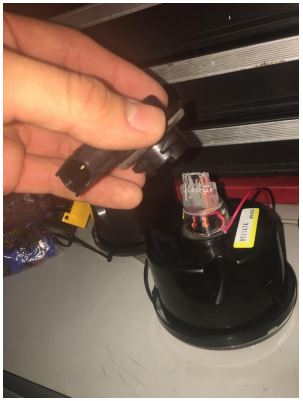
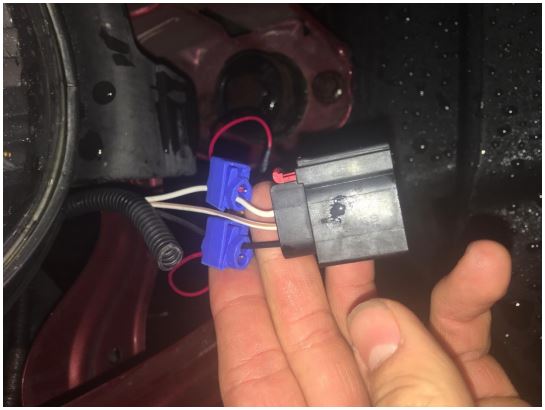
10. When attaching this piece to the LED headlight, it will only work when it is attached in the correct manner. Therefore, test to see if you put it on correctly by attaching the new headlight to the turn signal wiring, before doing all the resistor wiring. NOTE: This is the correct setup for the right turn signal.

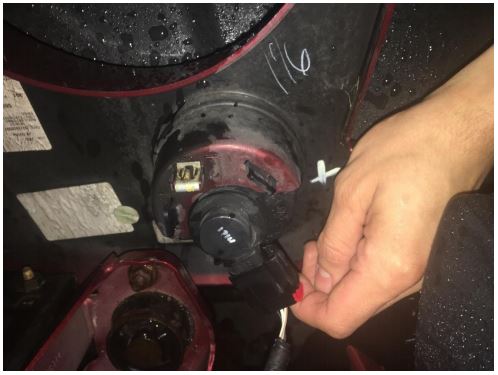
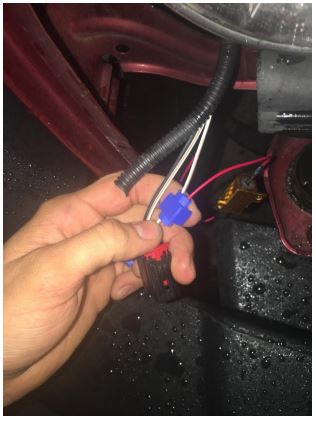
11. To begin wiring the resistors, take the tap connector and put it around the outside white wire of the turn signal wiring.
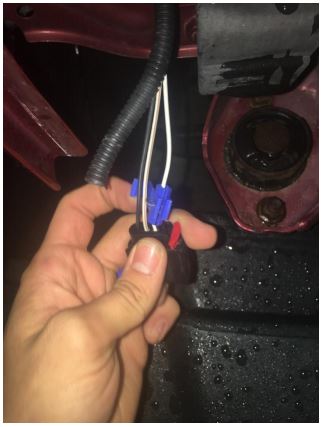
12. Then take one resistor that is included in the packaging at run one end of it through the other side of the tap connector.
13. Push down on the metal part of the tap connector with pliers so that both wires are punctured by this metal piece and are in the tap connector snugly. Then close the tap connector with the piece that goes over the metal piece.
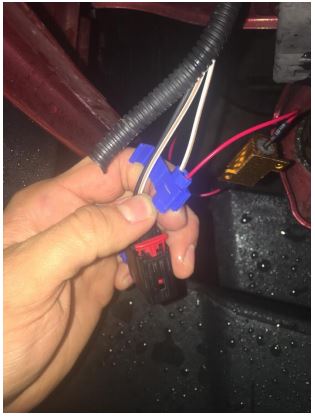
14. Then, run the black “ground” wire through one side of another the tap connector. Then take the other end of the wire that comes out of the resistor, that you just wired to the outermost white wire, and place it inside of the tap connector.
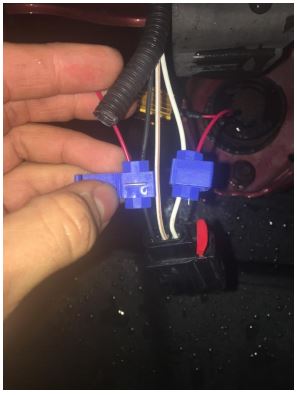
15. Again, push down on the metal piece with the pliers and close the tap connector top.
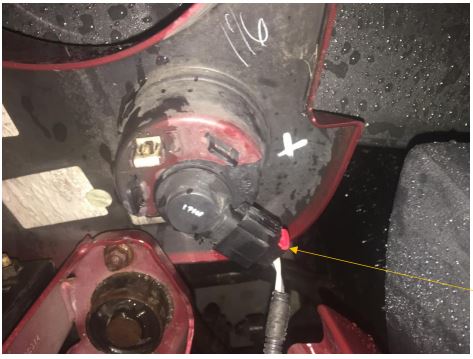
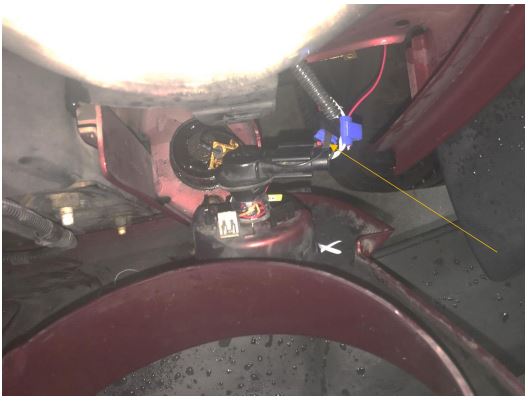
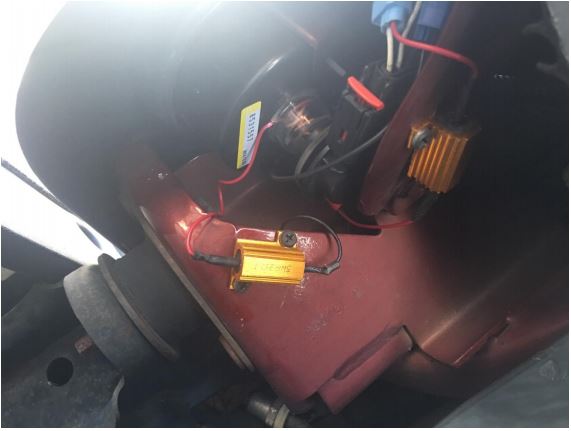
16. You can now attach the headlight assembly to the grille. There is one more resistor that must be connected to the tap connector of the ground wire. Here you can see that the resistor coming out of the headlight itself must be attached to the tap connector of the ground wire (Pointed to with the yellow arrow). NOTE: Electrical tape must be put around the tap connector to ensure that the resistor wire does not come out of the tap connector.
17. Test to make sure that the headlight has been wired and attached correctly, by turning the car on and testing the turn signal. Then re-do steps 3-16 with the opposite turn signal. NOTE: Make sure that there is no hyperflash situation. If there is, then go back and re-check your wiring before going onto the other turn signal.
18. Re-attach the grille once both turn signals are installed and properly wired.
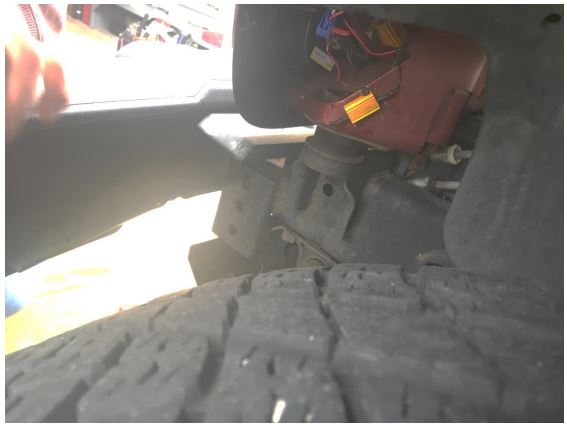
19. Screw the resistors into a metal part of the Jeep with Philips head drill bit.
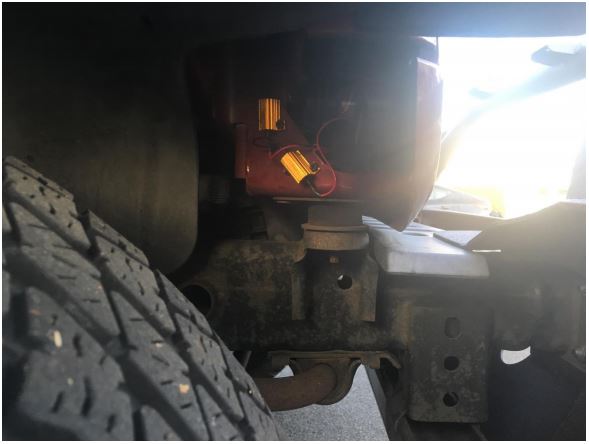
20. Here is the completed right hand side, where the two resistors are attached to metal parts of the Jeep.
21. Here is the completed left hand side, where the two resistors are attached to metal parts of the Jeep.
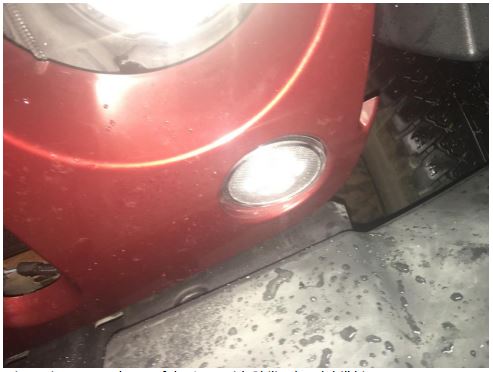
22. This is what the turn signals look like now that they are installed.
Installation Instructions Written by ExtremeTerrain Customer Thomas Sandoval 04/09/2017
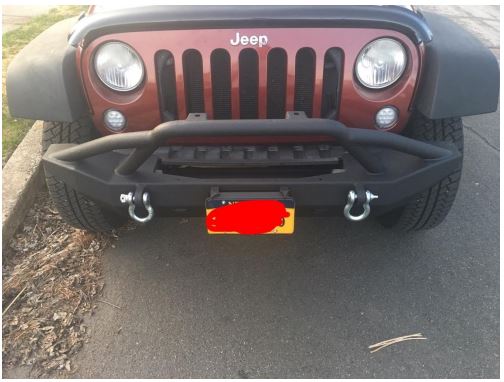
Final Result