 FREE 1 to 3-Day Delivery on Orders $149+ Details

How to Install Omix-ADA Liftgate Support w/ Factory Hardtop (97-06 Wrangler TJ) on your Jeep Wrangler

Shop Parts in this Guide
Step 1: Compare parts.
Before removing the old support strut, compare it to the new support to ensure you have the correct part. Make note of how the old support is oriented so you know how the new one will need to be positioned.
Tip: Use your cellphone or any digital camera to take a few pictures of the original part prior to removing it so you can refer back to it in case you need assistance in orienting the new part.
It’s always better to ensure you have the correct part (and understand how it goes on) prior to removing the original. That way, if you have to return it, you’ll still have something in place until the correct part arrives.
Step 2: Remove old support strut.
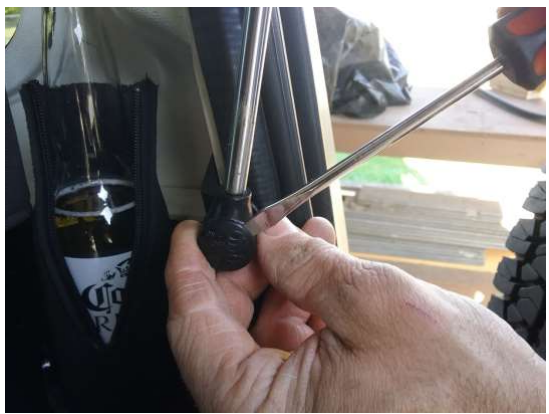
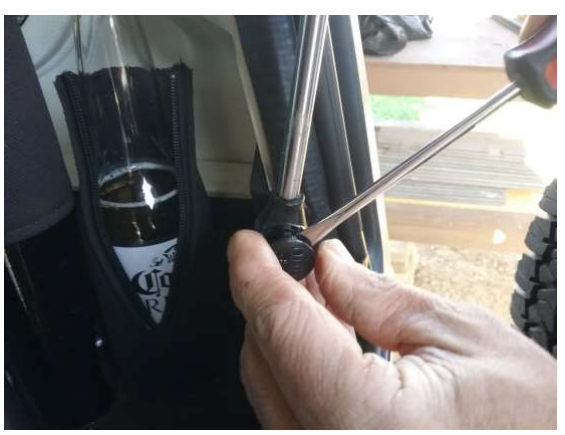
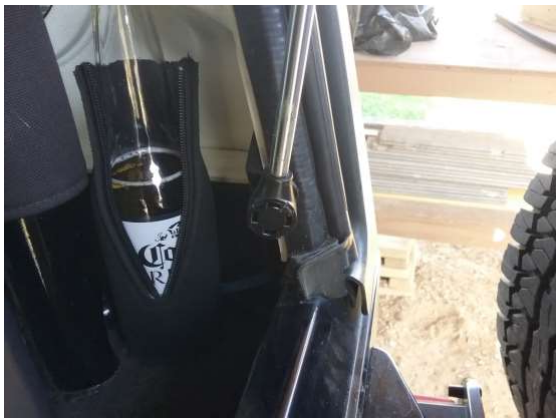
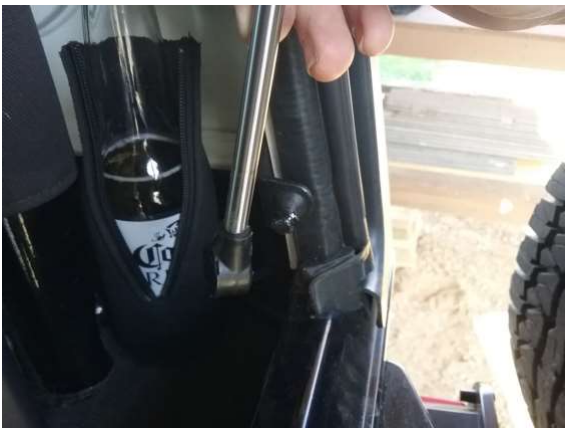
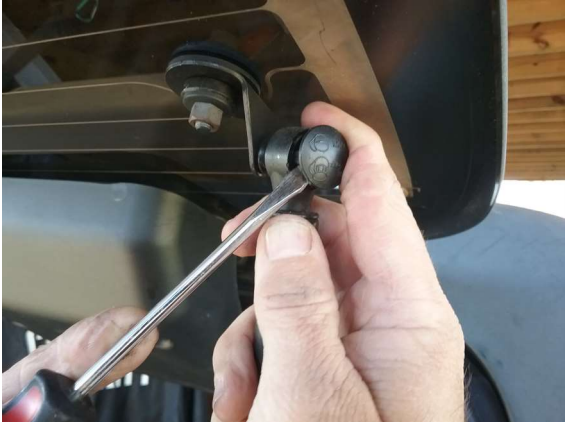
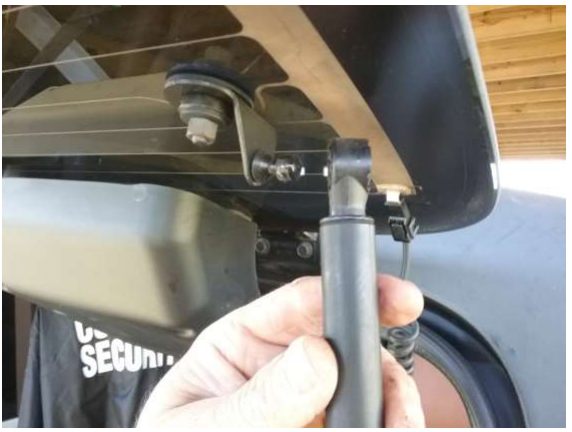
The liftgate support strut is attached at both ends to a ball stud bracket (one mounted on the glass and one on the hardtop). The support strut is mounted with the piston pointing downwards to mitigate any moisture damage that might be caused by mounting the strut with the piston pointing upwards. The support strut will come off fairly easily by first using a small slotted screwdriver to pry off the retaining cap from the original strut (see picture) and gently pulling the strut from the ball stud bracket. You might need to gently bump the strut with the palm of your hand to get it to pop off the ball stub but be careful not to use excessive force that might cause damage to the glass or the hardtop. Repeat this step for each end of the original support strut.
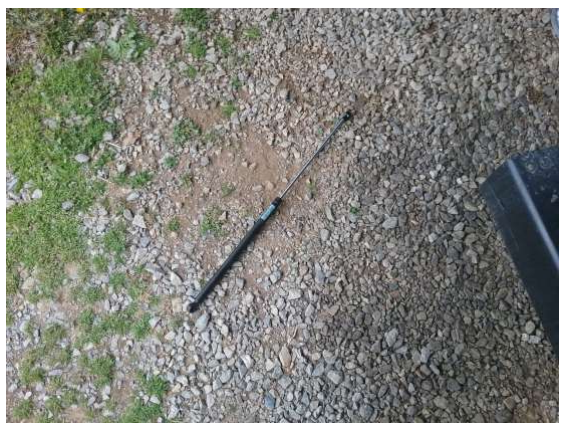
Step 3: Throw old support on the ground…
… (just kidding). Dispose of old support strut properly.
Step 4: Attach new support strut
TIP: The install will be a little easier with a helper to assist with holding the glass while you attach the new strut.
After properly disposing of the old support strut, position the new strut so that the bottom mount can be bumped into place first. Remember, the strut is oriented with the piston pointing downward.
If you’re forced (or choose…) to do this install alone, you can rest the liftgate glass on the top of your head to hold it up while you attach the lower end to its ball stud mount. This is easier than mounting the upper ball stud first as you can then use your head to raise or lower the glass to easily position the upper mount to the glass-mounted stud with the lower mount already in place. Alternatively, you can use an appropriately-sized piece of wood to hold the glass up while installing.
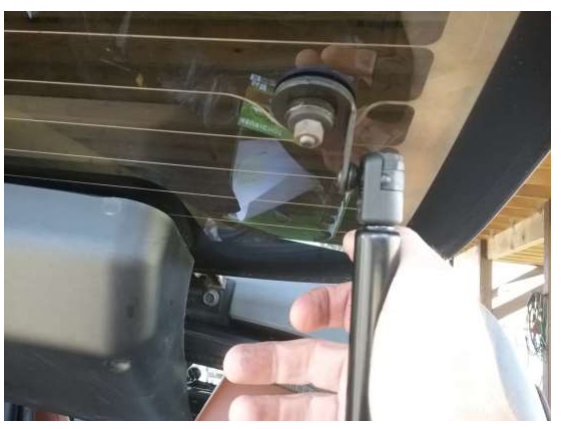
With the new struts, you need only tap/bump the ball mount onto the ball stud to complete the install. That’s all there is to it. There is no cap to install to secure the strut since the retention mechanism is already in place for a secure mount. Just use gentle pressure with the palm of your hand to tap the strut onto its ball stud.
Finally, close the glass and check to ensure the new support strut is securely in place and operates correctly.
Installation instructions written by ExtremeTerrain customer Jeff H. 04/09/2018.