 FREE 1 to 3-Day Delivery on Orders $149+ Details

How to Install Mopar Front Light Bar (07-18 Wrangler JK) on your Jeep Wrangler
Installation Time
1 hours
Tools Required
- Flathead Screw Driver
- Phillips Screw Driver
- Needle Nose Pliers
- Pencil and Ruler
- Hand Saw
- 13mm Socket and Driver
- 18mm Socket and Driver
- Allen Key Wrench (Included)
- Zip Ties (Optional)
Shop Parts in this Guide
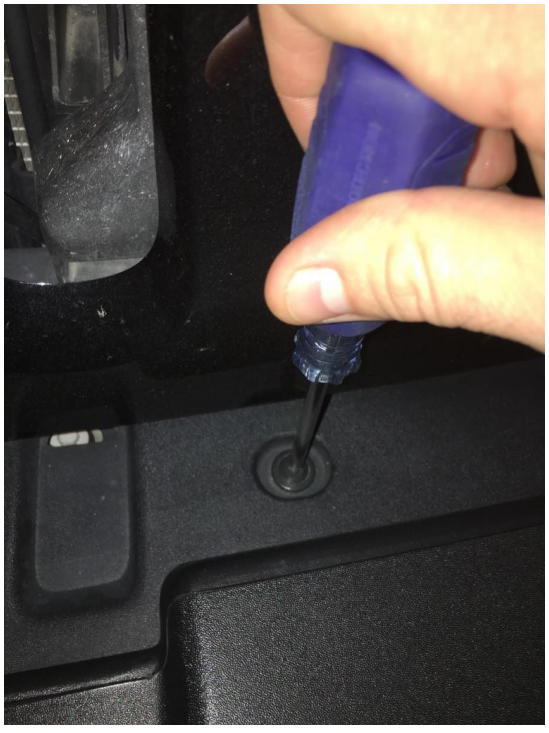
1. Open hood and remove front grille by removing clips / rivets on top of grille (pop up center of rivet with flat head screwdriver and remove entire rivet) and firmly pulling forward the grill on the bottom near the bumper to disengage clips and set grille aside. The quick connects will also have to be removed from the turn signal lights. This step is optional, but I found it much easier to remove the frame cover between the bumper and grille with the grille removed.

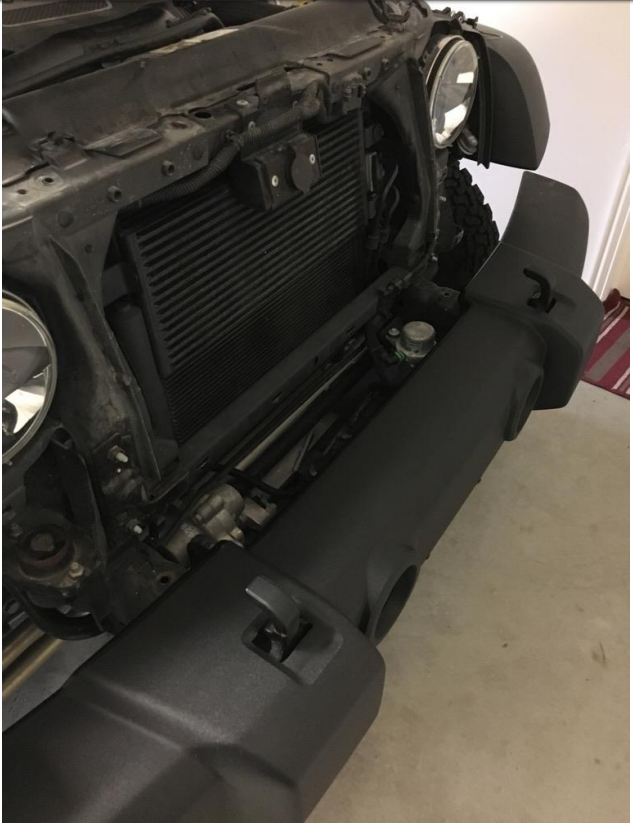
2. Using a phillips head screwdriver, remove the two fasteners from the front bumper frame cover, remove the cover, and set aside.
3. It is not necessary, but I found it helpful at this point to remove the front plastic skid plate from under the bumper. Using a phillips head screwdriver, remove all of the fasteners from the skid plate, and set skid plate aside.
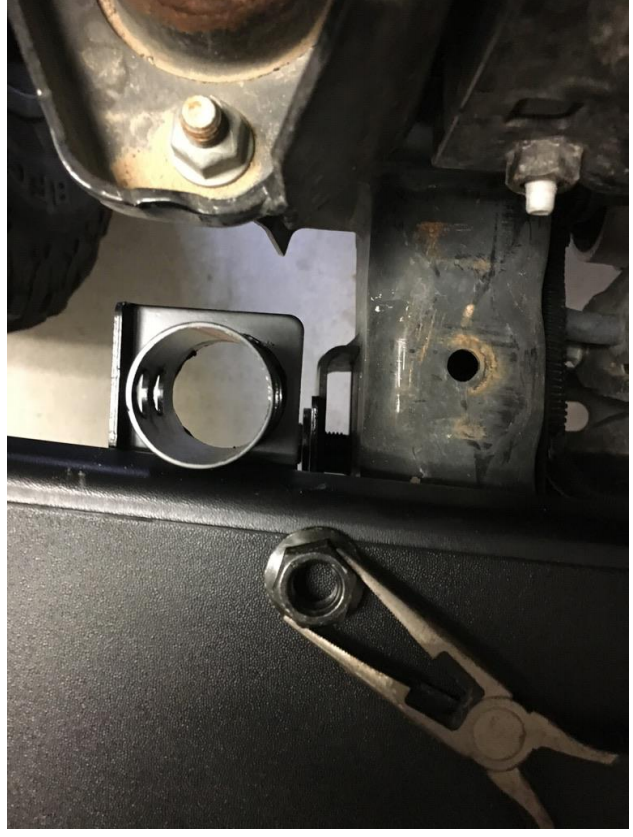
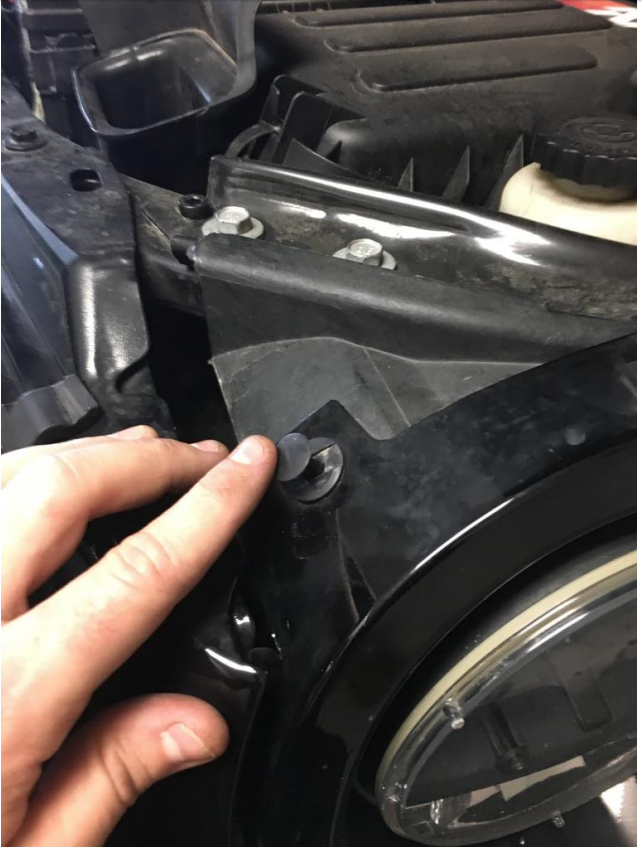
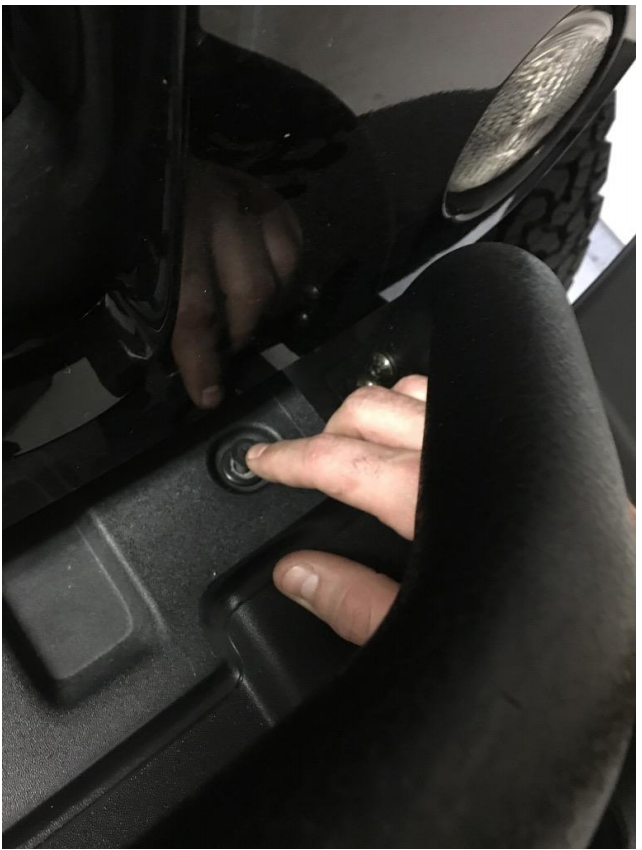
4. Install the passenger’s side light bar bracket using the included included M12 flange nuts, M12 hex bolts, and washers. The flange nut will be positioned behind the plate that extends out to the side of the vehicle from the bumper frame and the light bar bracket should be situated with the triangular portion facing the front of the vehicle. You will most likely need to utilize needle nose pliers to slide the flange nut behind the plate that the bracket is mounted on, and then install and hand tighten the hex bolt and washer.
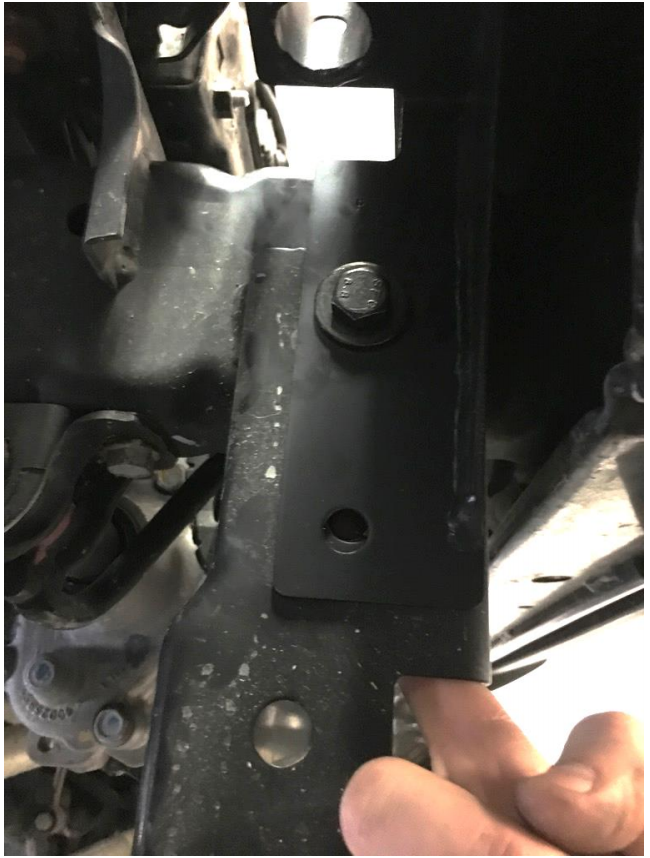
5. Repeat these steps for the driver’s side light bar mounting bracket.
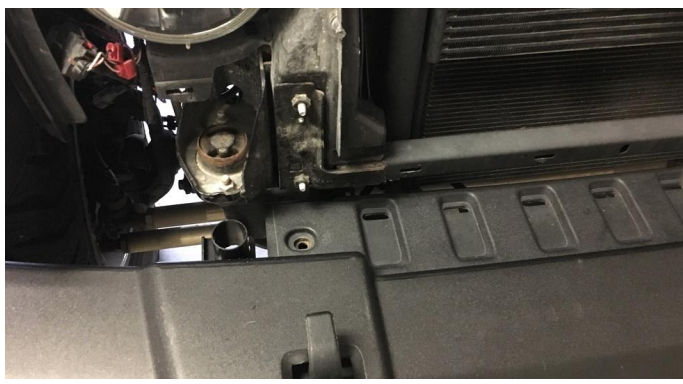
6. Now that the brackets are in place, take the previously removed bumper frame cover, and mark where it needs to be cut so that it can be reinstalled with the mounting brackets and light bar in place. Some may elect to cut holes in the cover or leave it out altogether. I decided to trim the ends using a hand saw so that the cover fit between the brackets.
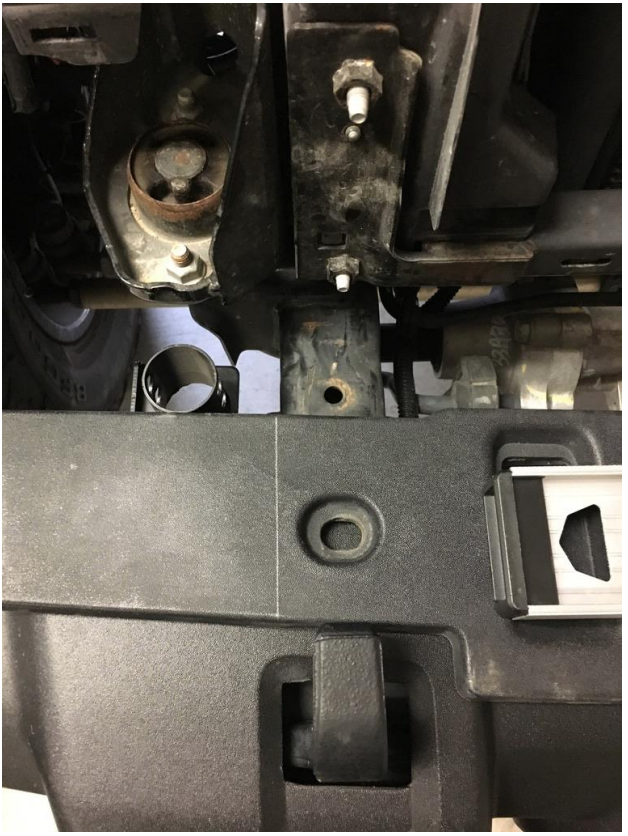
7. Slide the frame cover back into place, but do not yet install the fasteners in the event that the flange nuts need to be accessed.
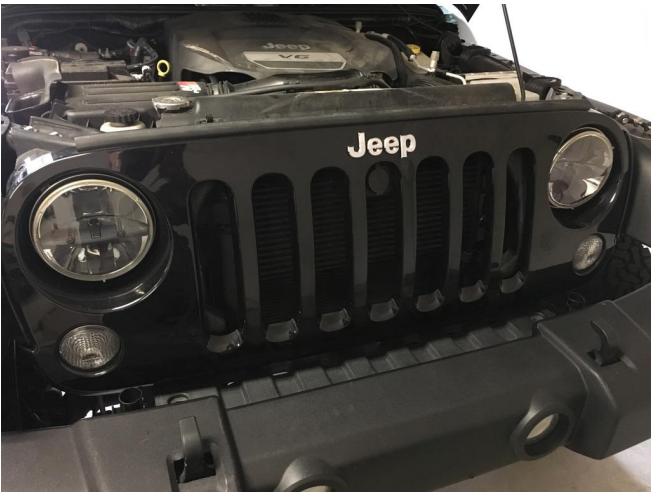
8. Reinstall the front grille and fasteners and reconnect the front turn signal lights.
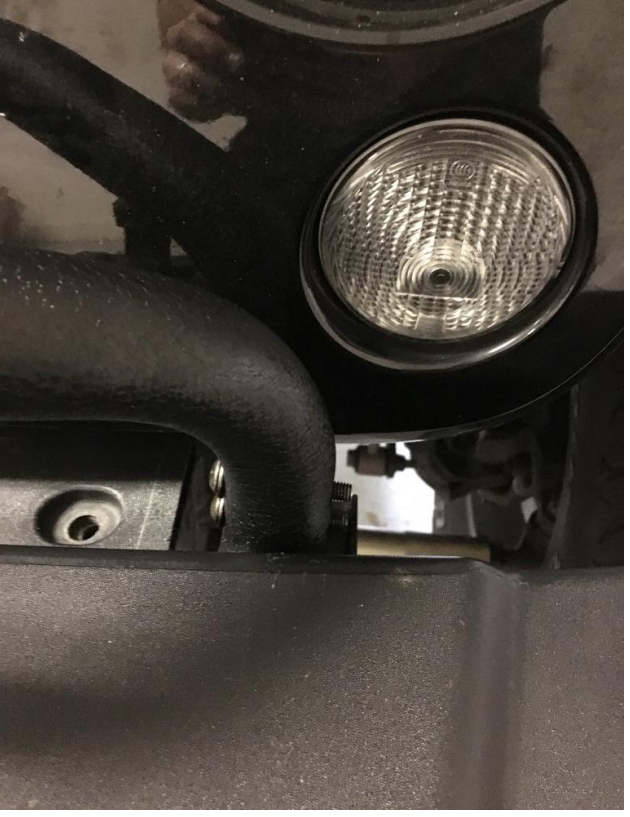
9. Slide the light bar into place over the mounting brackets and install the included M8 bolts, washers, and lock nuts.
10. Fully tighten using included allen key wrench and 13mm socket and driver. Use care not to overtighten and flatten the light bar tube.
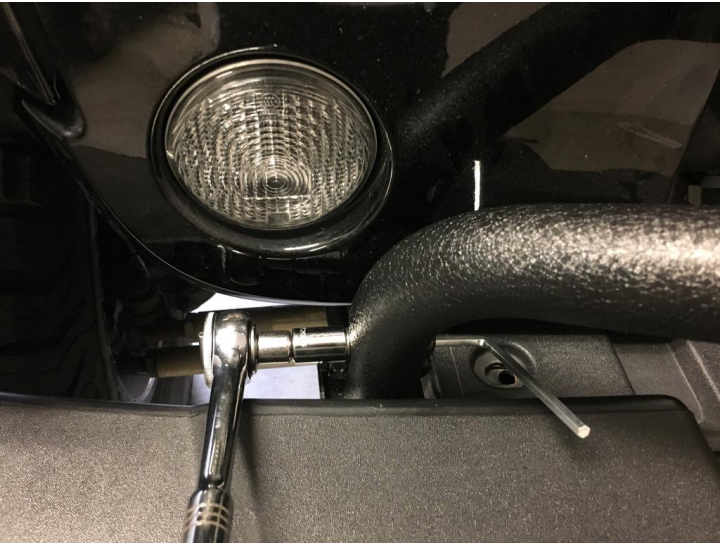
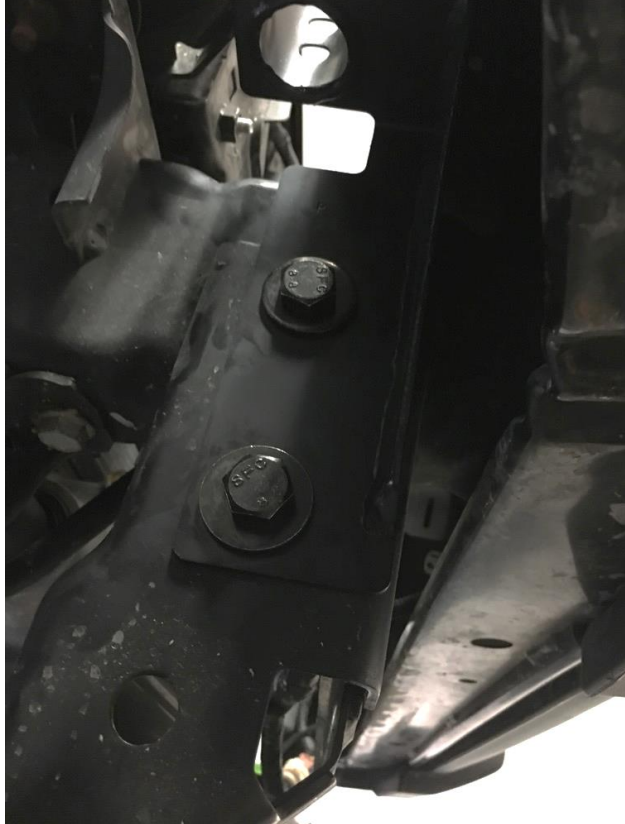
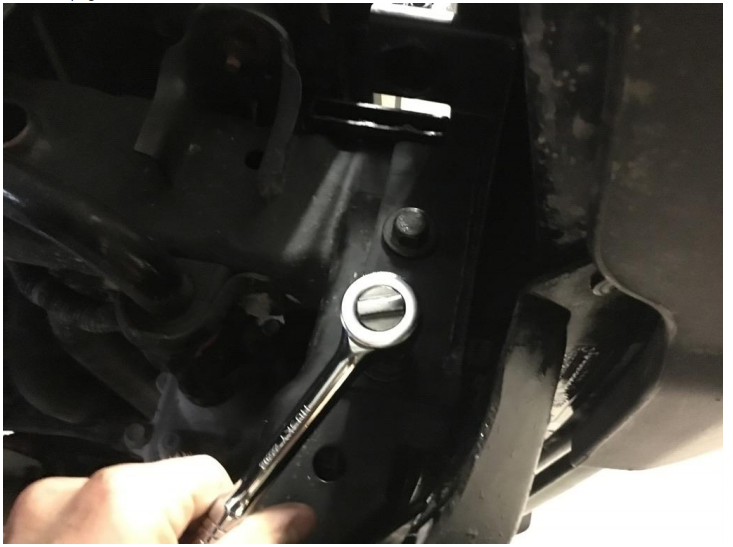
11. Using 18mm socket and driver, fully tighten the bolts securing the light bar mounting brackets to the bumper frame plate behind the bumper. Because the kit utilizes flange nuts, you should not need to provide backup to fully tighten the bolts.
12. Reinstall the fasteners to the bumper frame cover and reinstall the front skid plate if previously removed. I like to use heavy duty zip ties for the skid plate since the fasteners have a tendency to wear out.
13. Check to ensure that everything is reinstalled correctly and tight and that the turn signals are working properly.
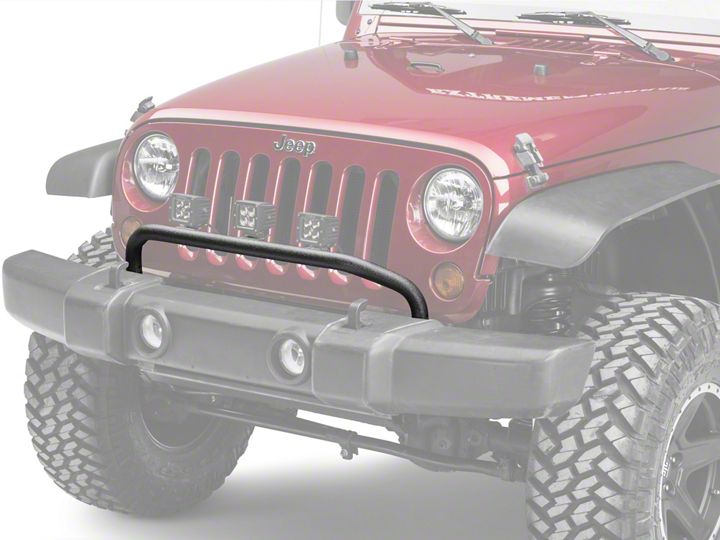
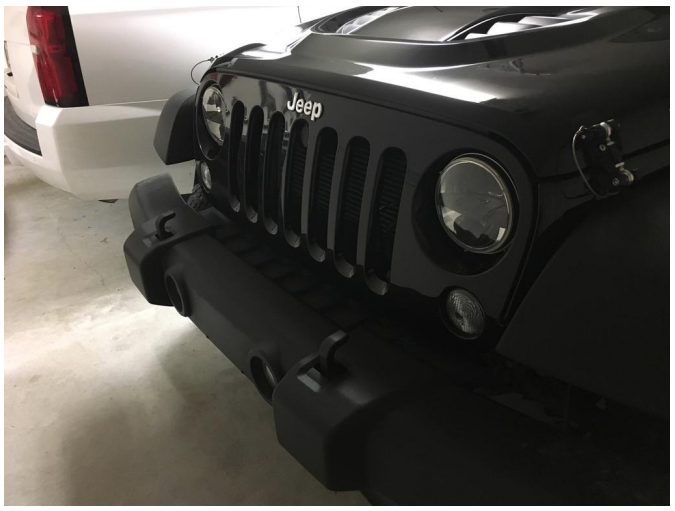
Before
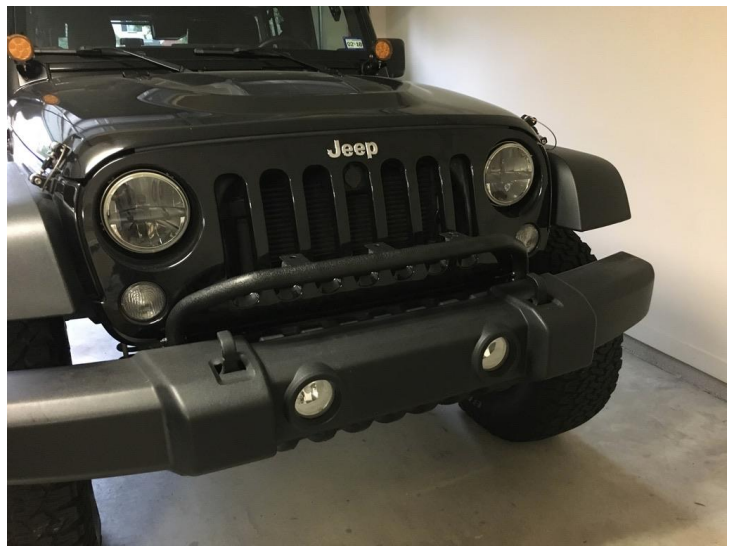
After
Installation Instructions Written by ExtremeTerrain Customer Brian Dunn 1/28/2018.

