 FREE 1 to 3-Day Delivery on Orders $149+ Details

How to Install KC HiLiTES 3x4 in. Gravity G34 LED Lights - Fog Beam - Pair (87-18 Wrangler YJ, TJ, JK & JL) on your Jeep Wrangler
Installation Time
1 hours
Tools Required
- Drill
- 1/8" Drill Bit
- Phillips Screw Driver or Bit
- 5mm Hex Key
- (2) 17mm Wrenches
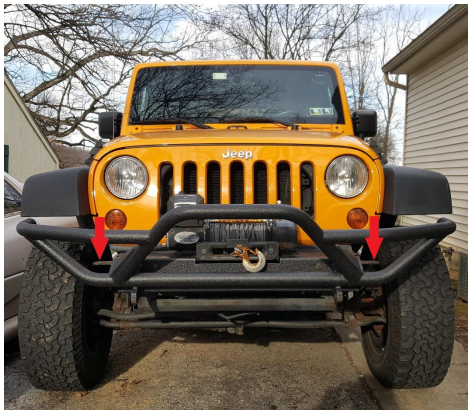
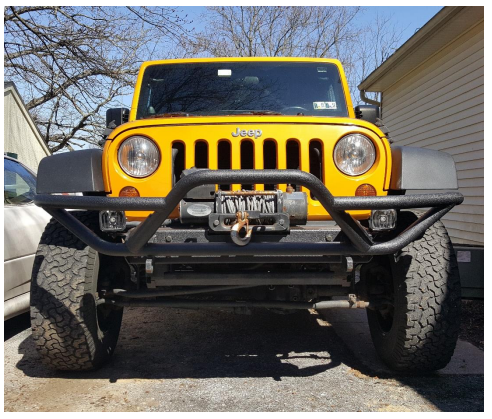
1. Choose the desired mounting location for the fog lights. Fog lights are typically mounted at a level below the headlights. If a mounting tab is not available, mark and drill a hole for the bolt.
2. Loosely mount the lights in the desired location using (2) 17mm wrenchs. Do not fully tighten the nuts yet.
3. Disconnect the negative (-) battery terminal, then the positive ( ) battery terminal.
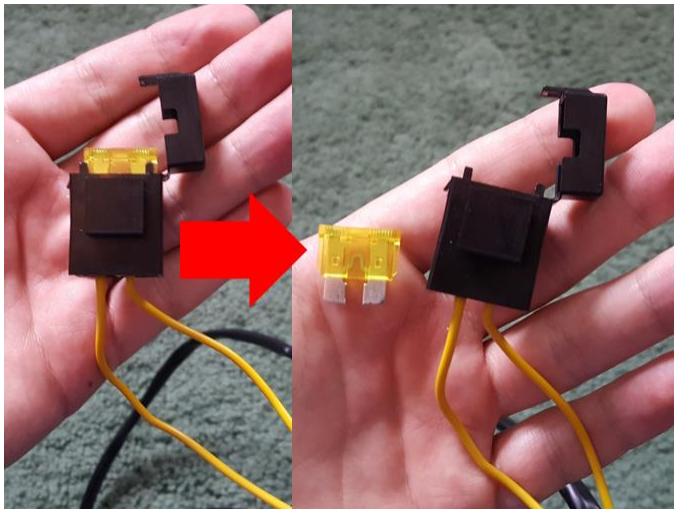
4. Remove the fuse from the wiring harness.
5. Put a small amount of the included dielectric grease on the light plugs and plug the wiring harness into the lights.
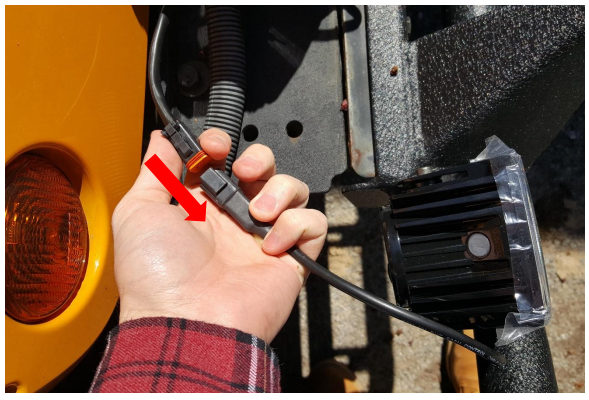
6. Route the wiring harness from the lights towards the battery through the engine compartment. Keep the wiring harness away from high temperature components such as the exhaust manifold.
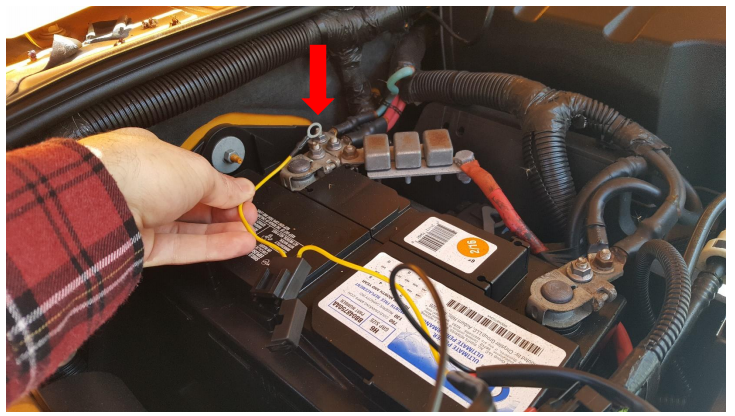
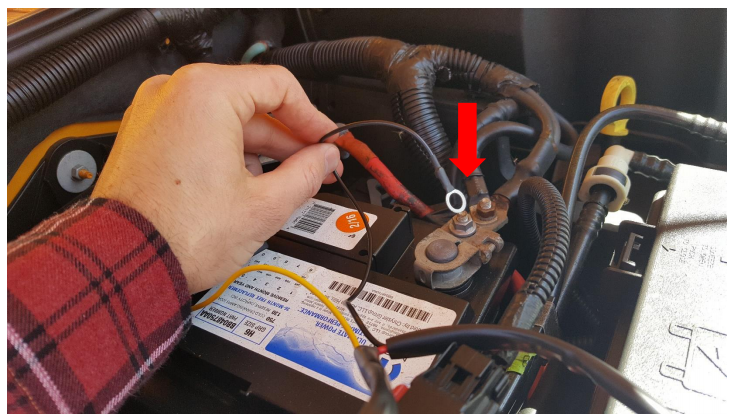
7. Attach the YELLOW power wire to the positive ( ) side of the battery.
8. Attach the BLACK ground wire to the negative (-) side of the battery OR attach to a chassis ground point (clean unpainted metal chassis surface) using one of the included screws
9. Continue routing the YELLOW supply and RED load wire towards the cab and through the firewall near where the light switch will be located.
10. Choose a location inside the cab where the switch will be located. Using the switch panel as a template, mark and drill two (2) 1/8” diameter pilot holes for two (2) of the included screws.
11. Insert the screws and loosely attach the switch and panel.
12. Remove the switch and panel from the screws attach the RED load wire to the switch terminal marked LOAD (the switch can be removed from the panel by unscrewing the retaining ring on the back of the panel to reveal the labels for the terminals).
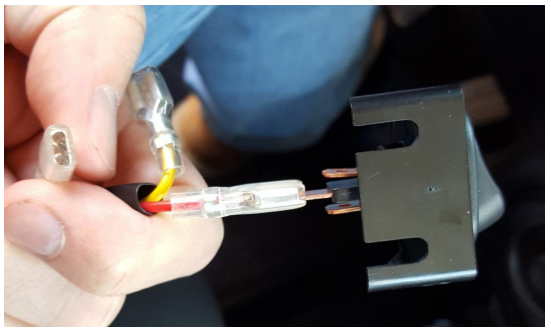
13. Attach the YELLOW supply wire to the switch terminal marked SUPPLY
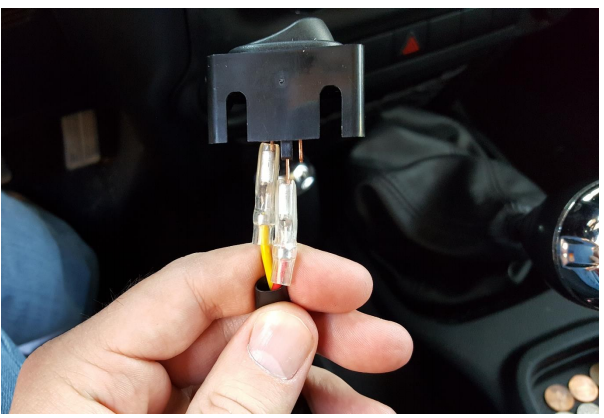
14. Attach one end of the BROWN ground wire to the switch terminal marked EARTH.
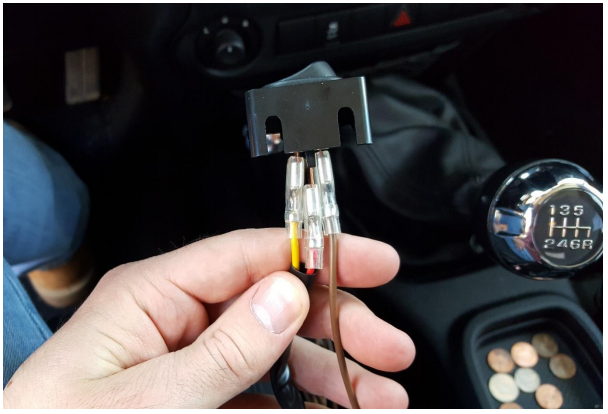
15. Attach the other end of the BROWN ground wire to an unpainted metal surface using one (1) of the included screws.
16. Replace the switch in the panel and tighten the mounting screws.
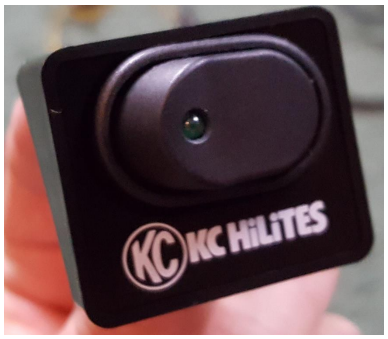
17. Ensure the switch in in the OFF position (shown below).
18. Re-connect the positive ( ) battery terminal then the negative (-) battery terminal.
19. Insert the fuse back into the wiring harness. Turn on the lights.
20. Aim the lights vertically so the top of the beam is on or below the bottom of the headlight low beam. After aiming the lights vertically, use a 5mm hex key to tighten the bolts on both sides of the lights.
21. Aim the lights horizontally to your preference. More center overlap will create more light in the center. Less center overlap will light a wider horizontal area. After aiming the lights horizontally tighten the nuts using (2) 17mm wrenches.
22. Secure the wiring harness away from high temperature components in the engine compartment using the included wire ties.
Installation Instructions Written by ExtremeTerrain Customer Anthony F. 03/31/2018.