 FREE 1 to 3-Day Delivery on Orders $149+ Details

How to Install DV8 Off-Road Jeep Wrangler LED Mirrors w/ Turn Signal Option on your Wrangler
Shop Parts in this Guide

Kit Contents:
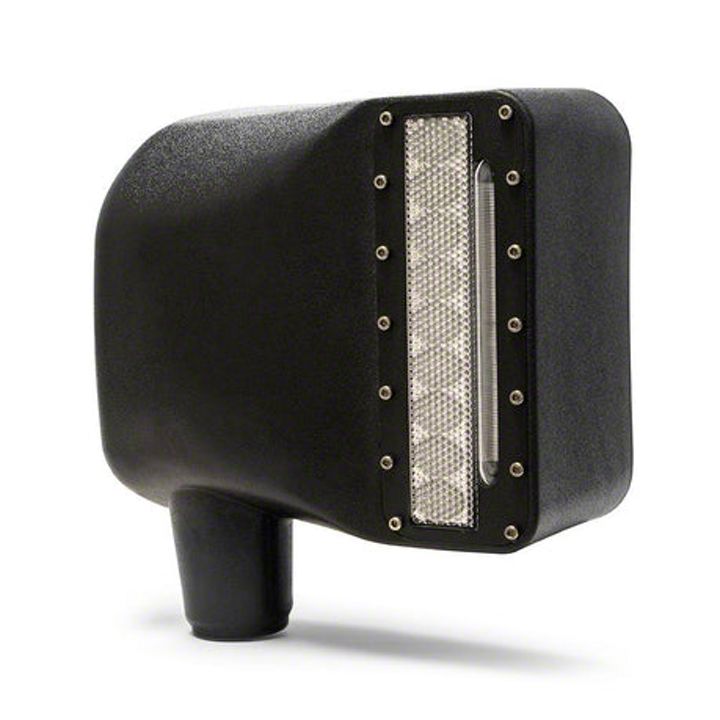
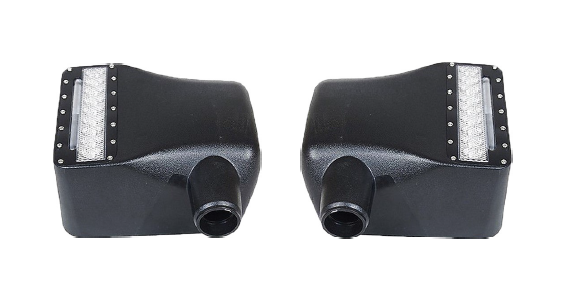
-DV8 LED
Mirror Housing
x2
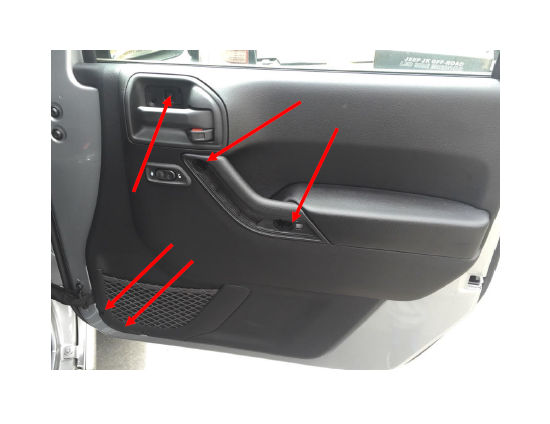
1) Remove the trim piece bolts us-ing a large Allen Head Wrench and remove the trim panel
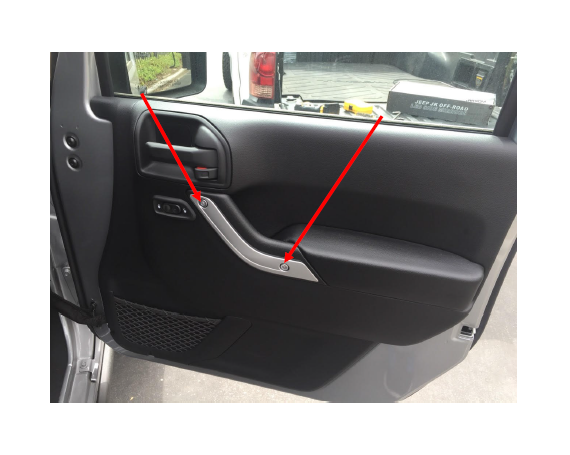
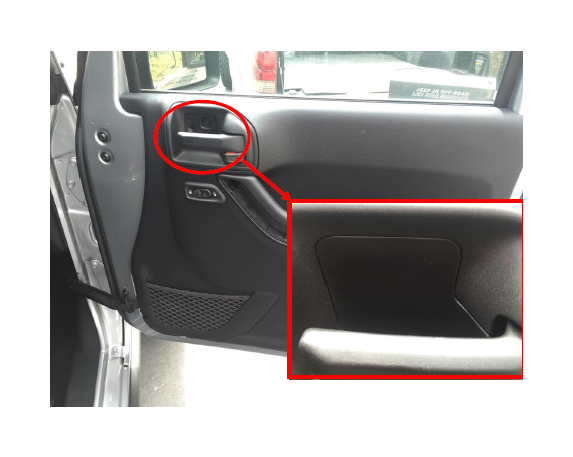
2) Remove the trim piece under-neath the door handle
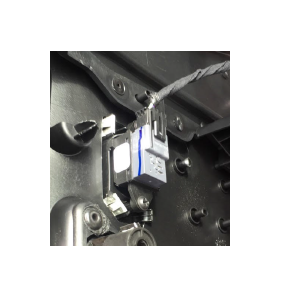
3) Remove 5 bolts in the specified areas and pull on the body panel until you hear the clips inside pop-ping out. Then disconnect the locking mechanism harness shown below.
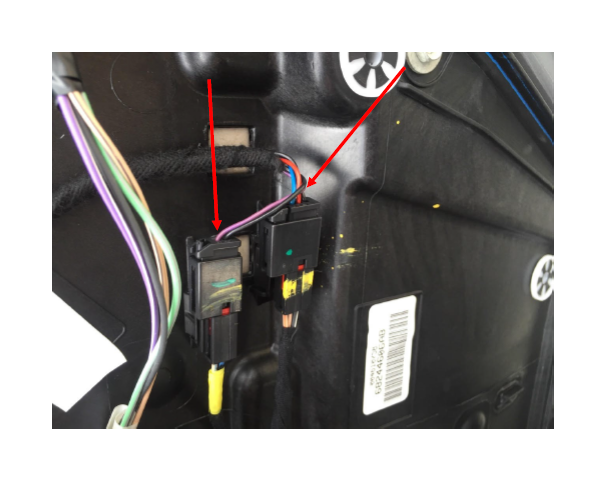
4) Remove the mirror wire con-nectors x2 from the panel and set the panel aside.
5) Connect a fishing wire to the connector harness. You’ll need to leave this wire run through the door and use it to fish the wiring back through during reinstallation
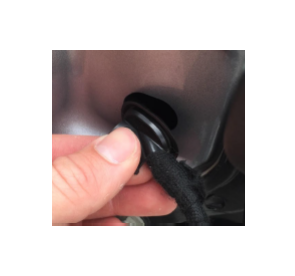
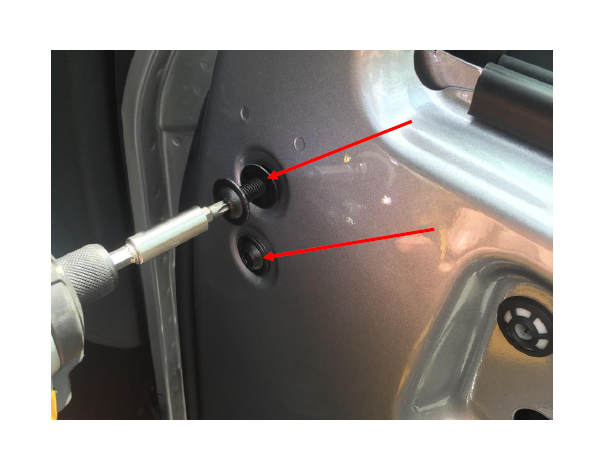
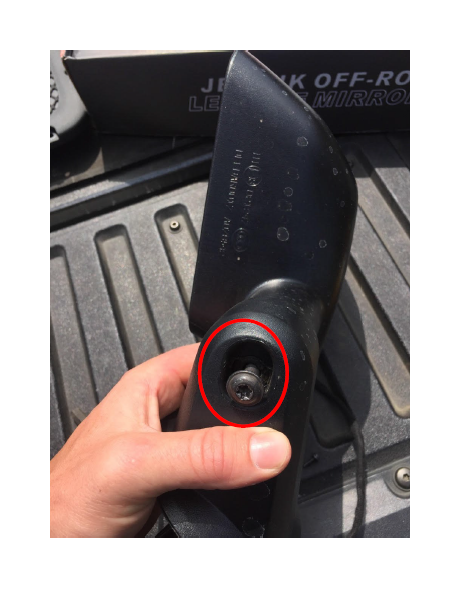
6) Remove the seal plug from the door and proceed to step #7
7) Remove the 2 bolts from the in-side of the door, this will release the mirror so ensure that you or another person is holding it from falling.
Tip: Make sure that the fishing wire is attached and ready before this step!
8) Remove the mirror from the Jeep completely. Pull wiring out of the door disconnect, and leave the fishing wire in the door. Set the whole assembly on a workbench or table, then proceed to step #9
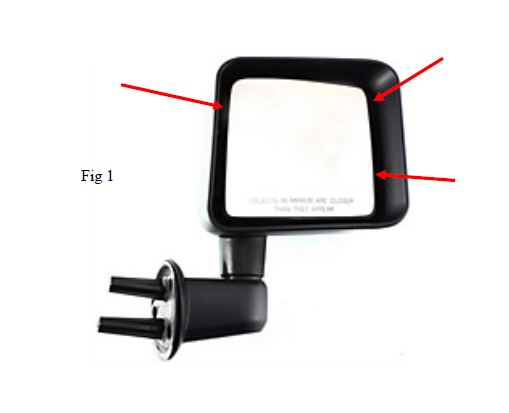
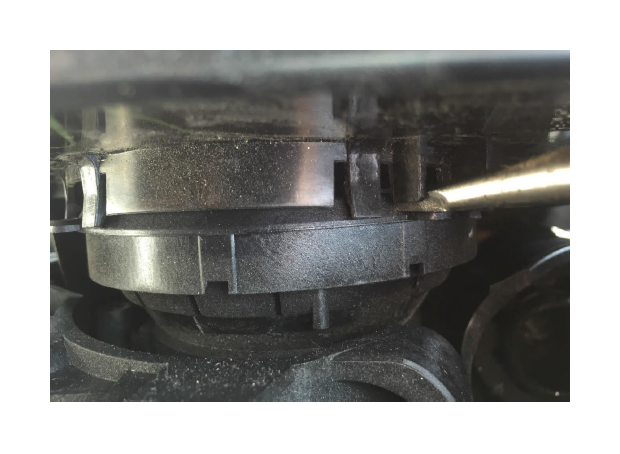
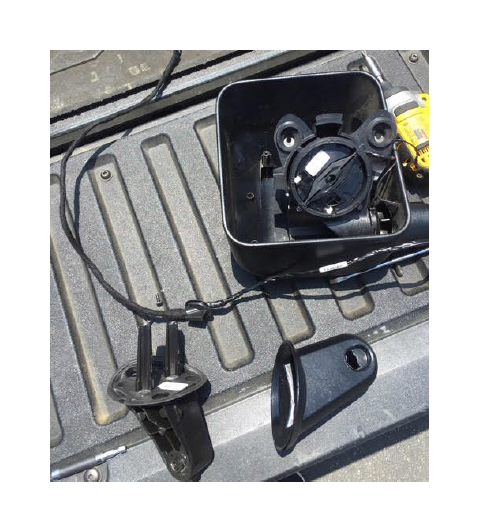
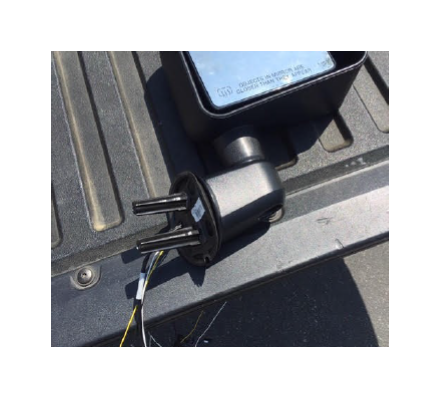
9) Locate the 3 bolts holding the interior motor mechanism in place (see arrows on Fig 1) By pivoting the reflective part of the mirror back and forth you will be able to remove these bolts.
10) Remove the bolt holding the top and bottom portion of the mir-ror assembly.
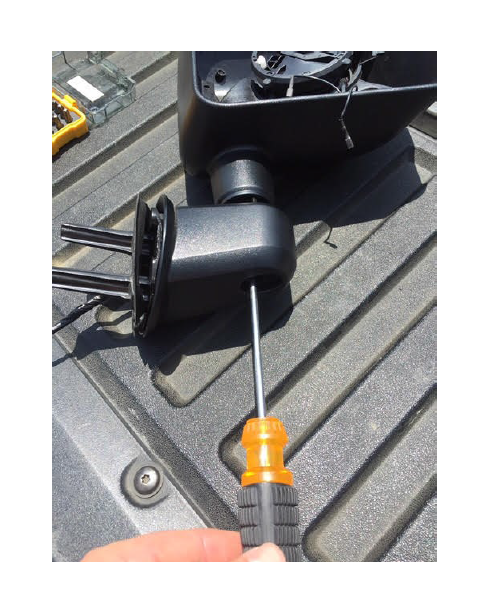
11) Tilt the reflective part of the mirror all the way to one side and locate the clips holding the reflec-tive part of the mirror to the motor mechanism. Using a screwdriver push up on these clips and the mir-ror will release. Don’t use too much force or you risk breaking the mirror. (And 7 years of Bad Luck!)
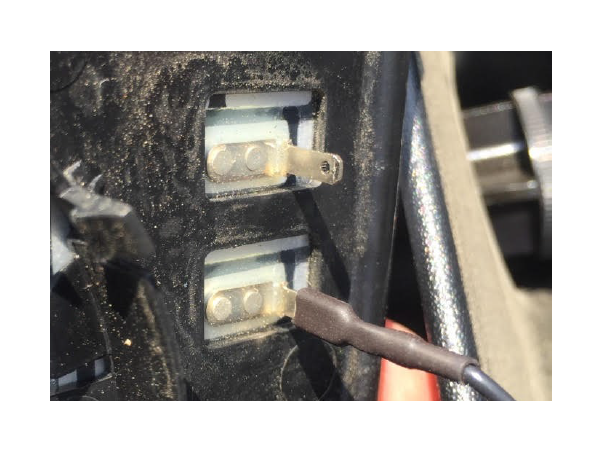
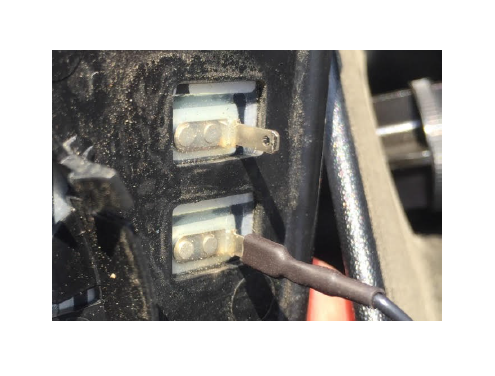
12) If equipped, remove the mir-ror heater wires from the mirror by simply pulling the connectors apart gently.
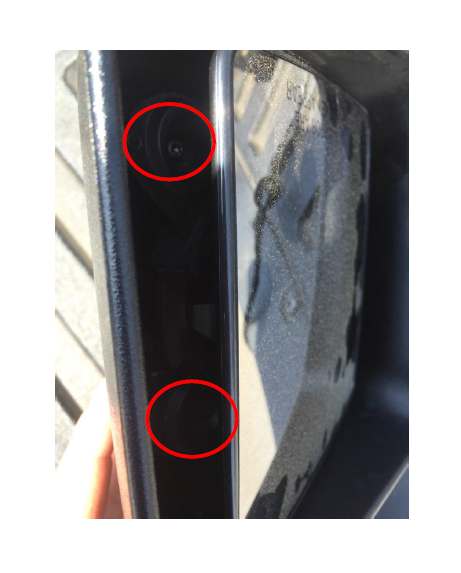
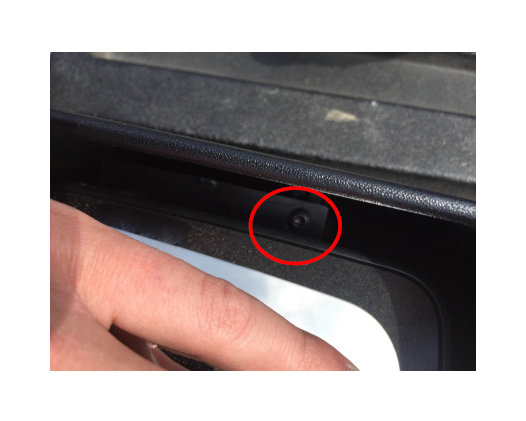
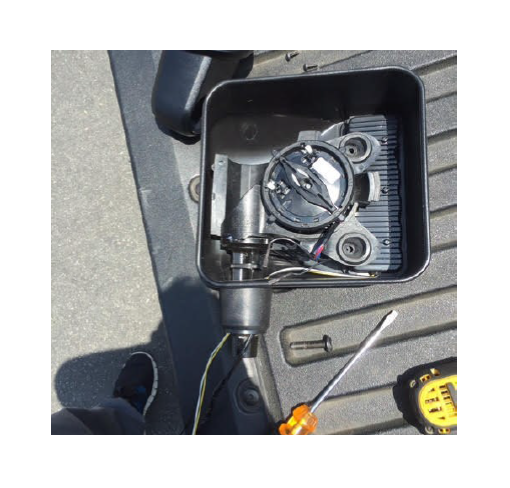
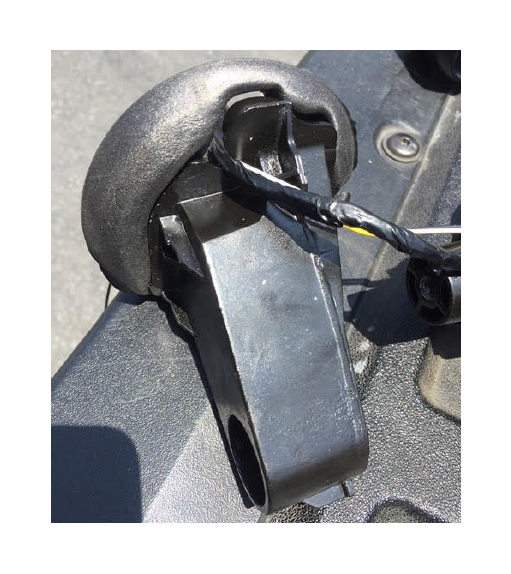
13) Using a hammer and a medium sized screwdriver or chisel, place the screwdriver into the hole in the bot-tom of the housing and pound the lower and upper interior metal pieces apart. This will take considerable ef-fort. It may be a good idea to brace part of the mirror in a vice. Make sure the screwdriver is reaching all the way through the hole and is bot-toming out at the bottom of the hole.
14) Remove all components from the factory housing and set the factory upper plastic portion of the housing aside, you will be re-using the all interior components and the lower plastic piece.
15) Reverse the steps used in step 9 to install the motor mechanism into the new DV8 housing. Install the 3 original bolts back in and feed all wires through the bottom of the new housing.
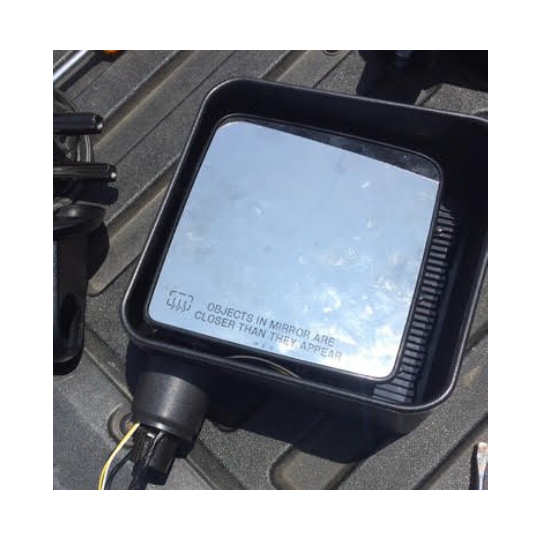
16) Reconnect the heating wires that you removed in step 12, and snap the mirror back into place. Make sure to be gentle in this pro-cess.
17) Feed all of the wires through the plastic lower housing and then through the lower metal portion in the factory location. (There is a groove cut for them)

18) Feed the wires back through the hole in the door and reinstall the mirror.
19) Wire the red and black cable in the same fashion that you would any other LED light bar. Splice the yellow cable into the positive wire of the factory turn signal light lights to use your mir-rors as turn signals!
20) Reverse Steps 1-7 to reinstall the factory interior trim panels
21) Repeat entire process for the opposite mirror.
If this is your first time wiring an LED light, this video is a great step by step guide on the process.