 FREE 1 to 3-Day Delivery on Orders $149+ Details

How to Install ARB REAR BUMPER on a 07-17 Wrangler JK
Installation Time
2 hours
Tools Required
- Flat head screwdriver
- Ratchet, 10mm, 16mm, 19mm and 4mm hex-bit sockets
- 10mm wrench
- ½” Drill bit and drill
- Torque wrench

Shop Parts in this Guide
Hardware Grouping: Before starting the installation, it’s recommended that you take inventory of all the provided hardware and group each piece according to part number. This will help you with the overall installation.
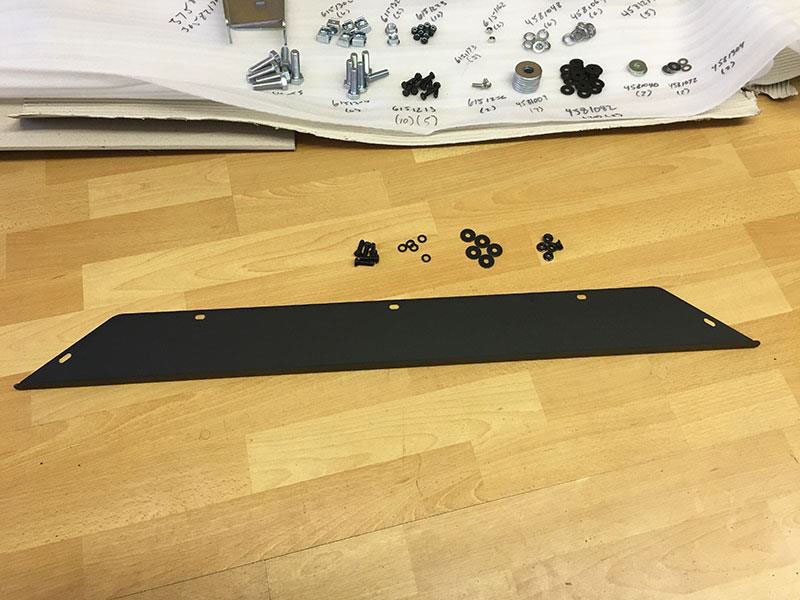
Group A (Center Panel to Rear Bumper): 1 Cover Panel (6522934); 5 Bolt M6x20 black (6151213); 5 Nut flange M6 black (6151173); 5 Washer flat M6 black (4581082); 5 Washer spring M6 black (4581287).
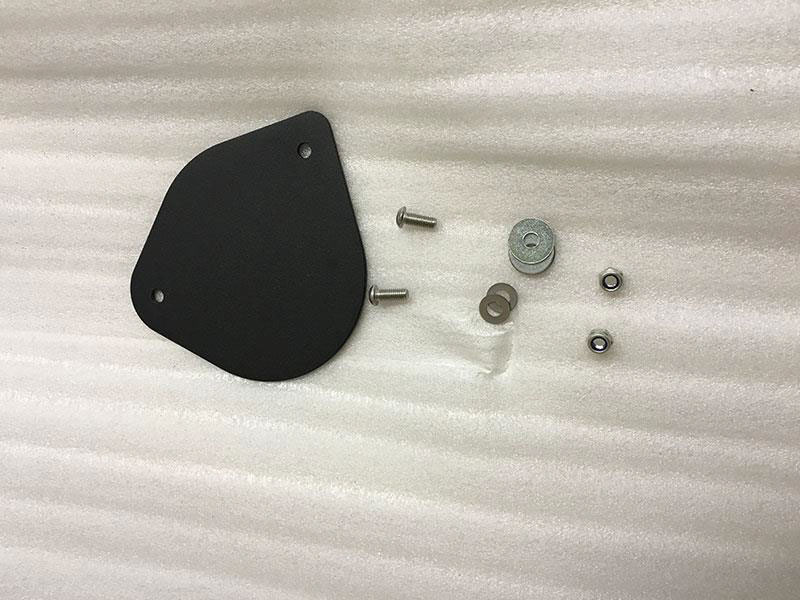
Group B (Tire Carrier Cover Panel to Rear Bumper): 1 Plate cover (3194588); 2 Washer flat M6x16x1.2ZP (4581072); Washer flat M6 SS (4581304); 2 Nut Hex M6x1.0 (6151162); 2 Screw Button Head M6x16 SS (6151256).
Group C (Rear Bumper to Jeep): 1 Rear bumper (4654018); 1 Cage Nut Plate Right (3758217R); Cage nut plate Left (3658217L); 6 Bolt M12x40 (6151255); 6 Cage nut M12 (6151306); 2 Nut flange M10x1.5 (6151321); 6 Washer spring M12 (4581064); 7 Washer flat ½ (4581007); Washer flat M10x25x3 (4581040); 6 Bolt M10x35 (6151204); 6 Washer spring M10 (4581048); 2 Washer plate (3199927); 2 Plugs hi-lift jack (3163009); 2 Plug bull bar (3163074).
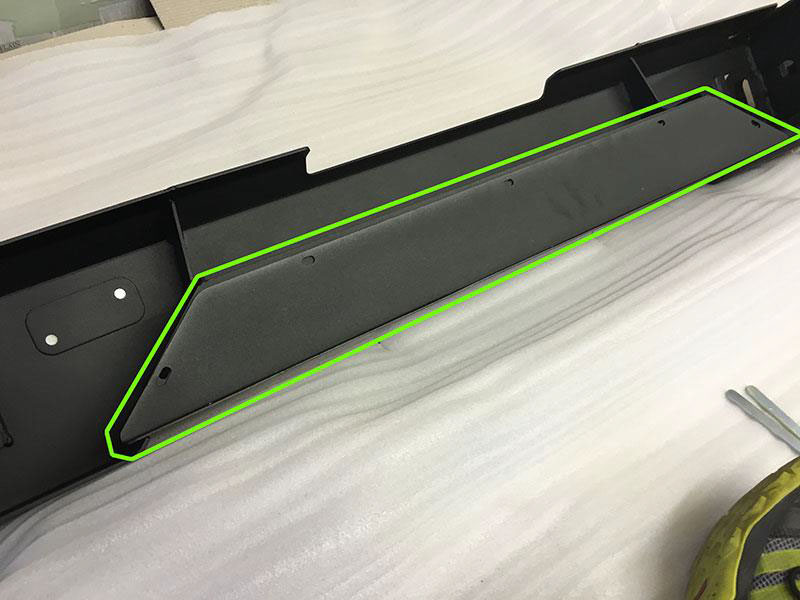
Group D (Mud Flaps to Rear Bumper): 2 Mud flap brackets (3194254); 10 Bolt M6x20 black (6151213); 10 Nut M6 Nyloc Black (6151223); 20 Washer flat M6 black (4581082). Installation Notes: Group D hardware is used for the optional ARB Mud Flaps. If you don’t plan on using Mud Flaps, you can isolate the hardware from this group. Installation Instructions: 1. Starting with the hardware from Group A, attach the Center Cover Panel to the back of the ARB rear bumper. Position bolt heads towards the front of the vehicle.
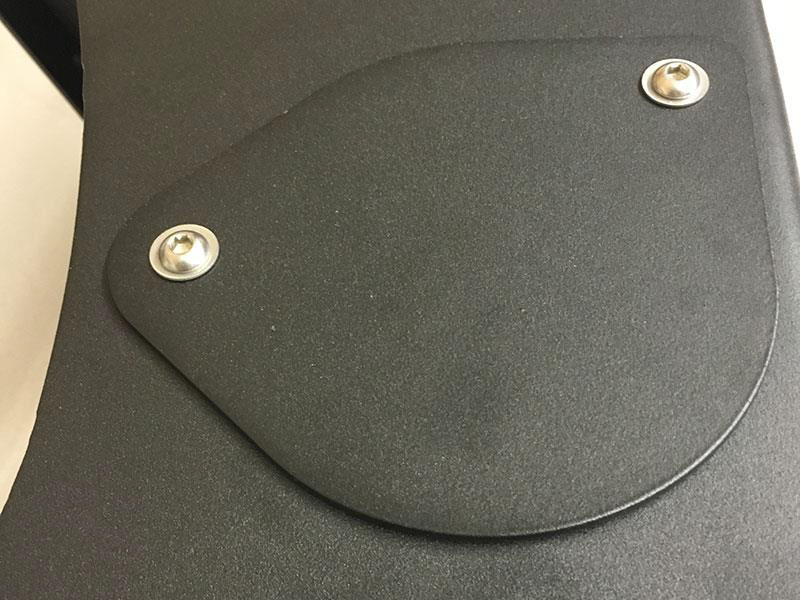
2. If you are not using the optional ARB tire carrier, install the cover panel by rotating the bumper so the top is up. Use hardware from Group B to attach the plate to the top of the bumper. Note to use the smaller, thinner stainless steel washers on the top.
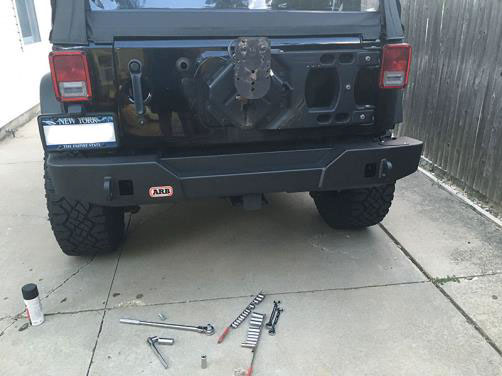
3. Moving on to the Jeep, remove the tire from the tire carrier.
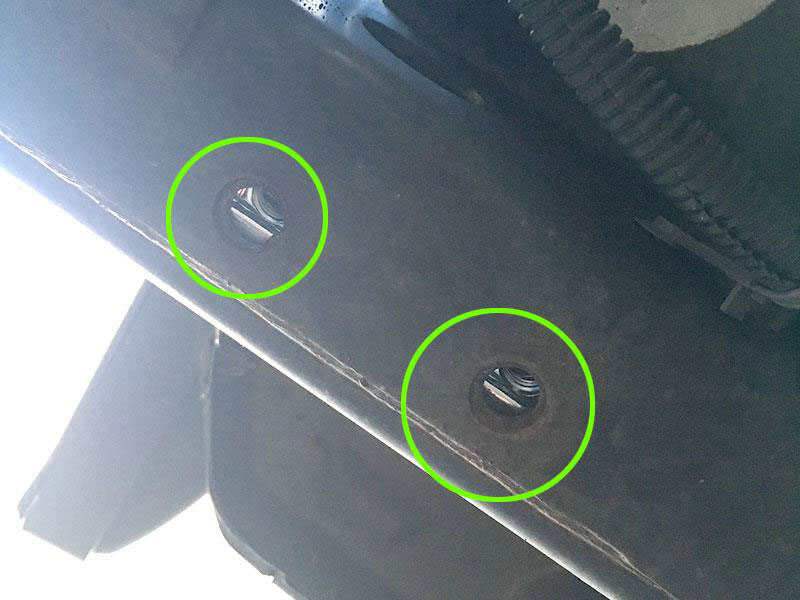
4. Take off the factory bumper by removing the (2) side bolts on both sides and the (4) rear bolts along the cross frame.
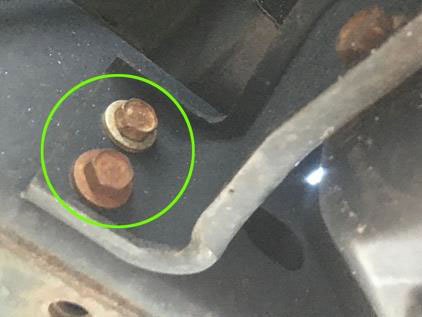
5. If your Jeep’s equipped with a tow hook, you’ll have to remove. In addition, if you would like to install a Tow Hitch, it should be done at this stage before mounting the ARB bumper.
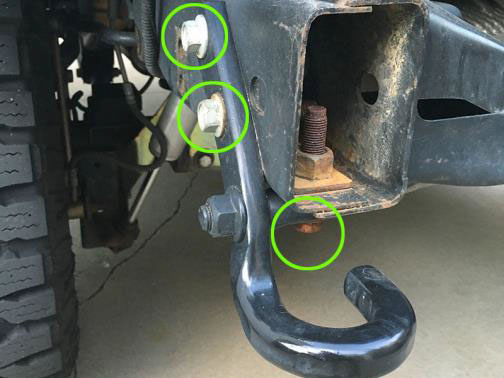
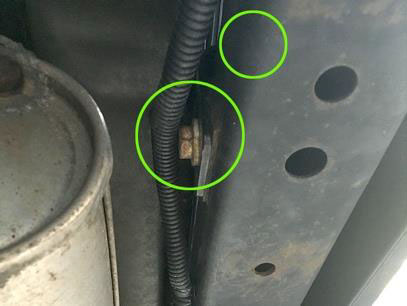
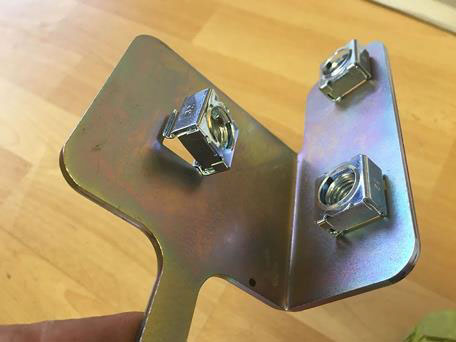
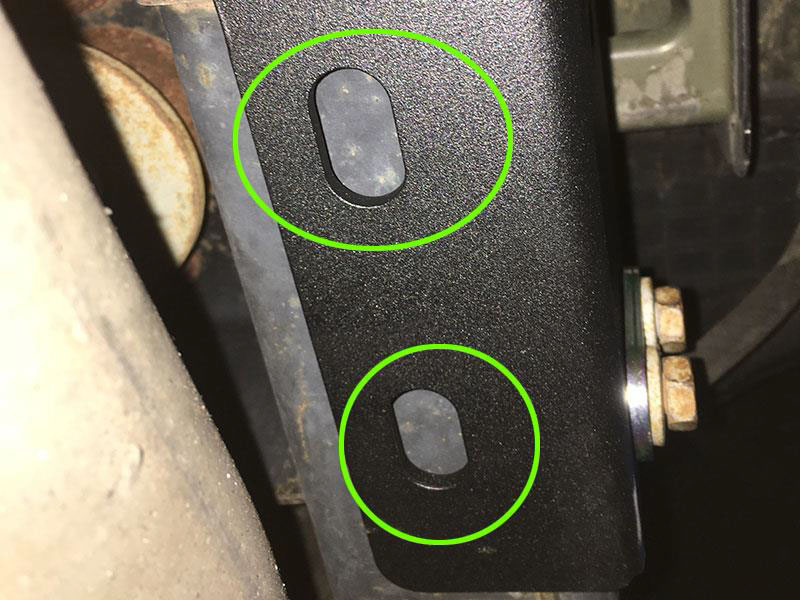
6. Using the hardware from Group C, start assembling the M12 Cage nuts onto the (2) Cage Nut Plates and slide into position.
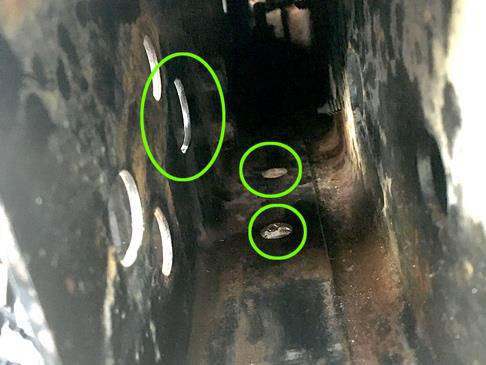
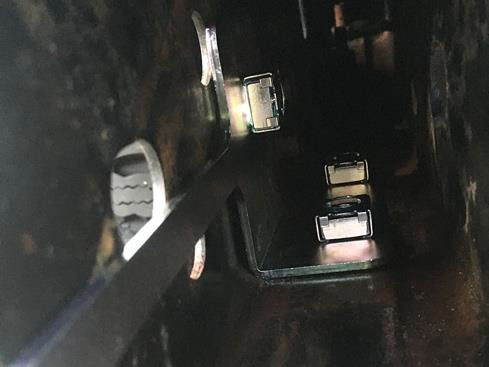
7. The bottom holes might not line up perfectly on the driver’s side and in some cases the passenger side rail will not have any holes. Use the ½” drill bit to drill out enough clearance for the bolts. For the passenger side, mount the ARB bumper and use as a guide for drilling.
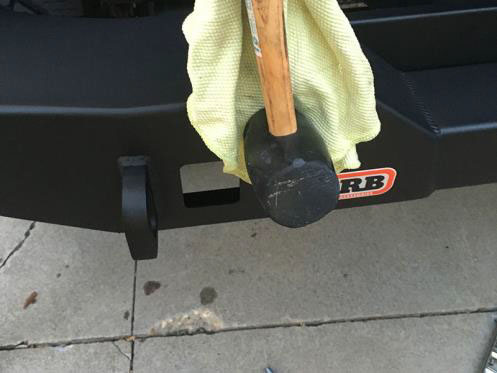
8. Once the ARB rear bumper has been mounted, it might need some pressure to fall into position. Using a towel to protect the finish, tap with a rubber mallet in order to align the side brackets.
9. Using the factory bolts, loosely thread (2) side bolts on both sides. Once all bolts have been threaded on tighten these bolts to 44Nm.
10. Loosely thread the new (1) side bolt and (2) bottom bolts on both sides. Once all bolts have been threaded on tighten these bolts to 77Nm.

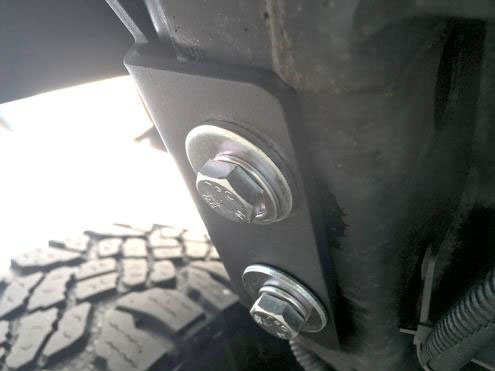
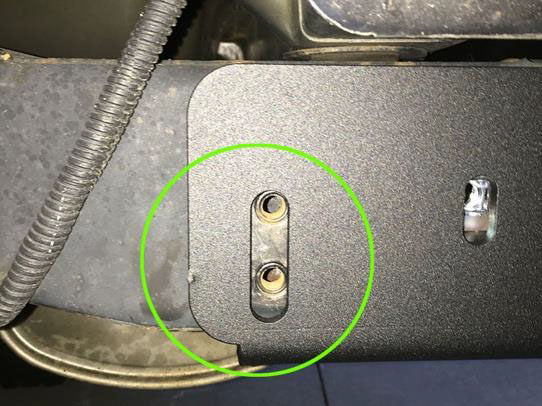
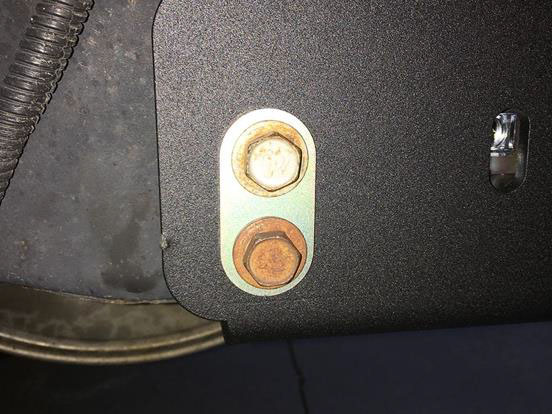
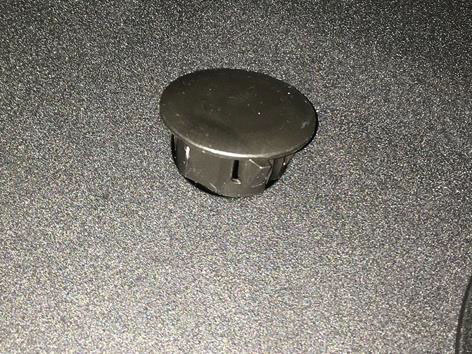
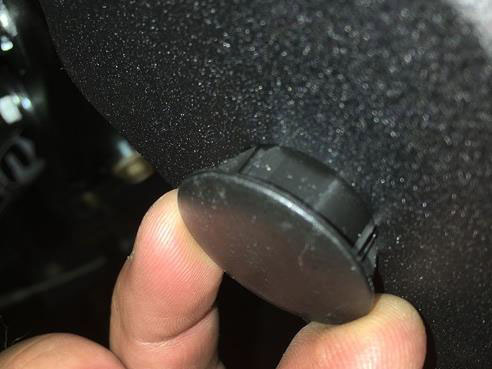
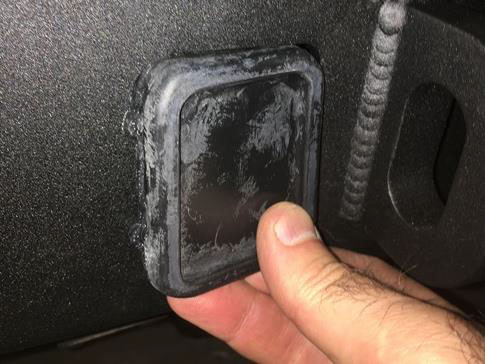
11. Install top and bottom plastic hole caps for the optional tire rack and the two rubber caps for the hilift provision.
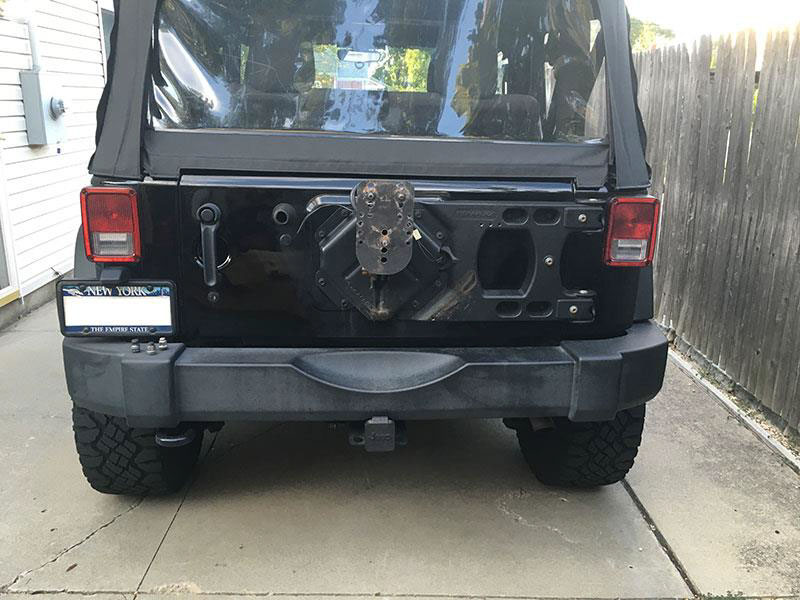
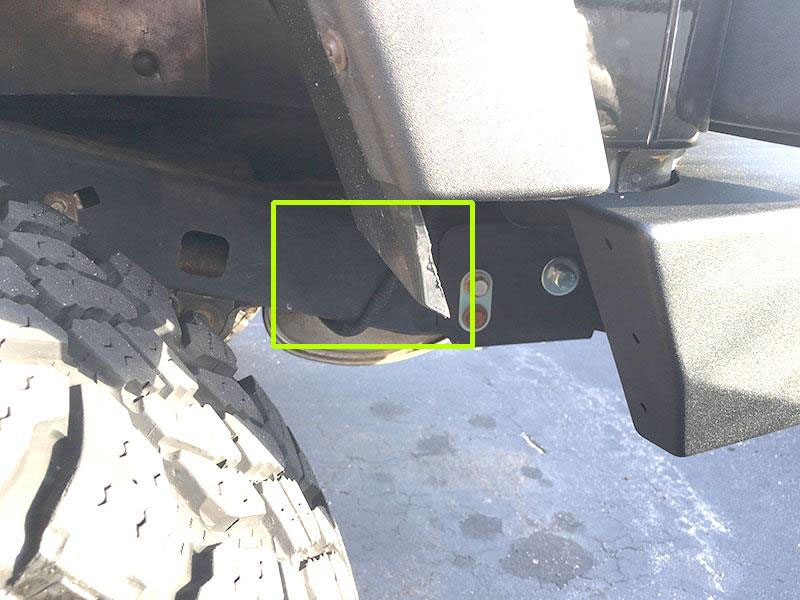
12. Finally, the ARB bumper falls short from the factory bumper’s original position, exposing a flap from the factory wheel liner. This has no effect on performance, but could be trimmed along the line of the fender flare if you want.
Before
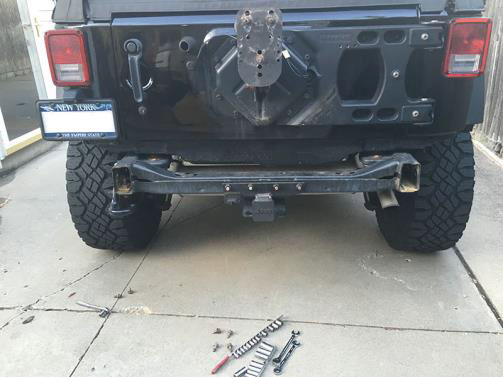
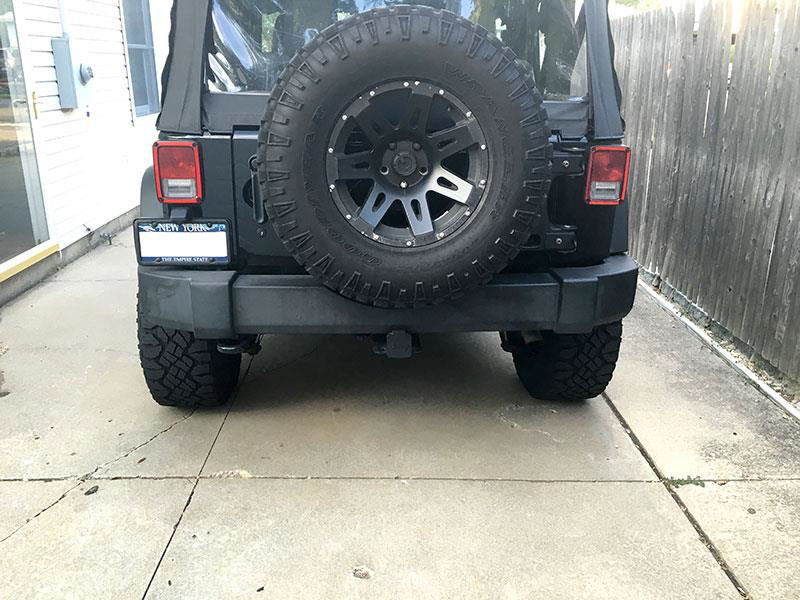
After
Installation Instructions Written by ExtremeTerrain Customer Louis Orellana 08/1/2016
