 FREE 1 to 3-Day Delivery on Orders $149+ Details

How to Install Insane Audio ATSC Digital TV Module (87-18 Wrangler YJ, TJ, JK & JL) on your Jeep Wrangler
Installation Time
1 hours
Tools Required
- Box Cutter/Knife
- Panel Removal Tool
- 7mm Socket
- Socket Wrench

Shop Parts in this Guide
Note: This product requires the Insane Audio Head Unit in order to work properly.
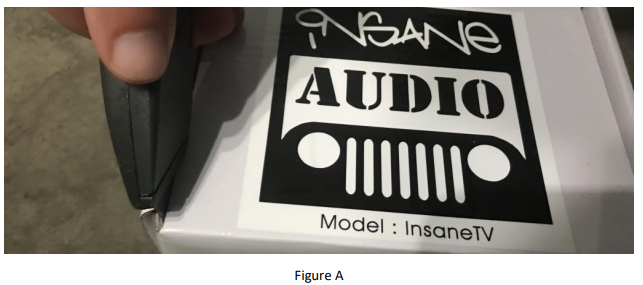
1. Carefully open the package using a box cutter or knife (Figure A) and ensure the hardware is included and undamaged.
2. Disconnect the negative (-) terminal of the battery.
3. Remove the bolt on the top of the center of the dash using a 7mm socket wrench (Figure B).

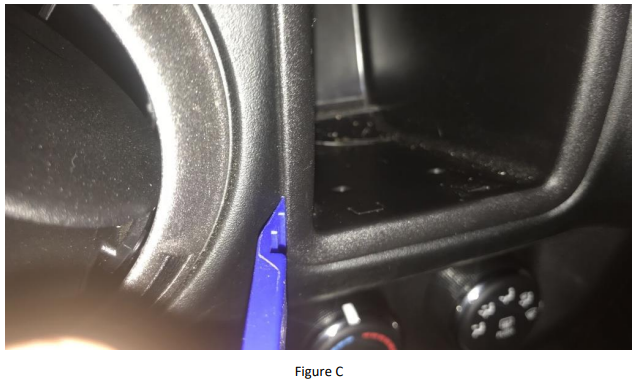
4. Using a panel removal tool, dislodge the center switch panel (Figure C), then remove the bolt behind the panel using a 7mm socket wrench.
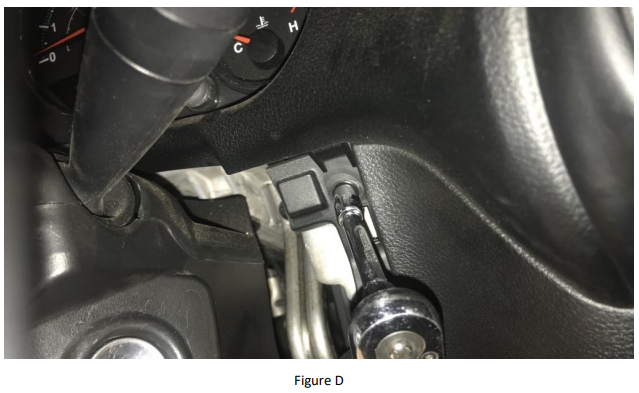
5. Starting just below the steering wheel, pry off the dash panel and remove the two bolts at the top corners using a 7mm socket wrench (Figure D).
6. Releasing the pressure clips, remove the entire upper dash panel.
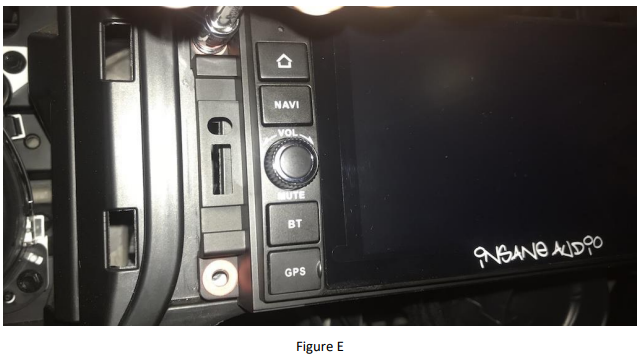
7. Remove the four bolts on the face of the Insane Audio head unit (Figure E).
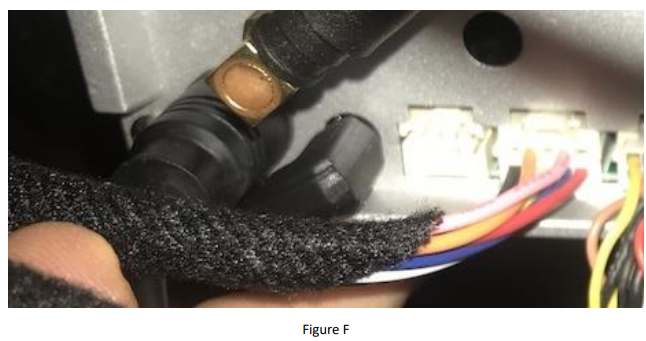
8. Connect the Insane Audio ATSC Digital TV Module wiring to the head unit (Figure F).
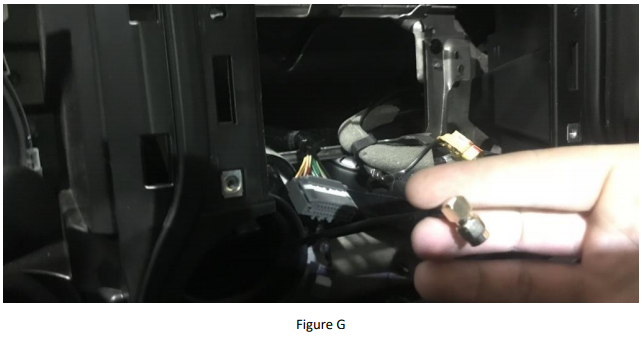
9. Run the wiring through the dash (Figure G) and up through the cross bar over the sound bar.
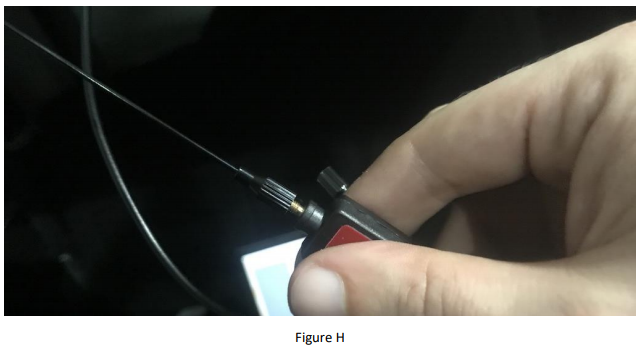
10. Connect the antennas to the end (Figure H).
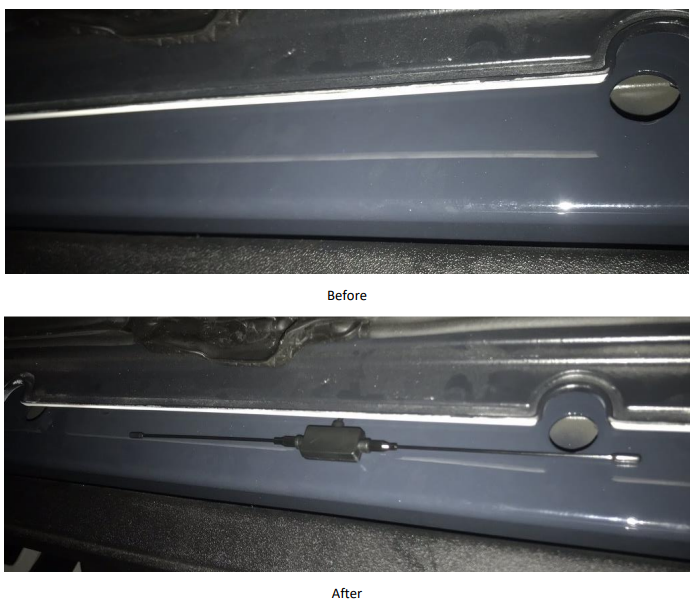
11. Mount the antenna by removing the 3M adhesive.
12. Secure the head unit by reinstalling the four bolts removed in Step 7.
13. Reinstall the dash by working backward through Steps 6 – 2.
14. Reconnect the negative (-) terminal of the battery.
Installation Instructions Written by ExtremeTerrain Customer J. Sandlin 02/14/2018.