 FREE 1 to 3-Day Delivery on Orders $149+ Details

How to Install Daystar Cam Can Complete Kit - Black - Non-Flammable Liquids (97-18 Wrangler TJ & JK) on your Jeep Wrangler
Installation Time
60 minutes
Tools Required
- Box Cutter/Knife
- Philips Head Screwdriver
- 13mm Wrench
- 8mm Socket
- 19mm Socket
- Socket Wrench
- Lug Wrench
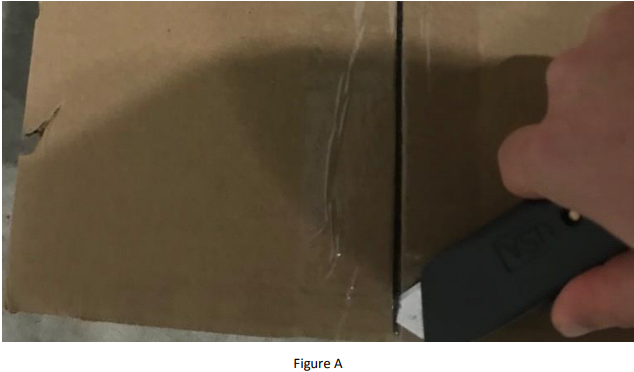
1. Carefully open the package using a box cutter or knife (Figure A) and ensure the entire kit is included and undamaged.
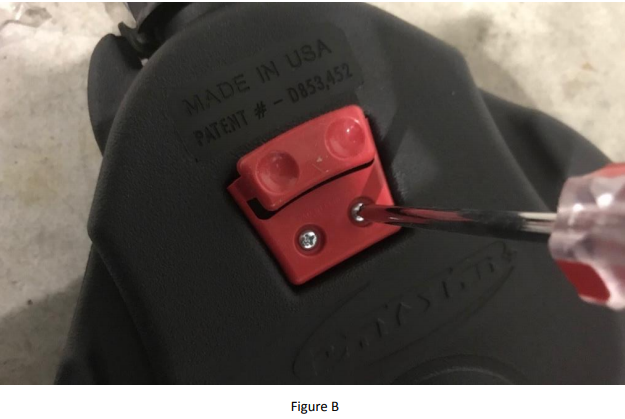
2. Using a Philips head screwdriver and the supplied screws, install the mounting hardware onto the front of the can (Figure B).
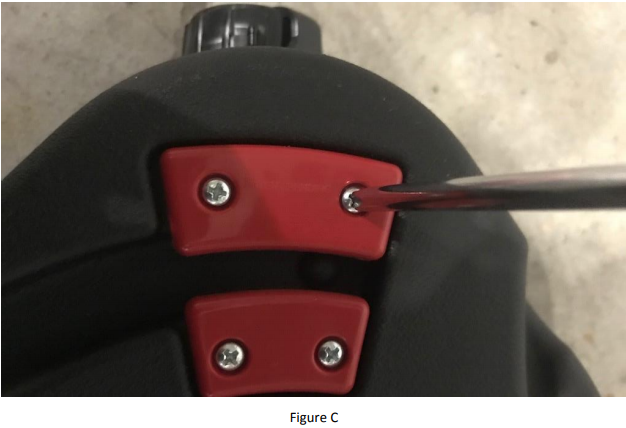
3. Using a Philips head screwdriver and the supplied screws, install the mounting hardware onto the rear of the can (Figure C).
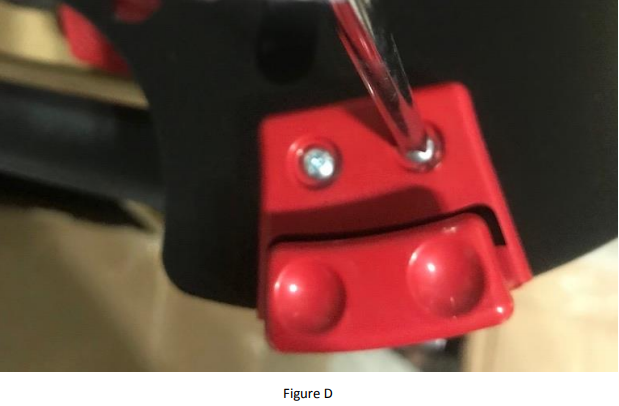
4. Install mounting brackets onto the mounting plate using an 8mm socket wrench and Philips head screwdriver, along with the supplied screws and nuts (Figure D).
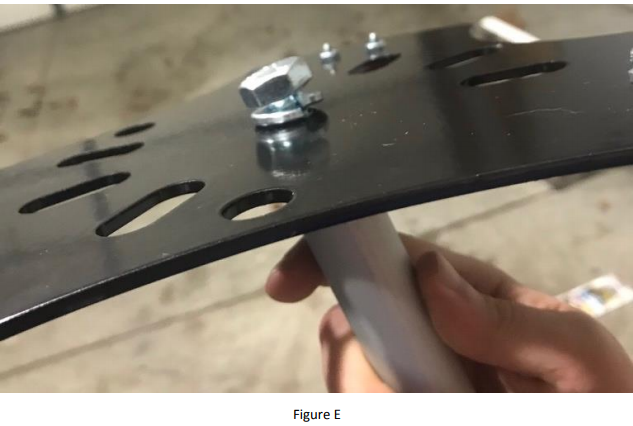
5. Attach the aluminum center pole to the mounting plate using the provided 19mm bolt and lock washer (Figure E).
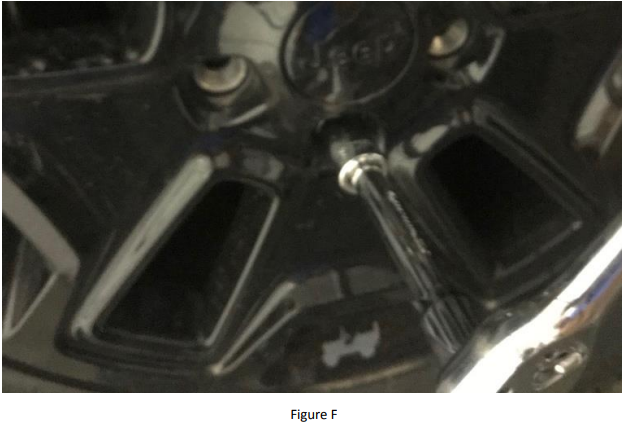
6. Using a 19mm socket wrench (or lug wrench) remove the three lugs holding the spare onto the rear of the vehicle (Figure F).
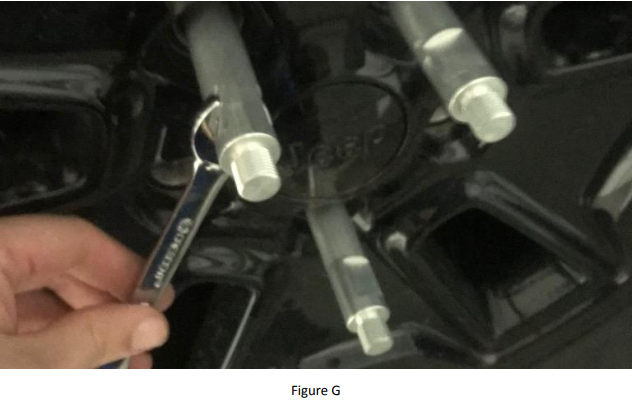
7. Replace the lugs with the supplied stud extenders and tighten down using a 13mm wrench (Figure G).
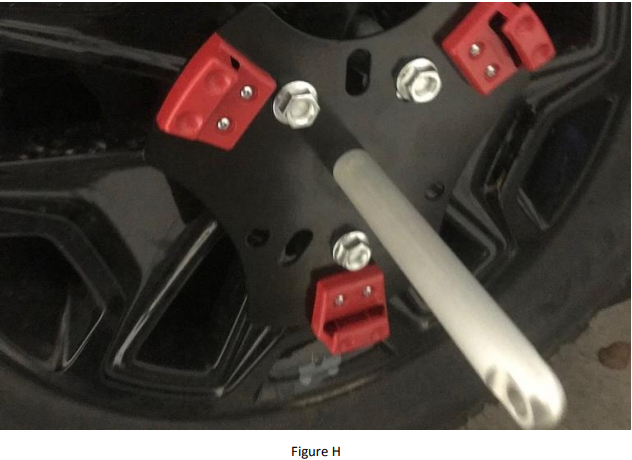
8. Place the mounting plate onto the stud extenders and secure using supplied 19mm nuts (Figure H).
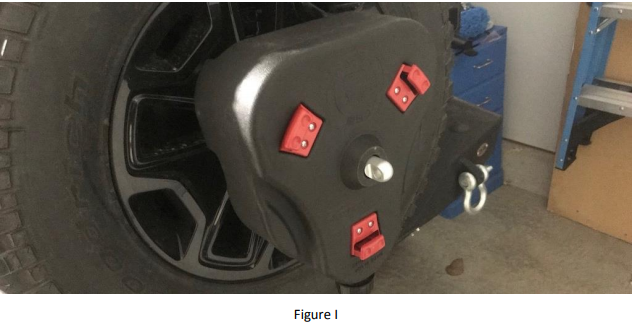
9. Slide the cam can onto the aluminum center pole, press in, and turn clockwise to lock into place (Figure I).
Installation Instructions Written by ExtremeTerrain Customer J. Sandlin 12/13/2017.