 FREE 1 to 3-Day Delivery on Orders $149+ Details

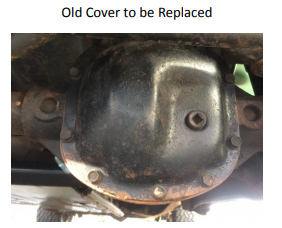
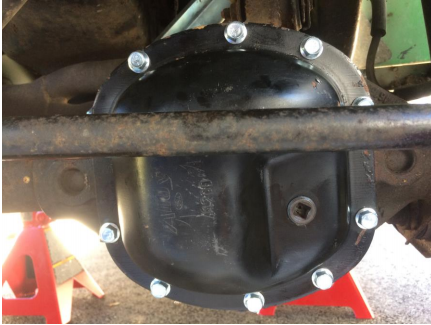
How to Install Alloy USA HD Dana 30 Differential Cover - 5/16 in. Stamped Steel (87-18 Wrangler YJ, TJ & JK) on your Jeep Wrangler
Installation Time
30 minutes
Tools Required
- 3/8" Drive Socket Wrench
- 1/2" Socket
- Torque Wrench
- Before beginning collect manufacturer recommended gasket maker or Dana 30 differential gasket.
- Collect factory recommended oil in correct quantity.
- Consult factory service manual for differential bolt torque recommendations.
- Remove all parts from packaging. Ensure that you have the replacement cover and 10 cover bolts. You may have additional parts such as a replacement filler plug.
- On some vehicles such as the 2005 Jeep LJ used for this installation you will have better access to the differential cover if you raise and support the vehicle to allow the axle to drop.
1. Locate filler plug on the current differential cover and loosen with 3/8 inch drive ratchet. This is a safety precaution in case it needs to be reused.
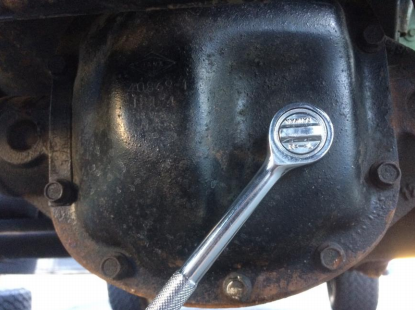
2. Loosen and remove differential cover bolts using ½ inch socket. You may find it helpful to leave a top bolt in place to avoid dropping the cover as you remove it. The old cover may be stuck in place. If so hit it with a large hammer to break it free.
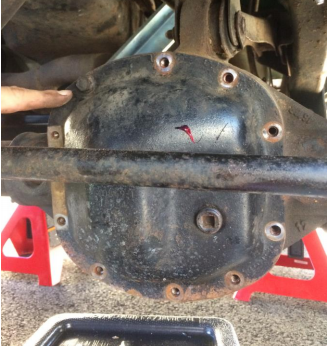
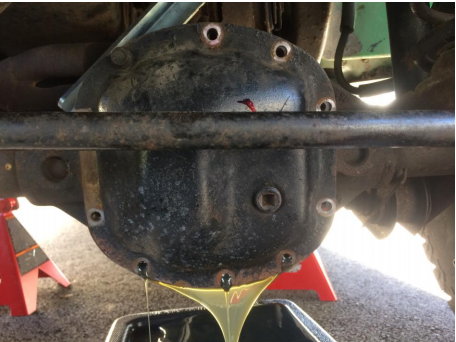
3. Drain differential oil and thoroughly clean inside differential. Oil often pools inside that you may need to scoop out.
4. Clean and dry mating surface of differential and cover well. Remove old sealant or gasket as needed. Inspect gears.
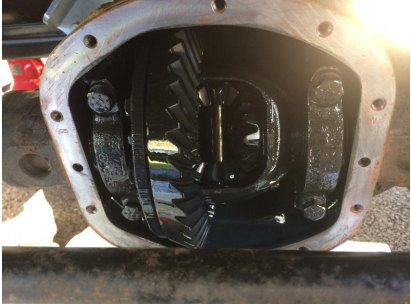
5. Retain differential tag from old cover to install on new cover. This tag contains important information about your differential.
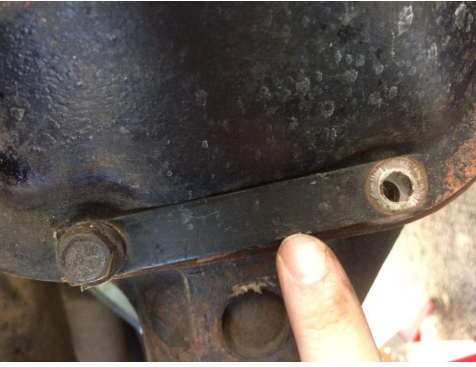
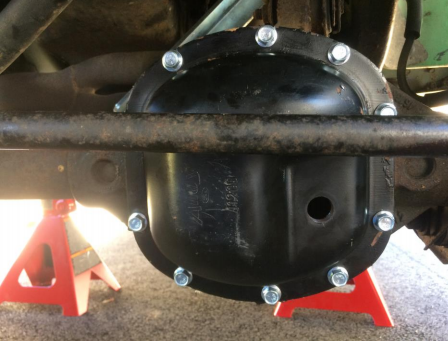
6. Apply gasket maker or gasket according to manufacturer directions to new cover and install using supplied bolts. Torque to manufacturer specifications. In the case of the Jeep used in this instillation that is 30 lb. feet. Make sure to reinstall axle tag.
7. Fill with manufacturer recommended oil.
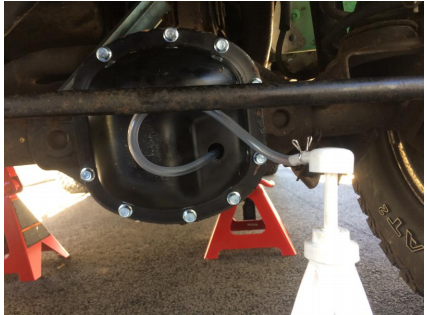
8. Replace fill plug.
Installation Complete!
Installation Instructions Written by Extreme Terrain Customer Jason Horn 10/20/2017.