 FREE 1 to 3-Day Delivery on Orders $149+ Details

How to Install OPR Upper Tailgate Hardtop Seal (97-06 Jeep Wrangler TJ) on your Jeep Wrangler
Installation Time
20 minutes
Tools Required
- Clean Shop Rag
- Rubbing Alcohol or Alcohol Wipes

Shop Parts in this Guide
Step 1: Compare parts.
Before removing the old seal, compare it to the new seal to ensure you have the correct part. Make note of how the old seal is oriented so you know how the new seal will need to be positioned. Tip: Use your cellphone or any digital camera to take a few pictures of the original part prior to removing it so you can refer back to it in case you need assistance in orienting the new part. It’s always better to ensure you have the correct part (and understand how it goes on) prior to removing the original. That way, if you have to return it, you’ll still have something in place until the correct part arrives.
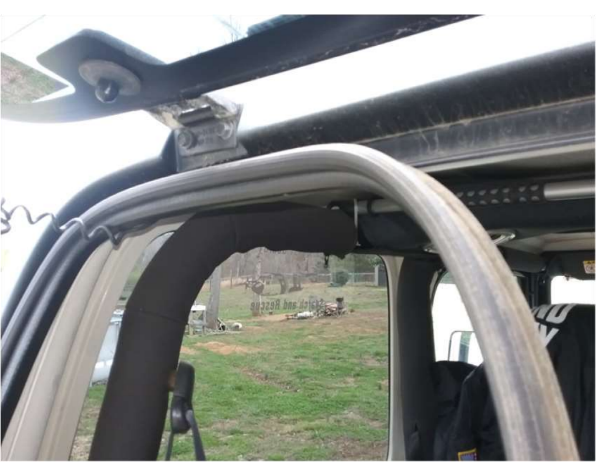
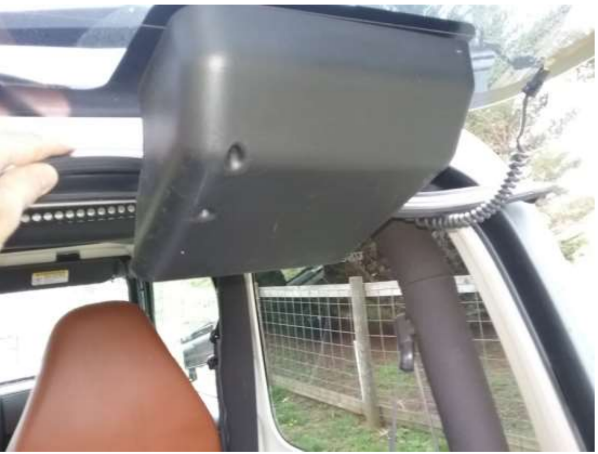
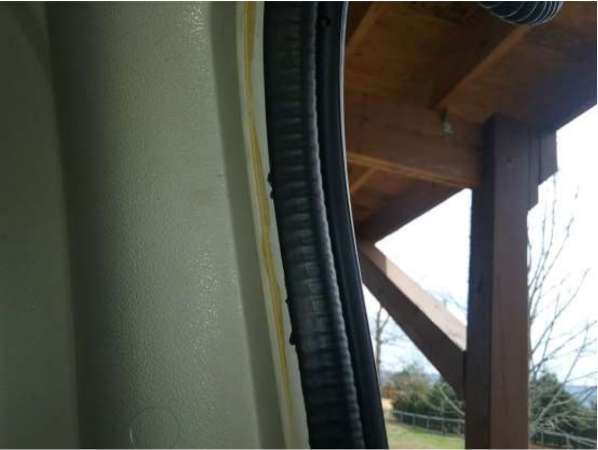
Step 2: Remove old weatherstrip.
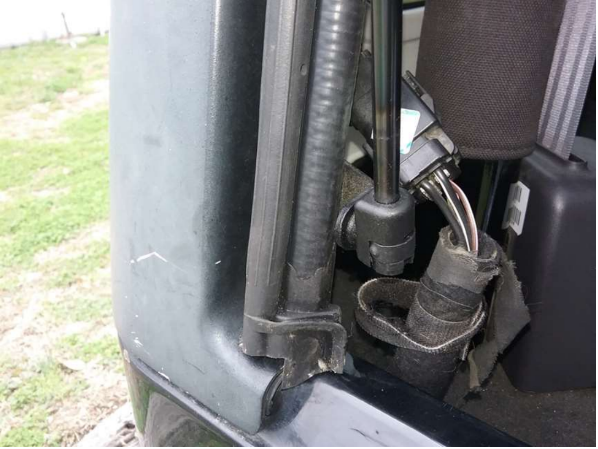
The old seal sits on a flange on the hard top and is held in place by the gripping action of a semi-rigid groove on the seal. It will come off very easily by gently pulling it from one end to separate it from the flange. You might notice a small amount of adhesive on either end of the seal. Once the old seal is removed, you’ll be able to see the flange that the new seal will push onto. IMPORTANT: Exercise caution when removing the old seal so you don’t cause damage the wiring harnesses running to the rear glass defroster. There is no need to remove the electrical connections from the rear glass defroster if you use care while removing the old seal. This also applies when installing the new seal.
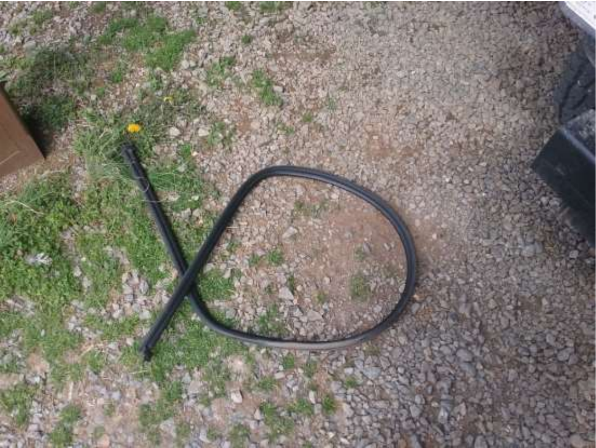
Step 3: Throw old weatherstrip on the ground...
... (just kidding). Dispose of old seal properly.
Step 4: Clean mounting surface
After properly disposing of the old weatherstrip, use an alcohol wipe or a rag dampened with rubbing alcohol to thoroughly clean the mounting flange. Prior to installing the new seal, the flange should be completely clean and free of any adhesive or foreign material that might prevent the new seal from holding firmly to it. To avoid damaging the mounting surface, don’t use any metal objects, such as pocket knives, putty knives or metal scrapers to remove any old adhesive that might be present. A rag and a little rubbing alcohol is all you need.
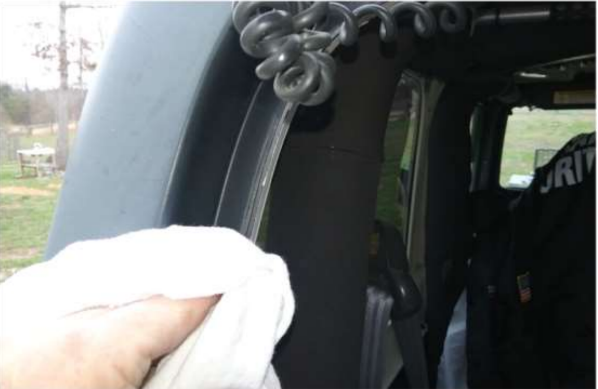
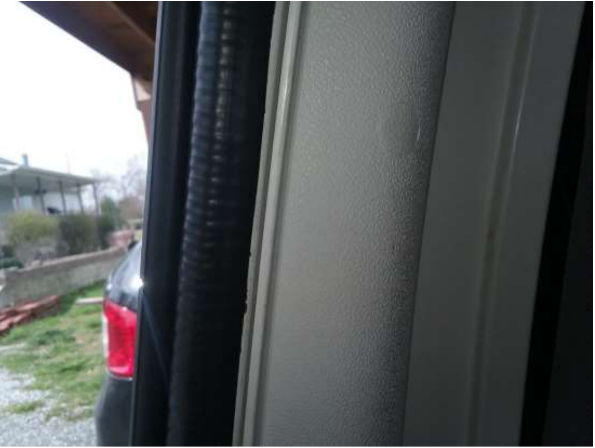
Step 5: Inspect mounting surface
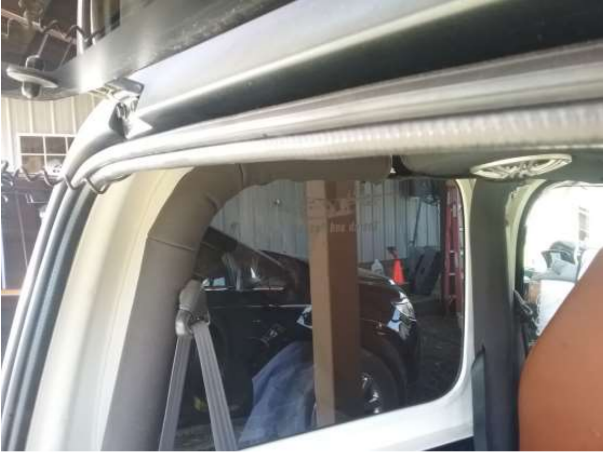
Once the mounting flange is completely clean, inspect it to ensure it has no damage and is completely free of moisture, oil or anything that might prevent the new seal from holding satisfactorily. Refer to the second picture in Step 2 to see how the flange should look prior to installation of the new seal.
This is how the flange should look prior to installation of the new seal.
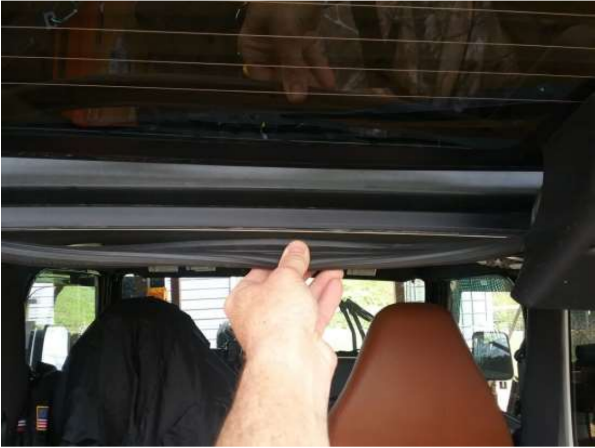
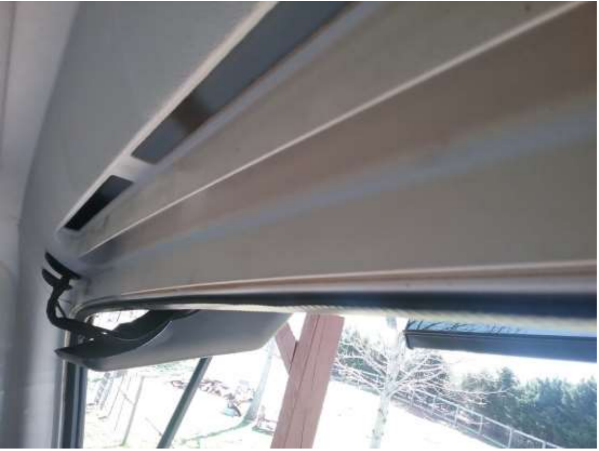
Step 6: Install new seal
Carefully thread the new seal around the rear glass defrost wiring and behind the upper brakelight housing. Remember to take extra care to not disturb the wiring to the defroster circuit. Again, there is no need to remove the electrical connections from the rear glass defroster if you use care while positioning the new seal.
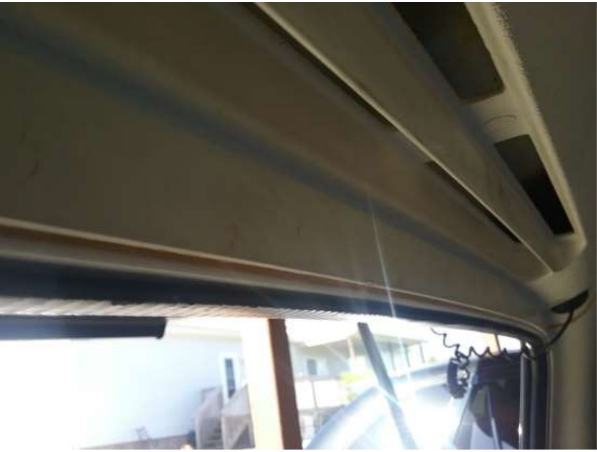
Although the new seal is manufactured to tight standards, it might appear to be slightly longer than necessary. So, to prevent having a surplus of material at one end, it is recommended that you begin by finding the center point of the seal and pushing it into place on the flange on the centerline of the vehicle’s hardtop. That way, you’ll end up with equal lengths on each side and not all the extra material at one end. If necessary, refer to the pictures you took earlier to ensure you have the new seal positioned correctly.
Once you’re confident that you have the new seal properly oriented, begin by gently pressing it into position starting on the vehicle’s centerline and working toward either side. The semi-rigid groove on the new seal will slide easily onto the flange on the Jeep’s hardtop. Work the new seal onto the flange along a few inches of the horizontal section on either side of centerline.
Next, position the ends of the seal before pressing the remainder into place. As mentioned previously, it may seem as though you have too much material but, by working the seal into place in this way, you’ll be able to spread that excess material over the entire flange and avoid having any bulges or rolls near the ends of the seal.
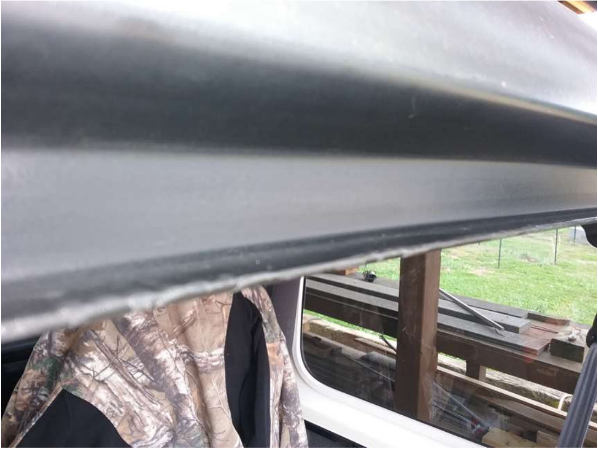
Once you’ve got the entire seal pressed firmly onto the flange, sit in the back of the Jeep, facing rearward, and look at the edge of the seal. Make sure the edge forms a straight line along the flange. The black color of the seal contrasts nicely with the white of the hardtop making it easy to tell if the new seal is installed completely. Just look for a straight edge. This is the easiest way to ensure the new seal is pressed completely onto the flange.
Finally, close the glass and then the tailgate and check to ensure the new seal is properly in place and fits correctly.
Installation Instructions provided by ExtremeTerrain Customer
