FREE 1 to 3-Day Delivery on Orders $149+ Details

How to Install Rugged Ridge Black A Pillar Switch Pod LH on your 2007-2013 Wrangler

Shop Parts in this Guide
Item List:
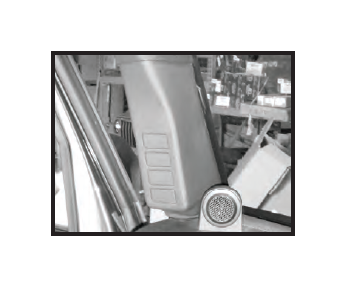
(1) A-Pillar Switch Pod - Left Side
HARDWARE NOTE: Switch Pod has been designed to reuse factory metal retainer clips located on the back of factory trim. DO NOT DISCARD.
Important! Please read instructions completely before installing Switch Pod.
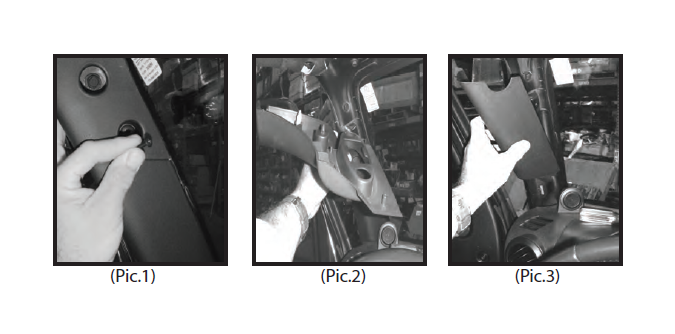
Step 1. Using T20 Torx head screw driver remove left side sun visor. Remove side plastic retainer clip from upper left side windshield trim (Pic.1)
Step 2. Remove upper trim from windshield frame (Pic.2).
Step 3. Pop lower A-pillar trim from windshield frame. (Pic.3)
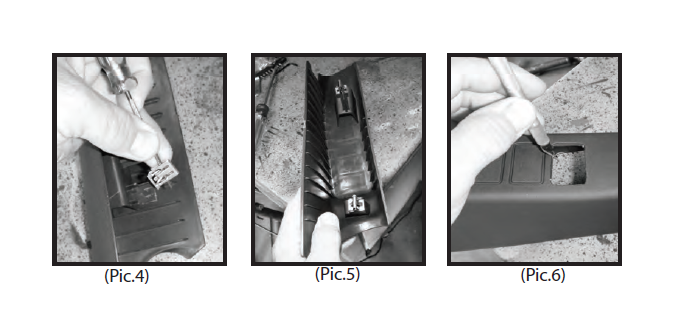
Step 4. Using a small flat head screwdriver remove the retainer clips form trim (Pic.4)
Step 5. Install clips to new A-pillar (Pic.5)
Step 6. Use a box knife to cut along switch locator guides (Pic.6)
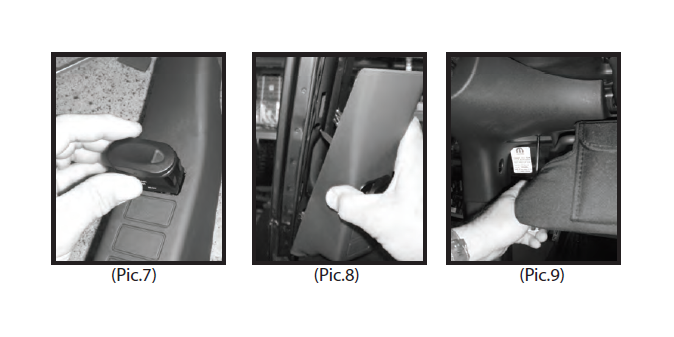
Step 7. Install switch into cutout (Pic.7)
Step 8. Snap new Switch Pod into windshield guide holes (Pic.8).
Step 9. Reinstall upper trim as described in steps 1 - 2 (Pic.9)