 FREE 1 to 3-Day Delivery on Orders $149+ Details

How to Install Mammoth Front Adjustable Track Bar (07-18 Jeep Wrangler JK) on your Jeep Wrangler
Installation Time
60 minutes
Tools Required
- Box Cutter/Knife
- Crescent Wrench
- 15mm Socket
- 21mm Socket
- Socket Wrench
- Torque Wrench
- Tire Chocks (optional)

Shop Parts in this Guide
Installation Instructions:
1. Carefully open the package using a box cutter or knife (Figure A) and ensure the front adjustable track bar is included and undamaged.
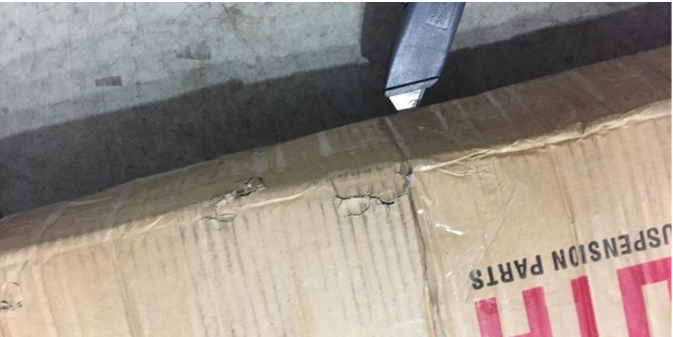
Figure A
2. Place tire chocks in front of tires (Figure B) and set the parking brake.
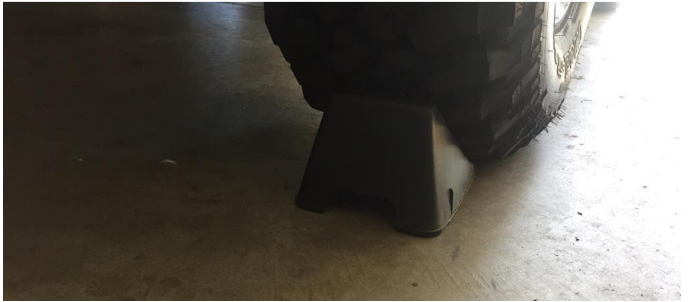
Figure B
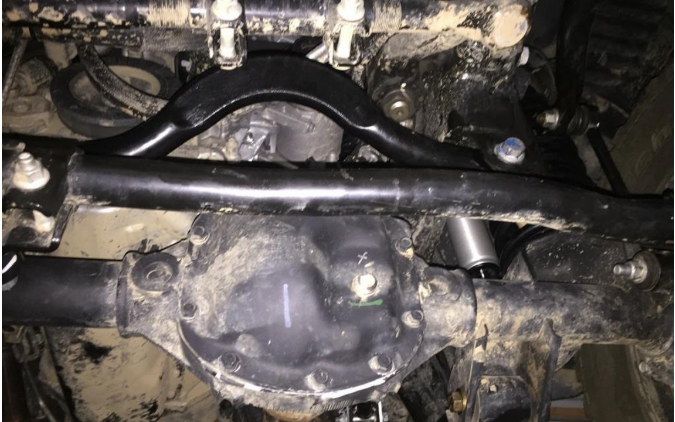
3. Remove the axle side bolt from the front factory track bar using a 21mm socket (rear nut has an extension which will prevent nut from spinning while removing bolt from the front) (Figure C).
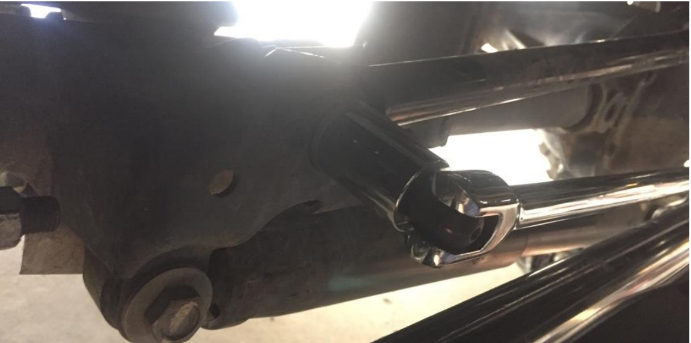
Figure C
4. Remove the frame side bolt from the front factory track bar using a 21mm socket and a crescent wrench on the rear nut (Figure D).
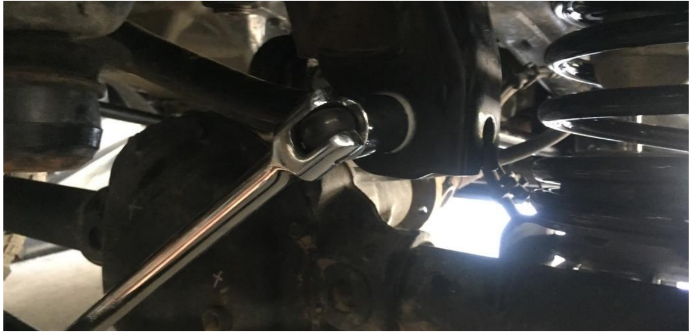
Figure D
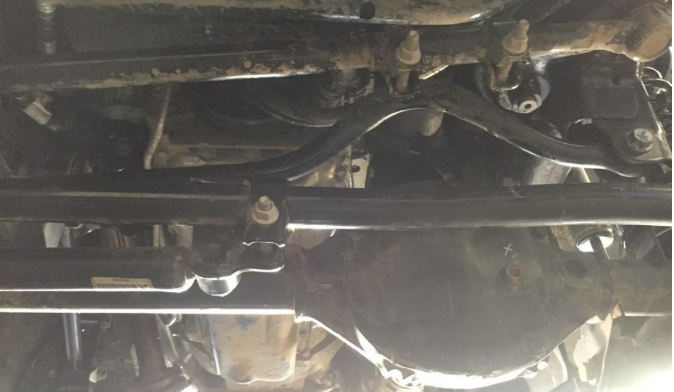
5. Remove the front factory track bar and sit to the side (Figure E).

Figure E
6. Place the Mammoth Front Adjustable Track Bar in place of the front factory track bar (the bend in the track bar should line up above the axle) and thread bolt through the frame mount (Figure F).
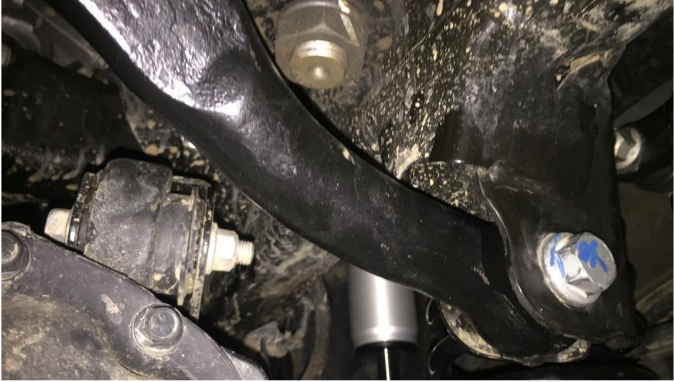
Figure F
7. Position the axle side of the Mammoth Front Adjustable Track Bar to align with the axle mount and thread bolt through the axle mount (Figure G).
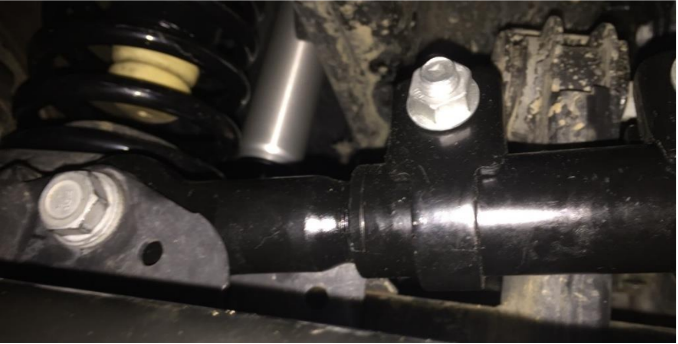
Figure G
8. If the axle side of the Mammoth Front Adjustable Track Bar does not align with the axle mount, adjust the length by loosening the adjustable sleeve using 15mm socket. Once aligned, torque sleeve bolts to 45 ft-lbs. (Optional) Ensure the front tires are spaced correctly by measuring the length each protrudes from the fender flares and
adjusting sleeve until both lengths match.
9. Once both the frame mounted and axle mounted bolts are in place, torque each to 125 ft-lbs (Figure I).
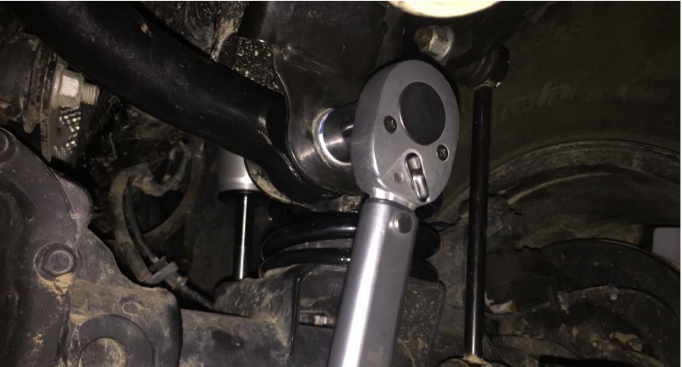
Figure I
Before
After
Installation Instructions Written by ExtremeTerrain Customer J. Sandlin 08/24/2017

