 FREE 1 to 3-Day Delivery on Orders $149+ Details

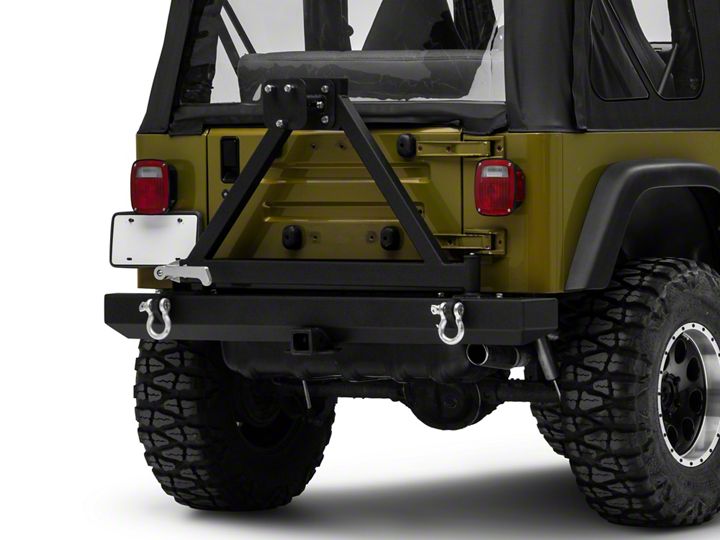
Hot to Install a Barricade Classic Rear Bumper w/ Tire Carrier On Your 1987 - 2006 Jeep Wrangler YJ
Installation Time
1.5 hours
Tools Required
- 13 mm socket
- 15 mm socket
- 16 mm socket
- 17 mm socket
- 18 mm socket and wrench
- 19 mm socket and wrench
- T20 Torx
- Allen keys
Shop Parts in this Guide
Pre-Installation notes:
Bolts attaching factory bumper may be heavily corroded. Use of a penetrating lubricant prior to removal is helpful for easier removal.
Installation Instructions:
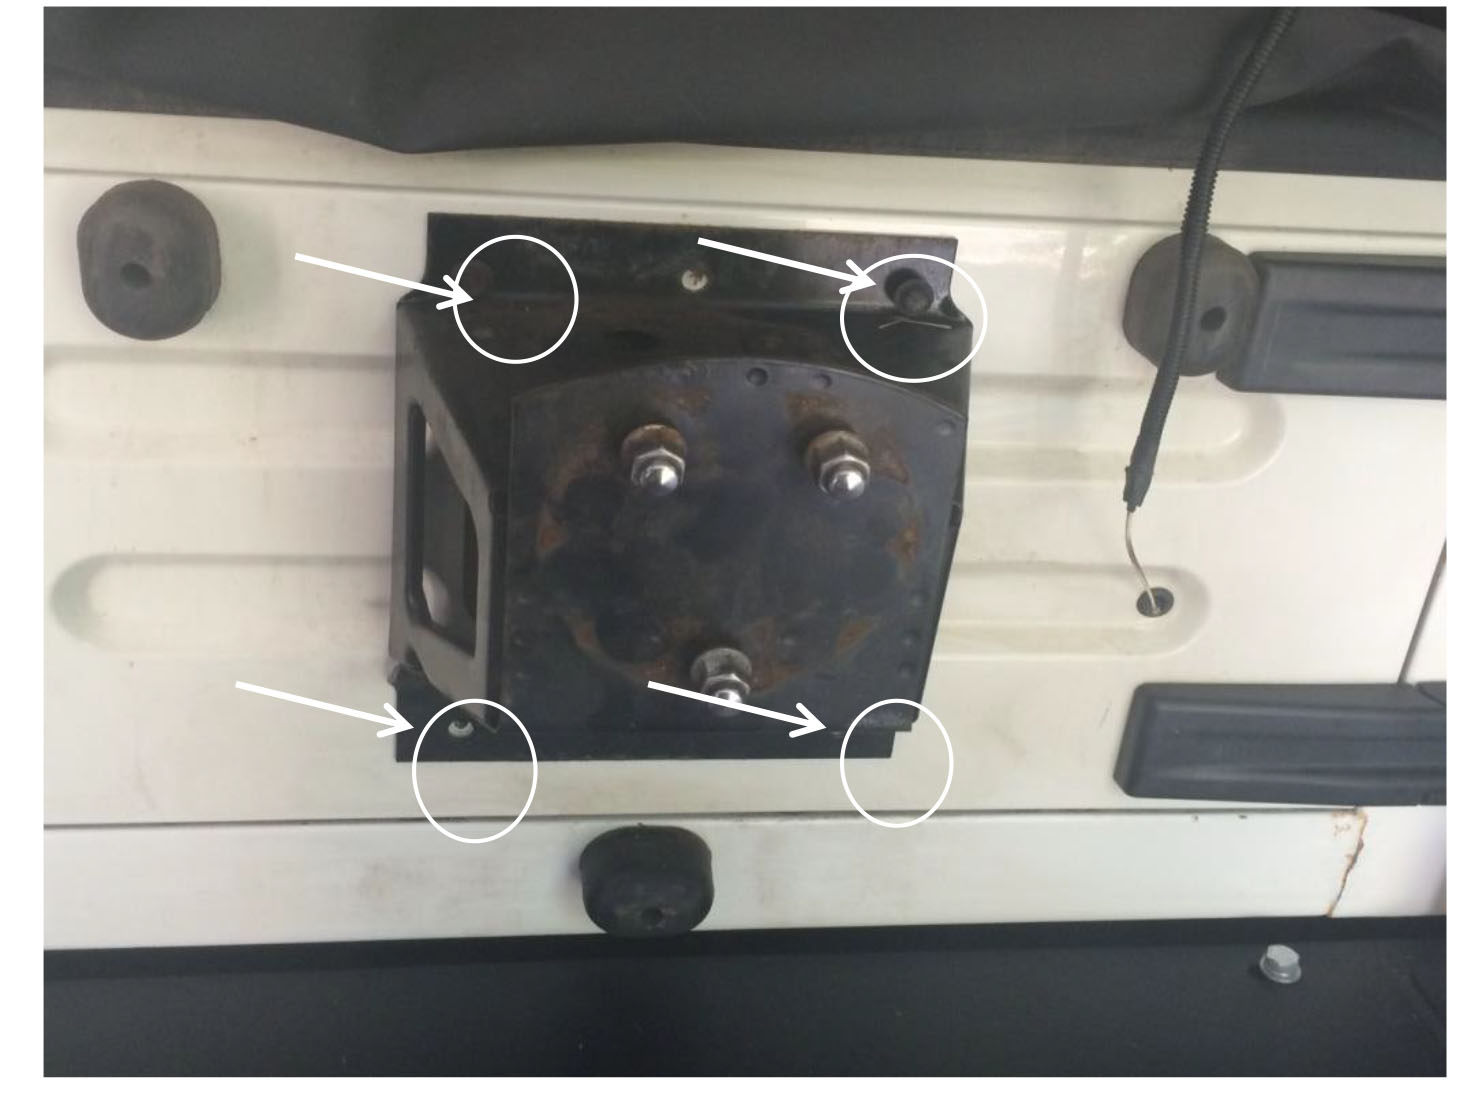
1. Remove the four 13mm bolts which connect the third brake light to the tire carrier. Disconnect the third brake light and remove from the tire carrier. A T-20 torx driver can be used to access the brake light behind the lens. See picture below.
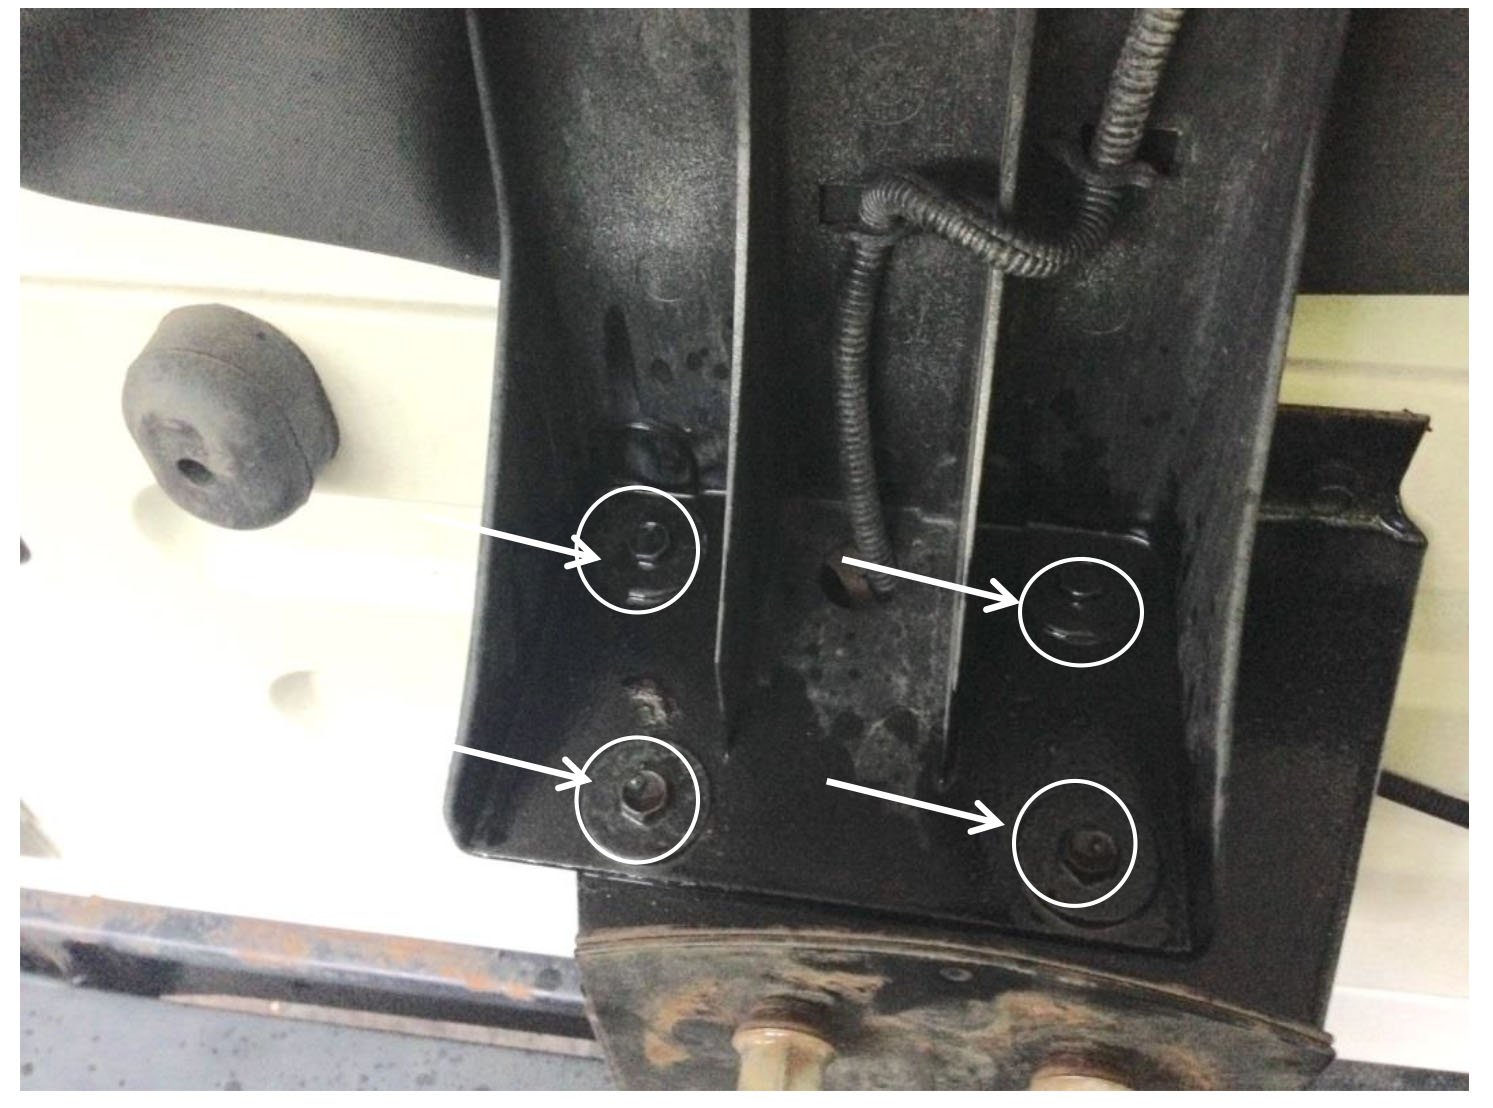
2. Remove the four 13mm bolts which attach the tire carrier to the tailgate. See picture below.
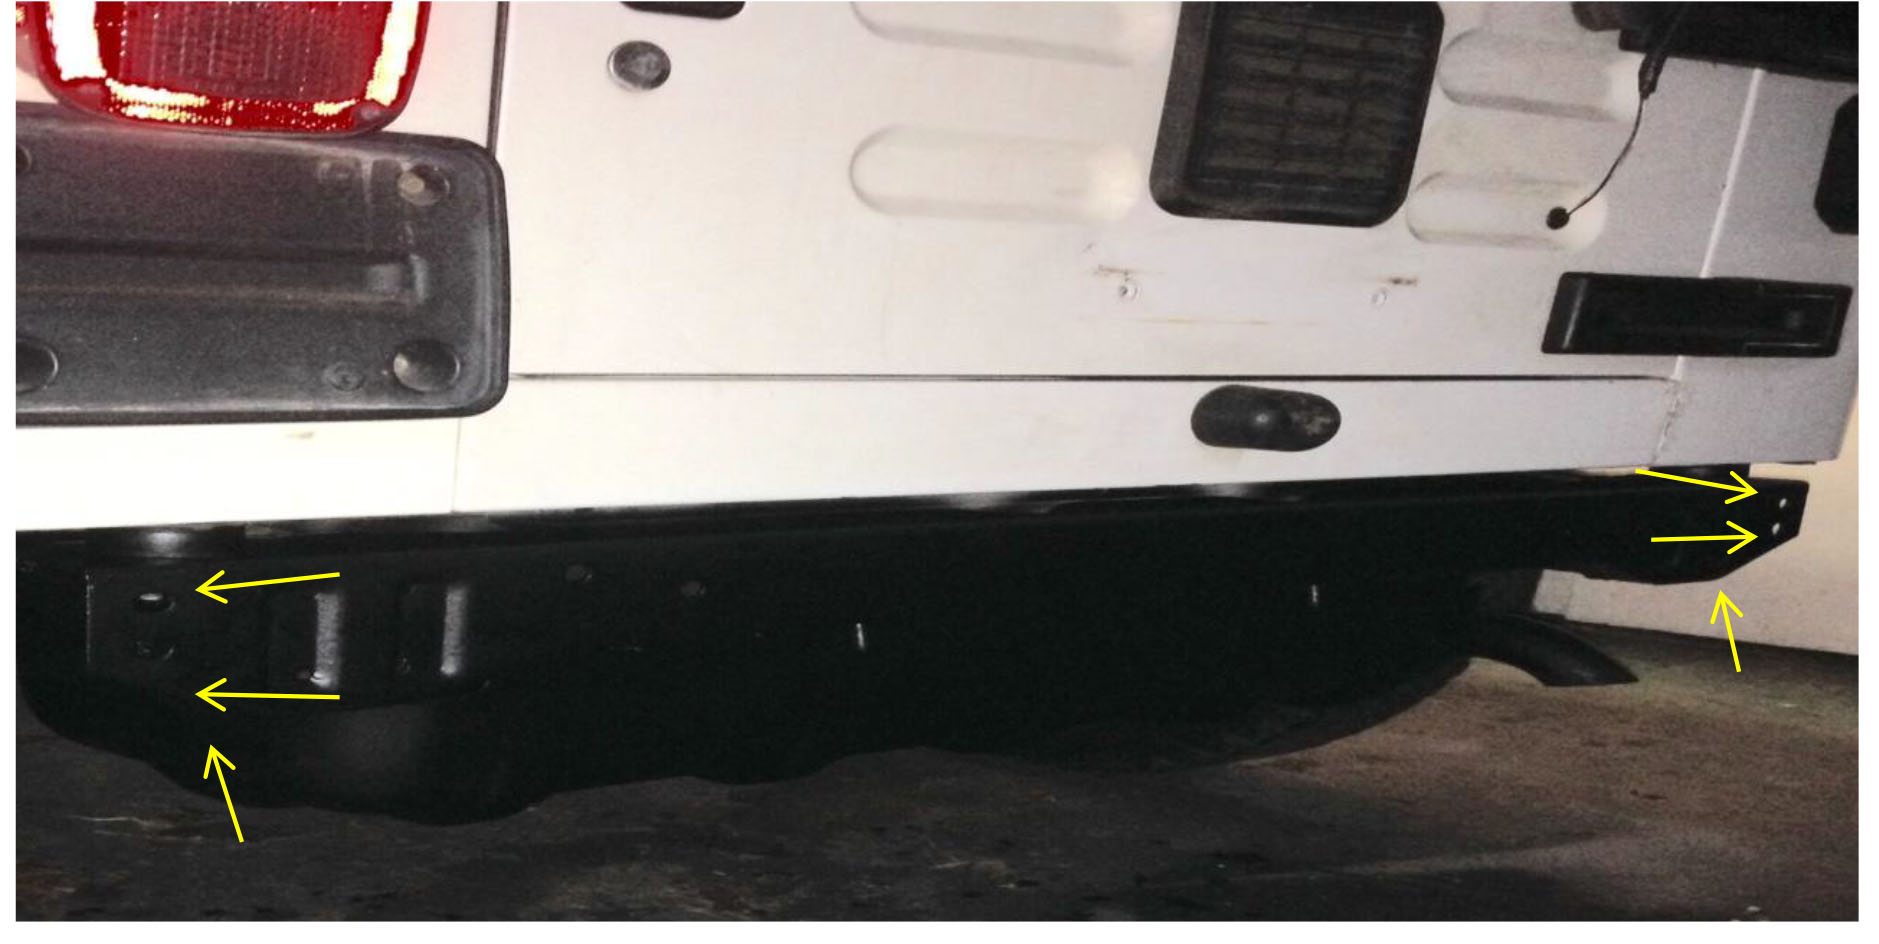
3. Remove the plastic bumper ends using a torx screw driver. This will allow access to the bolts which attach the bumper to the Jeep. Remove the two 18mm bolts nuts on each end, and the 18mm bolt which screws into the bottom of the frame. There are three bolts on each side (six total). Once bolts are removed, remove the old bumper. See picture below.

Below is a picture of a Jeep with the bumper removed. Arrows indicate the six mounting holes from the factory bumper, which will now be used in the installation of the new Barricade bumper.
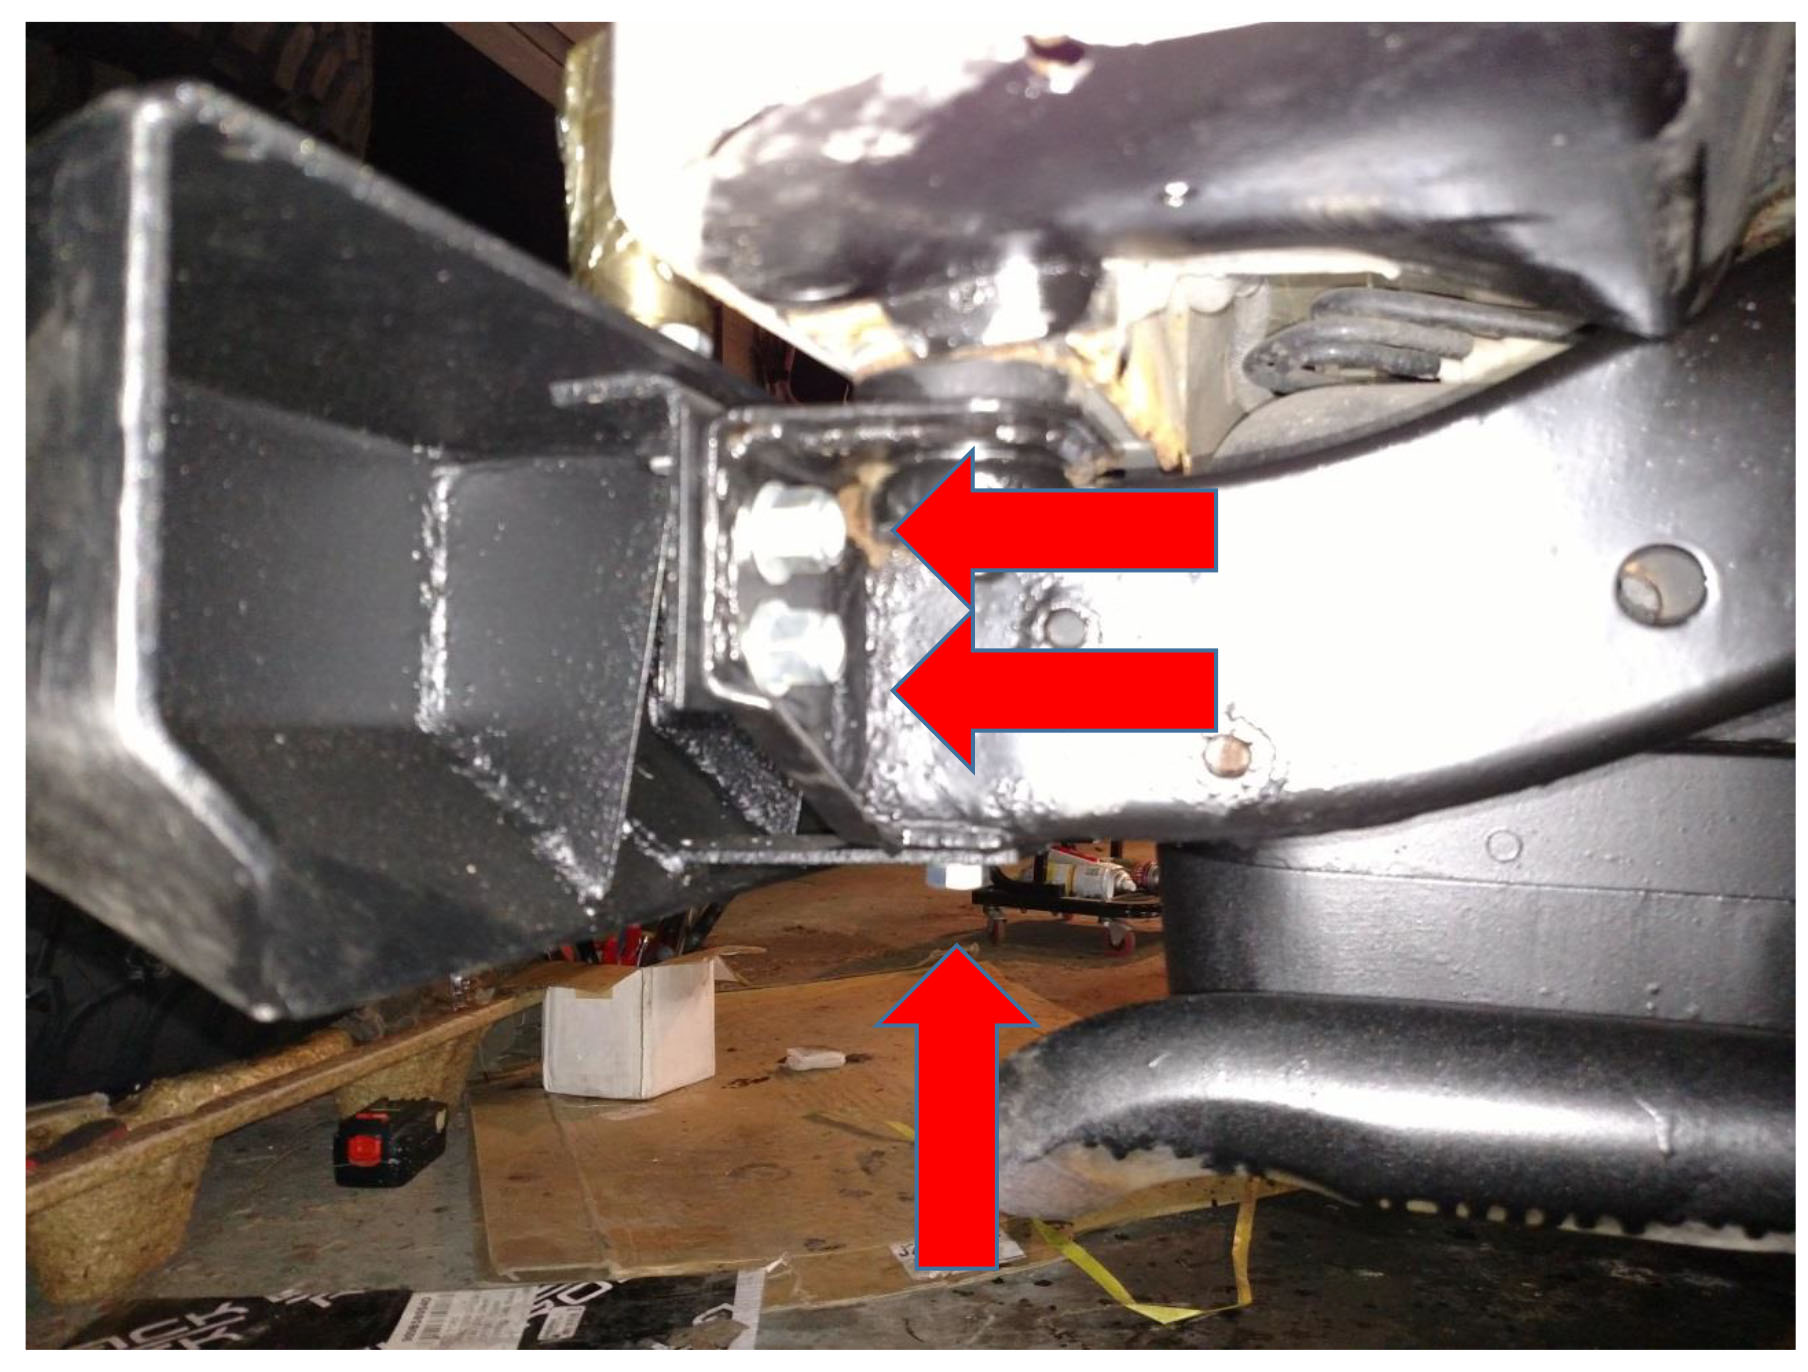
4. Install the new Barricade bumper using six 18mm bolts. Use the same holes used by the original bumper (three bolts on each side). See below.
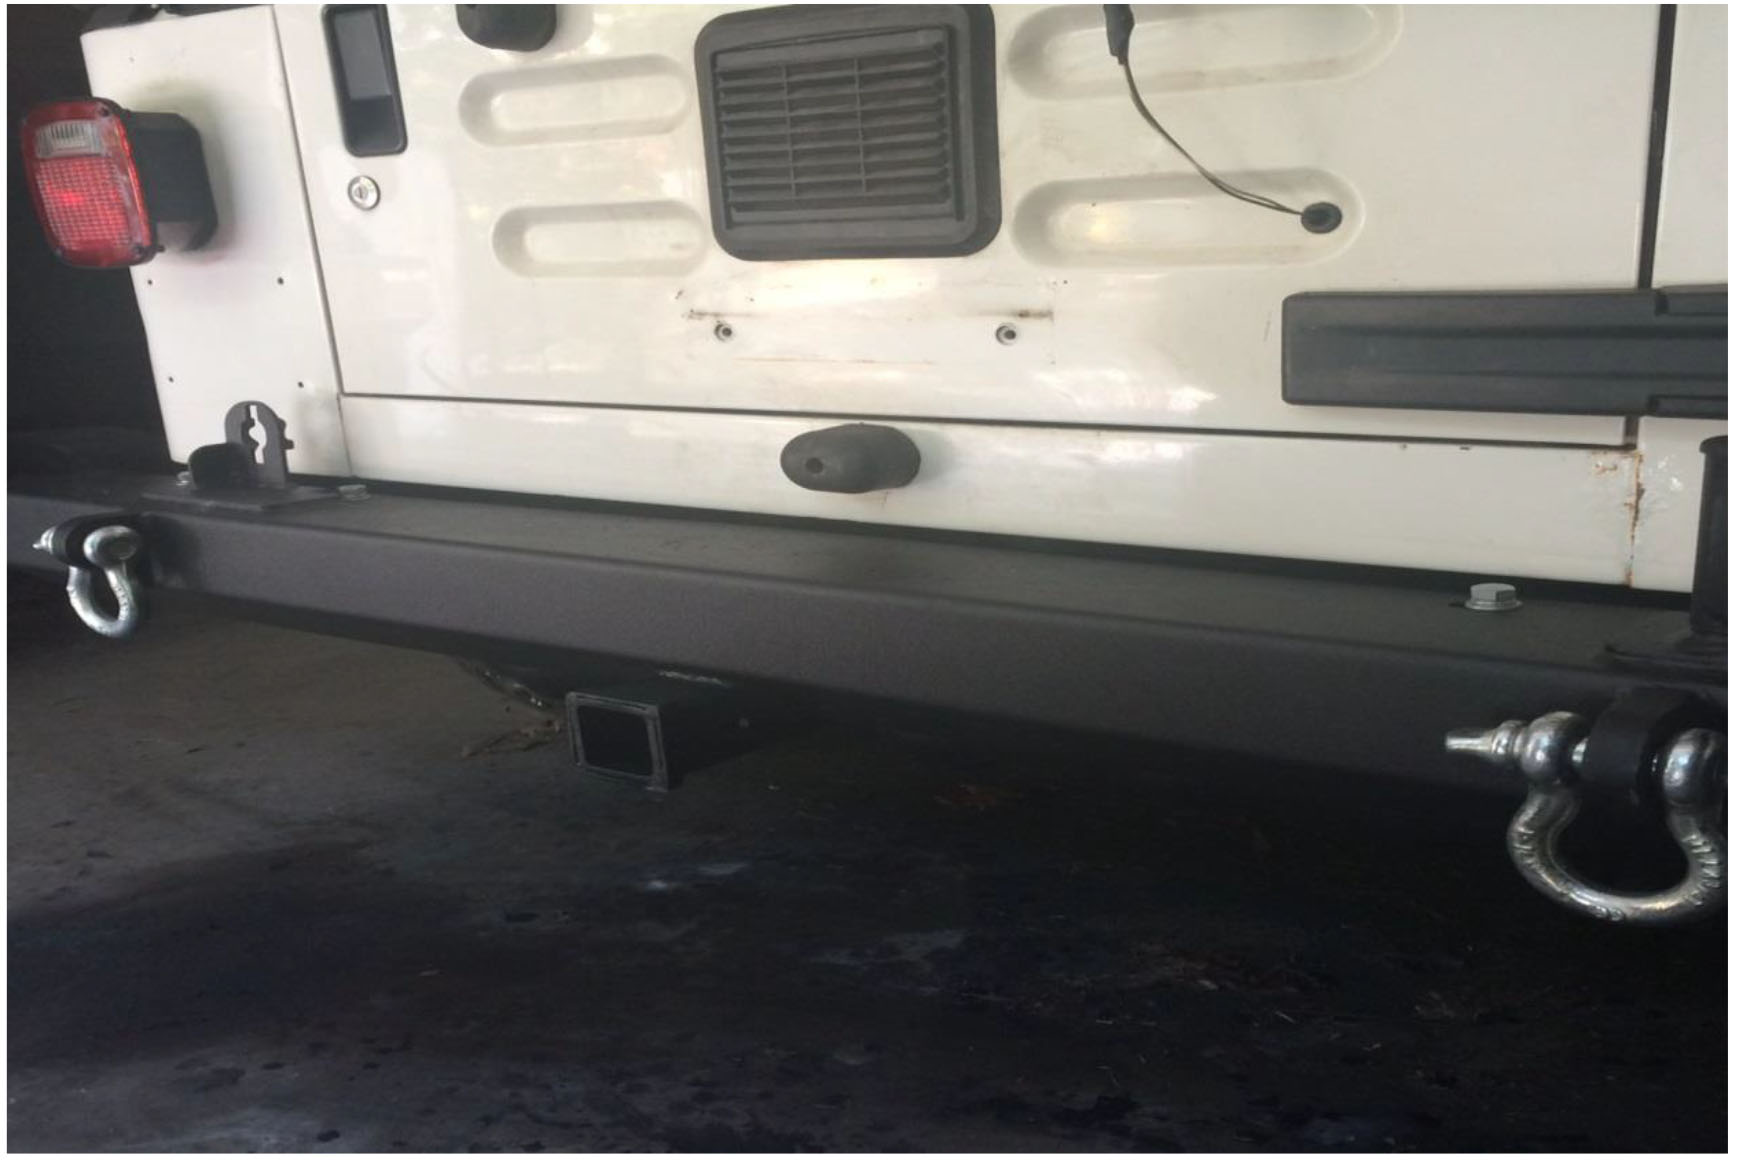
Picture of installed Barricade bumper:
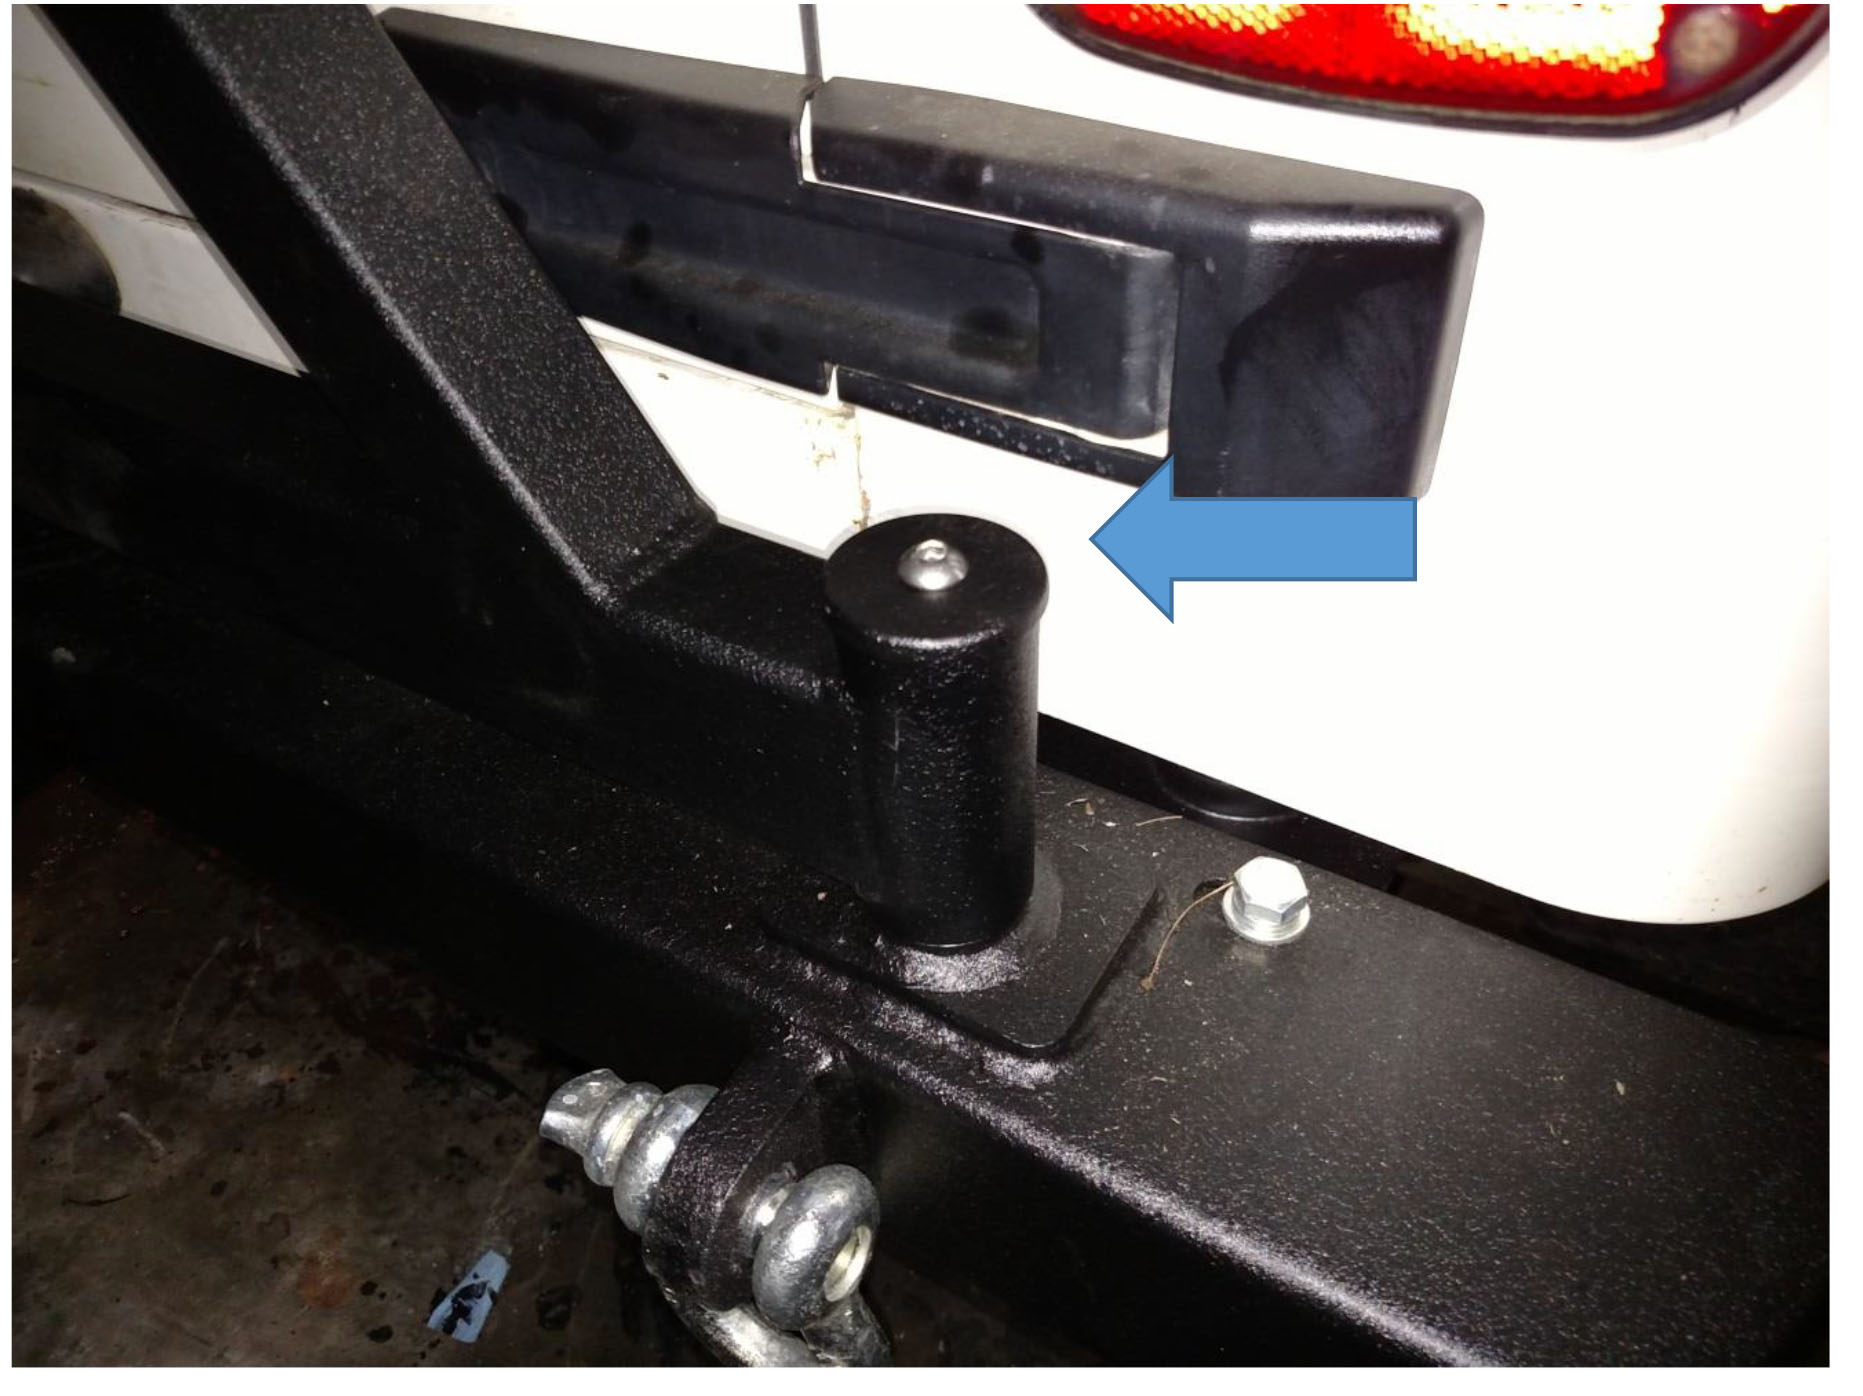
5. Place swing arm down onto the spindle. Greasing the spindle will ensure that the tire carrier will move freely. See picture below.
6. Insert handle into swing arm and attach using supplied bolts. Note that the bolt is 16mm and the nut is 17mm. It may be necessary to trim corner of license plate holder to close tire swing.
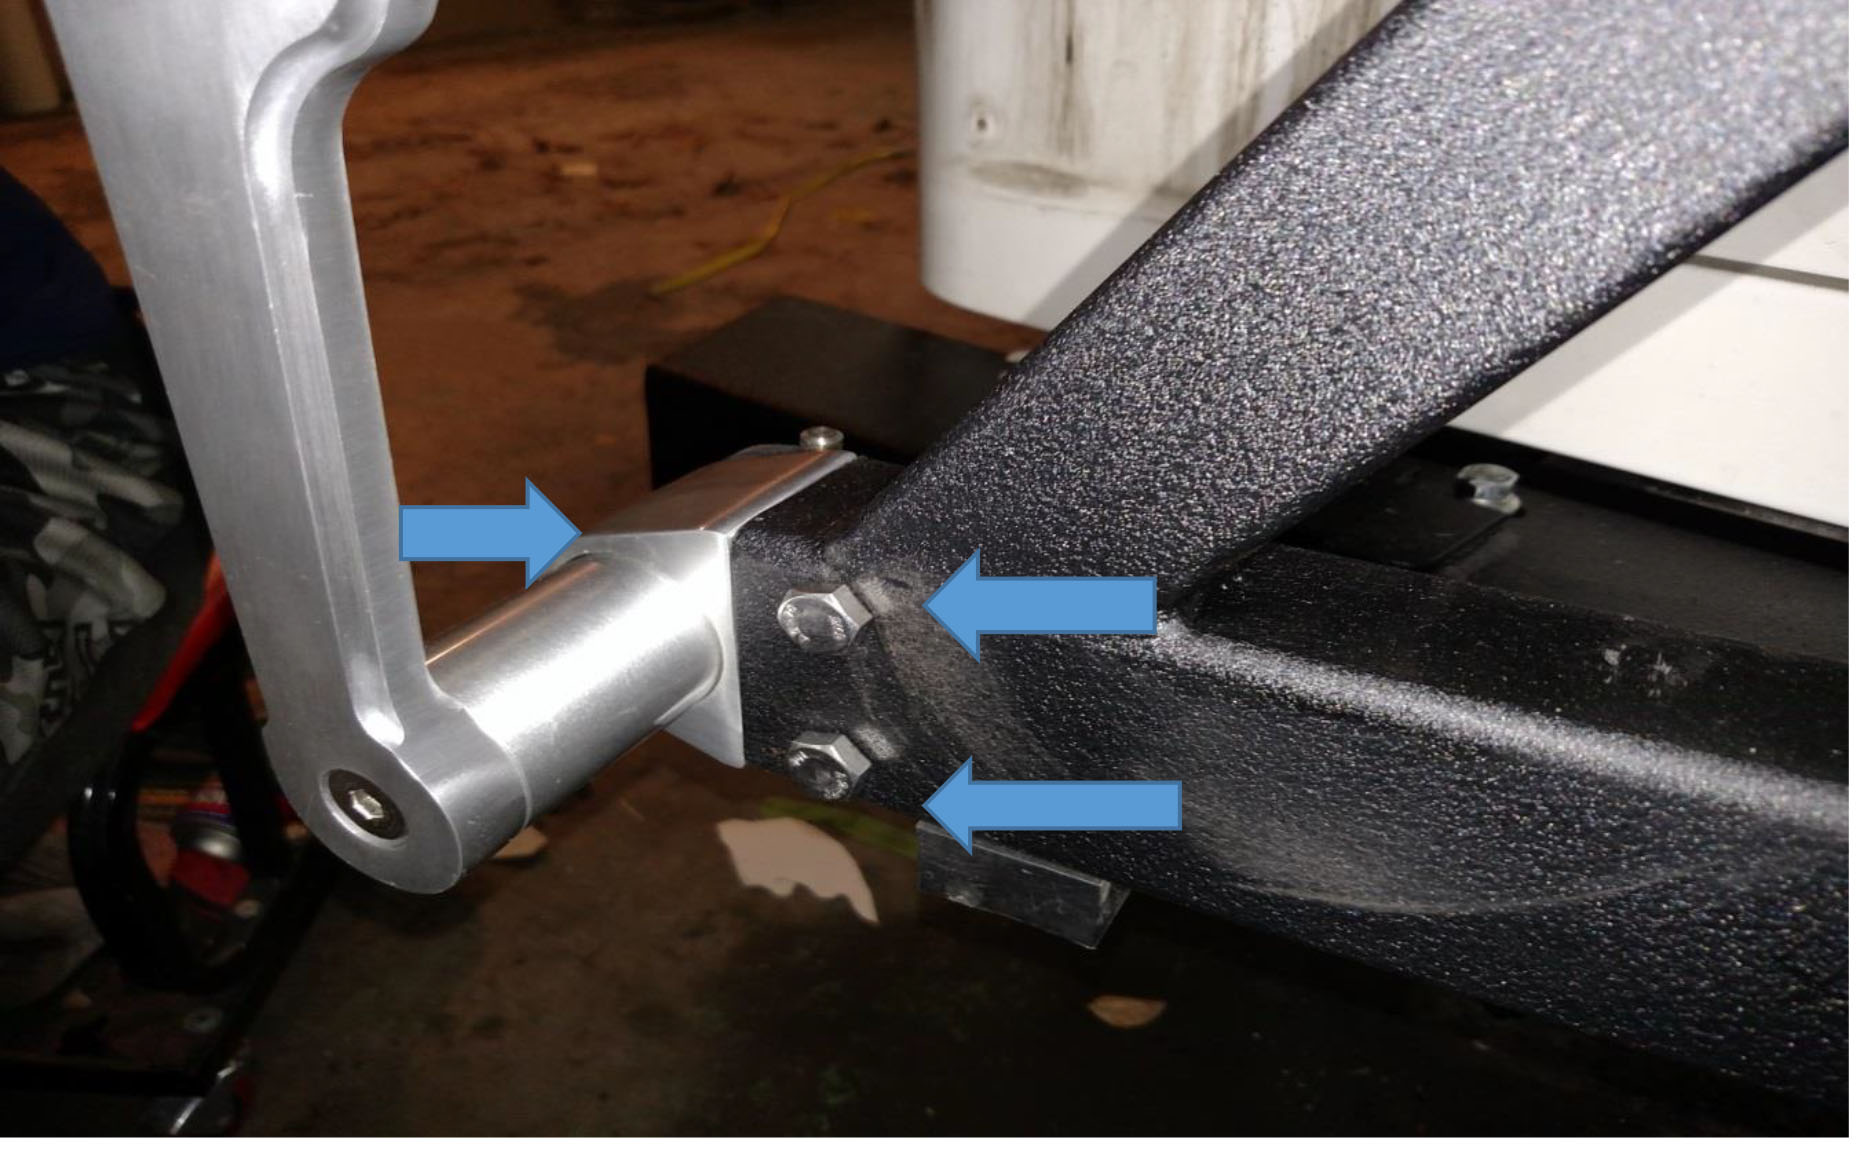
7. Install cap on swing arm and tighten using supplied allen bolt. See below.
8. Install the tire carrier to the swing arm using the four supplied 19mm bolts. See below.

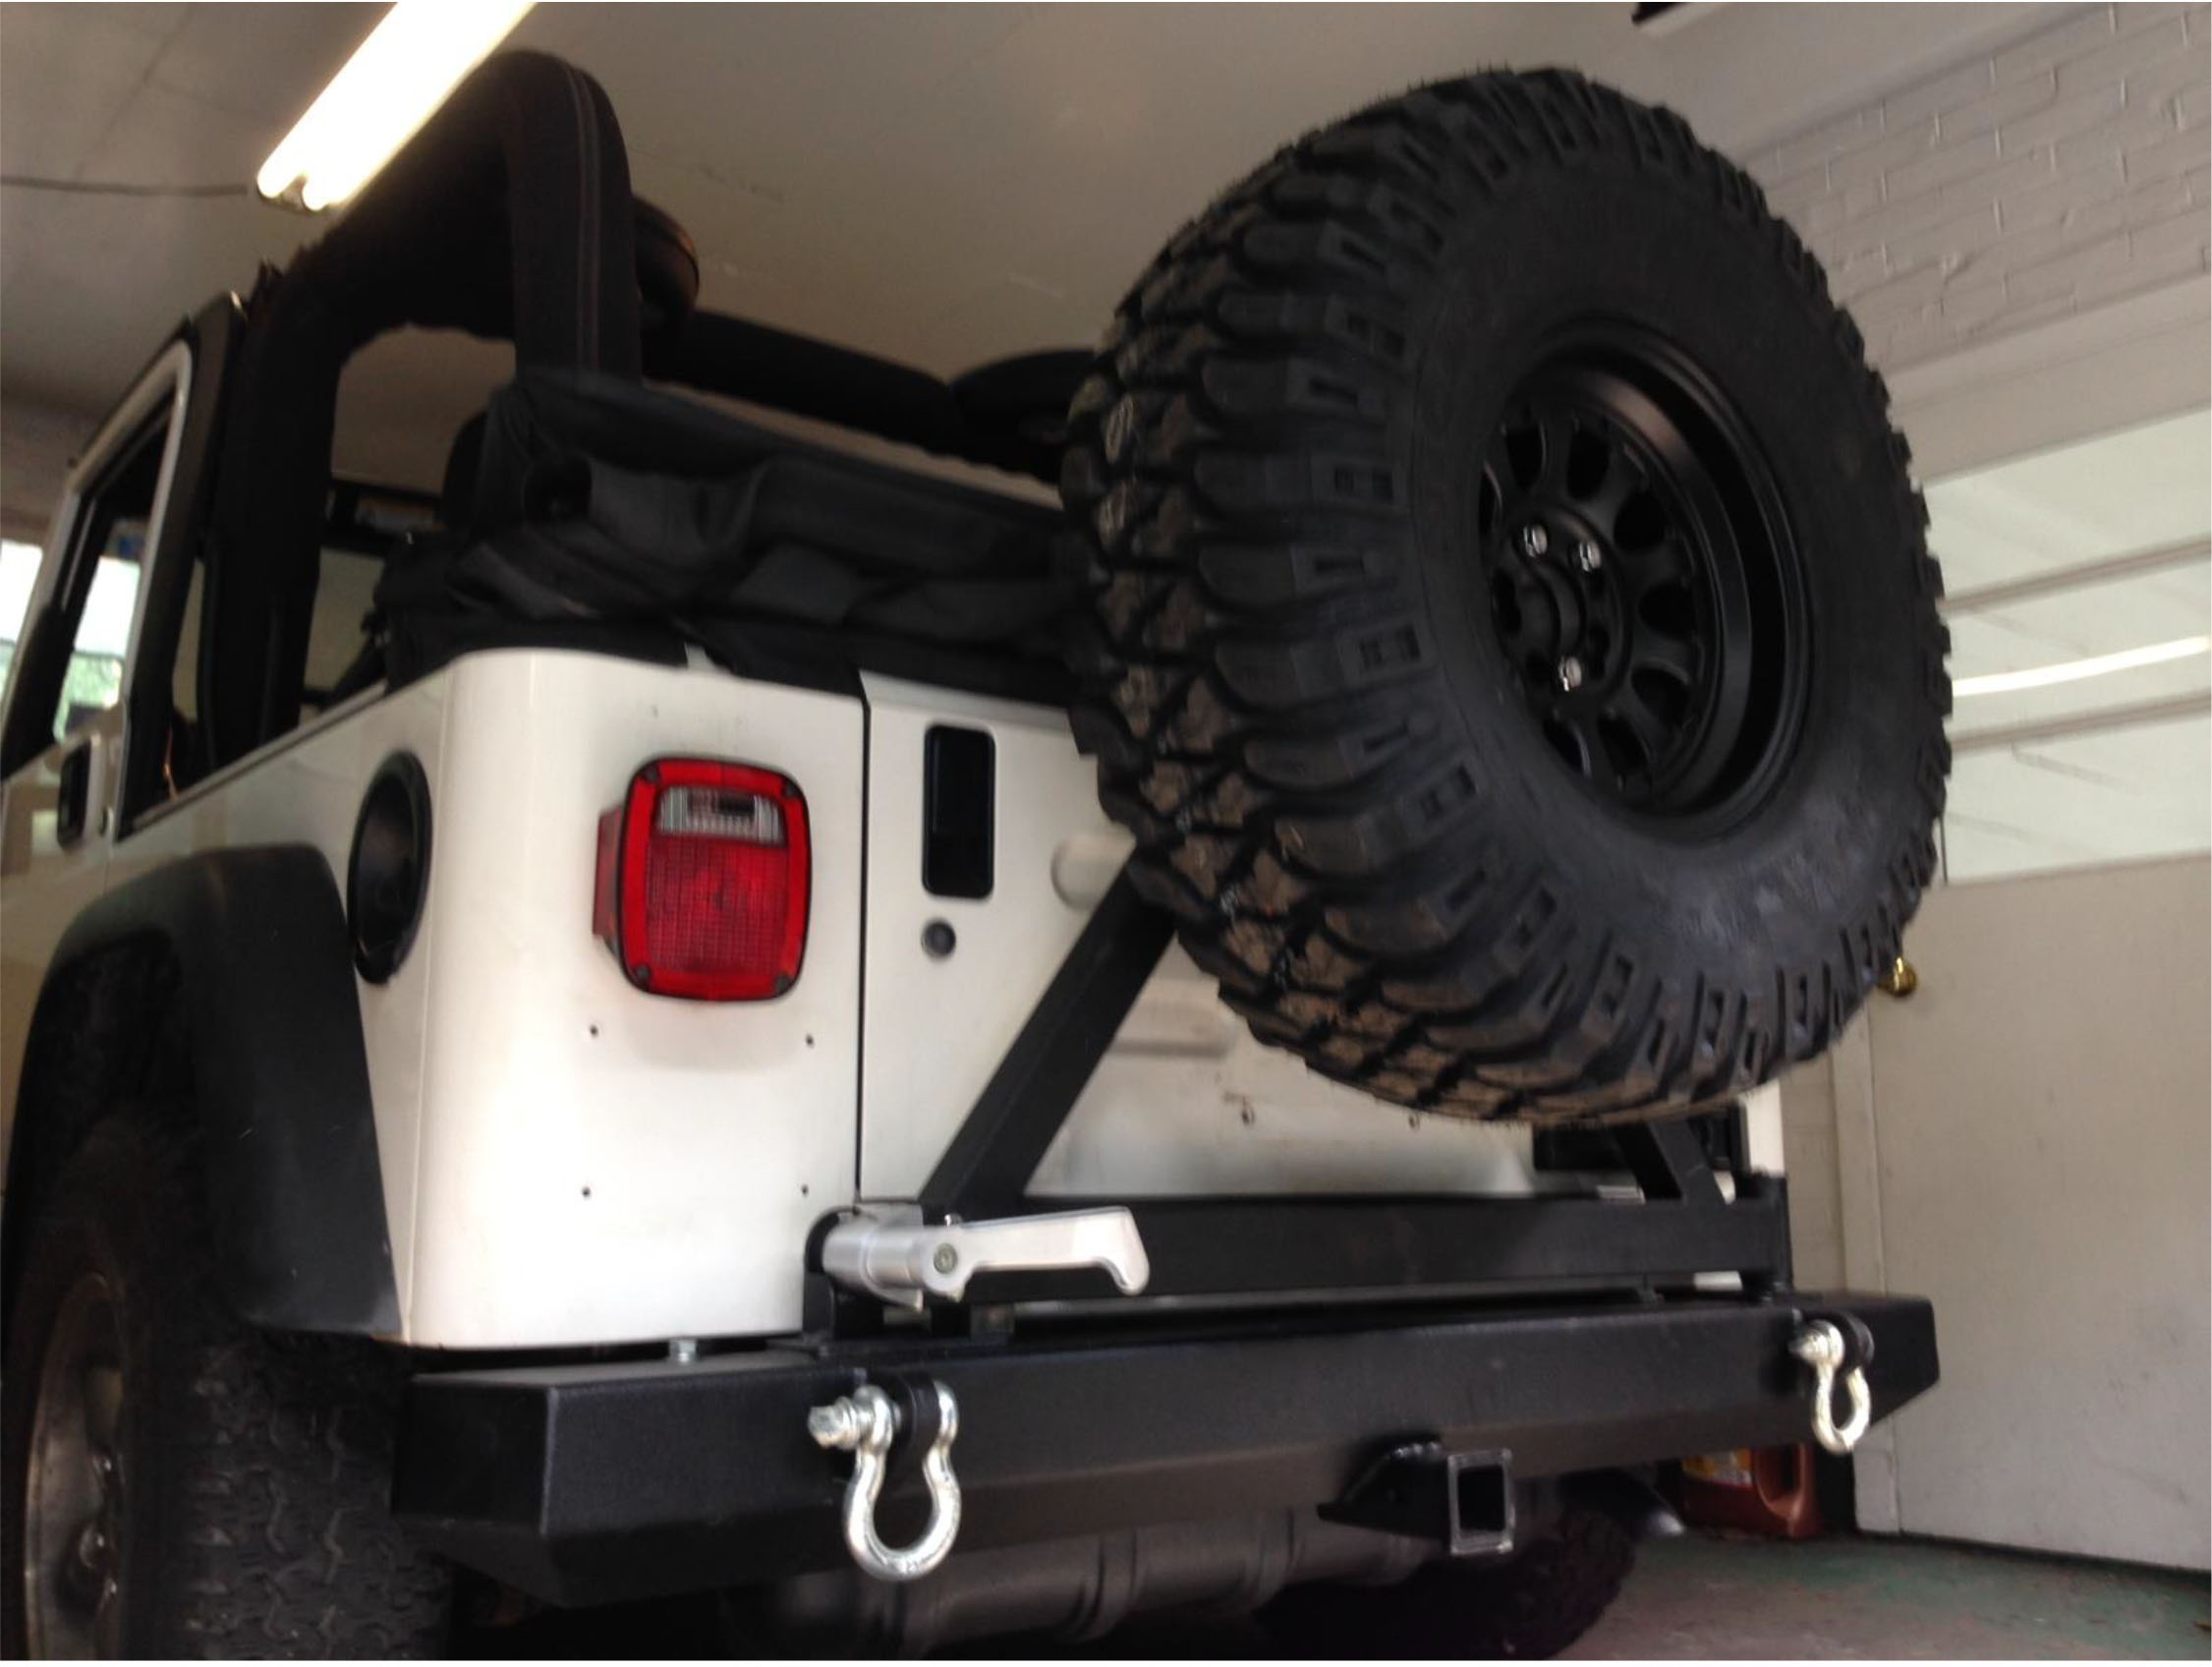
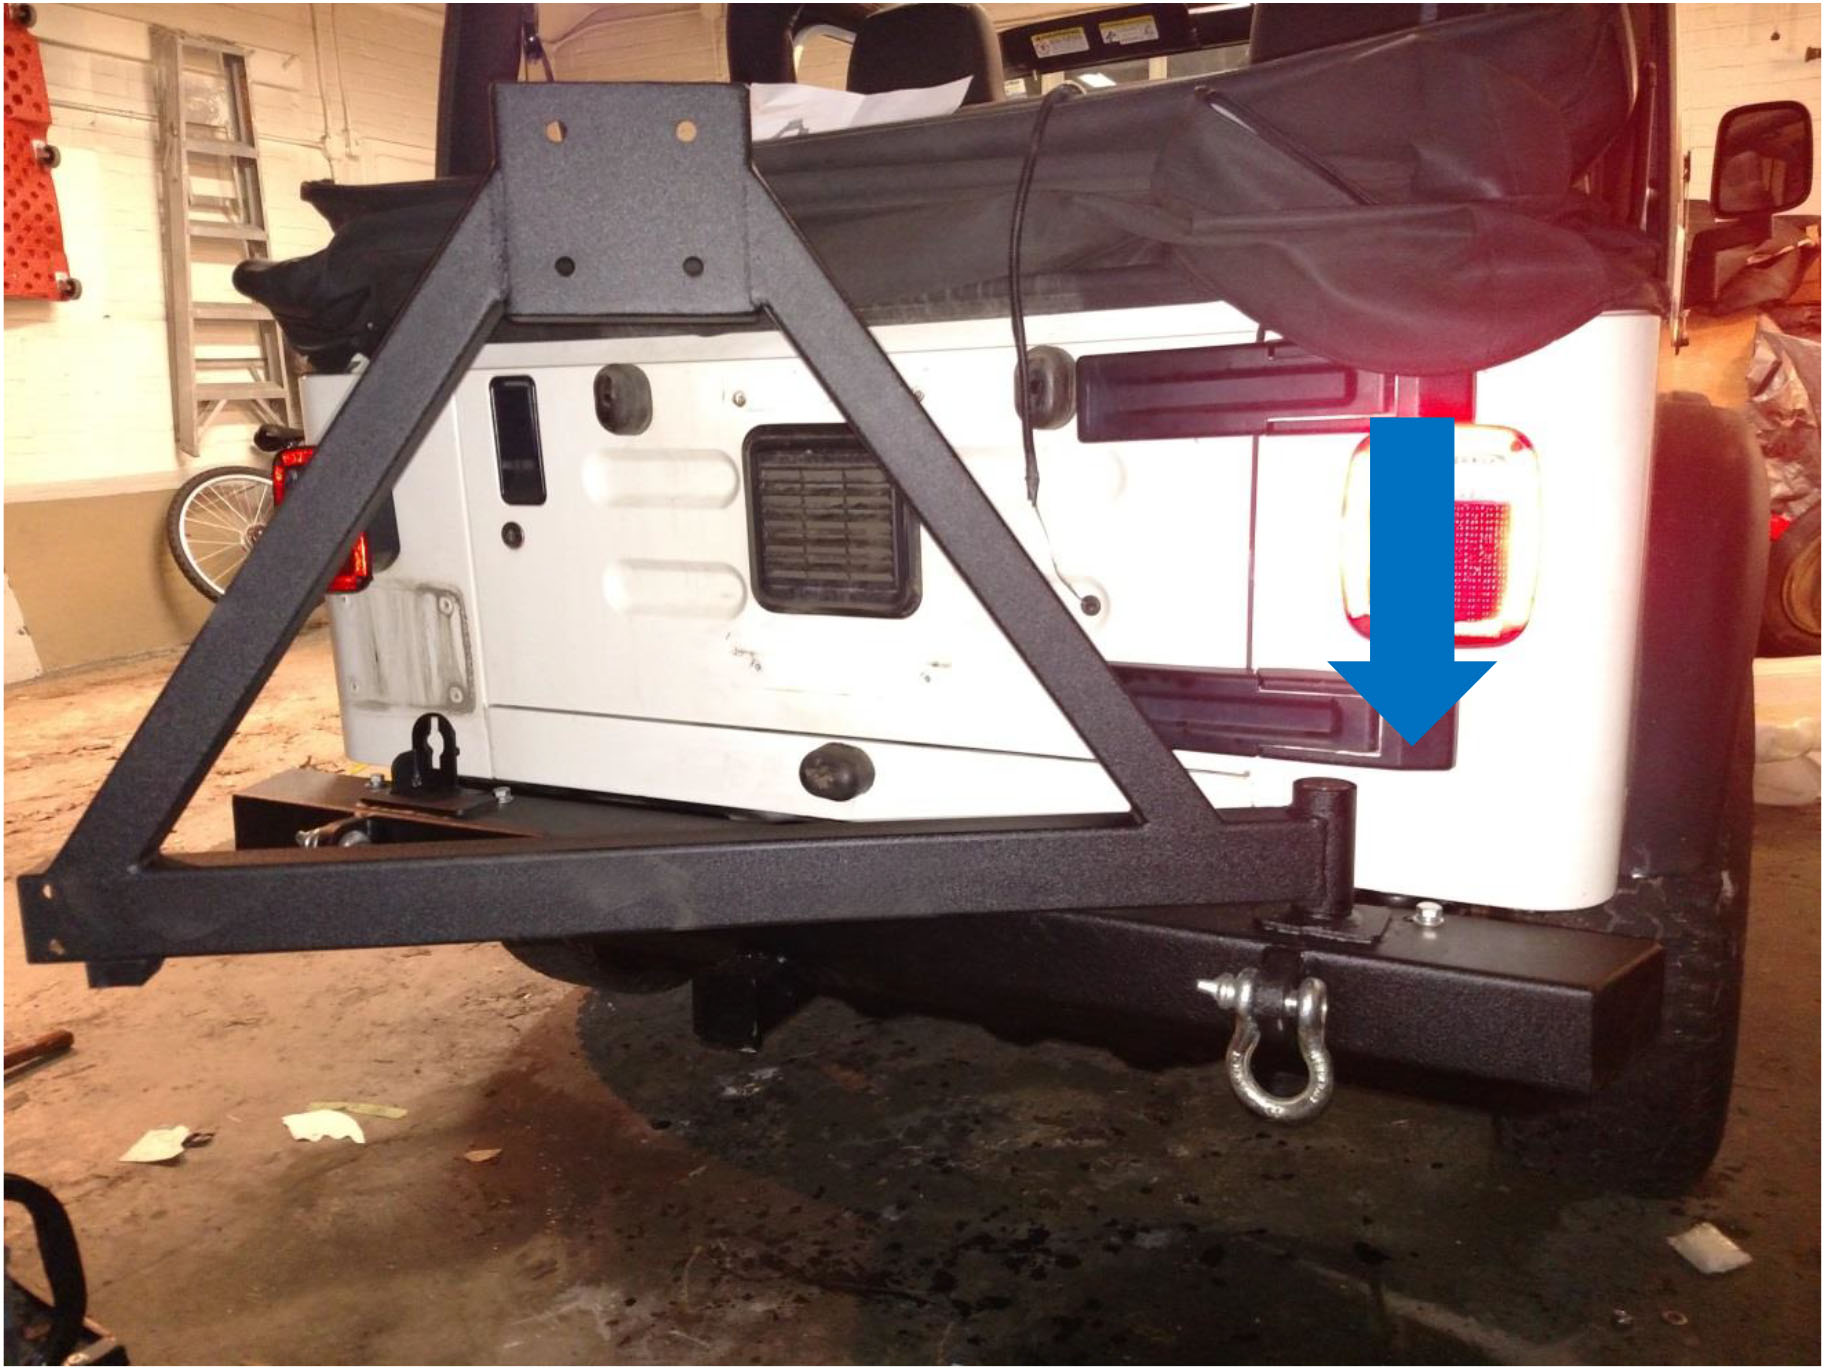
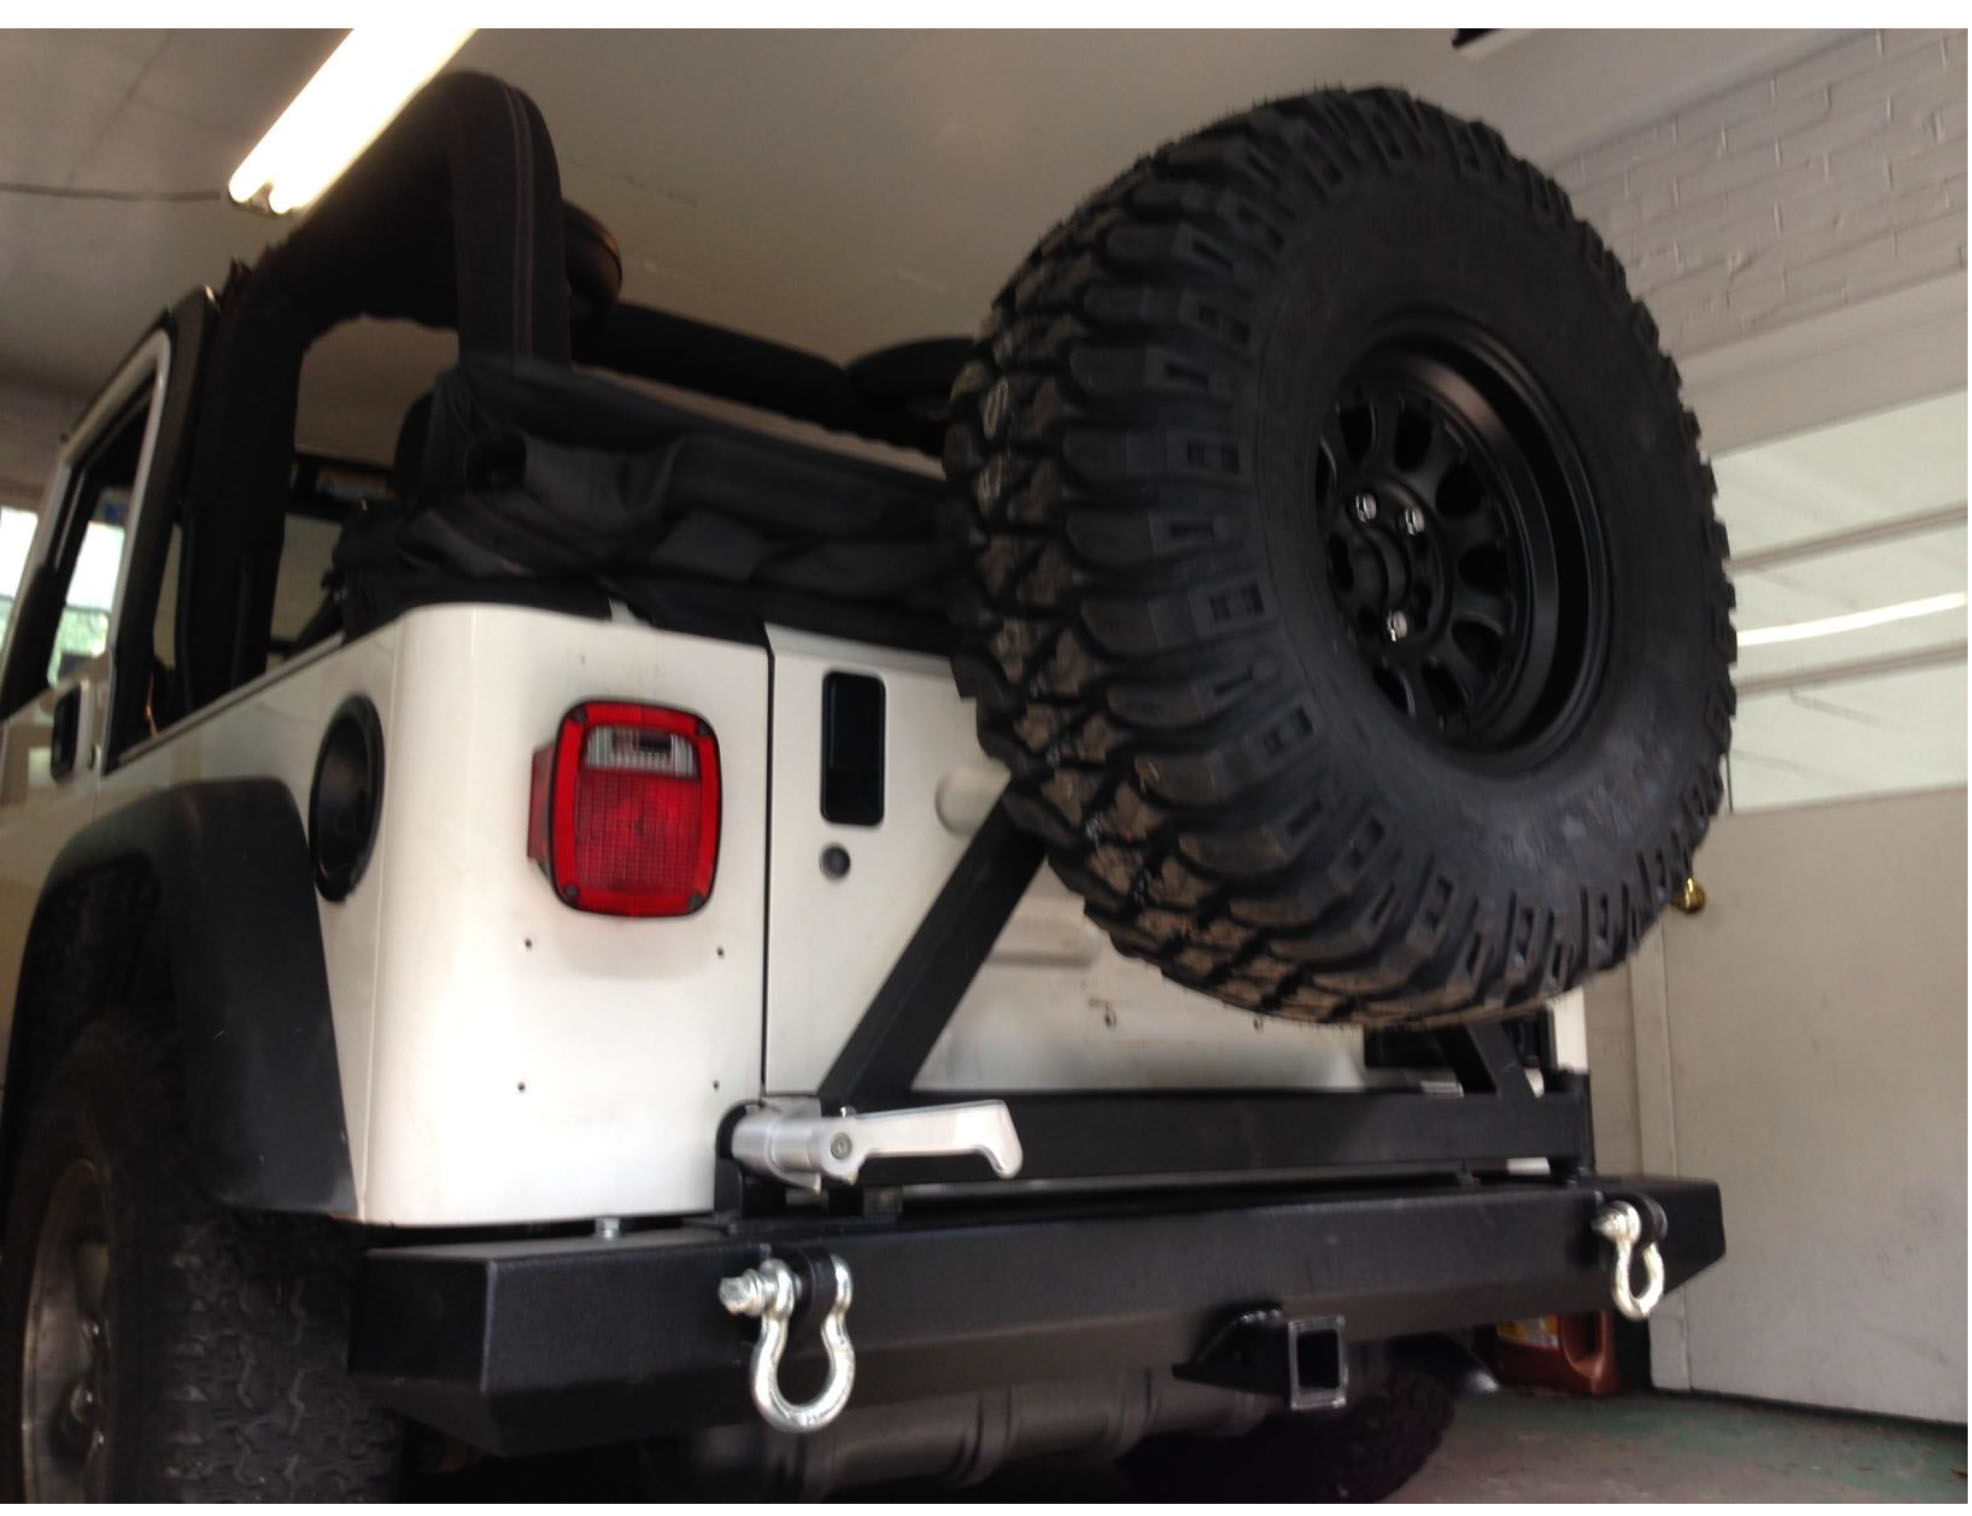
9. Install spare tire using the three supplied lug nuts. It may be necessary to adjust the depth of the tire carrier by loosening the two bolts on the tire carrier arm in order to ensure proper fitment. Note that supplied lug nuts are 13/16ths and therefore bigger than the original lug nuts. They may not be compatible with factory lug wrench. See completed picture below.
Installation Instructions Written by ExtremeTerrain Customer Eric Noll 8/9/2015

