FREE 1 to 3-Day Delivery on Orders $149+ Details

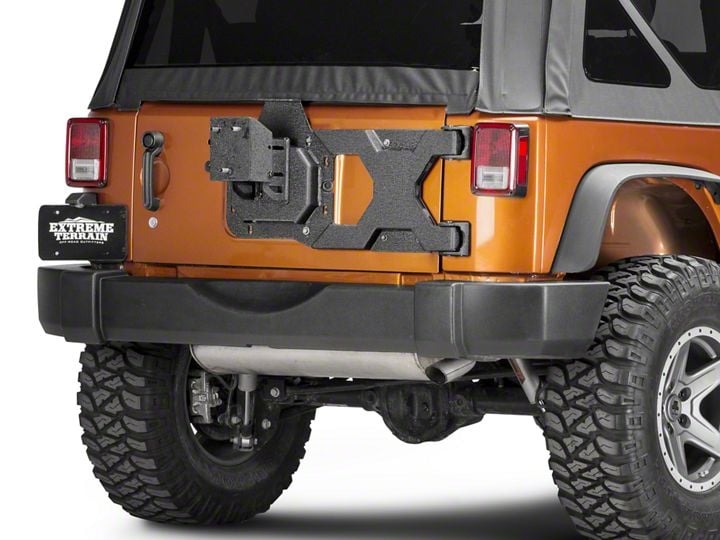
How to Install Barricade HD Tire Carrier w/ Mount (07-17 Wrangler JK) on your Jeep Wrangler
Installation Time
2 hours
Tools Required
- Socket Set
- Allen Sockets
- T-50 Torx
- Panel Removal Tool
Shop Parts in this Guide
Contents:
(2) Hinge Mounts
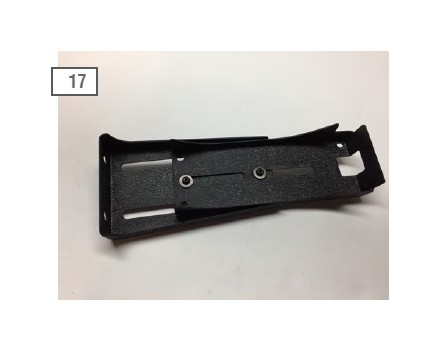
(1) Tire Carrier Bracket
(1) Tire Carrier Inner Mount
(1) Tire Carrier Mount
(1) Foam
(1) 3rd Brake Light Mount Upper&Lower
(2) Hinge Pins w/ c-clips
(1) Thin Spacer
(1) Thick Spacer
(1) Hardware Kit
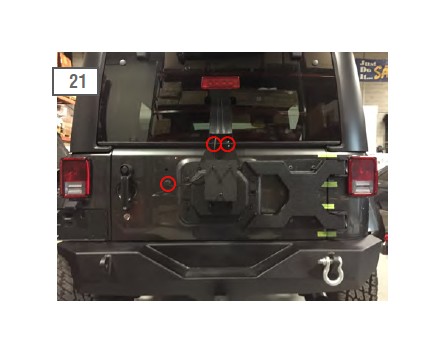
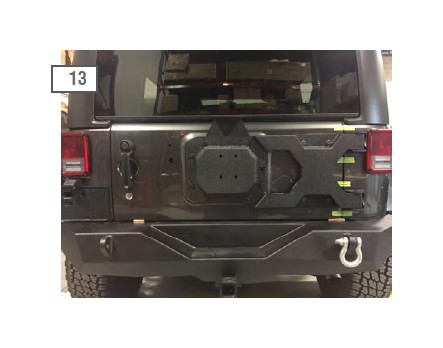
Begin by removing the spare tire.

Open the tailgate to access the 3rd brake light connector. Remove the vent cover with a panel removal tool. Unclip the brake light wiring harness. Close the tailgate. Do not install the vent cover.

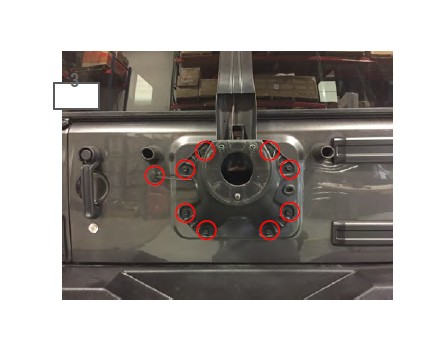
Remove the (8) 13mm bolts holding the factory tire carrier in place. Remove the 3rd brake light wiring grommet to remove the plug from the vehicle.
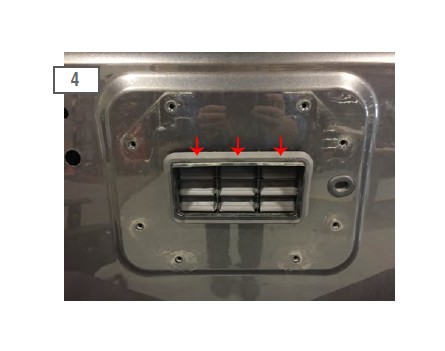
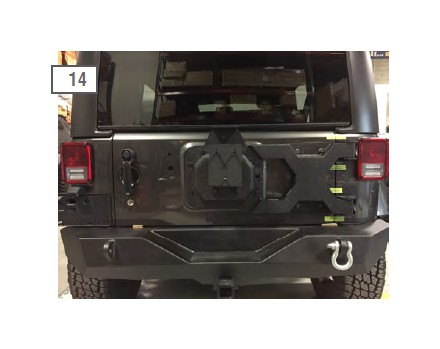
Using a panel removal tool, remove the factory air vent.
Next, apply painters tape to the vehicle so that you can line up the tailgate correctly if need. Mark the tailgate in several locations. Use a straight edge to mark the tape as a visual reference. Use a razor blade to cut the tape in half at the seam.
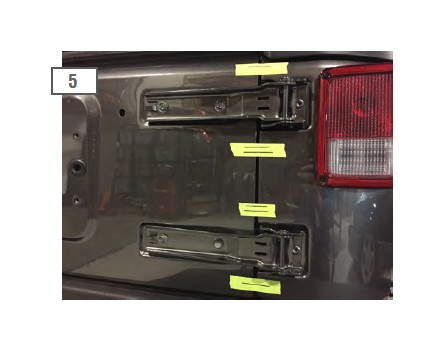
Shim the bottom of the tailgate to prevent it from sagging when the hinge bolts are removed.
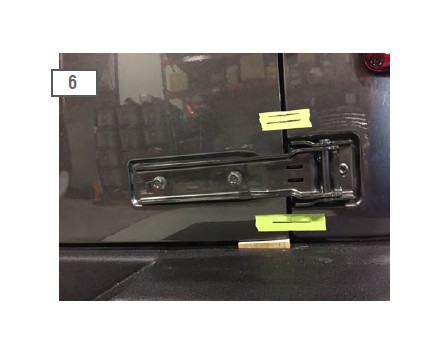
Remove the plastic hinge covers followed by (2) 13mm bolts securing the hinge each hinge to the tailgate.
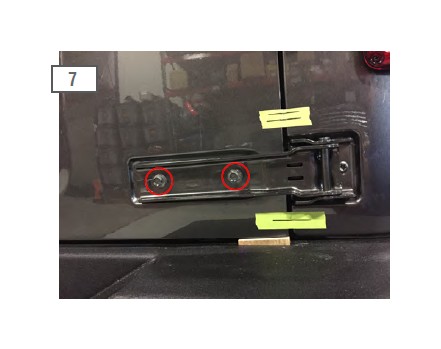
With the hinges unbolted from the tailgate, open the hinge to access the (3) T-50 Torx bit bolts.
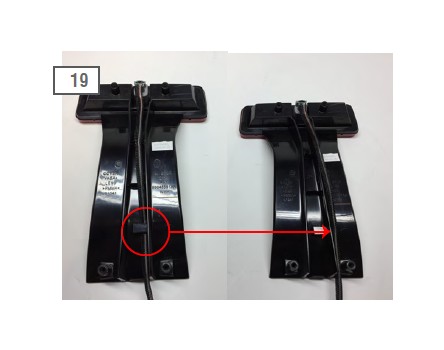
Attach the supplied hinge mounts using the factory T-50 Torx bolts. Tighten the bolts down is several passes, they will self-center.
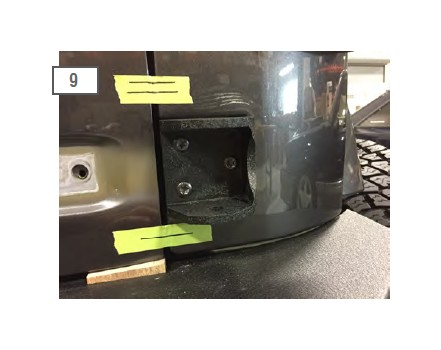
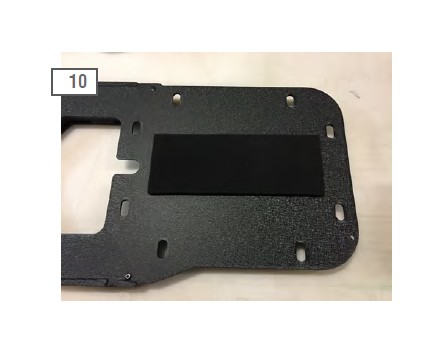
Install the foam cover for the air vent hole. Remove the double sided tape backing on all (4) corners. Install the foam to the tire carrier bracket.
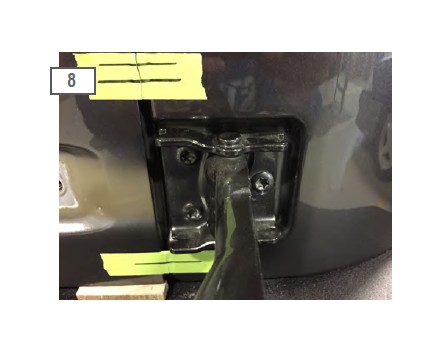
Install the tire carrier bracket to the hinges using the supplied hinge pins. Once installed secure the hinge pins using the provided c-clips. **Note: A rubber mallet may be needed to seat the hinge pins.
Place the thin spacer behind the upper tire carrier bracket mount, and the thick bracket behind the lower tire carrier bracket mount.
Use the factory hardware to secure the tire carrier to the tailgate. Ensure the reference marks made earlier still line up prior to tightening the tire carrier bracket.
Mount the tire carrier base to the tire barrier bracket using the (4) provided bolts and washers.
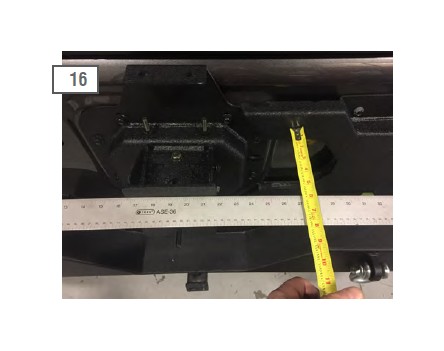
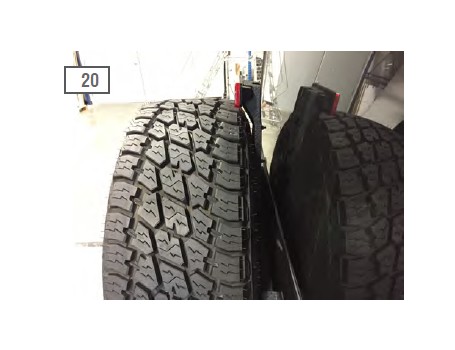
Next, loosely install the tire carrier. Measure the backspacing required by placing a straight edge across the tire. Then, measure to the mounting hub of the tire.
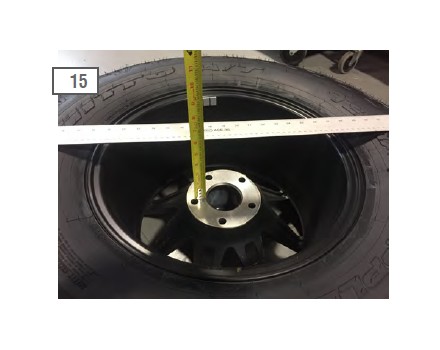
Place the straight edge on the tire carrier, slide the carrier in or out to accommodate the tires backspacing. If the backspacing measures 7 inches, set the tire carrier to 6.75" to all the tire to rest on the carrier when the wheel is torqued down. Tighten all bolts.
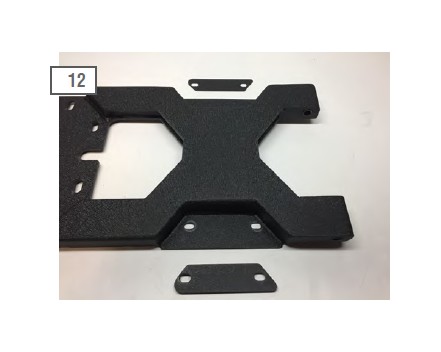
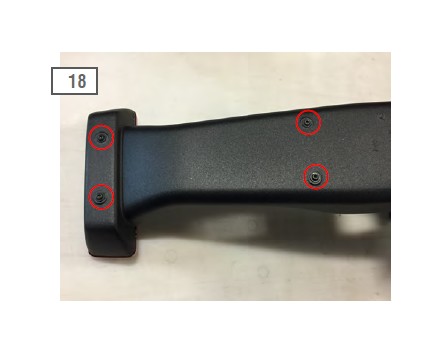
Loosely install the upper and the lower half together using the supplied Allen bolts, washers, and lock nuts.
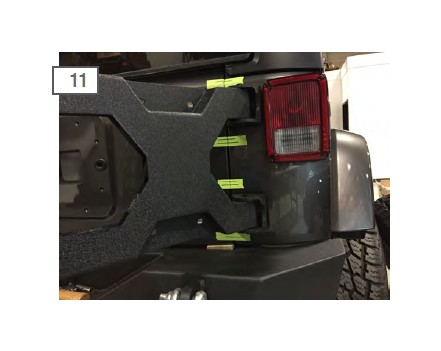
Remove the factory 3rd brake light from the factory tire carrier bracket.
Unclip the wiring harness from the factory bracket and pull to the side.
Place the 3rd brake light in the bracket. With the tire mounted, set the brake light height. Tighten the upper and lower brackets together. Then, secure the factory 3rd brake light in the bracket using the factory screws.
Mount the 3rd brake light bracket. Ensure all bolts are tight. Route the brake light wiring back into the car. Plug the brake light in and re-install the vent cover.