 FREE 1 to 3-Day Delivery on Orders $149+ Details

How to Install Teraflex Rear Brake Lines - 30 in. Long (07-18 Jeep Wrangler JK) on your Jeep Wrangler
Installation Time
1 hours
Tools Required
- Basic Mechanics Tool Set
- Floor Jack/Stands
- Brake Fluid
Installation Instructions:
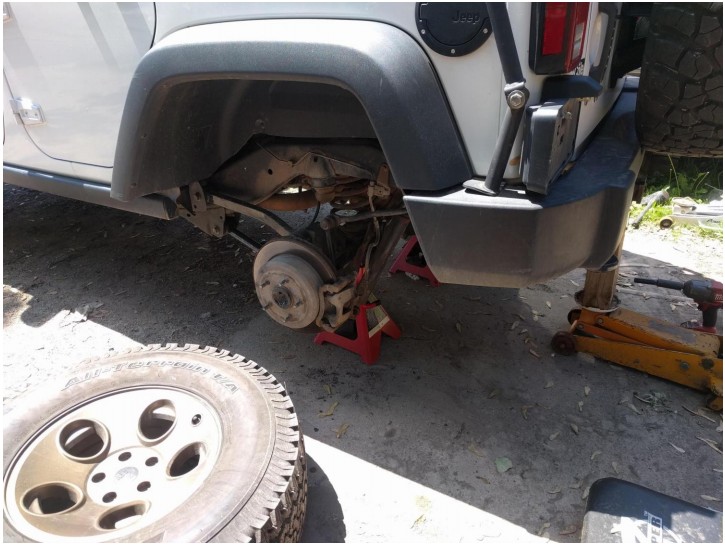
1. Raise vehicle and support from frame with jack stands. It’s important to support vehicle with full drop of rear axle for purposes of measuring/routing new brake lines at full extension later on. Remove rear wheel(s).
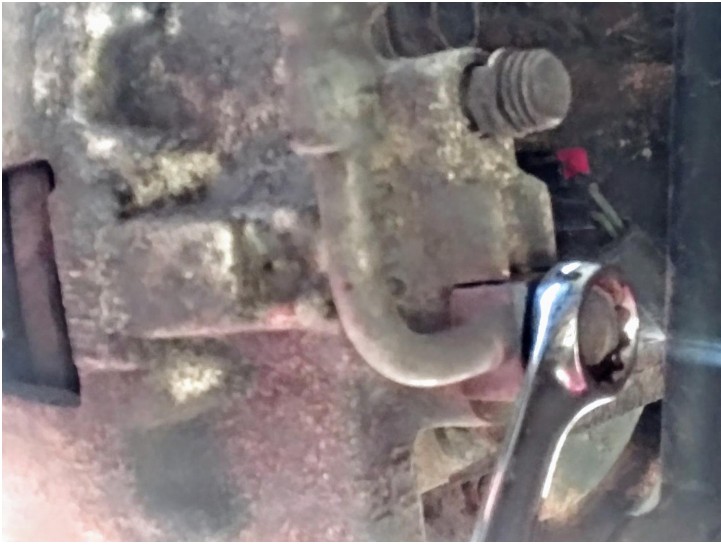
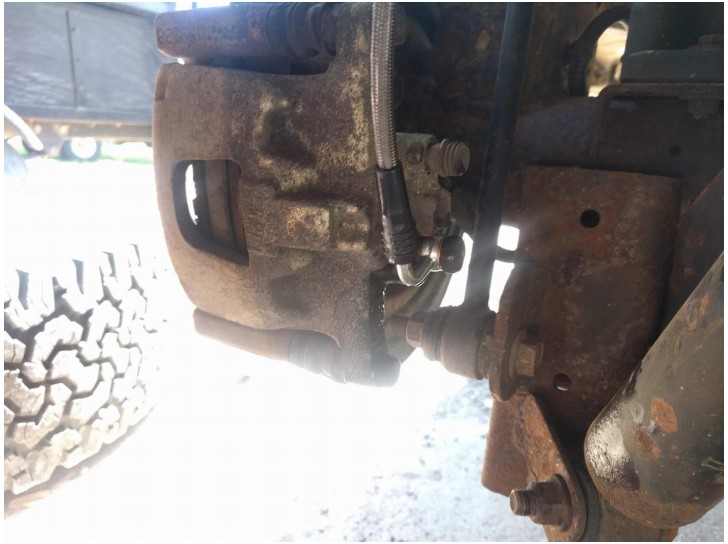
2. Remove caliper side brake line. Don’t forget to put a bucket/spill tray under to catch lost brake fluid.
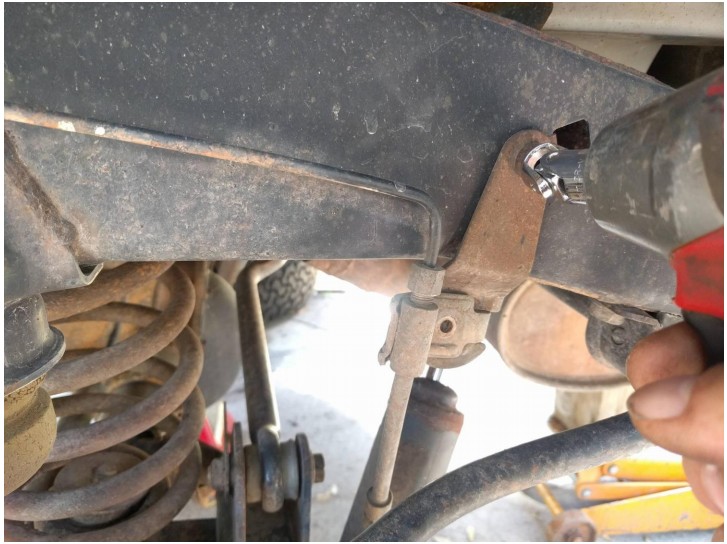
3. Remove brakeline bracket from frame. (In image below I already have a Teraflex drop mount installed, will be removing and securing in factory location now that I have extended lines.)
4. Taking care to hold vehicle-side hardline steady and not kink or fracture line, slightly loosen compression fitting with flare or box wrench and then rotate old rubber brake line to remove. Again, it’s very likely that the compression nut on your hardline will not rotate without twisting and eventually breaking the hardline, so rotating the extension line while holding the compression nut steady is recommended. That’s why you removed the caliper end first.
5. Using new copper crush washers provided, and reusing factory banjo bolt, secure banjo eye fitting to caliper. Several thicknesses of copper washers are provided with kit, use appropriate combination to center bolt drain hole in banjo fitting.
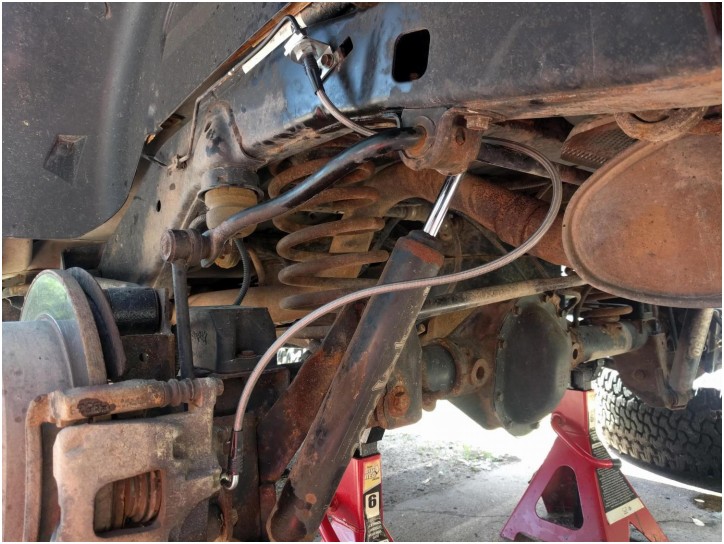
6. Before securing upper (frame) fitting, check your line routing to verify clearance from all moving parts, including where your wheel/tire will sit when reinstalled. In my case, at full droop I had more extra line than I was comfortable with so I opted to route the line over the rear sway bar. If you have more than 4 inches of lift, you may find that you utilize enough of the line on full droop that you opt to leave it unsecured. Keep in mind to leave enough loose line that you’re not maxed out at articulation.
7. Secure provided bracket to frame using rearward hole on bracket. Note that the bracket may be flipped to accommodate where your hardline is sitting. Now hand thread swivel fitting on flexible line side onto compression fitting through the hole in bracket. Once finger-tight, while using your wrench to hold compression fitting steady, turn flexline fitting up to an additional 1/2 turn to seat and seal. DO NOT OVERTIGHTEN.
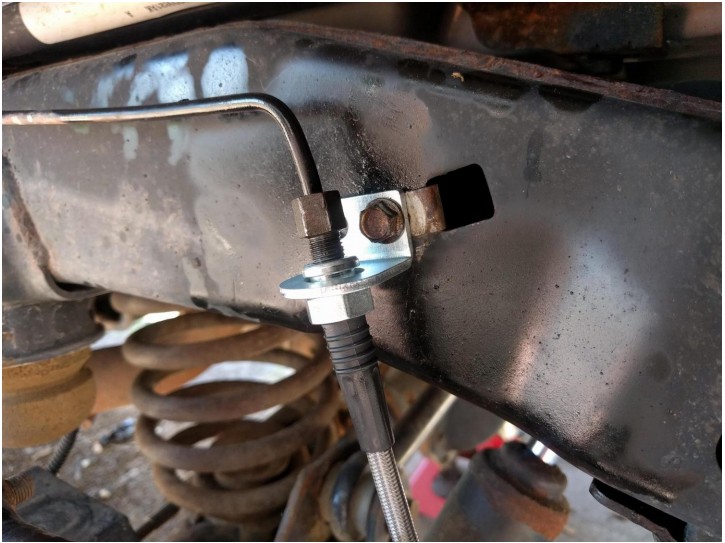
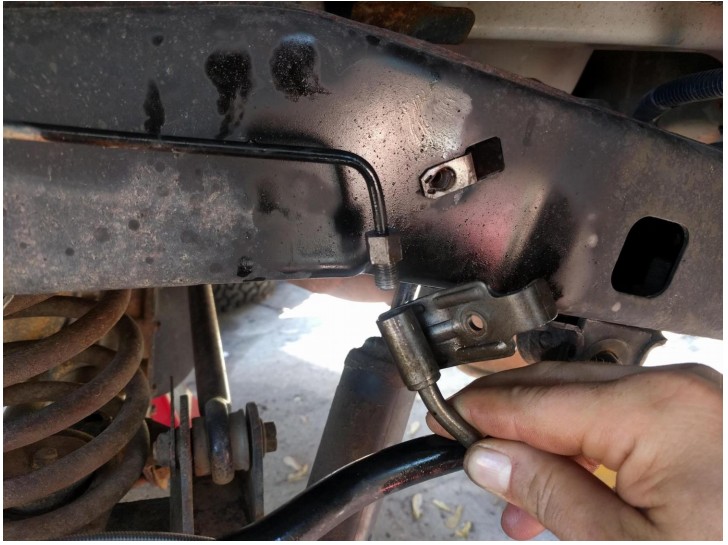
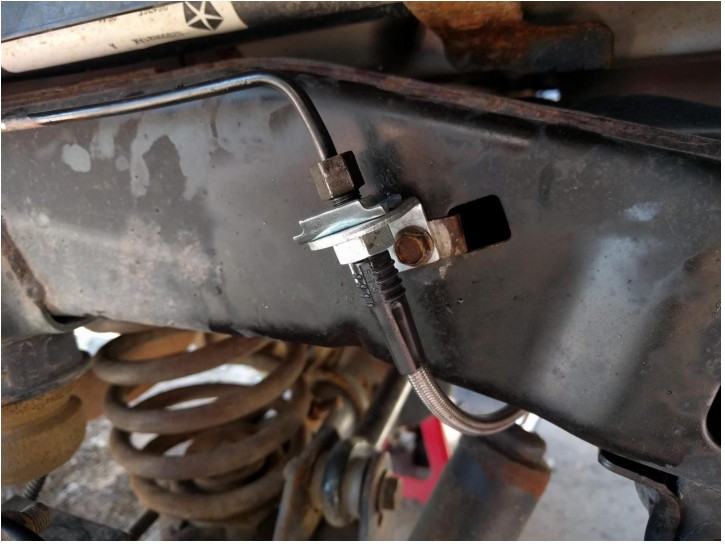
8. Install retaining clip above frame bracket to secure line in place. (You’ll note that between these 2 steps I had to go back and flip the bracket due to too much stress on the hardline as I tightened the fittings. Though Teraflex directions showed the bracket the way I initially installed it, you can see in the photo below that with it flipped the hardline sits along top edge of frame where intended.)
9. Repeat Steps 1-8 on opposite side. Now bleed brake system using standard bleeding methods. Reinstall wheels and you’re done!
Installation Instructions Written by ExtremeTerrain Customer Robert S. 07/02/2019
