 FREE 1 to 3-Day Delivery on Orders $149+ Details

How to Install OPR Tailgate Liftgate Glass Weatherstrip (97-06 Jeep Wrangler TJ) on your Jeep Wrangler
Installation Time
20 minutes
Tools Required
- Heat Gun
- Clean Shop Rag
- Rubbing Alcohol or Alcohol Wipes

Shop Parts in this Guide
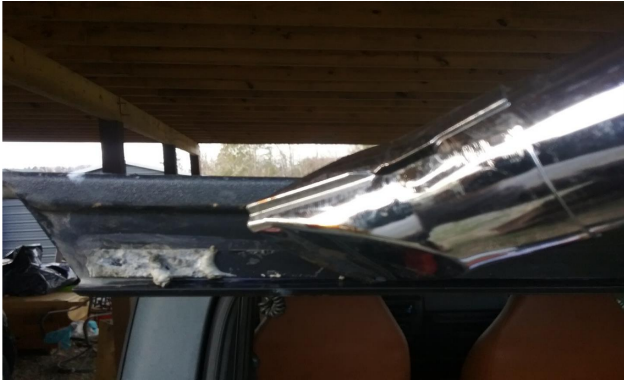
Step 1: Compare parts.
Before removing the old seal, hold the new seal up against it to compare them to one another. Make note of how the old seal is oriented so you know how the new seal will need to be positioned. Tip: Use your cellphone or any digital camera to take a few pictures of the original part prior to removing it so you can refer back to it in case you need assistance in orienting the new part. It’s always better to ensure you have the correct part (and understand how it goes on) prior to removing the original. That way, if you have to return it, you’ll still have something in place until the correct part arrives.
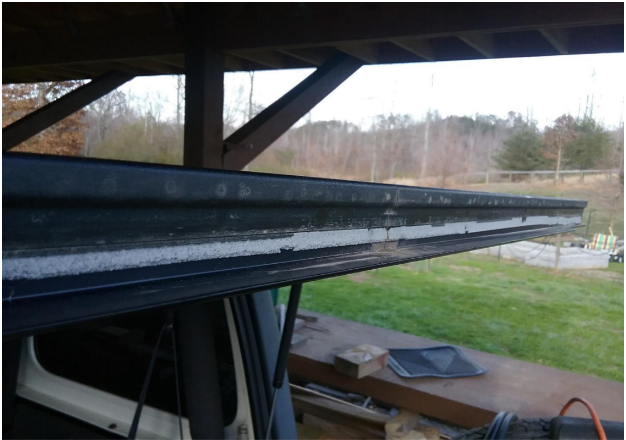
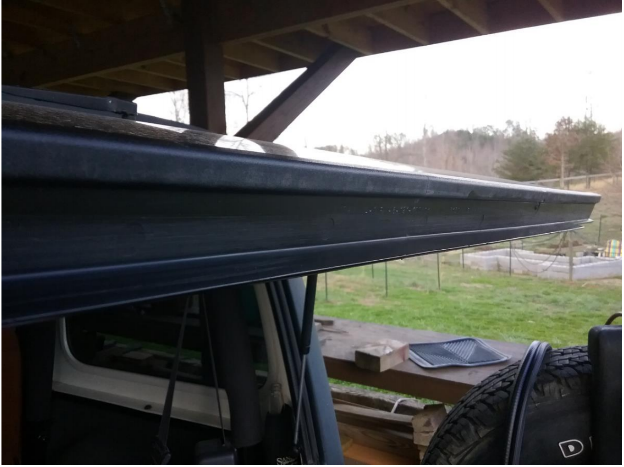
Step 2: Remove old weatherstrip.
The old seal is held in place by an adhesive strip and should come off fairly easily by gently pulling it from one end to separate it from the glass. Once the old seal is removed, the mounting surface will look something like this:
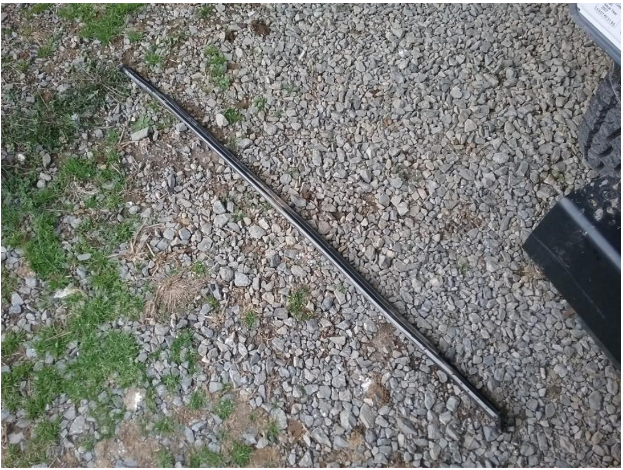
Step 3: Throw old weatherstrip on the ground...
... (just kidding). Dispose of old seal properly.
Step 4: Clean mounting surface
Using a heat gun, apply just enough heat to soften the old adhesive. This will allow easy removal of all adhesive used to hold the old seal in place. Caution: old adhesive could become very hot if too much heat is applied. To avoid damaging the mounting surface, don’t use any metal objects, such as pocket knives, putty knives or metal scrapers to remove the old adhesive. A little heat and your thumb will do the trick.

Warm a few inches at a time and use your thumb to rub the warmed adhesive from the mounting surface.
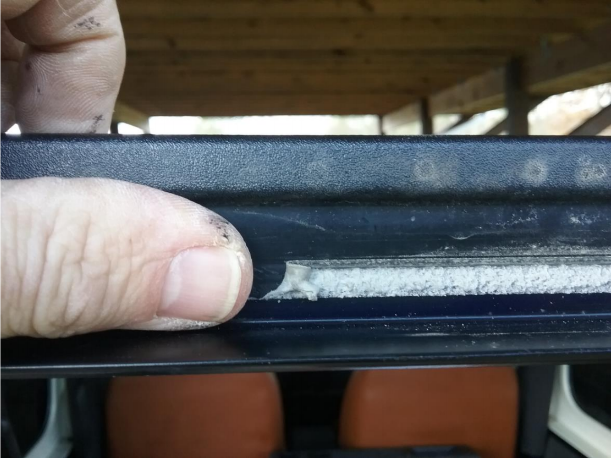
After removing all the old adhesive, use an alcohol wipe or a rag dampened with rubbing alcohol to thoroughly clean the mounting surface. Prior to installing the new seal, the mounting surface should be clean and completely free of any adhesive or foreign material to ensure proper adhesion of the new seal.
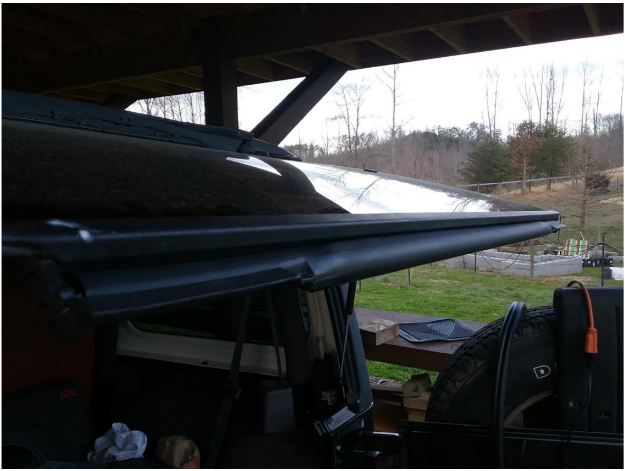
Step 5: Inspect mounting surface
Once the mounting surface is completely clean, inspect it to ensure it has no damage and is completely free of moisture, oil or anything that might prevent the adhesive strip from adhering satisfactorily. It should look like the picture below.
Step 6: Install new seal
Before removing the backing from the adhesive strip, test fit the new seal to ensure you understand exactly how it is oriented and where it will be positioned. Once you’re comfortable with how and where the new seal will be positioned, remove the backing from the adhesive strip and carefully position one end of the seal before continuing on with the remainder of the seal. It might be a good idea to enlist a helper to hold one end of the seal just above the mounting surface while you work on the other end.
Tip: If you’re forced (or choose...) to do it alone, remove only half of the backing and position one end before removing the remainder of the backing and positioning the other end of the seal in place. It’s important to make sure you position the seal in the proper location before pressing the adhesive into place because it can sometimes be very difficult to reposition the seal without ruining the adhesive. When you’re sure you’ve got it properly positioned, press the adhesive firmly into place to ensure proper adhesion.
Finally, close the glass and then the tailgate and check to ensure the new seal is properly in place and fits correctly.
Installation Instructions provided by ExtremeTerrain Customer

