 FREE 1 to 3-Day Delivery on Orders $149+ Details

How to Install Steer Smarts YETI Extreme Duty Tie Rod Assembly (07-18 Jeep Wrangler JK) on your Jeep Wrangler
Installation Time
2 hours
Tools Required
- Basic Metric Mechanics Tool Kit
- Hammer/Ball Joint Press/Pickle Fork
- High Quality Grease & Grease Gun
- Jack and Jack Stands
Before Installation, remember that alignment will be required after, and plan accordingly. Also, bear in mind that your OEM steering stabilizer clamp will NOT be reused on this bar. Aftermarket 1 5/8” clamp required. Instructions are not detailed for the installation of a new stabilizer clamp as each model varies significantly.
Installation Instructions:
1. Raise the vehicle, support with jack stands, and remove wheels.
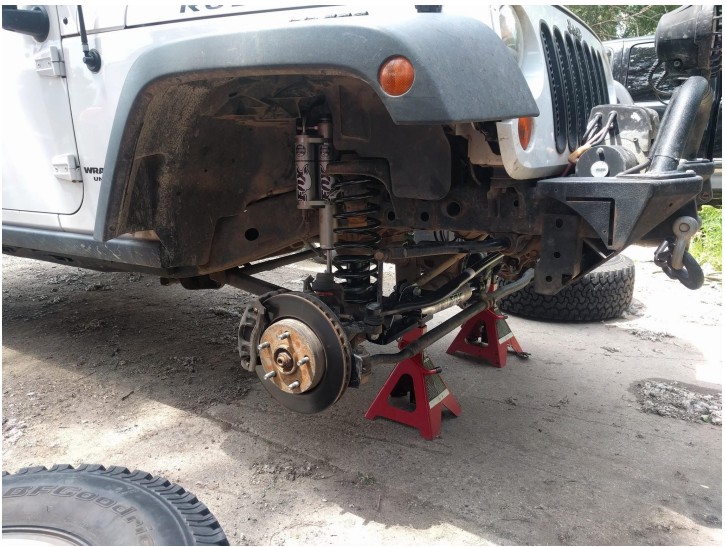
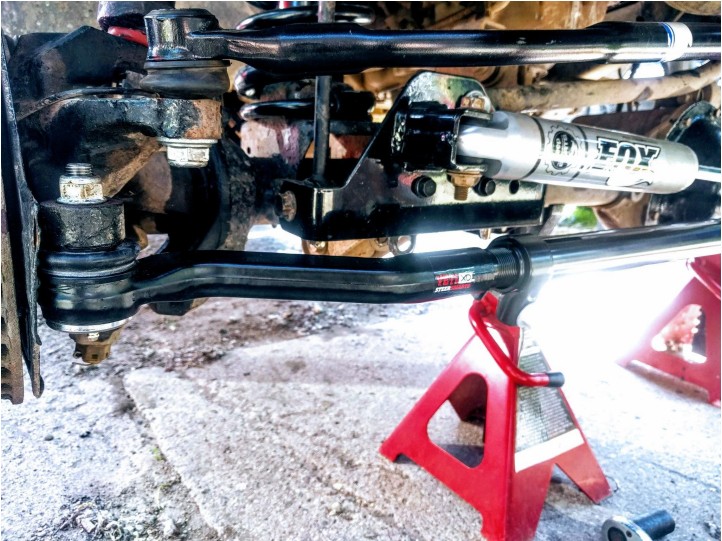
2. Using 15mm wrench or socket (on OEM), disconnect steering stabilizer
3. Using a 21mm socket remove lock nuts from tie rod ends. Then tap carefully with a hammer or use pickle fork/ball joint press to free tie rod ends from knuckles. Note: If bolt begins to spin in tie rod end while removing locknut, you can attempt to use 7mm allen to hold the bolt while loosening nut with 21mm wrench. That wasn’t possible for me, and the sawzall came into play.
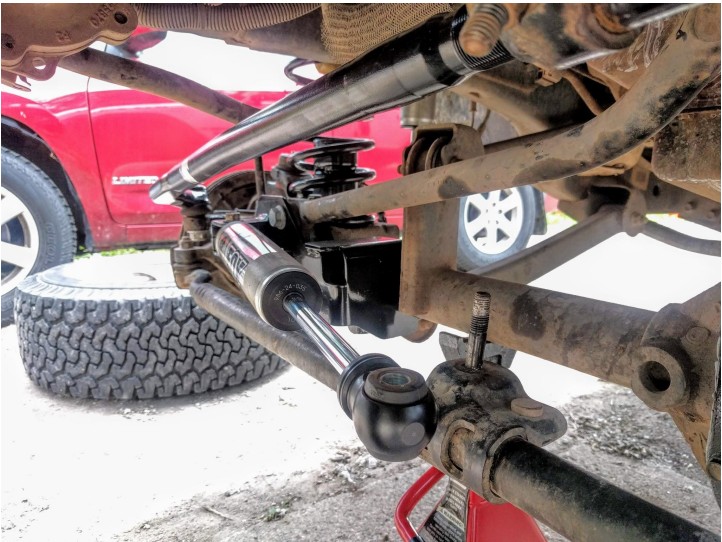
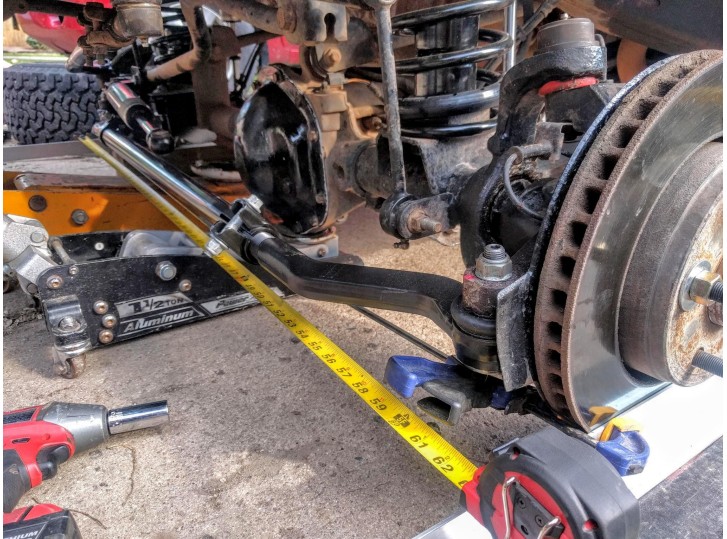
4. Measure center to center on old tie rod assembly to get an idea of rough starting width to preset new tie rod assembly to. Thread new tie rod ends into ends of center adjustment bar. Keep in mind that one side is reverse threaded. DO NOT FORCE tie rod end into the wrong end of the bar or you may end up cross-threading.
5. Prepare to lift new assembly into place. An extra pair of jack stands are a great way to stage the bar in roughly the right place/height.
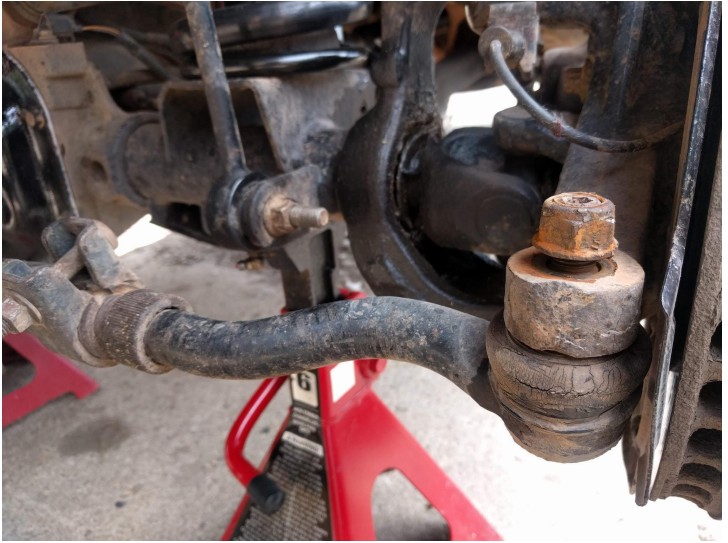
6. Beginning with passenger side tie rod end, rotate into position and insert the bolt through knuckle, thread locknut onto top side till hand-tight. Repeat on the driver's side. Torque both sides to the spec of 73-78 ft-lbs.
7. Even if you are taking the vehicle to shop for alignment, it’s a good idea to align wheels as close to alignment spec as possible for the drive over. Alignment is achieved by rotating center bar to achieve desired toe spec. Once the desired alignment is achieved, torque center clamps to 45 ft-lbs. using a 15/18mm combo.
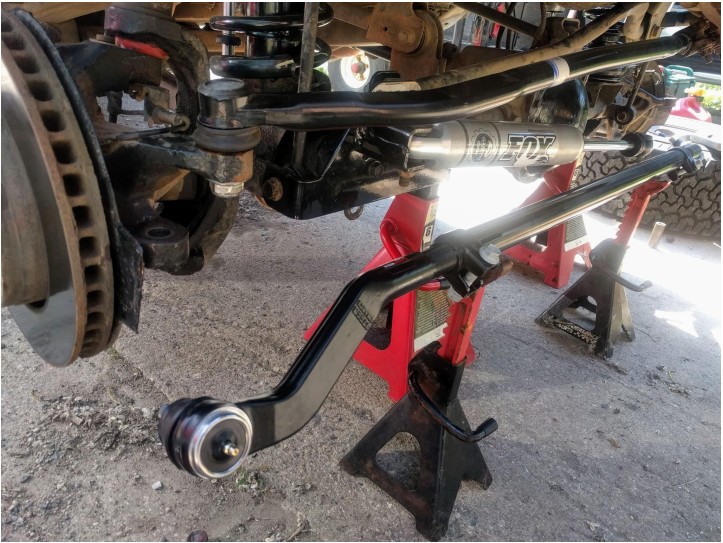
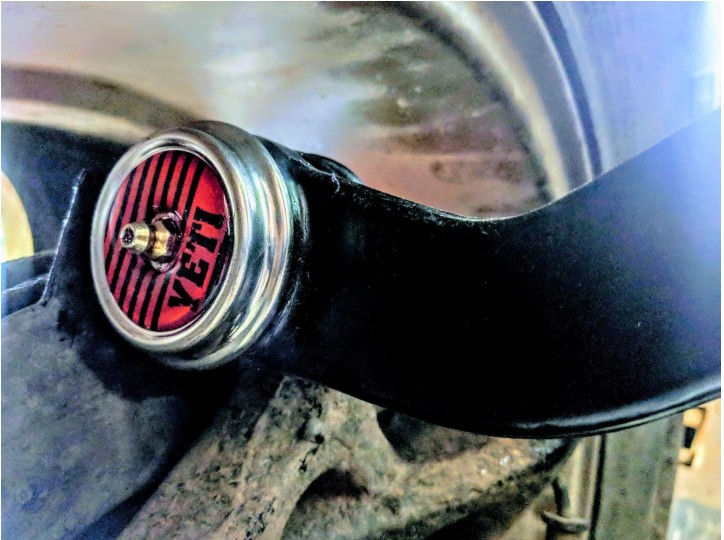
8. Remove 8mm grease zerks on the bottom side of both tie rod ends. Install supplied rubber o-rings and protective cap, then reinstall grease zerk and grease tie rod ends until tie rod boots begin to swell. The caps could also be installed preinstallation, but I did not want to risk damaging them while wrestling the bar into place.
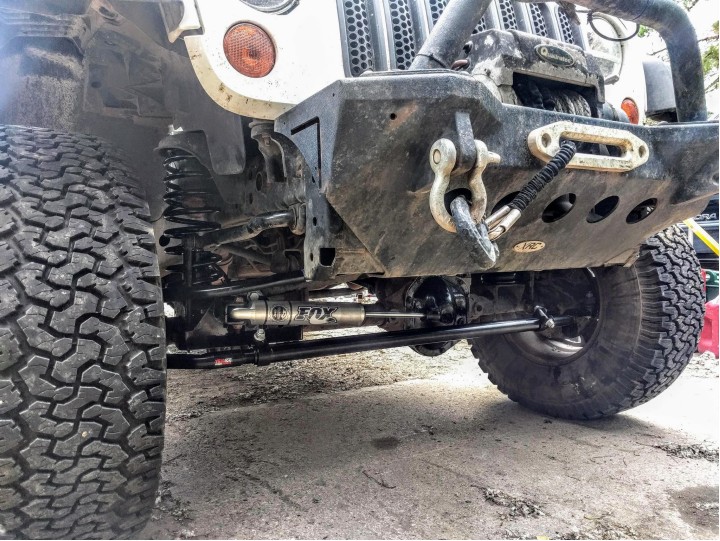
9. Install your choice of new stabilizer bracket and reconnect stabilizer shock according to bracket instructions.
Installation Instructions Written by ExtremeTerrain Customer Robert Stai 7/22/2019
