 FREE 1 to 3-Day Delivery on Orders $149+ Details

How to Install Rough Country Front Inner Fenders (07-18 Jeep Wrangler JK) on your Jeep Wrangler
Installation Time
45 minutes
Tools Required
- Hex/Allen: 4mm and 6mm
- Open Ended Wrench: 10mm or Socket Wrench with 10mm Deep Well Socket
- Drill with 5/16 Drill Bit
- Touch-Up Paint that matches your paint

Shop Parts in this Guide
Installation Notes: This Installation Guide does not cover the removal of the factory fender liners. Also, some aftermarket fenders or the Rough Country Front Inner Fenders may need to be modified. Modification should not be required if using
factory fenders.
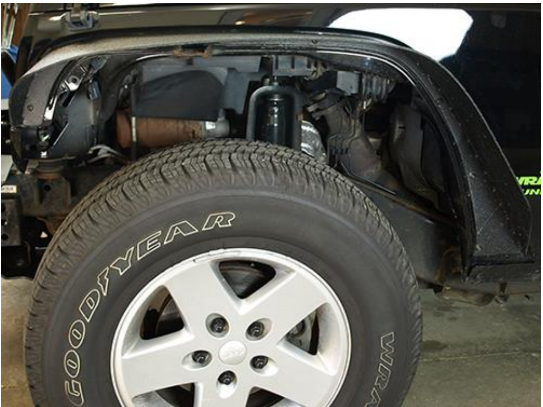
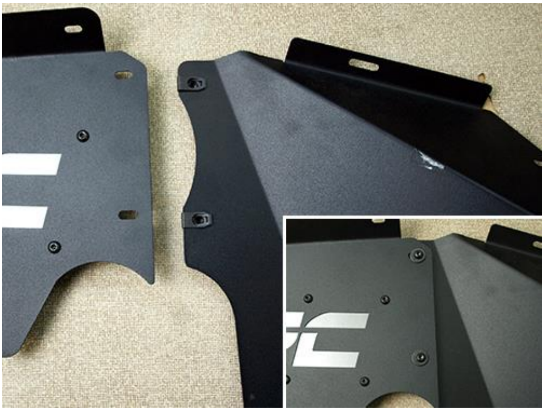
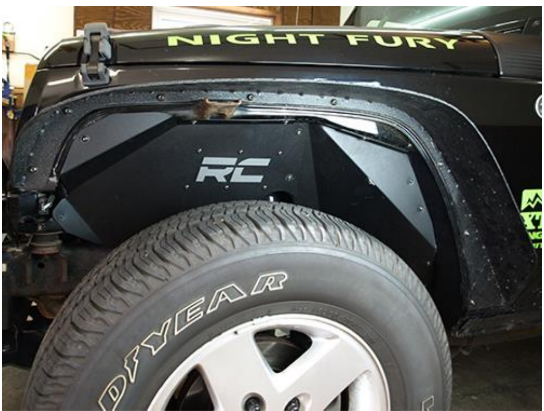
Before Install
Installation Instructions:
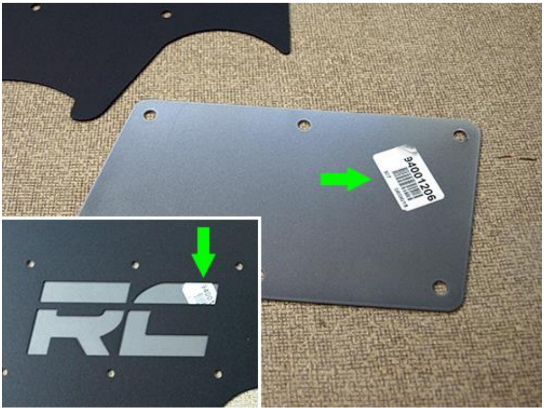
1. Remove all factory placed stickers from the components.
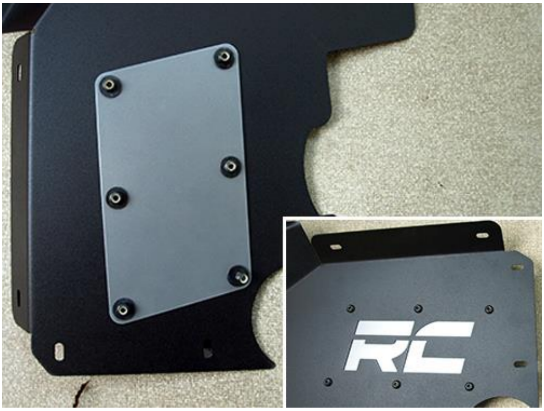
2. Place one of the Back Plates behind the Front Inner Fender liner and secure with six (6) 6mm bolts, washers and Nylock Nuts. Tighten these bolts using a 4mm Allen and a 10mm wrench. Side Note: You could paint the Back Plate a different color for a custom look.
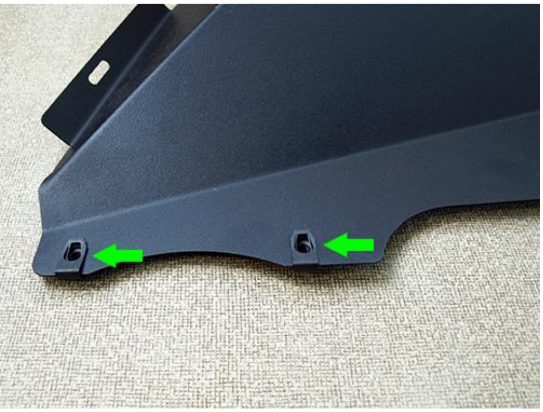
3. Place two (2) 6mm Clip Nuts on the Middle Inner Fender liner as shown below.
4. Slide the Middle Inner Fender liner behind the Front Inner Fender liner and loosely attach with two (2) 6mm bolts and washers.
5. Place four (4) 6mm Clip Nuts on the Rear Fender Bracket where the orange arrows are pointing to below. Then place three (3) 8mm Clip Nuts on the opposite side where the blue arrows are pointing to below. NOTE: The clips nuts need to be facing the same direction as pictured. Use a flathead/standard screwdriver to slide the clip nuts
off if placed on the incorrect side.
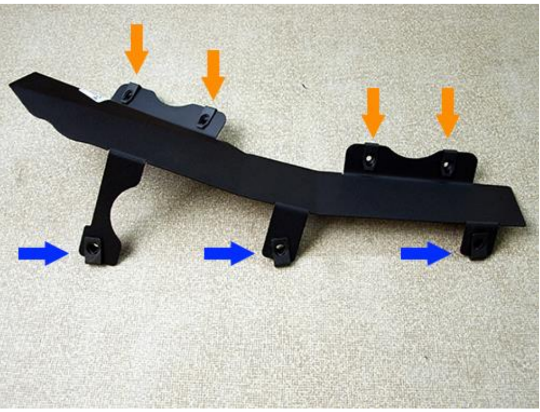
6. Slide the Rear Fender Bracket behind the outer fender with the three (3) 8mm Clip Nuts. Secure in with three (3) 8mm bolts and washers and tighten with 6mm Allen.
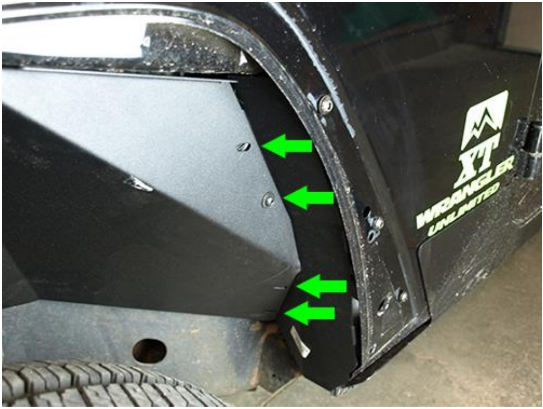
7. Slide the Front and Middle Inner Fender liner behind the tire and into the wheel well. Loosely secure the top of the liner using three (3) 6mm bolts and washers into the factory 6mm Clip Nuts.
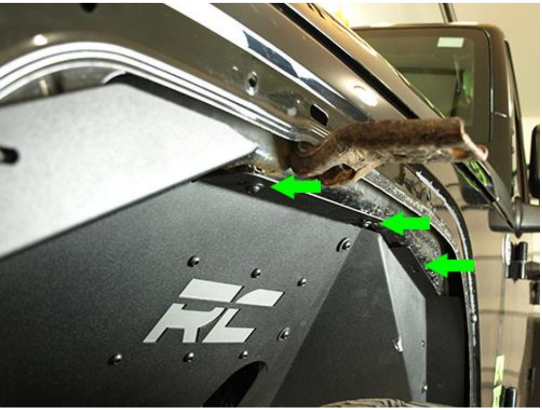
8. Secure the back of the Middle Inner Fender liner to the Rear Fender Bracket using four (4) 6mm bolts and washers and tighten all 6mm blots with 4mm Allen.
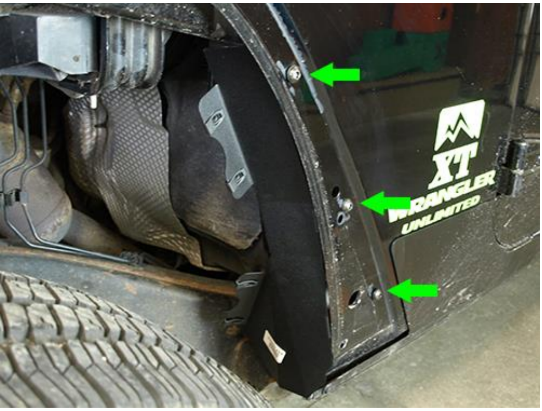
9. Drill a 5/16 hole through the Front Inner Fender and through the body mount of the Jeep®.
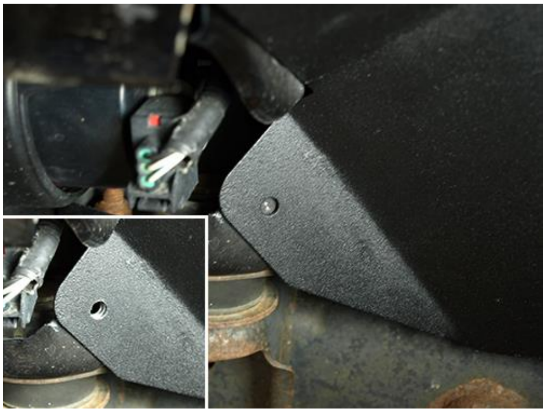
10. Paint the bare metal of the hole with touch up paint and place a 6mm Clip Nut on to the body mount once paint is dry.
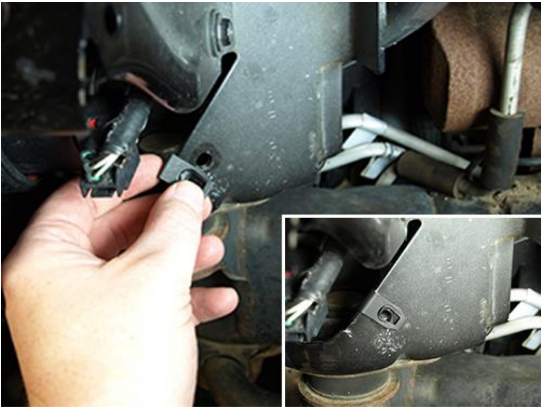
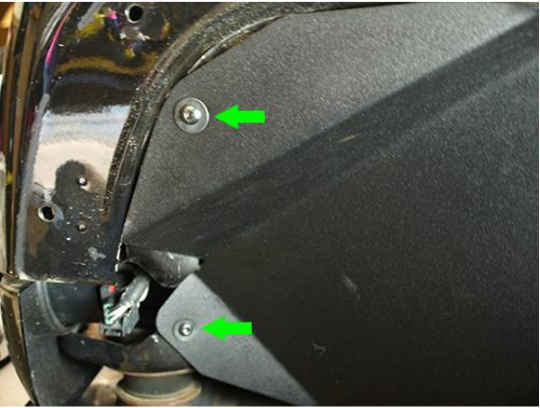
11. Secure the front of the Front Inner Fender liner using two (2) 6mm blots and washers and tighten with 4mm Allen. Make sure that all bolts are tight.
12. Repeat steps 1 – 11 for opposite side.
After Install
Installation Instructions Written by ExtremeTerrain Customer Brian Voelzke 10/23/2018

