 FREE 1 to 3-Day Delivery on Orders $149+ Details

How to Install Rough Country 30 in. Black Series LED Light Bar w/ Hood Mounting Brackets (2018 Jeep Wrangler JL) on your Jeep Wrangler
Installation Time
60 minutes
Tools Required
- 4mm Allen Key (Included)
- 15mm Socket and Wrench
- 13mm Socket and Wrench
- 10mm Wrench
- Plastic Pry Tool

Shop Parts in this Guide
Note: Folding the windshield down is not recommended after installation as contact will occur with the 30” Light Bar.
Installation Instructions:
1. Ensure the wipers are turned off in the stock location on the windshield and the hood is securely latched before beginning installation. Take note of the position of the wipers and remove the cap on both wiper mounts with the plastic pry tool.
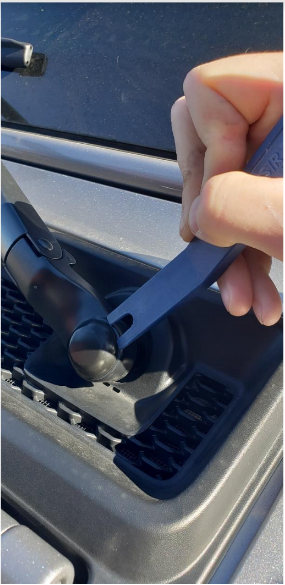
2. Remove the factory nut using a 15mm socket and wrench, then remove the wipers from the vehicle.
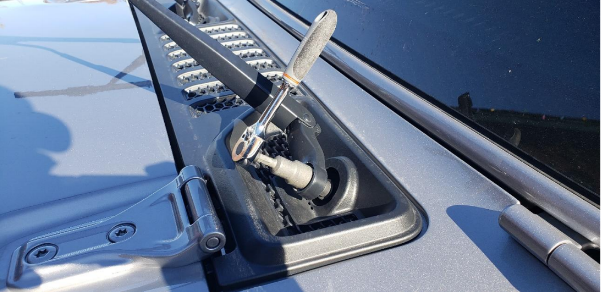
3. Once the wipers are removed, use the plastic pry tool and pop up the plastic cover, then set it aside for now.
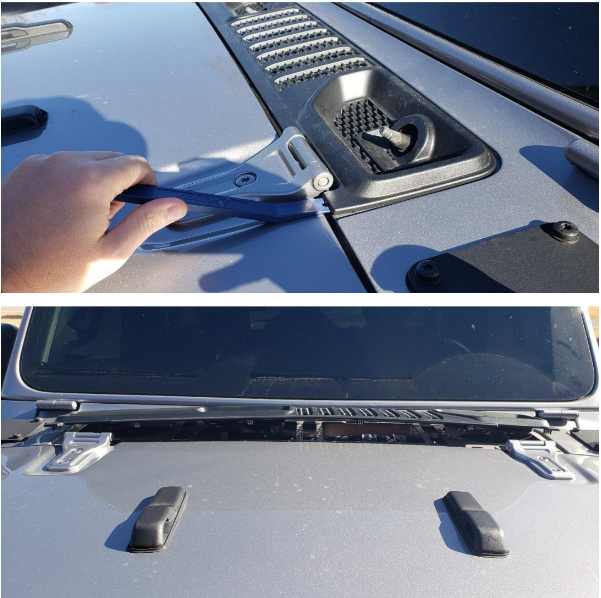
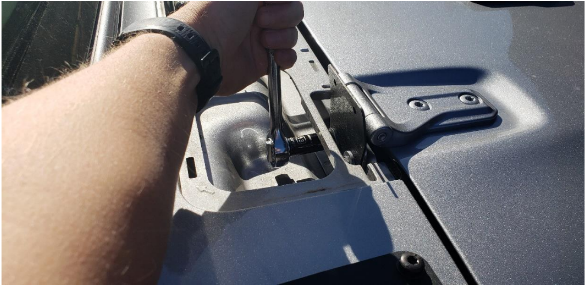
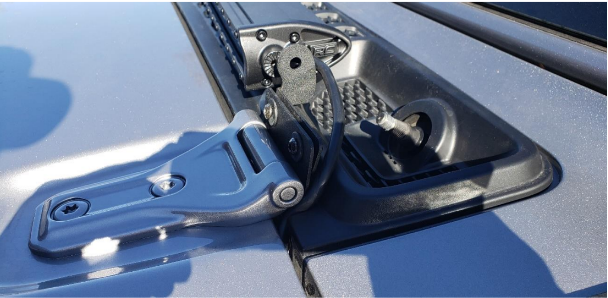
4. Loosen the factory hood hinge bolts using a 13mm socket on both sides of the hood. DO NOT REMOVE THE HOOD.

6. Tighten the factory hood bolts using a 13mm socket on both sides, taking care to keep the bracket vertical.
7. Rest the plastic cover back in position without securing it down, route the wiring harness for the light under the plastic cover through the cowl towards the driver side and into the engine compartment. See final photos for exact placement. After routing the wiring harness, snap the plastic cover into place.

8. Locate and install the driver side bracket on the base hood mount using the supplied 6mm x 14mm button head bolts, washers, and nylon lock nuts. Do not fully tighten the hardware at this time. Repeat for the passenger side.
9. Reinstall the windshield wipers in the factory location and tighten using a 15mm socket and wrench. Replace the place cover once tightened.
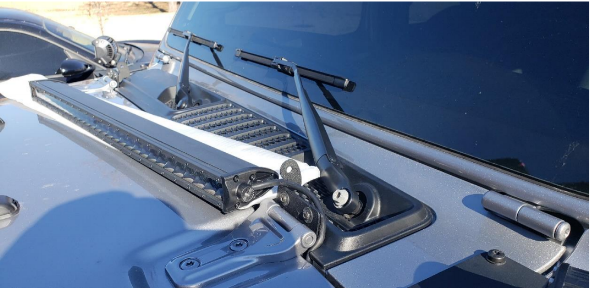
10. Position the 30” light in the driver and passenger mounts and secure with the hardware included. Tighten the bolts holding the light to the brackets using the supplied 4mm Allen key. Tuck the wiring harness behind the hood mounts and remove any slack, securing it in place.
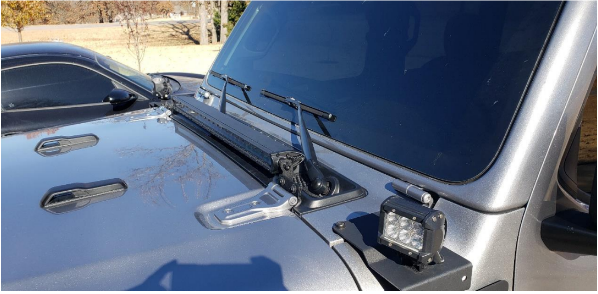
11. Tighten the remaining light brackets and align your light with the supplied Allen key and a 10mm wrench.
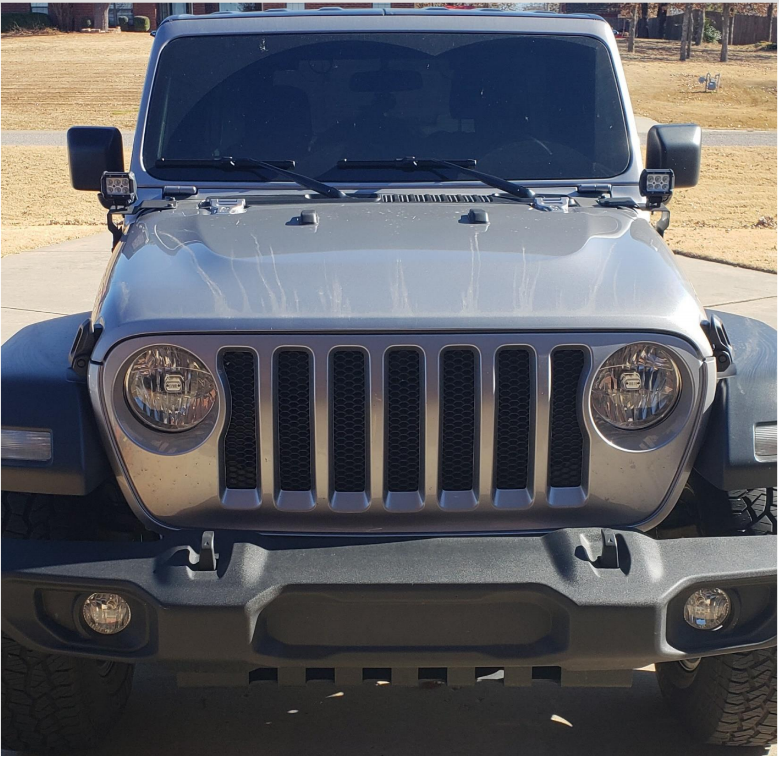
BEFORE
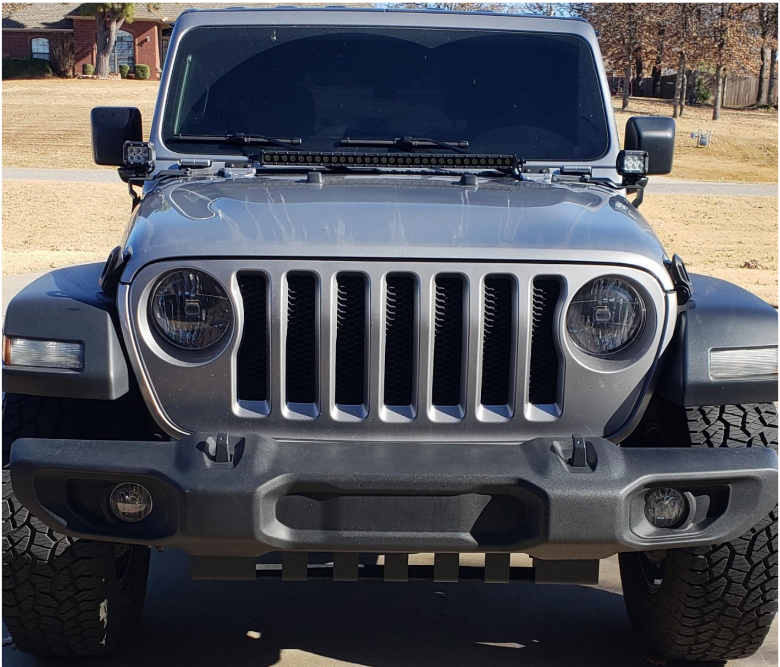
AFTER
Installation Instructions Written by ExtremeTerrain Customer Zac Hart 11/23/2018

