 FREE 1 to 3-Day Delivery on Orders $149+ Details

How to Install Rhino-Rack Vortex SG 2 Bar Roof Rack - Black (07-10 Jeep Wrangler JK 2 Door; 07-18 Jeep Wrangler JK 4 Door; 18-19 Jeep Wrangler JL 4 Door) on your Jeep Wrangler
Installation Time
60 minutes
Tools Required
- Rubber Mallet
- Phillips Head Screwdriver
- Tape Measure
- 5mm Security Hex Driver (provided with Rack)

Shop Parts in this Guide
Installation Instructions:
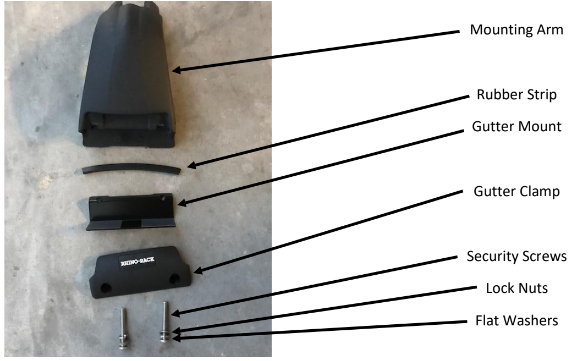
1. Prepare each mounting arm by assembling (1) Mounting Arm, (1) Rubber Strip, (1) Gutter Mounts, (1) Gutter Clamps, (2) Security Screws, (2) Lock Nuts and (2) Flat Washers.
2. Repeat three more times.
3. If required, rotate the dowel nuts in the Mounting Arm to align threads.
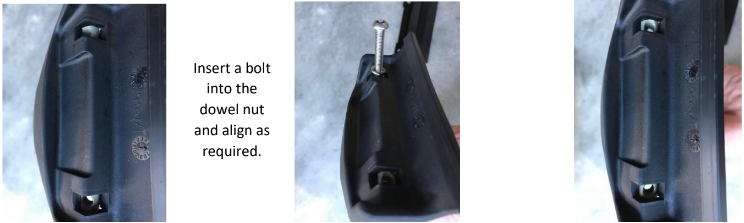
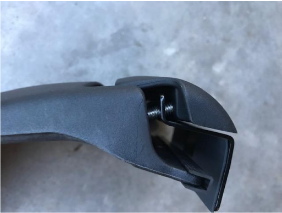
4. Thread the bolts into the dowel nut until one thread comes out of the backside of the dowel nut.
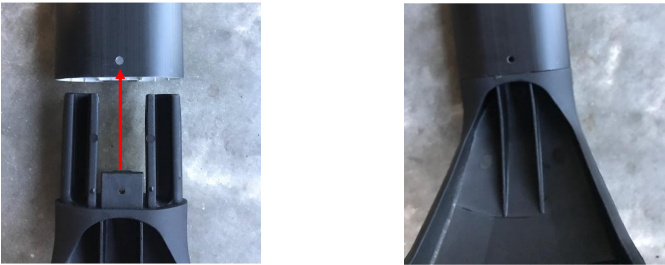
5. Insert (2) of the completed assemblies into each end of the crossbars. Tap with a rubber mallet, as required, to fully seat the Mounting Arms.
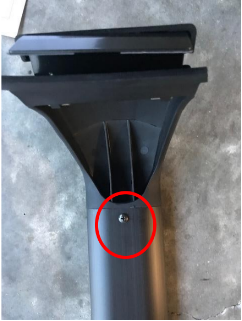
6. Thread in (1) self-tapping screws through the crossbar to secure the Mounting Arms.
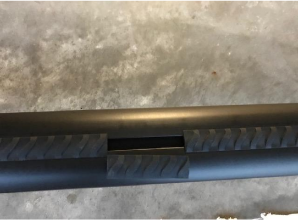
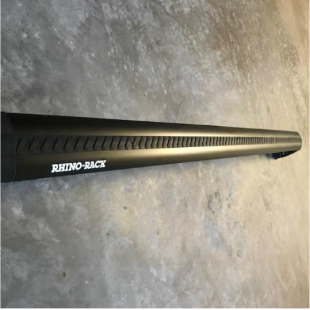
7. Insert (1) full piece rubber strip about an inch from the end and slide sit tight to the mounting arm and then tuck it towards the center into each end of the crossbar.
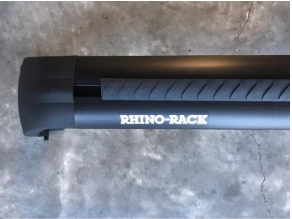
8. Cut the remaining piece to fill the center gap.
9. Repeat for both crossbars.
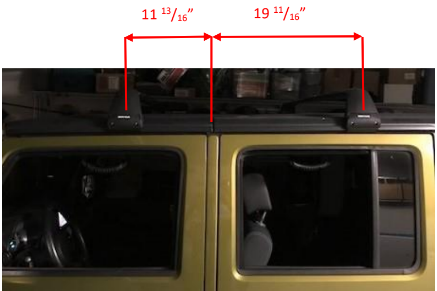
10. NOTE: Proper placement of the crossbars is measured from the B-pillar center line, or the seam between the freedom panels and the rear portion of the hardtop. The front crossbar is 11 13/16” forward and the rear crossbar is 19 11/16” back.
10. NOTE: Proper placement of the crossbars is measured from the B-pillar center line, or the seam between the freedom panels and the rear portion of the hardtop. The front crossbar is 11 13/16” forward and the rear crossbar is 19 11/16” back.
11. Rest one Mounting Arm on the rain gutter and place the opposite side into the rain gutter ensuring that the rubber u-channel stays in place.
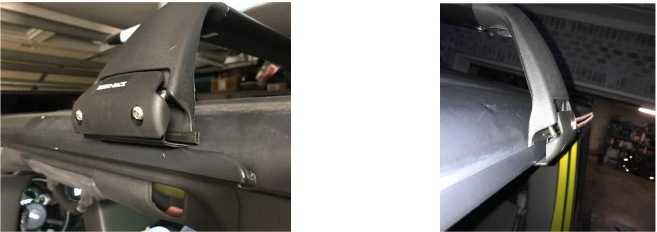
12. Place the opposite side into the rain gutter.
13. Secure each Mounting Arm by evenly tightening each pair of mounting bolts using the supplied Security Hex Driver.
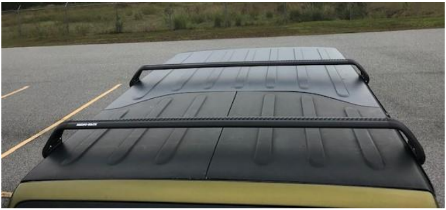
14. Enjoy your new roof rack.
Installation Instructions Written by ExtremeTerrain Customer Todd J Fischer 11/05/2018

