 FREE 1 to 3-Day Delivery on Orders $149+ Details

How to Install a Ford Bronco Lift Kit
XT Staff
/ Jul 23 2025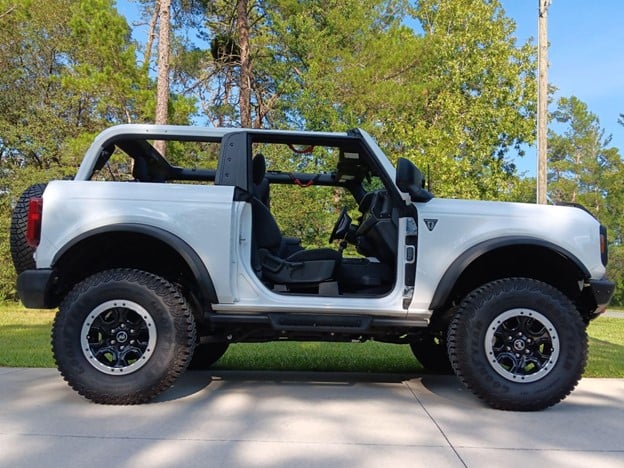
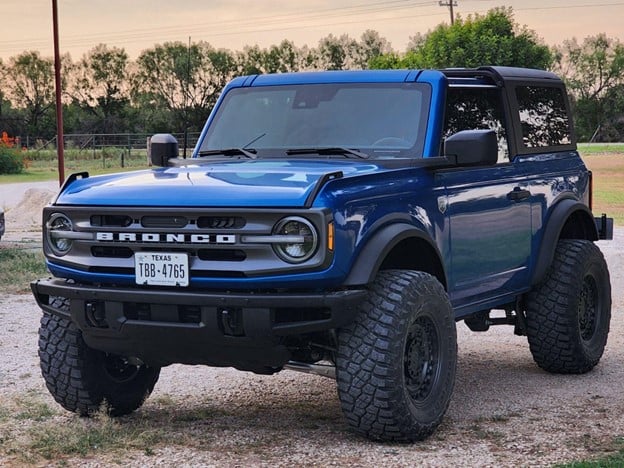
So, you’re ready to lift that Bronco up a few inches. Whether you want a few extra inches of clearance for off-roading or you just want to turn heads at the next meet, knowing how to install a Ford Bronco lift kit is a big part of that process. The good news is that we’re here to help.
What You Need to Install a Ford Bronco Lift Kit
Before we even get to installing the lift kit, it's important to have the right tools handy. Otherwise, you'll be driving back and forth to your local parts store like a madman. Thankfully, you don't need anything too crazy, so just check to make sure you have the following parts before you get started:
- Safety glasses, gloves, and steel-toed boots
- Standard and metric wrench sets ranging from 8mm to 22mm
- Deep and shallow socket sets
- A half-inch torque wrench that can handle up to 150 ft-lb of torque
- A breaker bar
- A ball joint separator
- A jack, jack stands, or a lift
Also, if your Ford Bronco lift kit has coil springs, you'll need a coil spring compressor.
How to Install Your Ford Bronco Lift Kit
Once you have the tools necessary to install your lift kit, it's time to get to work. We take you through each step in detail below.
1. Lift and Secure Your Ford Bronco
The first part of the process is lifting and securing your Bronco. You can use a Bronco floor jack or lift, but you need to make sure it's secure before you start removing any components. It's also a good idea to loosen the lug nuts before you lift the vehicle for the best results. To secure your Ford Bronco, use jack stands, and make sure it's secure with a shake test by gently pushing and pulling on the vehicle at the corners. If you notice any shifting, you may need to change the position of the jack stands.
2. Remove the Front Factory Suspension Parts
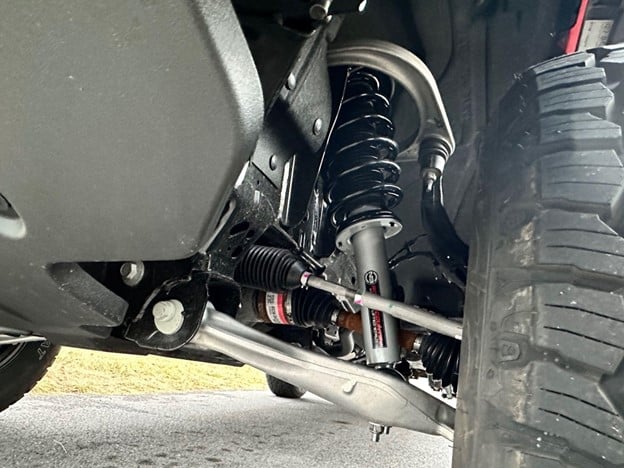
The next part of the process is where things get a little complicated because you have to start removing parts of your suspension. Once you remove the wheels, disconnect the sway bar links, and you might as well remove the rotors and calipers as well for easier access. In fact, some kits may even recommend doing so, anyway. Start by removing the caliper by unscrewing the caliper mounting bolts. Then, slowly pull them away from the brake rotor, but don't just let them dangle off the brake lines – tie or hang them with a cord or something else that's sturdy. If you have to, remove the rotors as well. Once that's done, you can pull the springs and shocks. Most Ford Broncos use a coil-over shock absorber system. It's not exactly a MacPherson strut, but it works in a similar way and groups spring and shock into a single unit. To remove this assembly, support the lower control arm with something like a jack, and then unbolt the upper and lower mounting bolts. Then, you can carefully relieve the pressure and remove the coil-over suspension system. Next, it's time for the upper ball joints and then the coil springs. For the upper ball joints, use a ball joint separator to separate the ball joint from the steering knuckle. Then, you can use a spring compressor to compress the spring and remove it. Please be careful with the spring once you remove it, and slowly let it return to its natural state. These are like little balls of kinetic energy waiting to pop, so handle with care.
3. Remove Your Rear Suspension Parts
Now that the front of your Ford Bronco’s suspension is taken care of, it's time to move on to the rear, unless you’re using a leveling kit, then you can skip this step and move on to installing the lift kit components. It's important to note that the rear suspension also uses a coil-over system, but it has some differences from the front part of your truck’s suspension. The main difference is that you don't have to worry about ball joints, upper control arms, or anything else related to steering. What's more, rear brakes tend to be smaller, so you may not have to remove them. To begin, start by supporting the rear axle, and we recommend using a floor jack. You need to support the axle because it's not independent, and supporting it is how you relieve pressure from the springs. Then, you can move on to unbolting the upper and lower shock bolts, followed by sliding the shocks out of place. From there, you can slowly use the jack to lower the rear axle to relieve tension from the spring. Then, once the springs are loose, you can remove them from the assembly. Now, if your lift kit requires isolators, bump stops, or new brackets, this is a good time to install them.
4. Install Your New Ford Bronco Lift Kit
Next, it's time for the fun part, which is installing the Ford Bronco lift kit. Typically, the kit will come with an instruction manual, so you should closely follow that. These instructions will help you install all the new parts, from the springs to the spacers and shocks. Once the new parts are installed, torque the bolts to the specs listed in the instructions, and then slack the brake lines and ensure that everything fits properly.
5. Test Your Ford Bronco Lift Kit
Finally, it's time to hit the road and test things out. It's a good idea to go for a gentle test drive after installing the parts to ensure that everything is running smoothly. This helps the new parts settle into place, and you'll find out if there are any problems. Then, don't forget to torque everything again after the 500-mile mark. Since suspension parts settle and shift after the install, torquing them again helps you maintain safety, ride quality, and your sanity.
Install Your Ford Bronco Lift Kit Today
Installing a Ford Bronco lift kit can be challenging, but if you follow the steps we covered in this guide, you shouldn't have any problems. If you have any more questions about installing your Ford Bronco lift kit, our sales techs are ready to help. Plus, they can help you find the right lift kit for your needs.