 FREE 1 to 3-Day Delivery on Orders $149+ Details

How to Install Barricade Extreme HD Rear Tire Carrier on your Wrangler
Installation Time
1 hours
Tools Required
- Ratchet
- 13mm Socket
- 16mm Socket
- Allen Key Set
- Tire Wrench
- Needle Nose Pliers

Shop Parts in this Guide
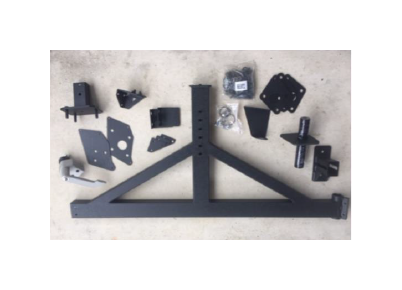
Inside the Box:
- Tire Carrier
- Hardware
These instructions cover the installation of the Tire Carrier only.
Installation Instructions:
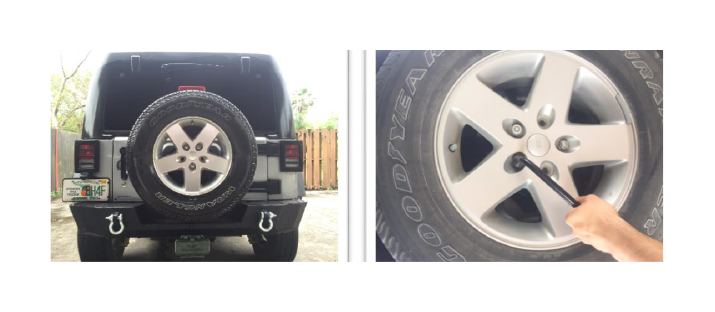
1. Remove the rear tire and the bolts holding the factory tire carrier to the tailgate.
2. Disconnect the third brake light harness from the rear panel of the tailgate.
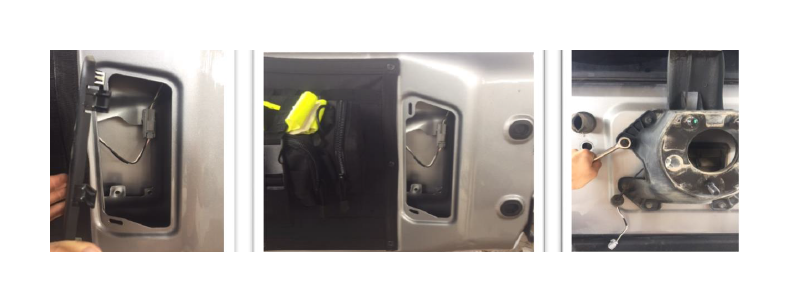
3. Remove Bumper Plates
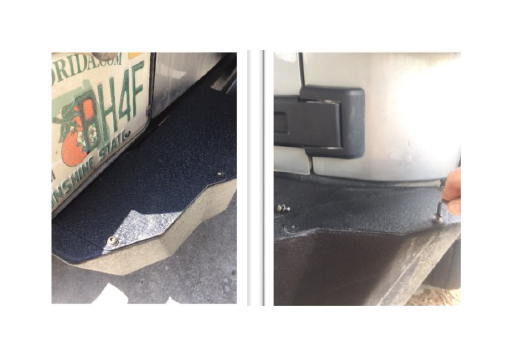
4. Attach the supplied bumper plate and latch bracket to the driver’s side using the supplied Allen bolts.
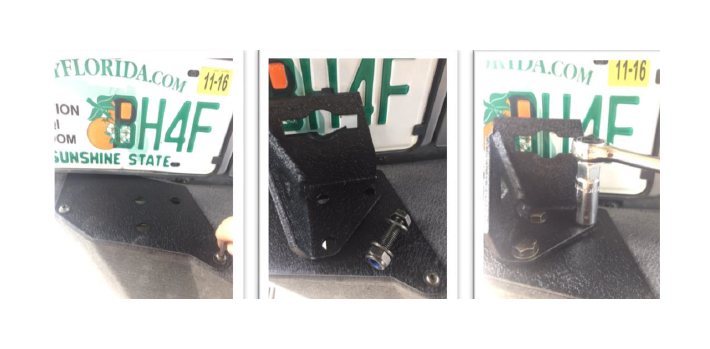
5. Attach the supplied bumper plate and carrier hinge to the passenger’s side using the supplied Allen bolts. Ensure the side with the threaded bolt is facing up.
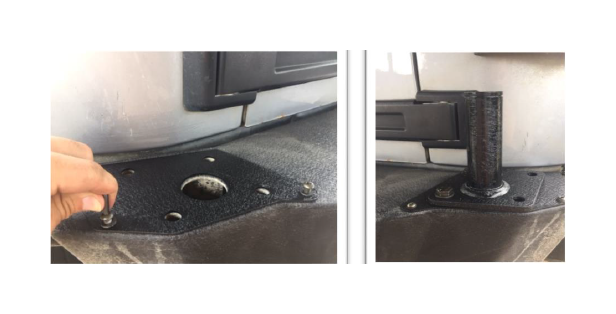
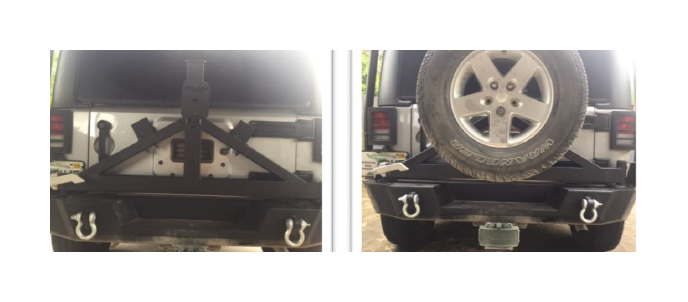
6. Install the carrier arm. First use a plastic bushing, then the carrier arm, then another plastic bushing, then the bracket to secure the carrier arm, and the c-clip.
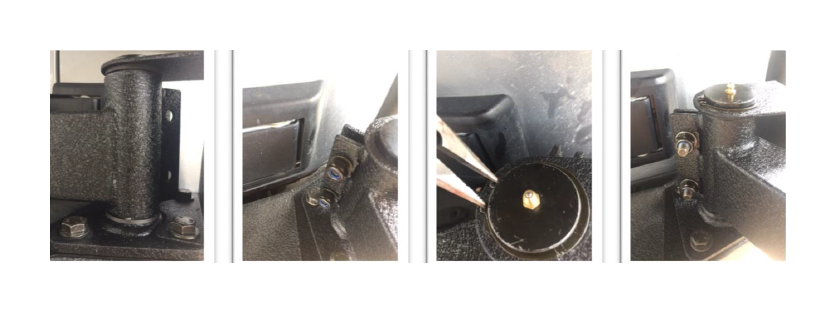
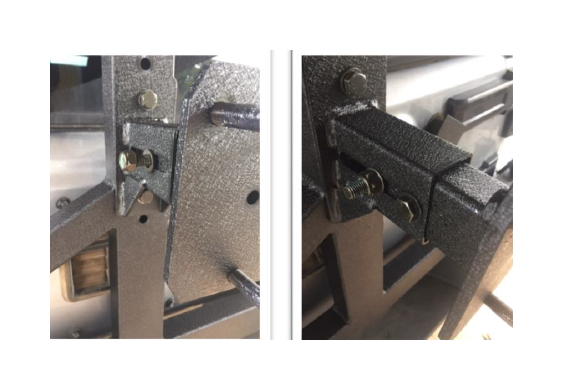
7. Install the carrier latch.
8. Install the carrier bump stops.
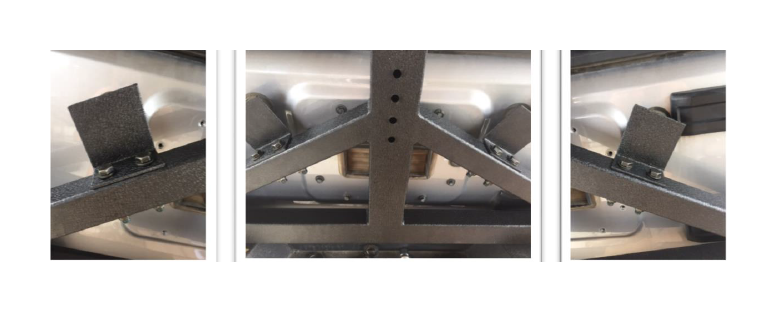
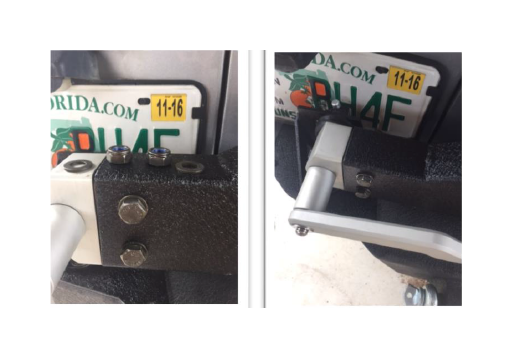
9. Install the rear tire carrier, securing it to the rear swing arm at the desire height using supplied hardware.
10. Measure the backspacing of your wheel and tire by placing a straight object across the tire. Measure from the mounting hub to the straight object.
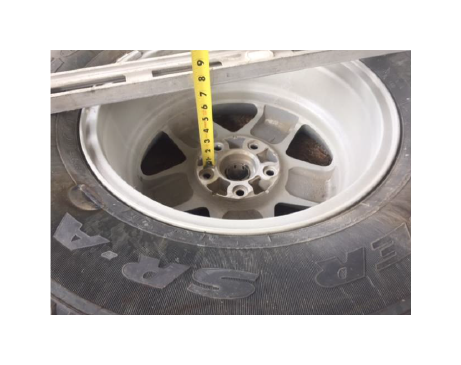
11. Subtract half an inch from the previous measurement, and set the tire carrier to the new measurement. This ensure tire is against the tire carrier.
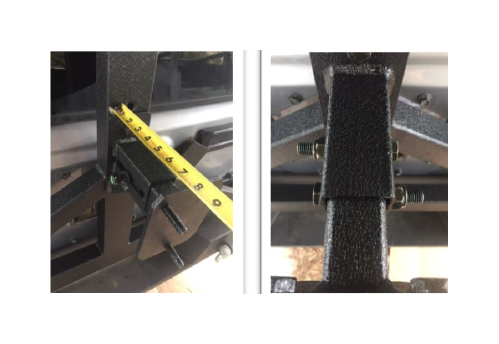
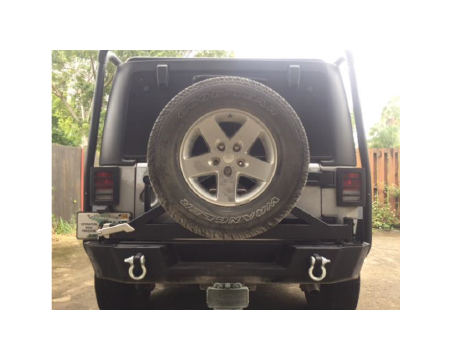
12. Torque the spare tire lug nuts to manufactures specifications.
13. Installation Complete!
Installation Instructions Written by ExtremeTerrain Customer Lazaro Gomez 11/08/2016

