 FREE 1 to 3-Day Delivery on Orders $149+ Details

How to Install Barricade Trail Force HD Front Bumper w/ LED Lights (2018 Wrangler JL) on your Jeep Wrangler
Installation Time
90 minutes
Tools Required
- Plastic Pry Tool or Panel Clip Pliers
- 7 mm Socket or Wrench
- 8 mm Socket or Wrench
- 10 mm Socket or Wrench
- 12 mm Socket or Wrench
- 18 mm Socket or Wrench

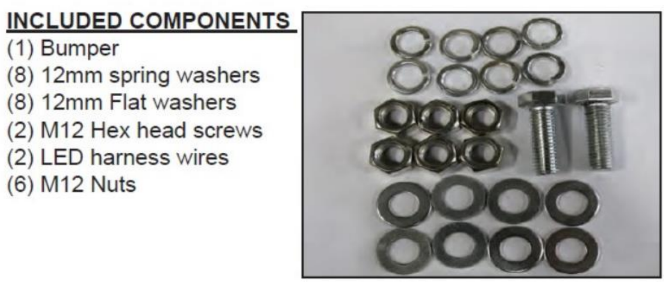
Shop Parts in this Guide
1. Remove the plastic skid plate below the bottom of the bumper, using panel clip pliers remove the 6 panel clips along the bottom of the bumper.
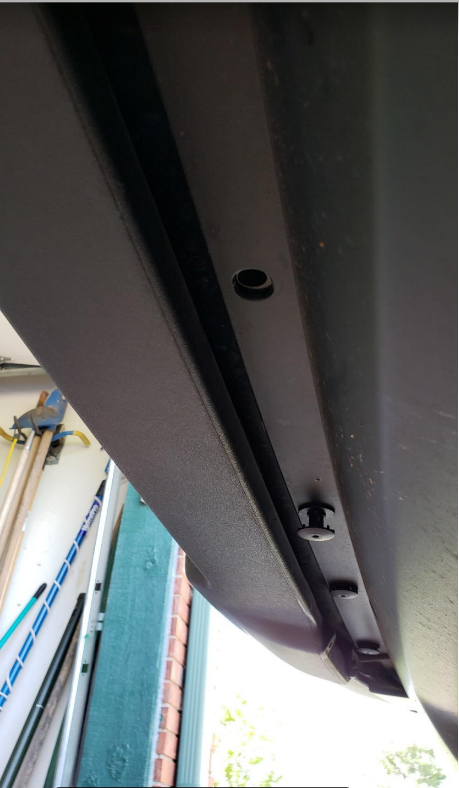
2. Again, using panel clip pliers or a plastic pry tool remove the 7 panel clips along the top of the bump between the bumper and the grill.
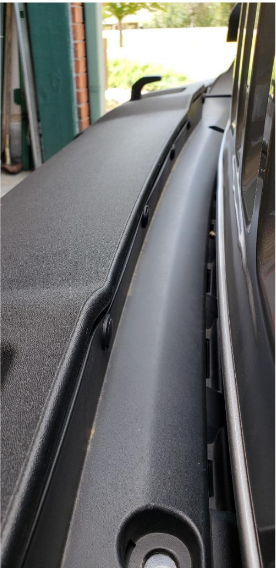
3. There are two more panel clips to remove, one on the inside of each front fender well.
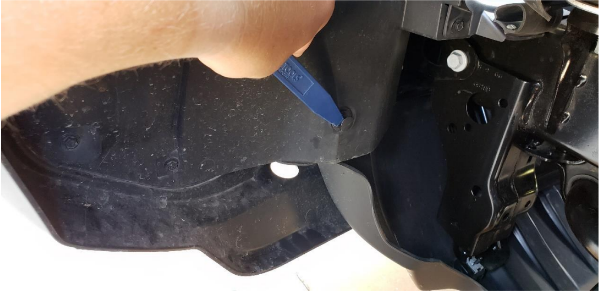
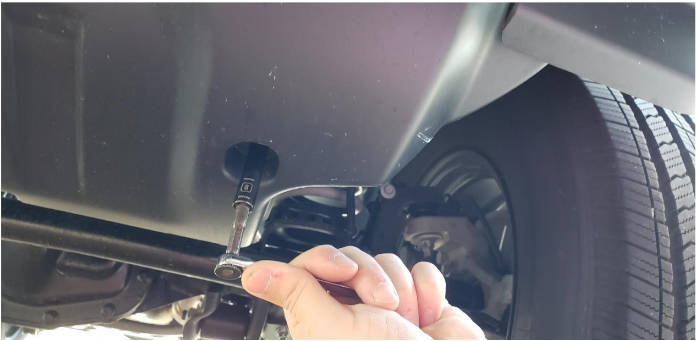
4. Staying inside the wheel well and using a 7mm socket or wrench, remove the 6 screws holding the plastic cover from each side of the bumper.
5. Next, move to the bottom of the plastic skid plate and remove the two screws that remain. You may need a partner to hold the plate and prevent damage to you or the skid plate should you decide to use it again.
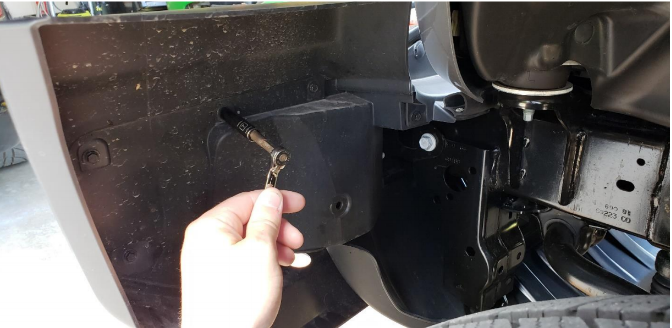
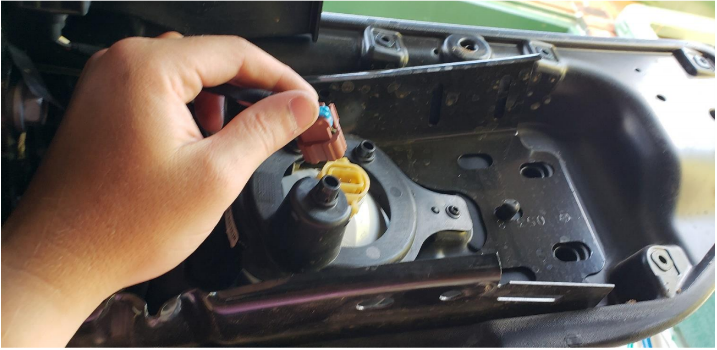
6. Now with the plastic pieces removed, disconnect the factory fog light connections from the fog light housing.
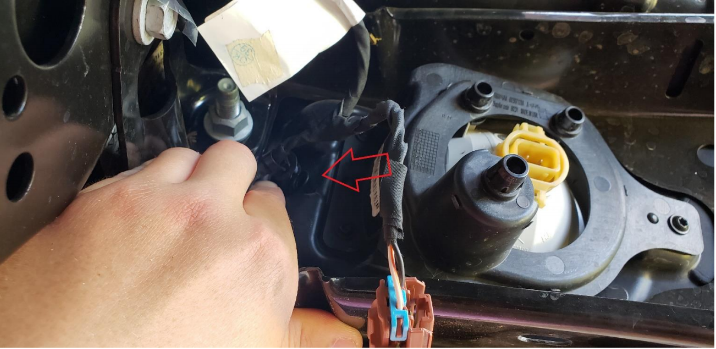
7. Using a plastic pry tool or your fingers remove the fog light wiring from the bumper.
8. There will be 8 18mm nuts that attach the bumper to the frame, use 18mm socket and remove these 8 nuts. There are two one each side of the frame. After removing the 8 nuts, slide the factory bumper off.
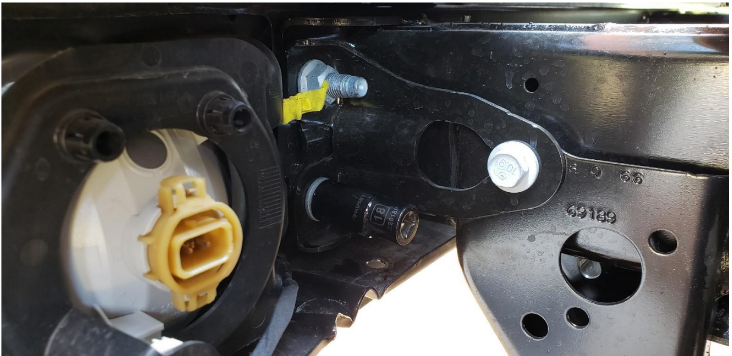
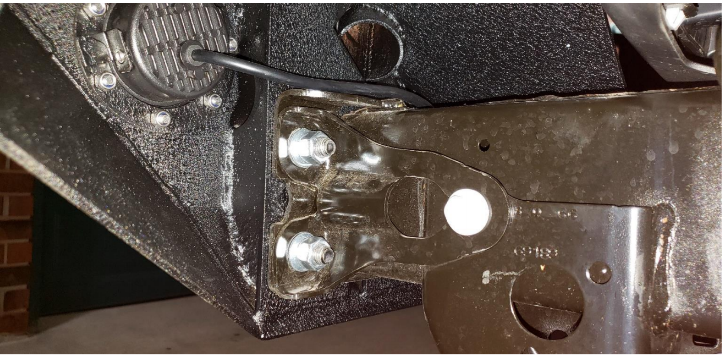
9. Slide the new bumper into place through the existing holes and secure it down using the hardware provided, use a flat washer along with a lock washer on every nut and bolt to secure the bumper to the frame. There are 3 threaded studs and 1 threaded insert on each side.
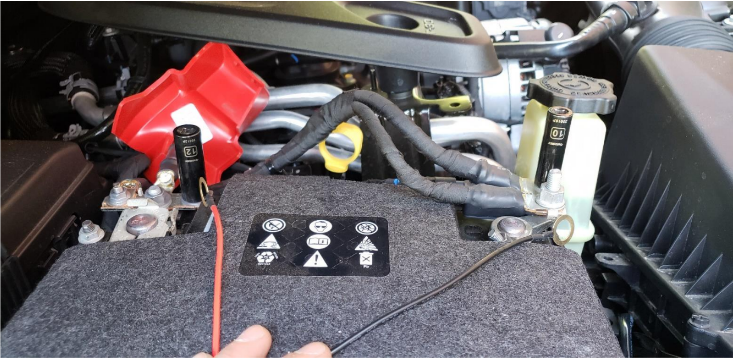
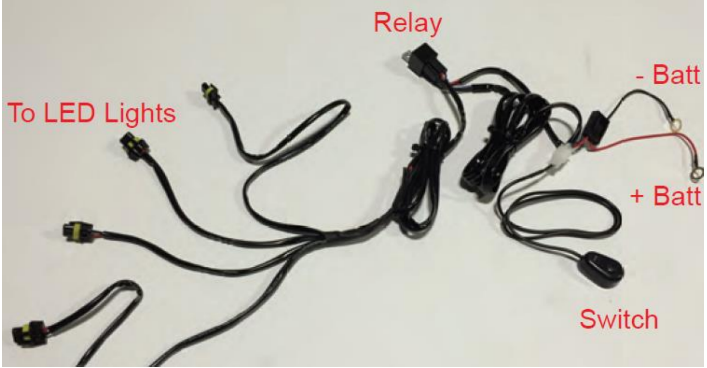
10. Utilizing the supplied LED light harness for a cut/splice free installation. Plug the bumper mounted LED lights into the harness, then run the harness towards the battery. connect the red wire to the Positive battery terminal with a 12mm socket, and the black wire to the Negative battery terminal with a 10mm socket. Secure the relay
away from excessive heat.
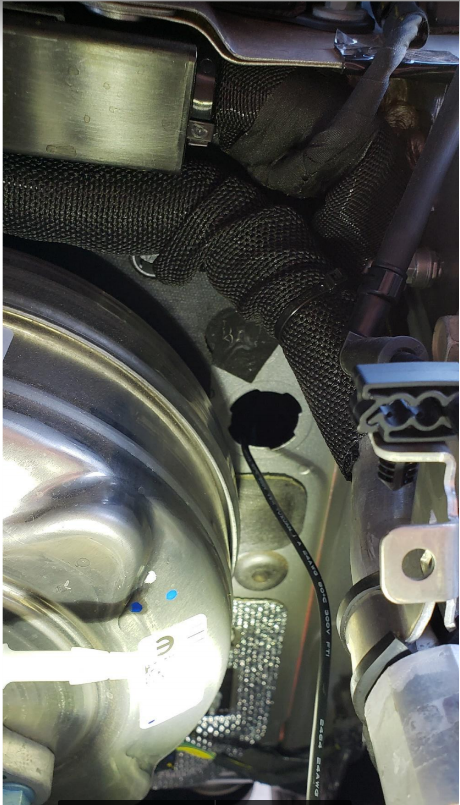
11. Then run the switch into the vehicle along the back of the engine bay using an existing wiring grommet, secure extra wire out of the way. Along the driver side of the engine bay, locate the removable firewall plug, turn it clockwise to slide it out of the firewall.

12. Guide the switch wire through the firewall, locate a suitable mounting location, clean location of any dirt and grease. Remove the double-sided tape backing and firmly secure the switch to the dash. Replace the firewall cap when complete.
13. Find a suitable path for the other half of the wiring harness to route the light sockets, ensure you stay away from moving parts as well as high heat parts.
14. Test your lights and enjoy!
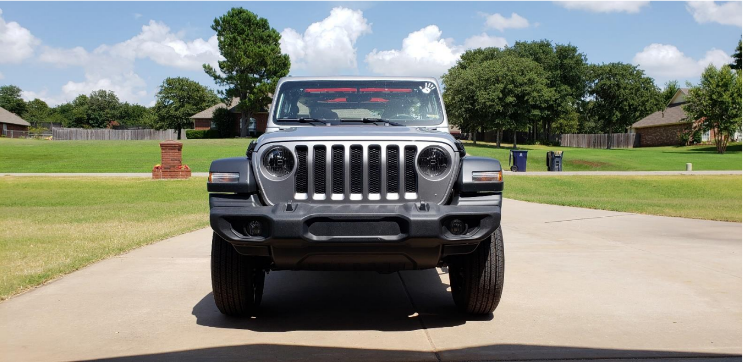
Before
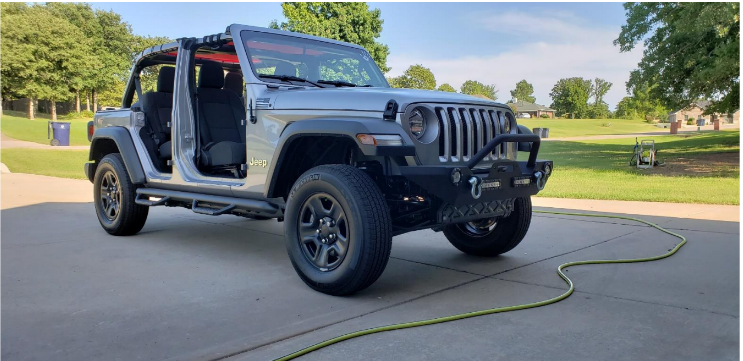
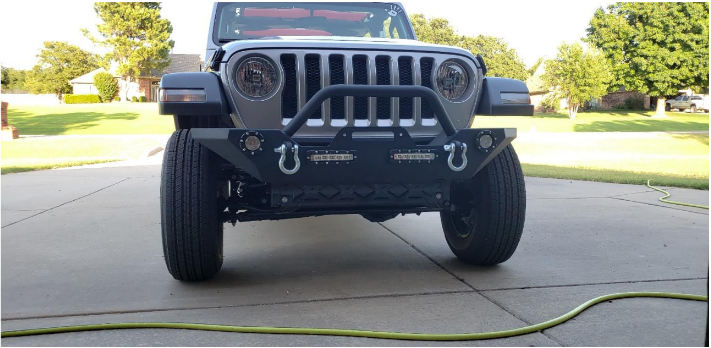
After
Installation Instructions Written by ExtremeTerrain Customer Zac Hart 07/13/2018

