 FREE 1 to 3-Day Delivery on Orders $149+ Details

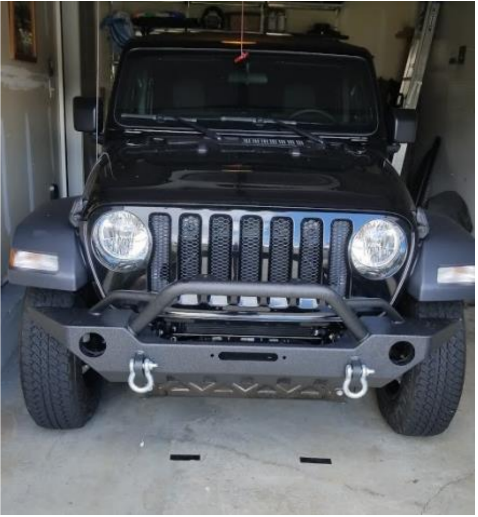
How to Install Barricade Adventure HD Front Bumper (2018 Jeep Wrangler JL) on your Jeep Wrangler
Installation Time
5 hours
Tools Required
- Flathead and Phillips Head Screwdriver
- Trim Tool (Not required; can make installation easier/reduce ability to damage parts and pop clips)
- Socket Set (8 mm, 16 mm, 18 mm, 7 mm)

Shop Parts in this Guide
Note: This installation was performed on a 2018 JL Jeep Wrangler Sport S.
Installation Instructions:
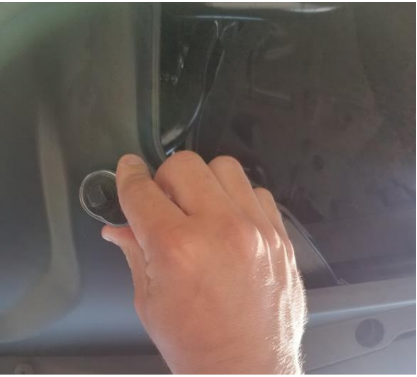
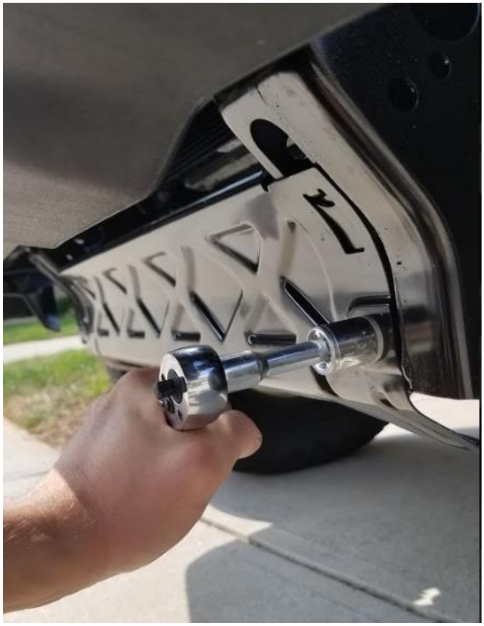
1. Remove the 2 (two) pop clips at the top of the bumper splash guard, behind the tow hook points, using a flathead screwdriver. To effectively remove a pop clip, remove the center piece first and then focus on the outside washer. This will reduce damage to pop clips and make it much easier to remove them.
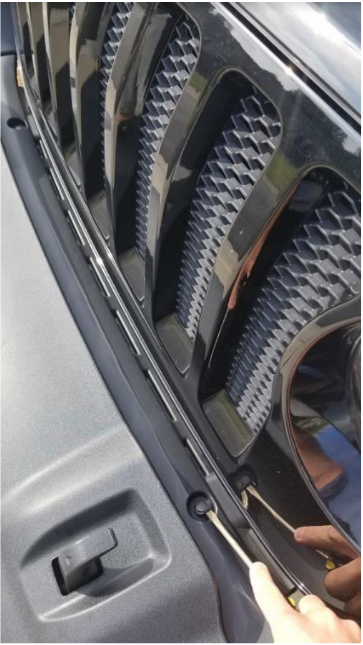
2. Next, locate the pop clips facing perpendicular to the ground on the splash guard facing the vehicle. There should be 6 (six) of them. Remove the pop clips with a flathead screwdriver.
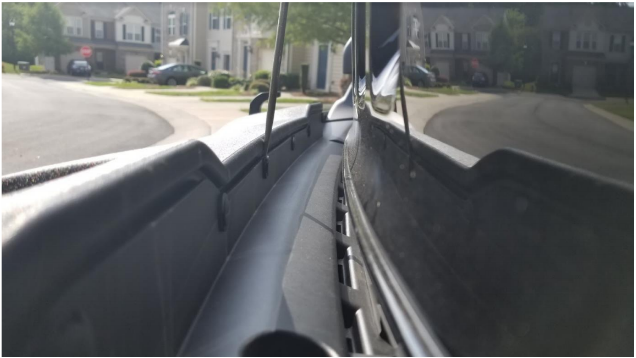
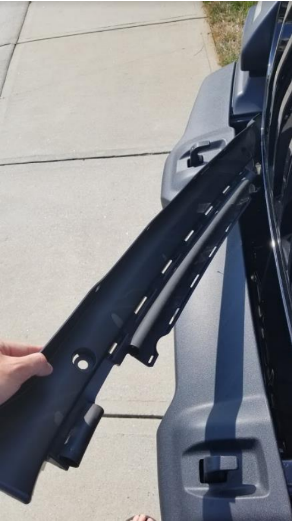
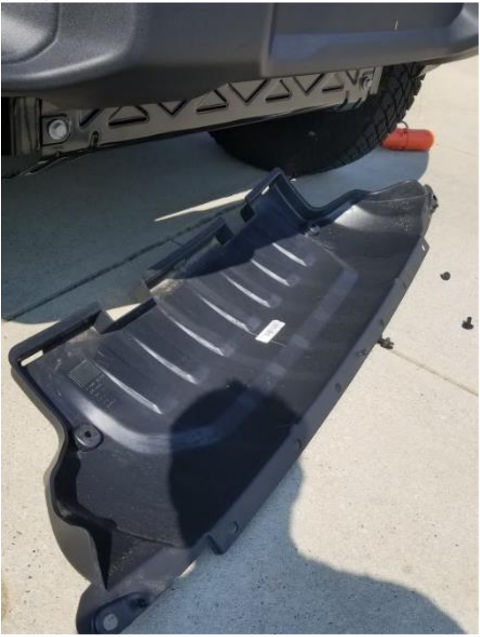
3. Once all eight pop clips are removed in the previous two steps, remove your splash guard.
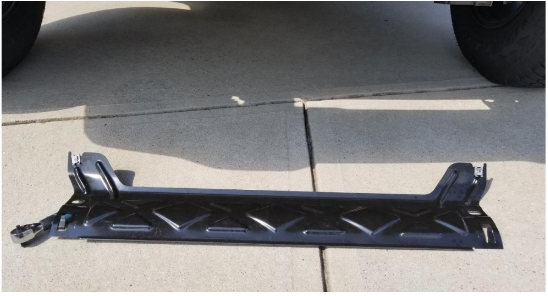
4. Remove lower splash guard. There are eight pop clips holding the splash guard into place. Using a flathead or your trim removal tool, remove the pop clips holding the splash guard.
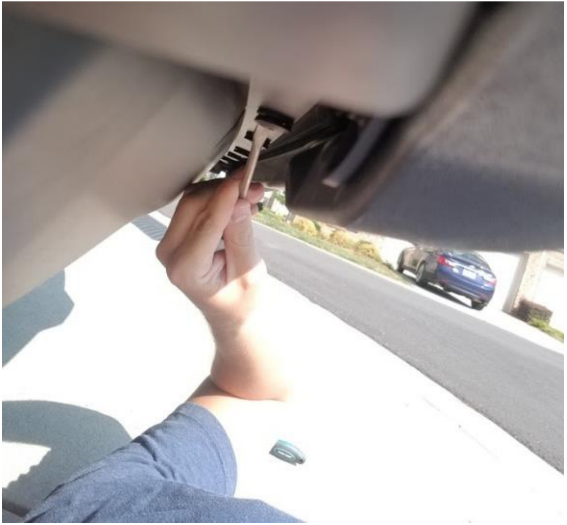
5. Remove the two lower 8 millimeter bolts holding the bottom splash guard.
6. Remove the lower splash guard.
7. Remove the 7 mm screws holding on the caps to the bumper. There are 6 in total on each side. Repeat for the other endcap on the opposite side of the vehicle.
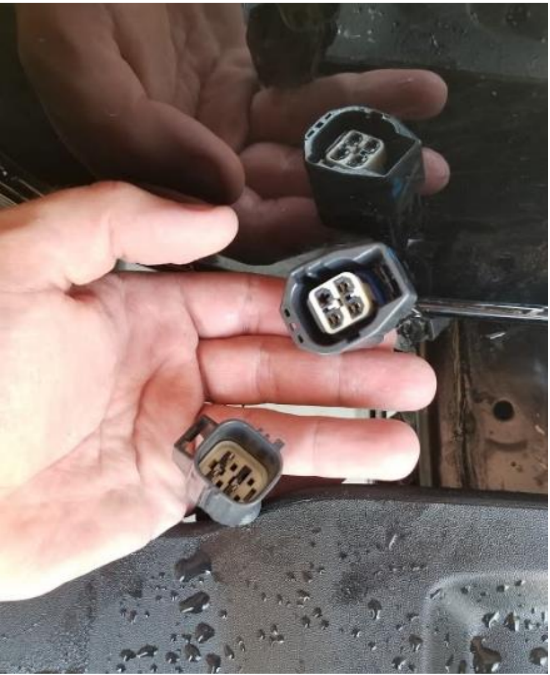
8. Disconnect the fog lights on both sides of the vehicle by grasping where the harness meets the fog light and pulling. There should be no tools required for this step.
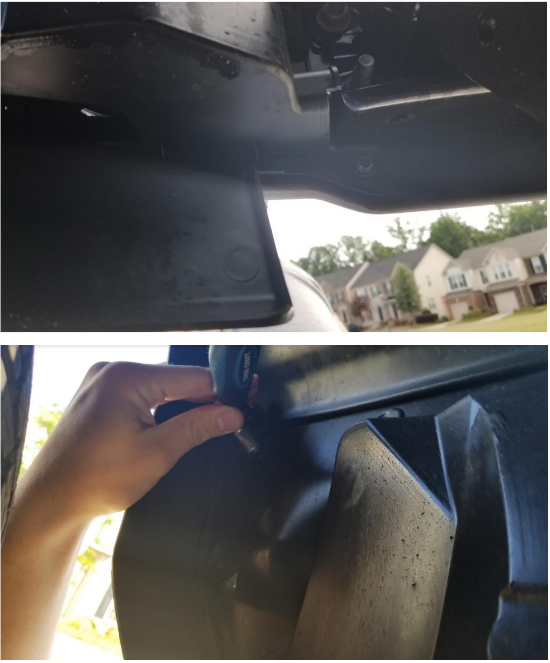
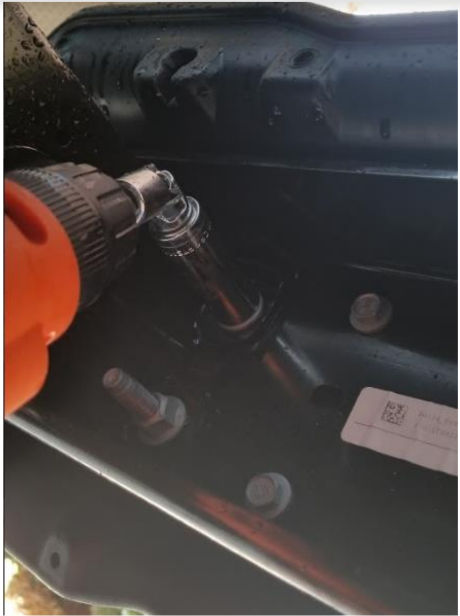
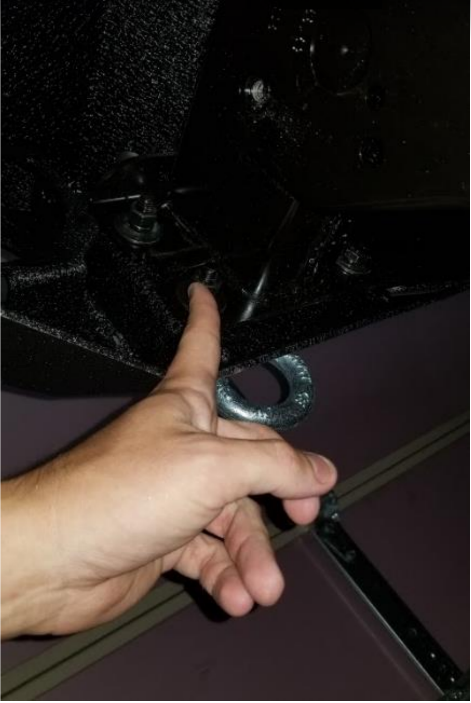
9. Remove the front skid plate, held on by two 16 mm bolts. Please note the skid place is held in place by two vertical notches. To remove the plate, pull up on the skid plate to release it.
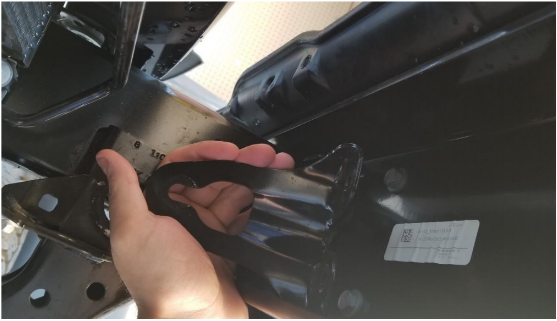
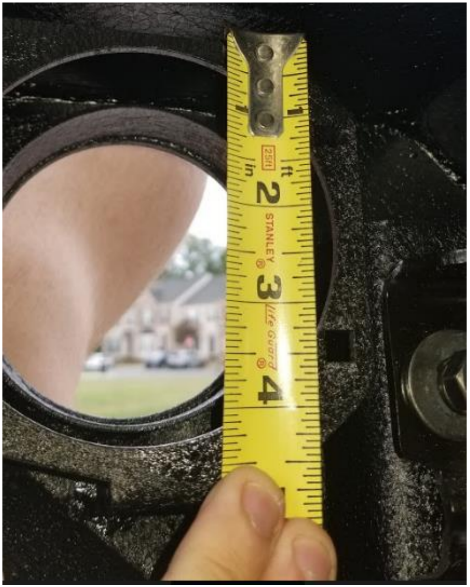
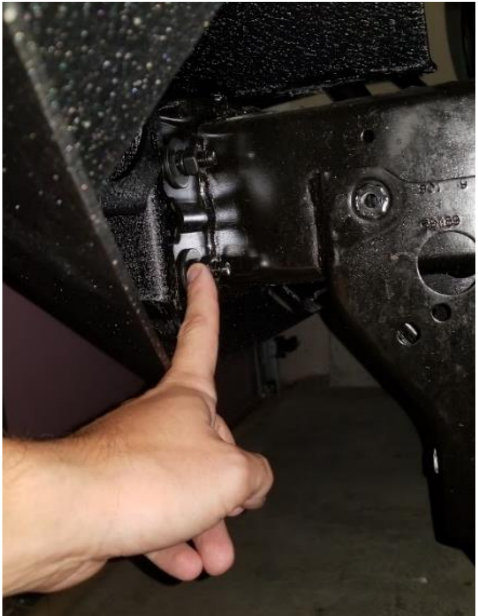
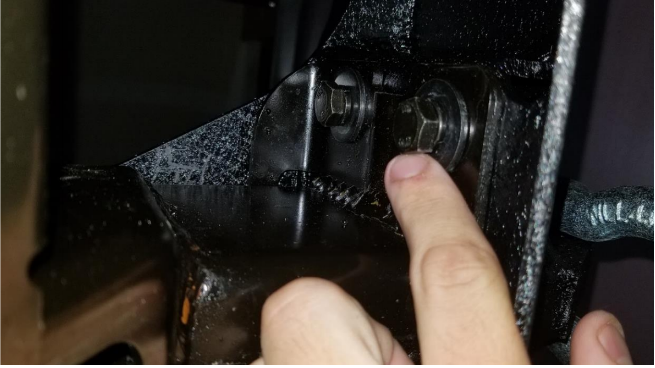
10. Remove the eight nuts (four on each side) on the studs holding the bumper on the vehicle. This should be performed on both sides of the Jeep using an 18 mm socket.

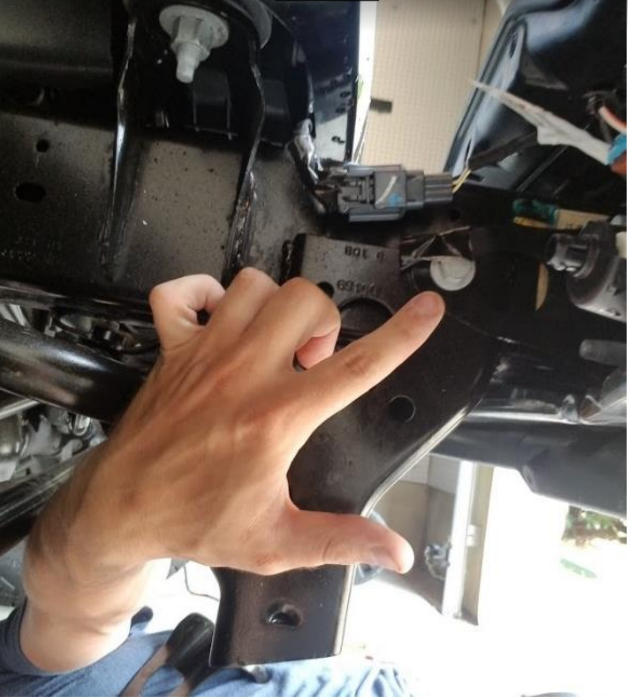
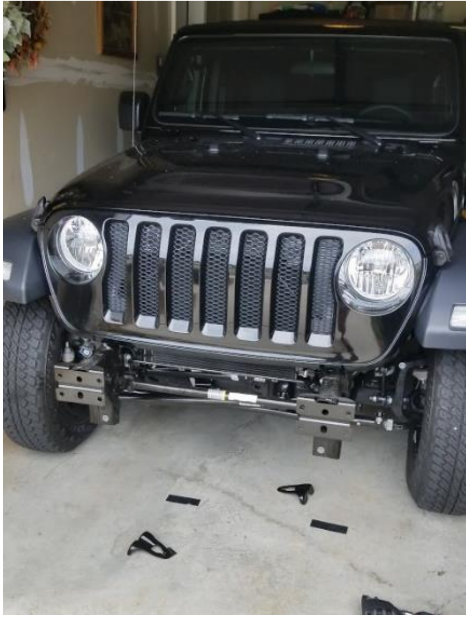
11. Remove the bumper from the car carefully. Once removed, note that the factory wiring for the wiring harness for the fog lights is still inside the original bumper. The target vehicle should look as shown:
12. If the Jeep has HALOGEN headlights, or you are not putting fog lights in your new Barricade Adventure Bumper, please skip ahead to step 21.
13. Remove the plastic cover from the bumper by removing all the 14 mm bolts holding the bumper on.
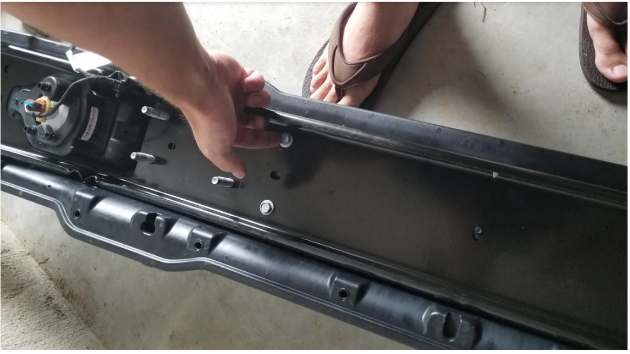
14. Remove the plastic bumper back cover by pulling on the bumper and focusing the separation effort on where the two hooks are to ensure removal.
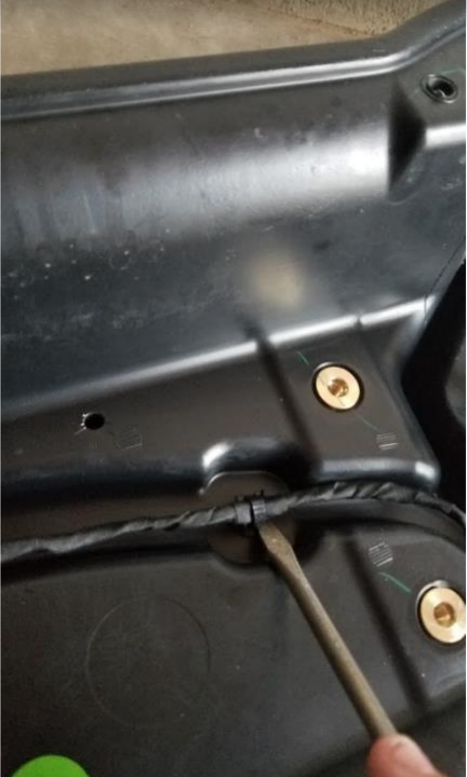
15. Once removed, it will show all the plastic pop clips that are holding in the fog light wiring harness. Using a trim removal tool or flat head screwdriver, remove all the pop clips so the fog light wiring harness can be removed.
16. Remove the wiring harness from the bumper.
17. Remove each fog light using a 7 mm socket and removing the housing screws surrounding the fog light.
18. In the new Barricade Adventure Bumper, install the 4 retaining clips around the fog light installation hole on each side.
19. After the retaining clips have been added, take the fog lights removed from the original bumper and place them (right side up) into the housing.
20. Using the screws provided with your bumper purchase, use a Phillips head screwdriver to install four screws into the fog light mounts.
21. Install the new front bumper by aligning the studs on either side of the bumper with the receiving studs on the Jeep. Once the new bumper is securely in place, mount the bumper using the 16 mm socket hardware included with the bumper purchase. This should be performed on both sides of the Jeep. Be sure to affix both top and bottom bolts. There are 8 total bolts to affix.
22. To finish the fog light hookup, ensure that the harness that has two connections on the end of it is on the passenger side of the vehicle, and plug it into the Jeep’s original connector for the fog light.
23. After the harness is plugged back into the Jeep, use the other ends of the harness to plug in your fog lights, ensuring that you plug in both fog lights.
24. There may be slack on the wiring harness, zip tie the extra wiring neatly under or within the bumper or Jeep itself.
25. Optional: Reinstall bottom metal skid place by reversing the removal outlined in Step #9.
26. Complete. Shown without fog light installation below.
Installation Instructions Written by ExtremeTerrain Customer Zack M. 7/25/18
