 FREE 1 to 3-Day Delivery on Orders $149+ Details

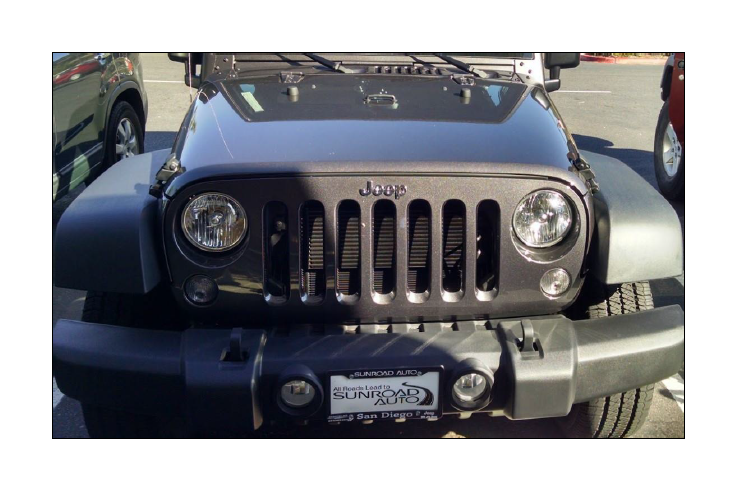
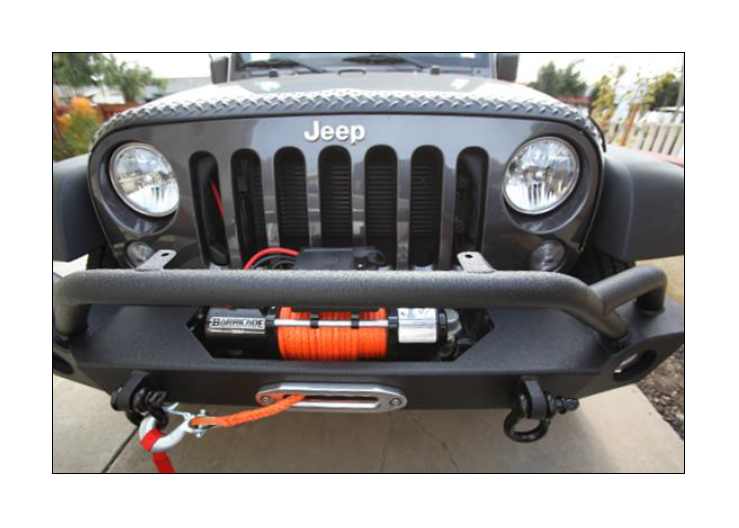
How to Install Barricade 12000LB Winch w/ Synthetic Rope on your Wrangler
Installation Time
30 minutes
Tools Required
- 8 mm or 5/16 inch Allen wrench
- 10 mm socket
- 14 mm socket or 14 mm wrench
- 17 mm socket
- Socket wrench
- #2 Phillips head screwdriver
- 5/8 inch box or open end wrench
- Needle nose pliers
- Optional: Removable thread locking compound
- Optional: 5/8 inch flex head ratcheting wrench
- Optional: Small zip ties

Shop Parts in this Guide
This guide shows the Barricade winch being installed on a Barricade bumper that is not yet attached to the vehicle. If your bumper is already attached to the vehicle, removing the bumper should make the winch installation easier.
Installation Instructions:
Before:
After:
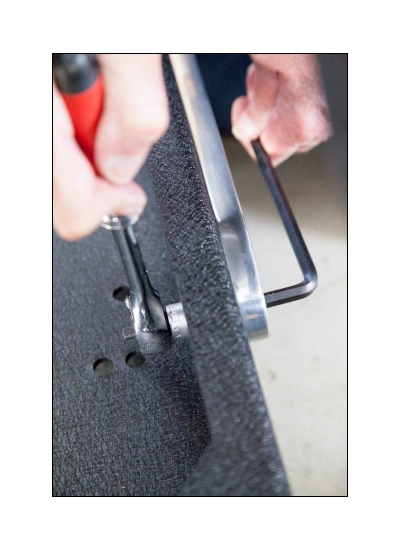
1. Dry fit the Hawse fairlead to the bumper to ensure the bolt holes align with the bumper bolt holes. Install the split washer and flat washer onto the Allen head bolt. Insert the bolt and washer combo through the recessed bolt hole in the Hawse fairlead and through the bumper bolt hole.
2. If using removable thread locking compound, apply compound to exposed portion of Allen head bolt on interior side of bumper. Install flat washer and tighten bolt until finger tight. Using an 8 mm or 5/16 inch Allen wrench and 17 mm socket and socket wrench, tighten the Hawse fairlead bolt and nut combo.
3. Repeat for the second attachment point of the Hawse fairlead.
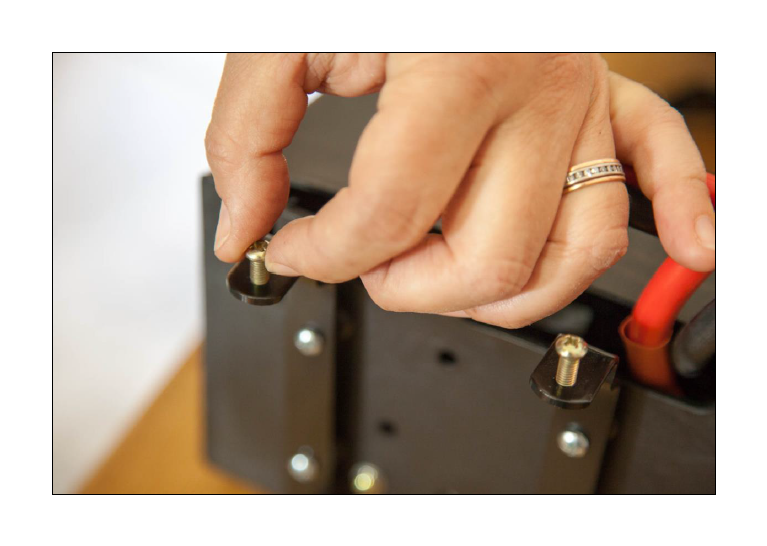
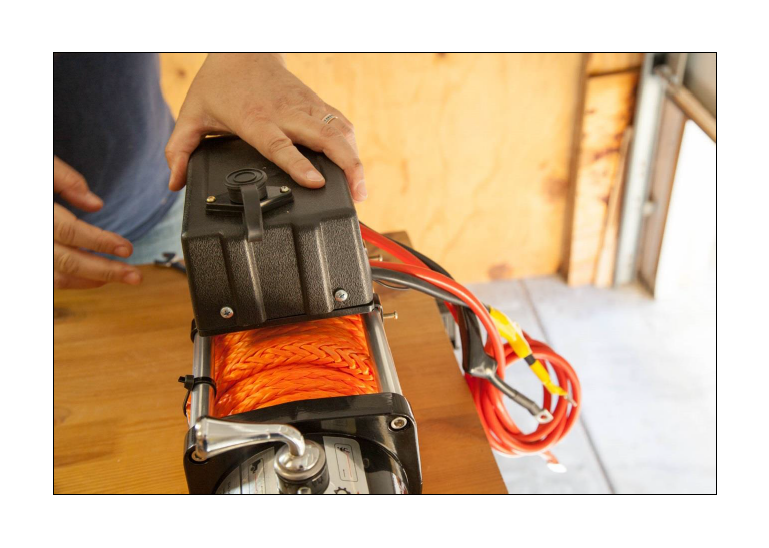
4. Back out the interference bolts on the Control Box / Solenoid until the tip of the bolt no longer protrudes on the inside of the mounting arm.
5. Position the rounded mounting arms of the Control Box / Solenoid against the front bar of the winch.

6. Lower the Control Box / Solenoid mounting arms onto the rear mounting bar of the winch so the cables connected to the Control Box / Solenoid are positioned at the rear of the winch. Do not tighten the interference bolts yet.
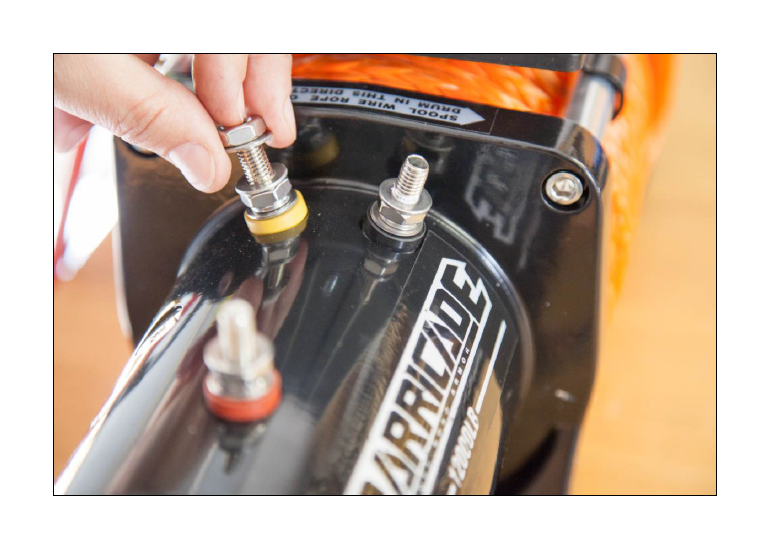
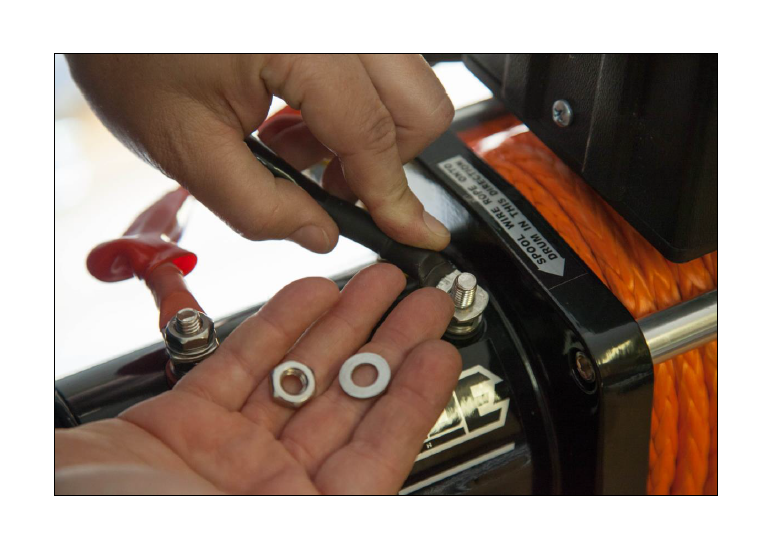
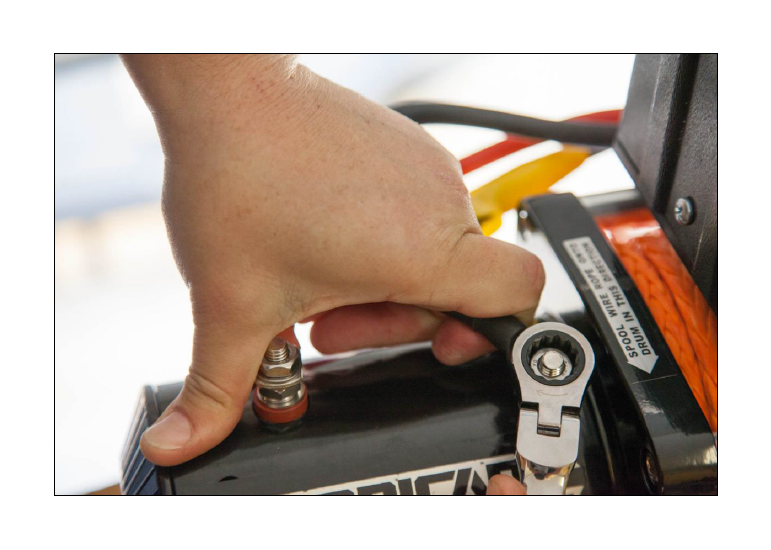
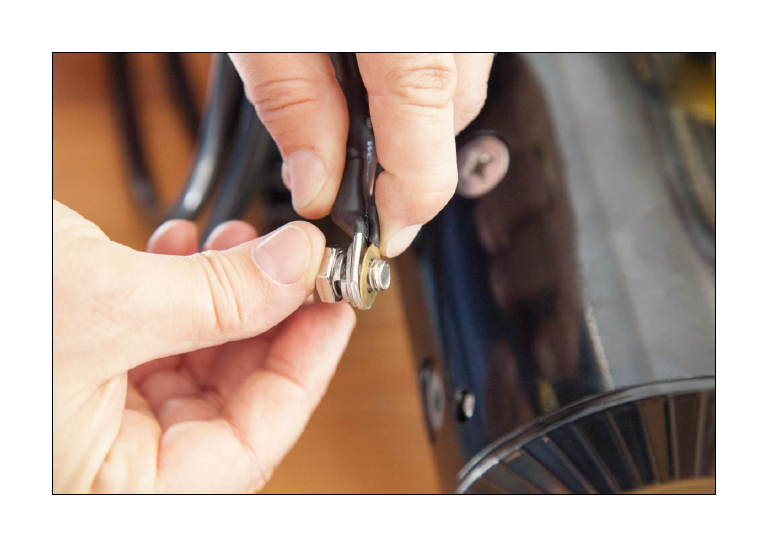
7. Remove the bolt and one washer from each of the red, yellow, and black ring colored posts.
8. Shift the Control Box / Solenoid along the mounting bars to ensure the attached short, thick red, yellow, and black cables with connection rings will reach their respectively colored posts. Install cable connection rings over appropriately colored posts, ensuring raised portion of cable end is facing up.
9. Reinstall one flat washer and one bolt onto each post and make finger tight.
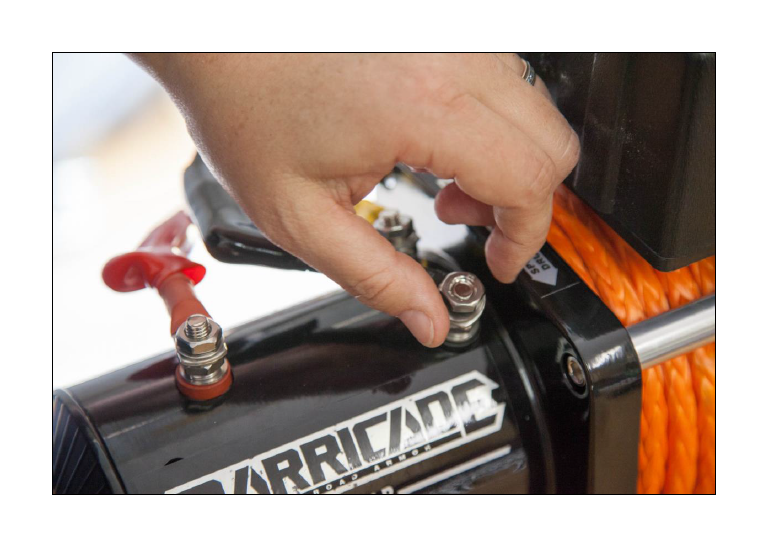
10. After short red, yellow, and black cables and hardware are in place, tighten each nut using a 14 mm socket and socket wrench or a 14 mm wrench.
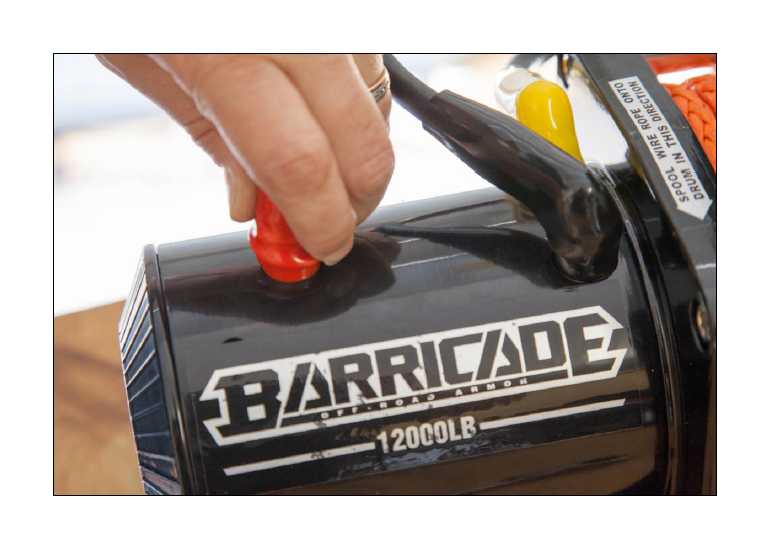
11. Slide the red, yellow, and black dust covers into place over the nut and post combos.
12. Position Control Box / Solenoid so thin black ground wire will reach ground wire mounting bolt. Make Control Box / Solenoid interference bolts finger tight.
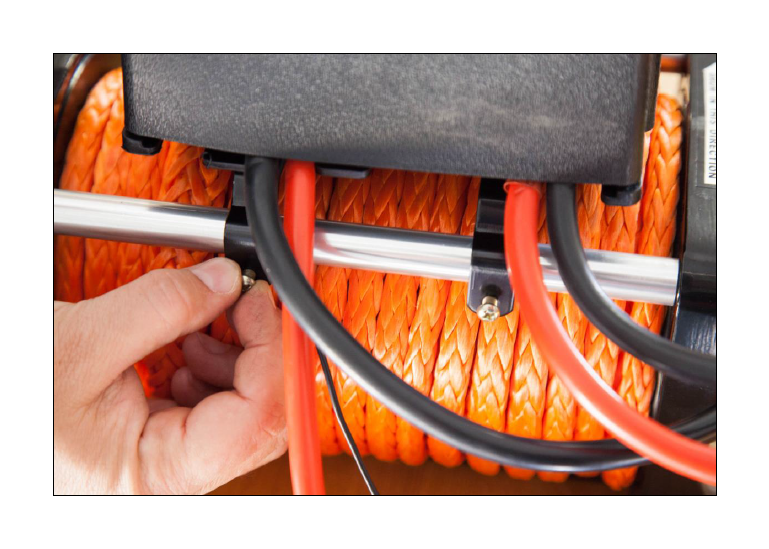
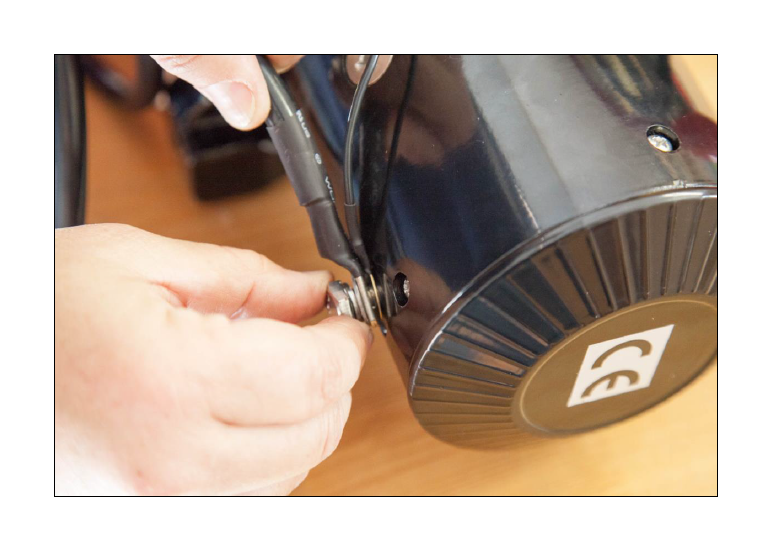
13. Rotate winch assembly forward until ground wire mounting bolt is visible. Remove ground wire mounting bolt, split washer, and flat washer.
14. Locate loose black negative battery connection cable provided with winch. Install split washer and flat washer onto ground wire mounting bolt. Install connection ring from one end of loose black cable onto ground wire mounting bolt with raised cable end facing bolt head. Install thin black ground wire connection ring onto ground wire mounting bolt.
15. Reattach ground wire mounting bolt, hardware, and cable rings to winch mounting location and tighten using a 14 mm socket and socket wrench or 14 mm wrench.
16. Adjust Control Box / Solenoid to final desired location and tighten interference bolts using a #2 Phillips head screwdriver while holding Control Box / Solenoid securely to keep it from “walking” along the mounting bars as the interference bolts are tightened.
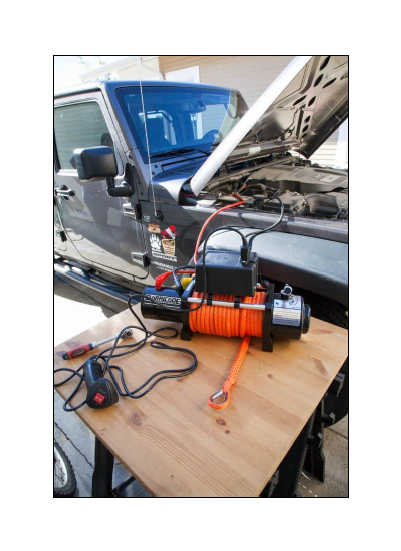
17. OPTIONAL Part A: To test winch prior to attaching to bumper, open hood of Jeep and position winch close enough that long red and black cables reach positive and negative battery terminals. Using a 10 mm socket and socket wrench, connect winch’s red cable to red/positive cable accessory connection post of battery and connect winch’s black cable to black/negative cable accessory connection post of battery.
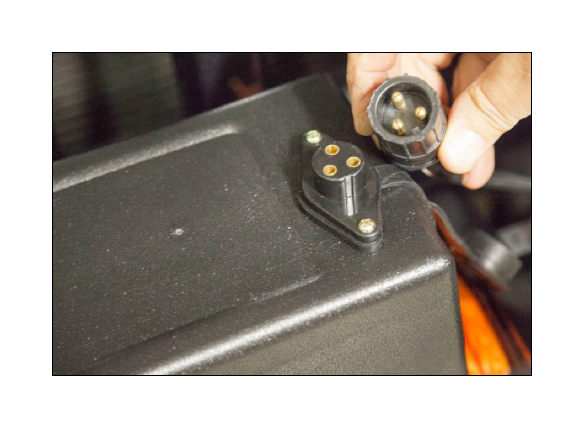
18. OPTIONAL Part B: Remove dust cover on winch Control Box / Solenoid receptacle and attach remote control cable. The receptacle and cable are keyed to help align the pins while connecting.
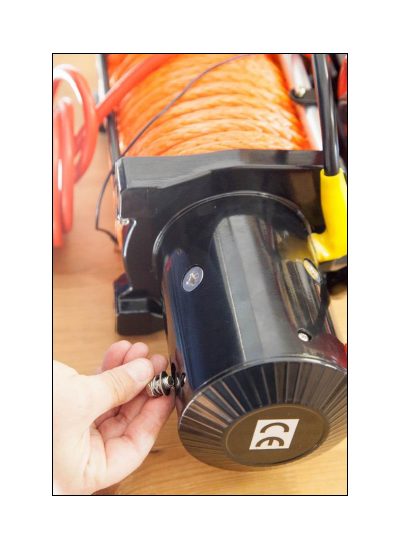
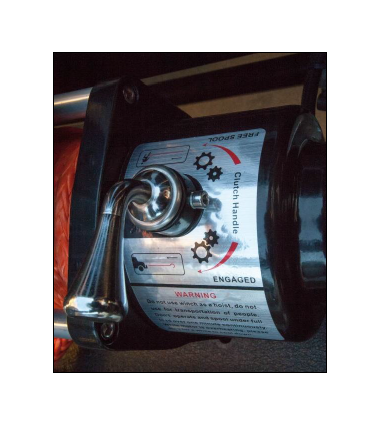
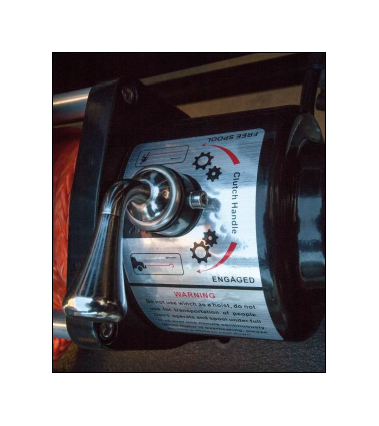
19. OPTIONAL Part C: Ensure winch clutch is in “engaged” mode. You may need to slightly rotate the rope spool by hand to get clutch fully engaged.
20. While applying tension to winch rope, toggle remote control selector to “out” position until approximately one foot of rope is released from spool. While applying tension on winch rope, toggle remote control selector to “in” position until previously unspooled rope is wound back onto spool.
21. If winch performs as expected, disconnect red and black winch cables from battery using a 10 mm socket and socket wrench. Disconnect remote control from winch, replace dust cover, and continue with installation instructions.
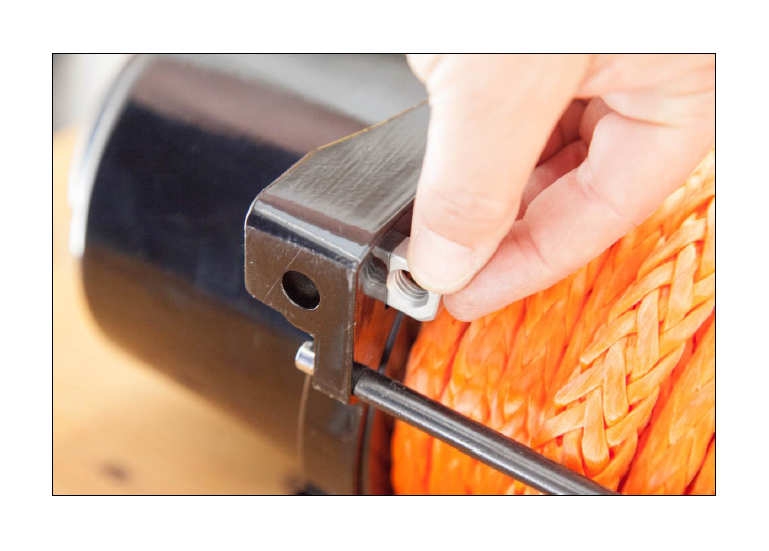
22. Locate square nuts provided with winch. Insert one nut into each of the winch mounting feet.
23. Rotate bumper so winch mounting holes are easily accessible.
24. Position winch so front of winch and end of rope are facing front of bumper.
25. Align winch so feet are near desired set of bumper mounting holes. Install flat washer onto winch mounting bolt.
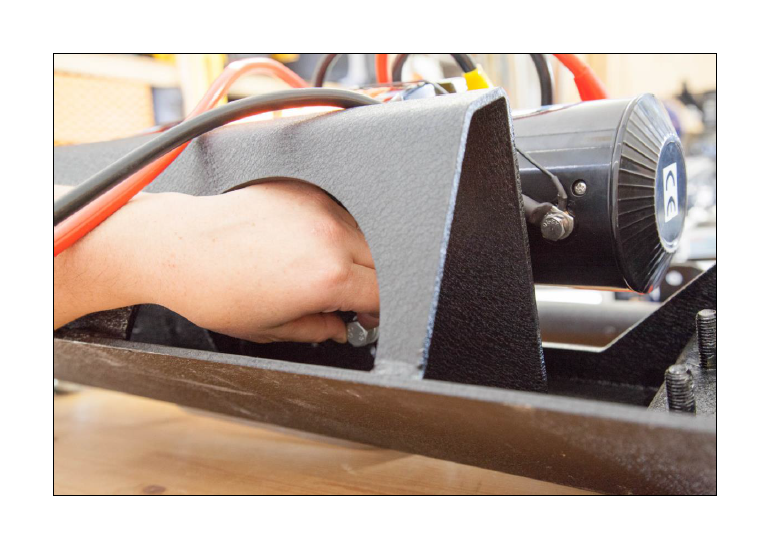
26. Starting with mounting holes closest to front of bumper, insert bolt through bumper bolt hole and into winch foot. Align with nut, insert, and make finger tight.
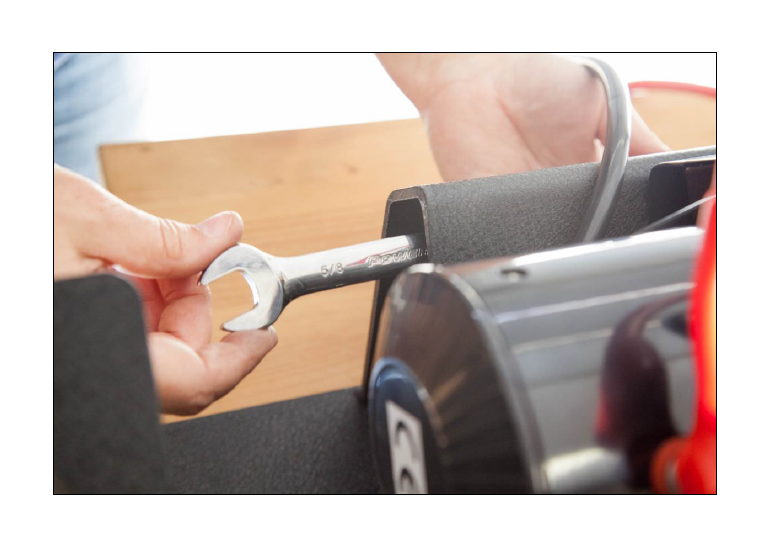
27. Tighten all mounting bolts using a 5/8 inch box, open end, or flex head ratcheting wrench.
28. Attach bumper and winch to Jeep.
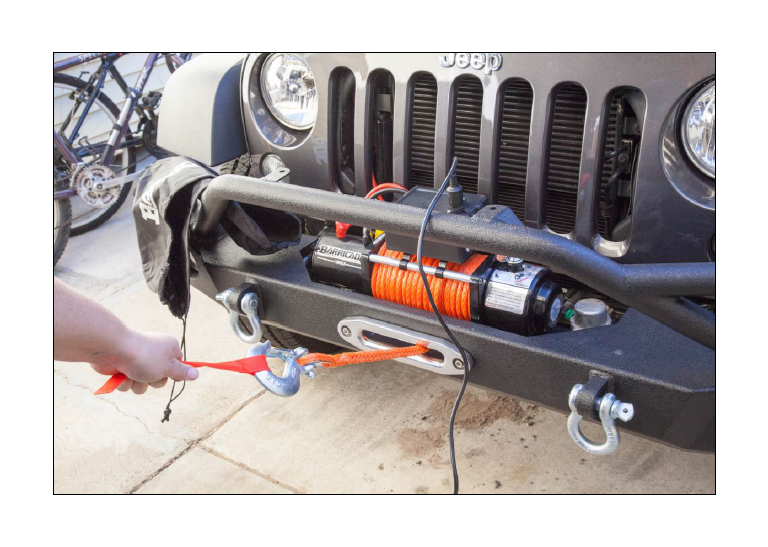
29. Feed winch rope through Hawse fairlead.
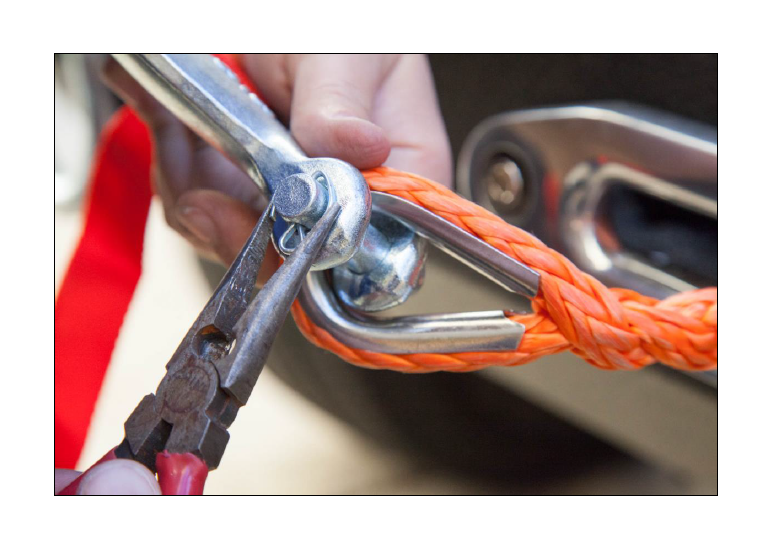
30. Locate the rope hook and red line flag provided with the winch. Attach red line flag through mouth of hook. Using needle nose pliers, remove cotter pin and retaining pin from hook.
31. Insert winch rope end through rear opening of hook. Insert retaining pin through rear of hook and cotter pin through hole in end of retaining pin. Secure cotter pin using needle nose pliers to bend ends back and around retaining pin.
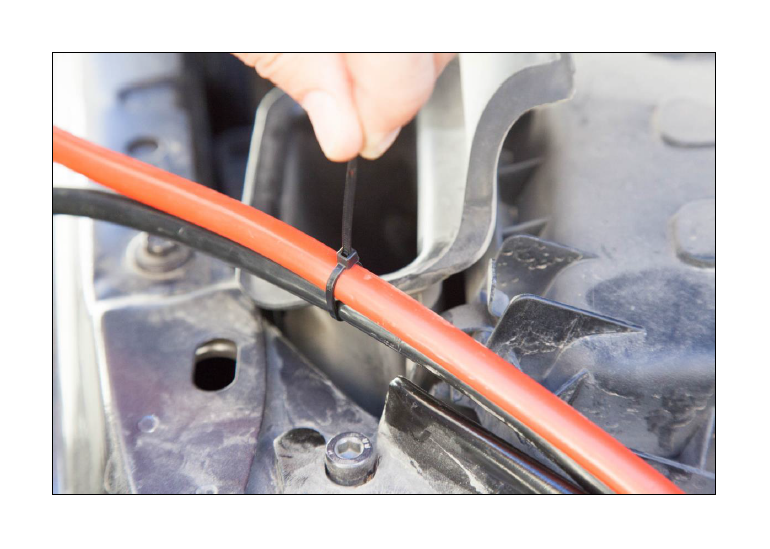
32. Open the hood of the Jeep and route the long red and black cables through the grate and into the engine compartment. Ensure routed cables are not too close to heat sources and do not interfere with moving parts of the engine. If desired, secure red and black cables together with smalls zip ties.
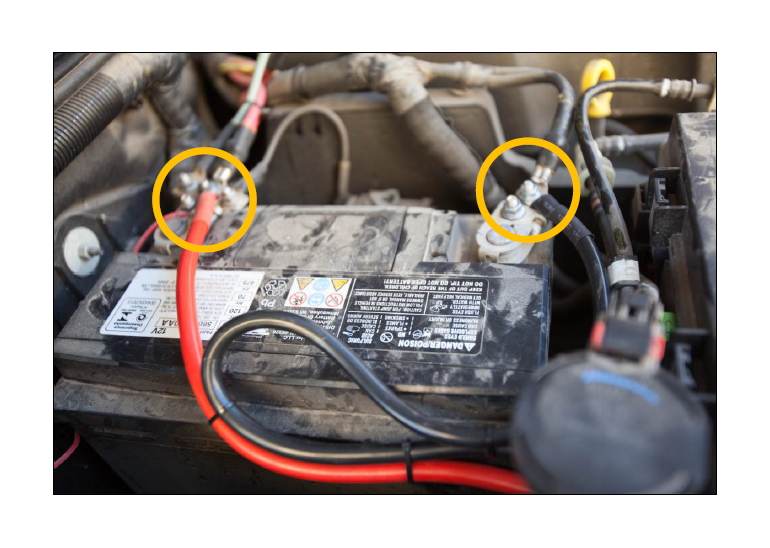
33. Using a 10 mm socket and socket wrench, connect winch’s red cable to red/positive cable accessory connection post of battery and connect winch’s black cable to black/negative cable accessory connection post of battery.
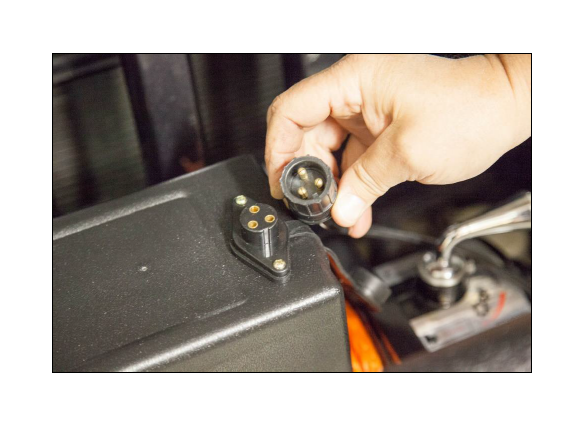
34. Remove the dust cover on the winch Control Box / Solenoid receptacle and attach the remote control cable. The receptacle and cable are keyed to help align the pins while connecting.
35. Ensure the winch clutch is in “engaged” mode. You may need to slightly rotate the rope spool by hand to get clutch fully engaged.
36. While applying tension to winch rope, toggle remote control selector to “out” position until approximately one foot of rope is released from spool. While applying tension on winch rope, toggle remote control selector to “in” position until previously unspooled rope is wound back onto spool.
37. Install winch cover to protect synthetic rope from sun and weather, then hit the trails!


