 FREE 1 to 3-Day Delivery on Orders $149+ Details

How to Install AFE Silver Bullet Throttle Body Spacer (2018 3.6L Jeep Wrangler JL) on your Jeep Wrangler
Installation Time
30 minutes
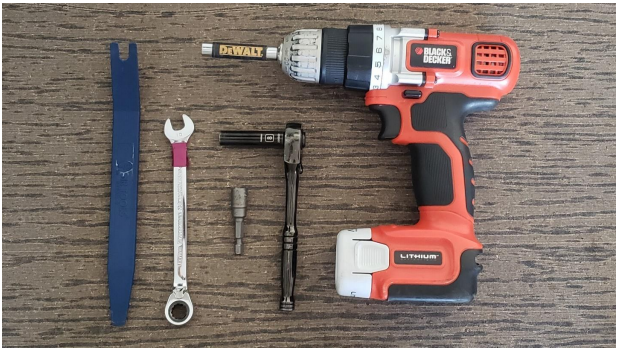
Tools Required
- 8mm Socket
- 8mm Nut Driver
- 10mm Socket or Wrench
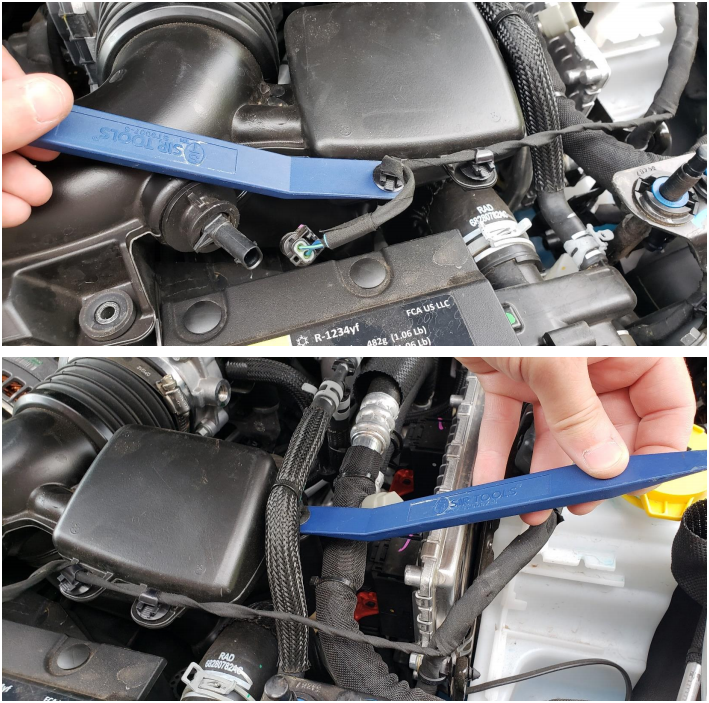
- Plastic Pry Tool

Shop Parts in this Guide
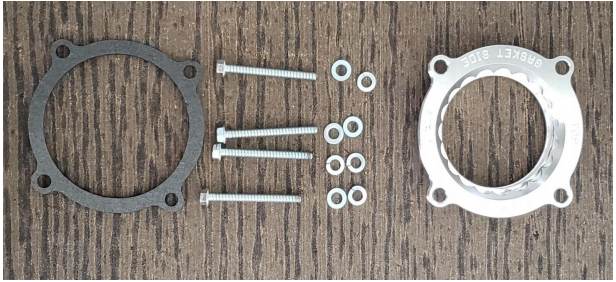
Included Components
Note: Before beginning this installation, ensure you are in a clean environment. One where debris cannot get into the throttle body once exposed.
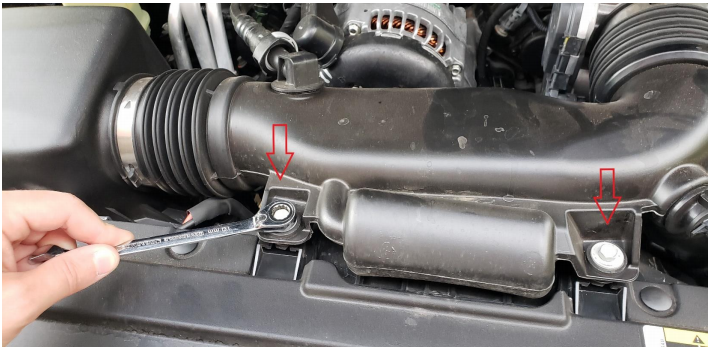
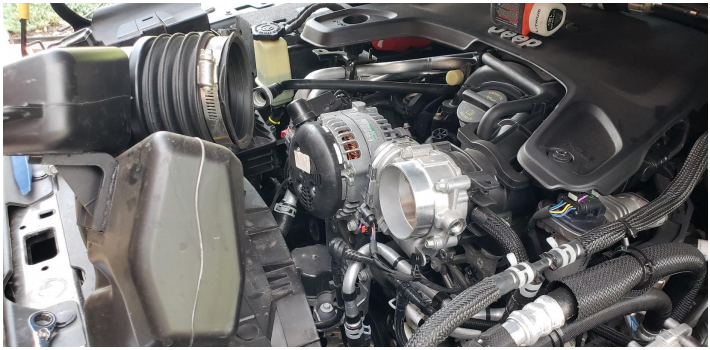
1. Locate the air intake tube. Using a 10mm socket and driver, remove the two bolts securing it to the front core support.
2. Loosen the two worm drive clamps on the intake tube using an 8mm nut driver.

3. Disconnect the temp sensor on the intake tube by pushing the release on the connector and unplugging it from the sensor.
4. Using a panel popper tool, remove the two temp sensor harness clips and the one coolant line clip that are attached to the side of the intake tube.
5. Disconnect the Crank Case Vent (CCV) connector from the top of the intake tube by holding down the large release tab and gently pulling back on the CCV line.

6. Remove the intake tube from the vehicle.
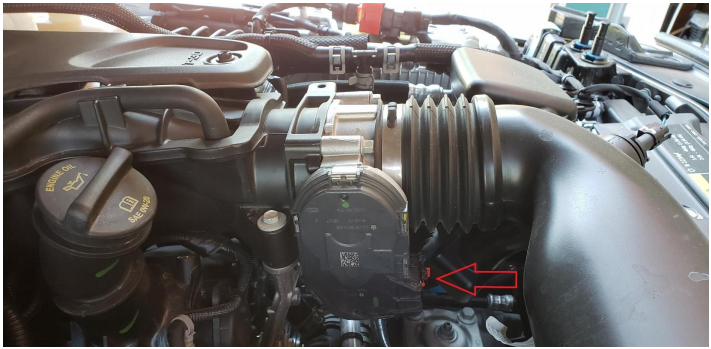
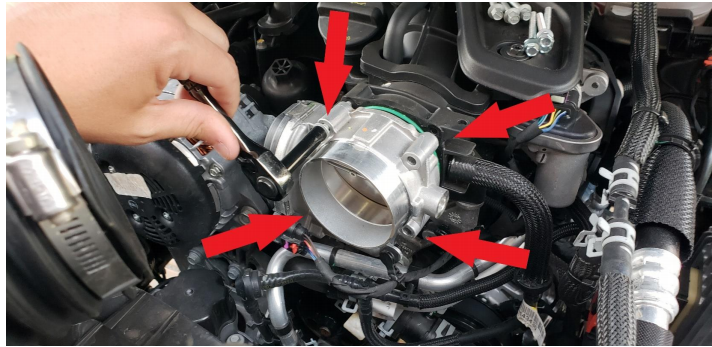
7. Remove the four bolts from the front of the throttle body using an 8mm socket and driver. Make sure not to let the throttle body hang by the wire harness after the screws are removed. NOTE: Do not discard factory hardware in the event vehicle must be returned to stock.
8. Prepare the new hardware by placing a lock washer and flat washer over each of the four new screws provided. Make sure that the gasket goes between the Silver Bullet spacer and the throttle body. The "TOP" engraving on the spacer must face up in order for the notch on the back side of the spacer to align with the breather port inside the intake manifold. Install the spacer into the intake manifold with the "TOP" engraving facing up and the engraved side with "AIR IN” facing away from the manifold.
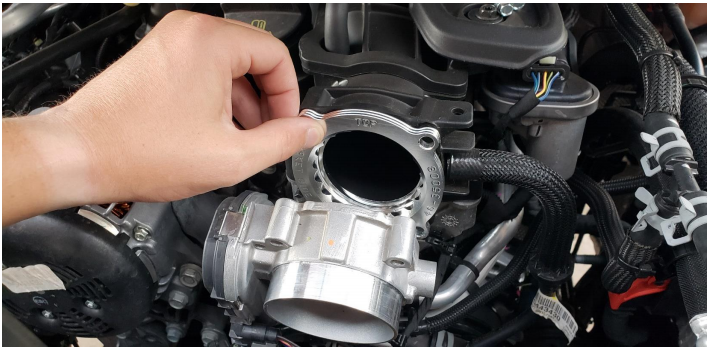
9. Place the gasket on the engraved side of the spacer and position the throttle body over the top of the gasket/spacer in the same orientation as it was originally. Using the new hardware and an 8mm socket and driver, put provided screws and washers into each of the four holes and tighten them by hand. CAUTION: INTAKE MANIFOLD IS PLASTIC! DO NOT OVERTIGHTEN SCREWS!

10. Reinstall the intake tube into the vehicle and tighten the two worm clamps using an 8mm nut driver. Reconnect the CCV line by sliding the line over the fitting until you hear the locking tab click into place. Using a 10mm socket and driver, reattach the intake tube to the core support with the same bolts that were removed during Step 1. Reconnect the temp sensor connector to the temp sensor on the intake tube. Push in all three clips for the temp sensor harness and the coolant line into the three holes on the side of the intake tube.
11. Check all connections, hardware, and clamps to make sure that everything is secured properly.
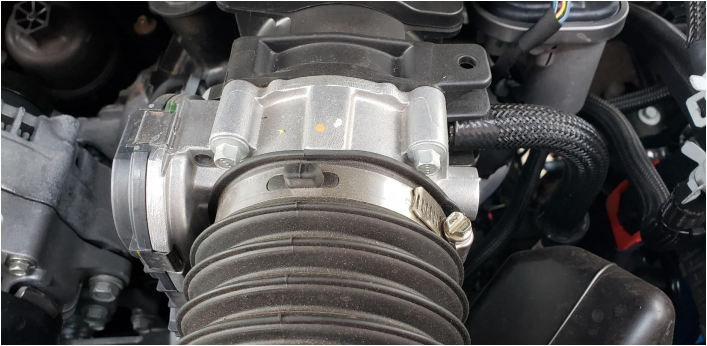
BEFORE
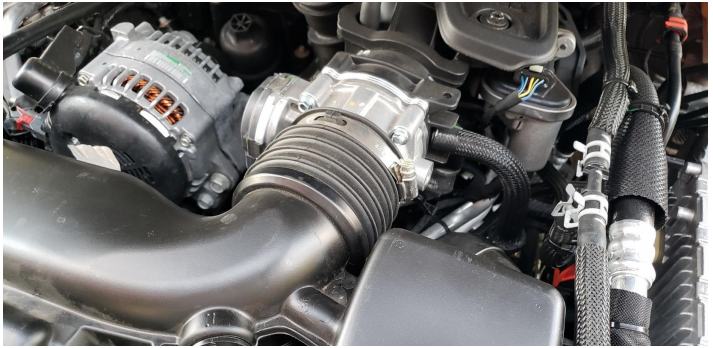
AFTER
Installation Instructions Written by ExtremeTerrain Customer Zac Hart 08/03/2018

