 FREE 1 to 3-Day Delivery on Orders $149+ Details

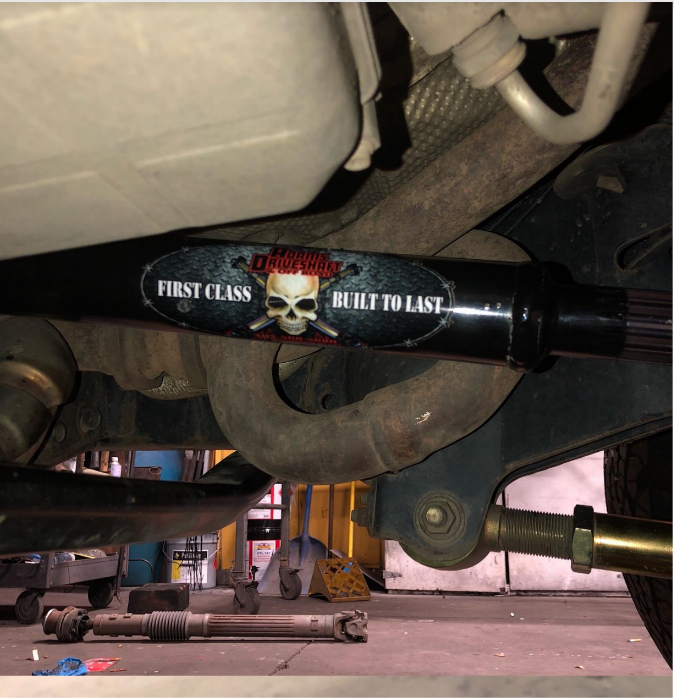
How to Install Adams Driveshaft Extreme Duty Front 1310 Solid CV Driveshaft w/ Flange (07-18 Jeep Wrangler JK) on your Jeep Wrangler
Installation Time
90 minutes
Tools Required
- 1⁄2” Ratchet
- 1⁄2” Drive Extension
- 1 1⁄4” Socket
- 3/8” Ratchet
- 3/8” Metric 15 Socket
- 5/16 12 Point End Wrench
- Torque Wrench
- Medium-sized Rubber Mallet
- 1⁄2” Chisel
- Hammer
- Red Lock-Tight
- Black Silicone
- WD-40

Shop Parts in this Guide
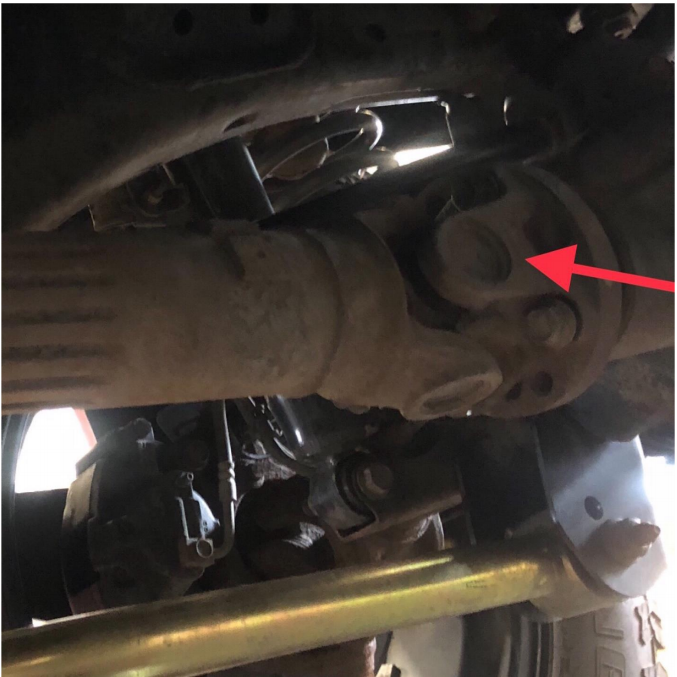
1. Using a 15mm socket remove the 4 bolts to take off the old driveshaft.

2. With a rubber mallet tap the flange on the side to remove it off of the pinion yoke.
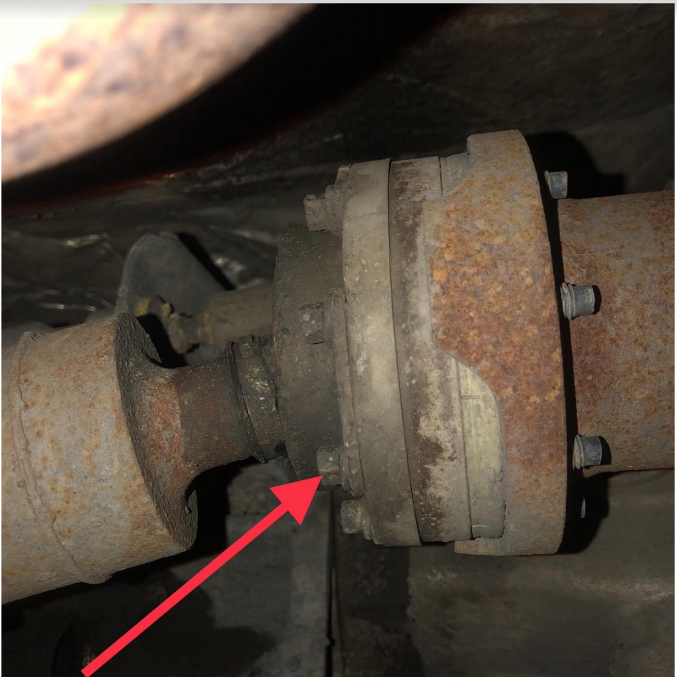
3. Using a 5/16 12 point end wrench remove the 8 bolts on the other end of the driveshaft.
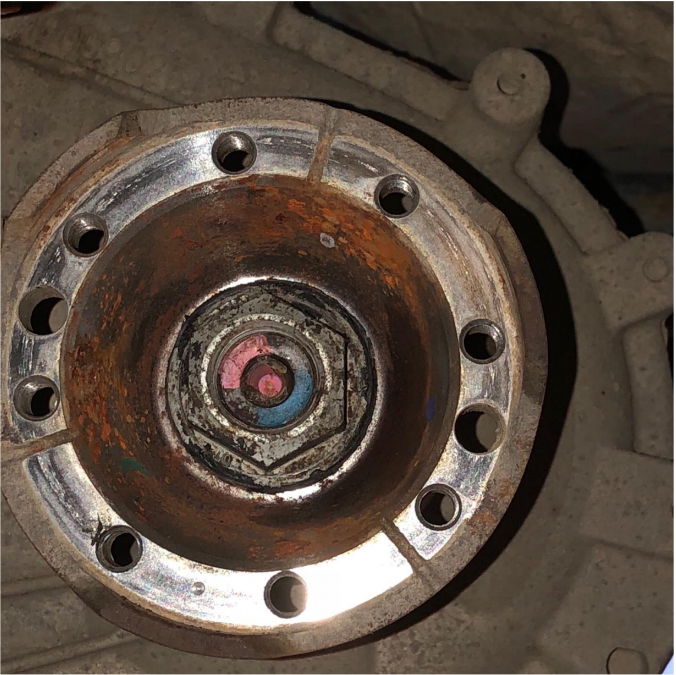
4. With a 1 1⁄4 socket remove the nut in the center of the transfer case.
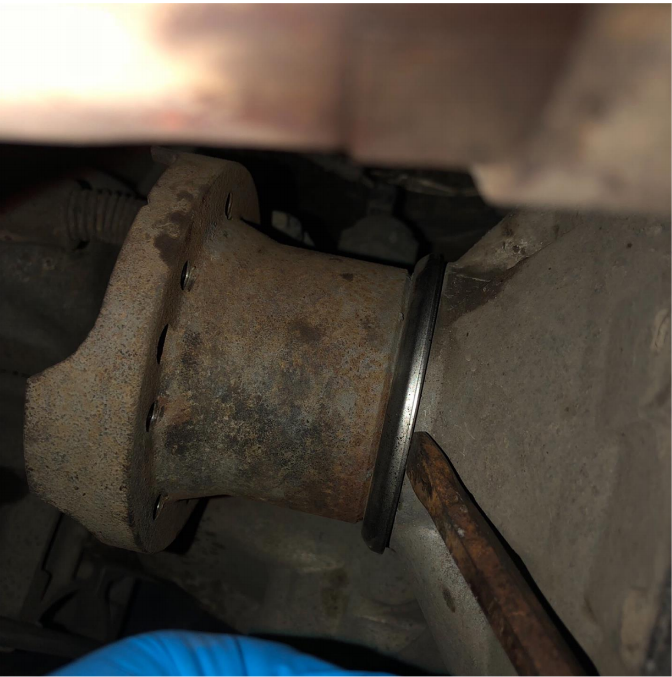
5. Remove the transfer case yoke (tap it with a hammer or use a chisel to
separate it from the transfer case).
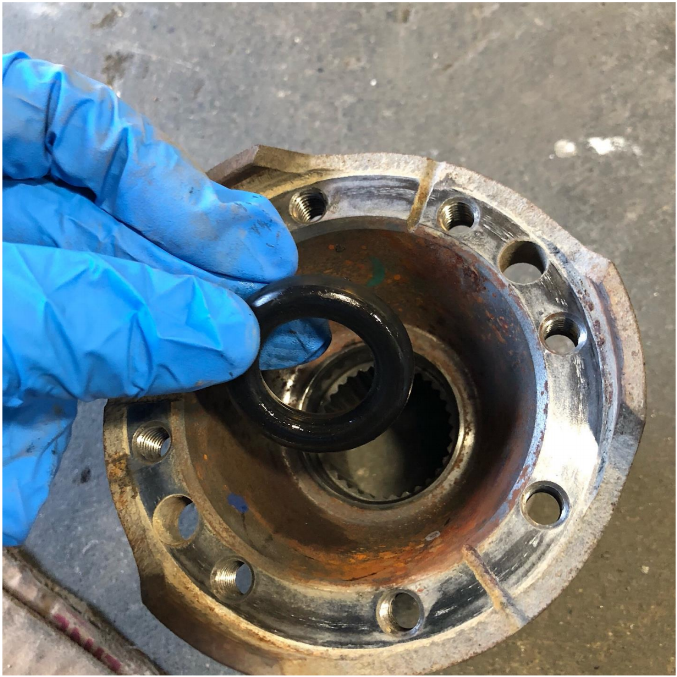
6. Remove the o-ring from the old yoke and put it in the new one.
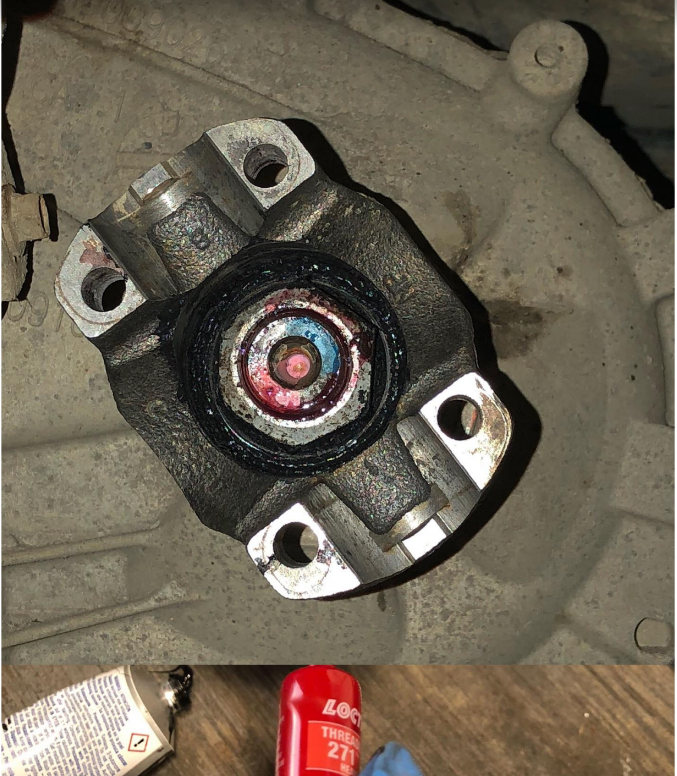
7. Install the new transfer case yoke on the splines and make sure to have enough threads to start the nut (1 1⁄4).
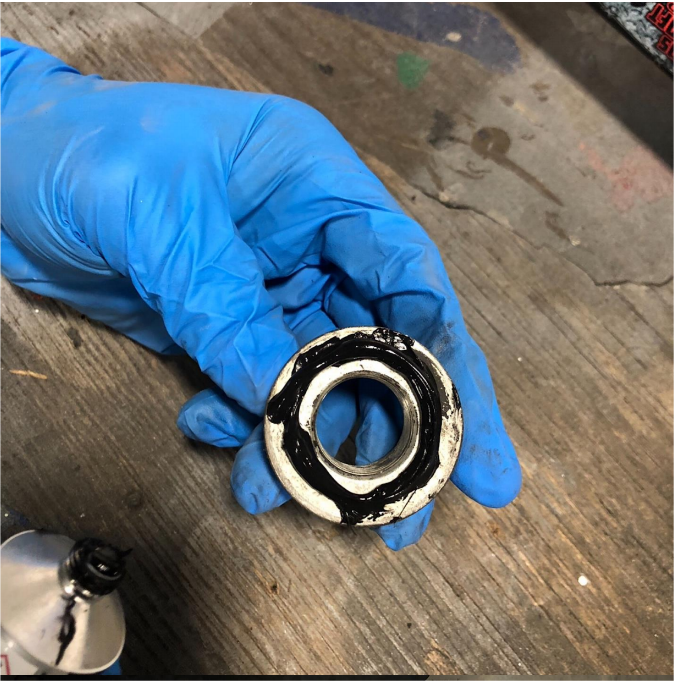
8. Apply black Silicone on the washer of the nut and red locktight on the threads.
9. Install the nut on the transfer case yoke and torque down to 160 ft. lbs.
10. Insert the cv side of the driveshaft into the yoke. Apply red locktight to the 4 bolts provided with the new driveshaft and tight them up with a 5/16 wrench.
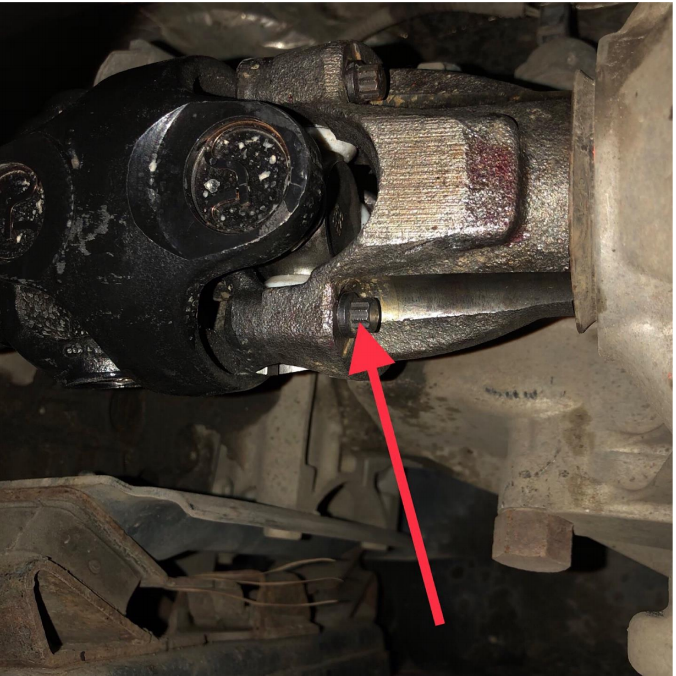
11. Apply red locktight to the 4 factory 15mm bolts. Install the front end of the driveshaft and torque the bolts down to 80 ft. lbs.
12. Congratulations!!!! You just installed one of the best driveshaft.
Installation Instructions provided by ExtremeTerrain Customer

