FREE 1 to 3-Day Delivery on Orders $149+ Details

How to Install Teraflex Shift Linkage Adapter on your 1997-2006 Wrangler

Shop Parts in this Guide
Note: Does not clear the casting on the AX15 Transmission. Extensive trimming of the new bracket required for clearance.
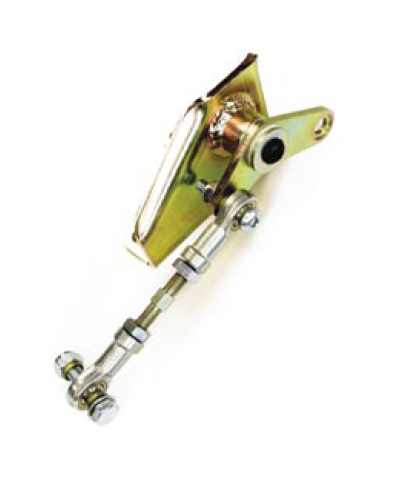
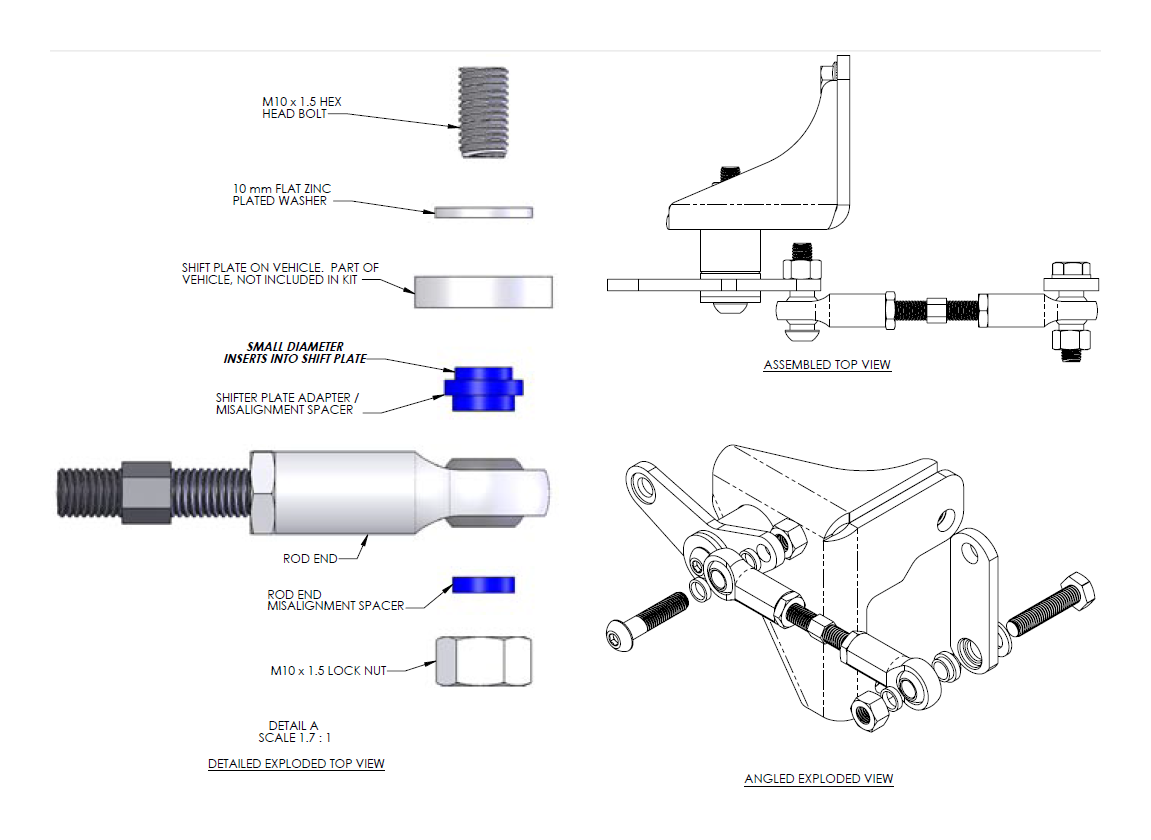
The TeraFlex 231J shift linkage kit is designed to replace the stock linkage on a Wrangler that has a body lift, a transfer case lowering kit or a belly up kit or any combination that changes the relationship between the body tub shift bracket and the transfer case shift bracket. These modifications sometimes result in binding of the factory shift linkage.
Installation:
1. Safely support the vehicle so you can work underneath. Follow shop manual instructions step by step to remove the transfer case skid plate completely from the vehicle to gain unrestricted access to the shift linkage. The transmission and transfer case must be supported at stock height to complete the final adjustment of the shift linkage. It is not necessary to remove the driveshafts. 2. Remove all of the stock shift linkage except the link that goes from the bell crank down to the transfer case. This lower link will be reused with the new shift linkage kit.


3. Remove the factory shift linkage bracket from the body tub.
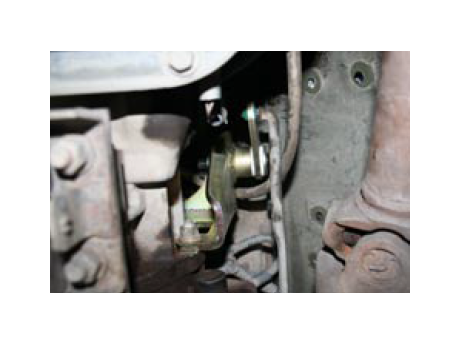
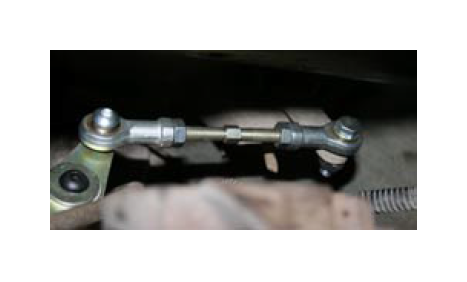
4. Install the new TeraFlex shift linkage bracket onto the transfer case studs as shown in the photograph. Use the new flange nuts provided in the kit.
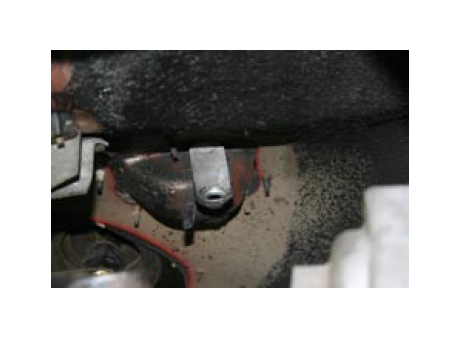
5. Remove the plastic bushing from the shift lever that sticks down through the floor of the body tub. (photo)
Note: We recommend using loctite® on the shift linkage nuts.
6. Assemble the shift linkage to the factory lever using the metal bushing to replace the plastic bushing in the lever.
Note: We recommend using the “neutral” position of the transfer case as the starting point. Put the shift lever in the neutral position as well as the transfer case. Adjust the linkage accordingly.
7. Adjust the length of the link and tighten the jam nuts. Some applications will require shortening of the thread rod. Use caution when trimming the rod to ensure that too much material is not removed.
8. Install the lower link and check operation. Re-adjust the length of the upper link as needed to ensure engagement in each shift position.
Note: Adjustment of the upper link length must be done with the transfer case in its operating position. For example, because the transfer case skid plate was removed, ensure the transfer case is not above or below where it would be with the skid plate installed.
9. Reinstall the skid plate and lower the vehicle to the ground.