 2024-2026
 2016-2023
 2005-2015

 FREE 1 to 3-Day Delivery on Orders $149+ Details

Find for your Tacoma
Factory Style Headlights with Clear Corner Lights; Chrome Housing; Smoked Lens (12-15 Tacoma)Find parts that fit my vehicle
Item TT11026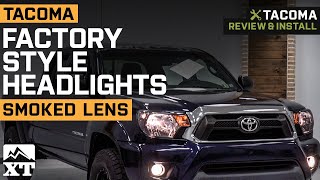

Shop Owners Save More!
Sign up for our dealer program
Product Information
Description, Reviews, Q&A, Specs & Installation
Description
Description. Headlight; H4-Beam; Smoked Housing; Clear Corner
CA Residents:  WARNING: Cancer and Reproductive Harm - www.P65Warnings.ca.gov
Tech Specs
4.5
Customer Reviews (51)
Questions & Answers
No questions about this product yet.
Ask the First Question
