FREE 1 to 3-Day Delivery on Orders $149+ Details

How to install a Rugged Ridge Skid Plate Front, on your 2007-2015 Jeep Wrangler JK
Installation Time
3 hours
Tools Required
- Two ratchets, 4 inch extension, 11/16 deep socket and 5/8 inch socket
- Hacksaw
- Grinder
- Black paint

Shop Parts in this Guide
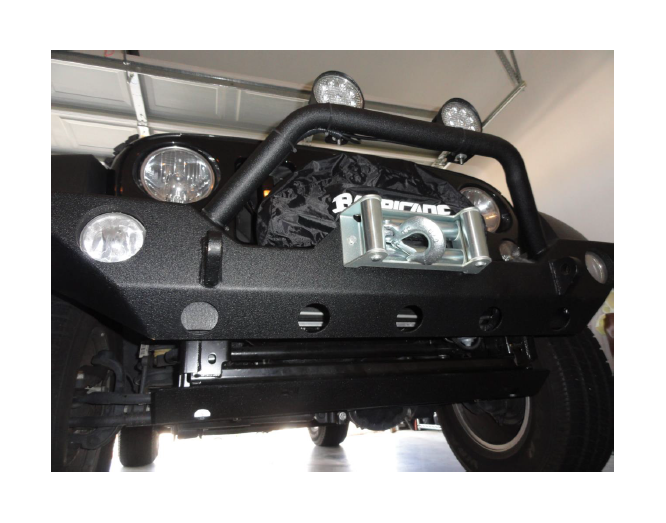
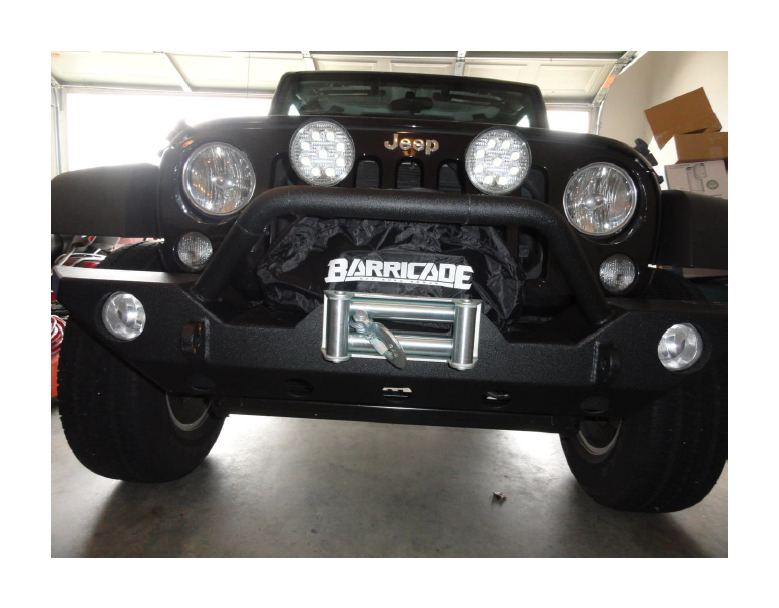
This installation was on a 2014 JK with a Barricade Heavy Duty Rock Crawler Front Bumper (J20850).
This installation was on a 2014 JK with a Barricade Heavy Duty Rock Crawler Front Bumper (J20850).
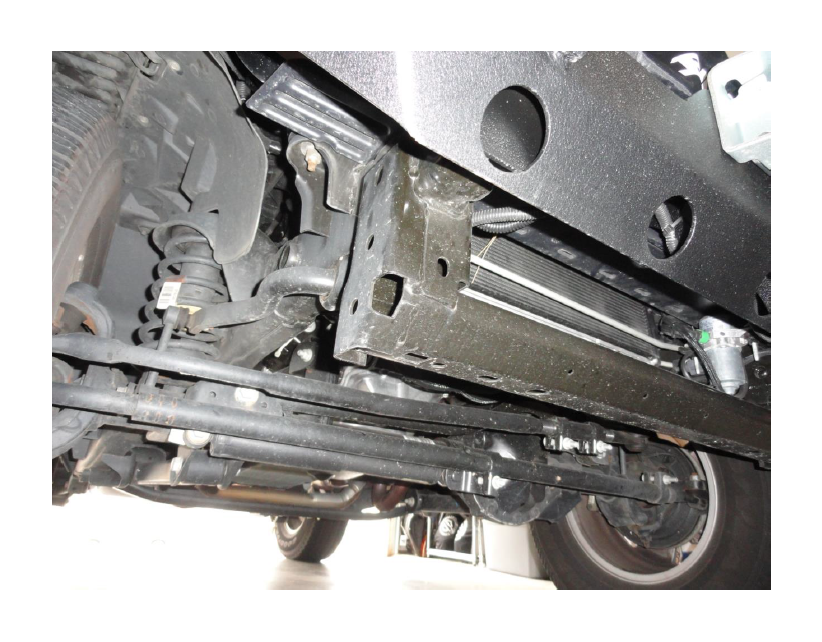
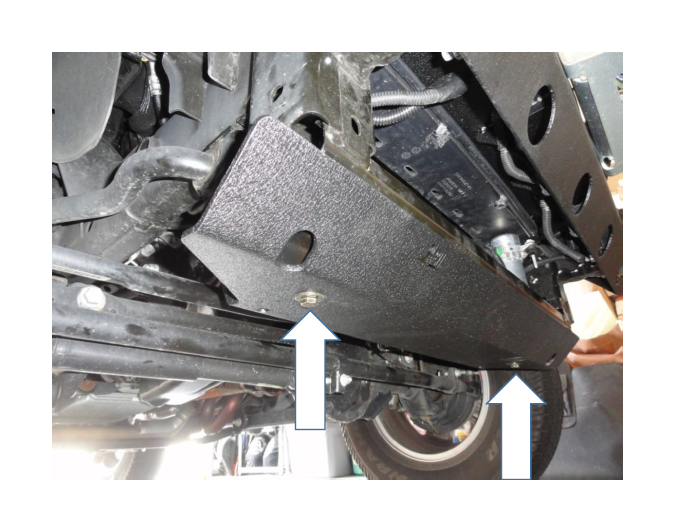
Undercarriage from the passenger front before installation.
Undercarriage from the passenger front before installation.
Installation Instructions:
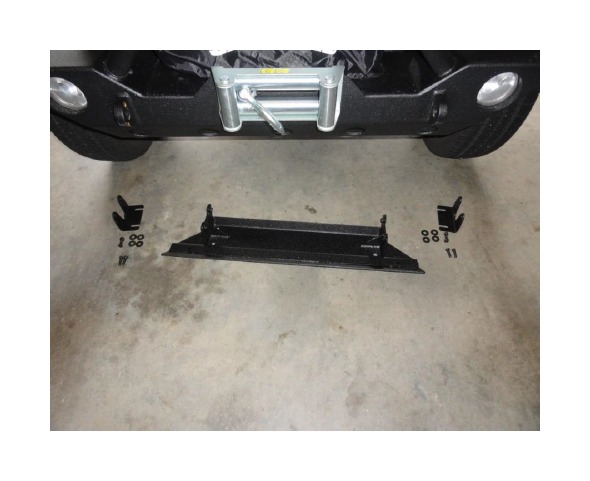
1. Lay out parts under Jeep before starting. Included nut plates (not shown) are not needed for installation on 2010 models.
Installation Instructions:
1. Lay out parts under Jeep before starting. Included nut plates (not shown) are not needed for installation on 2010 models.
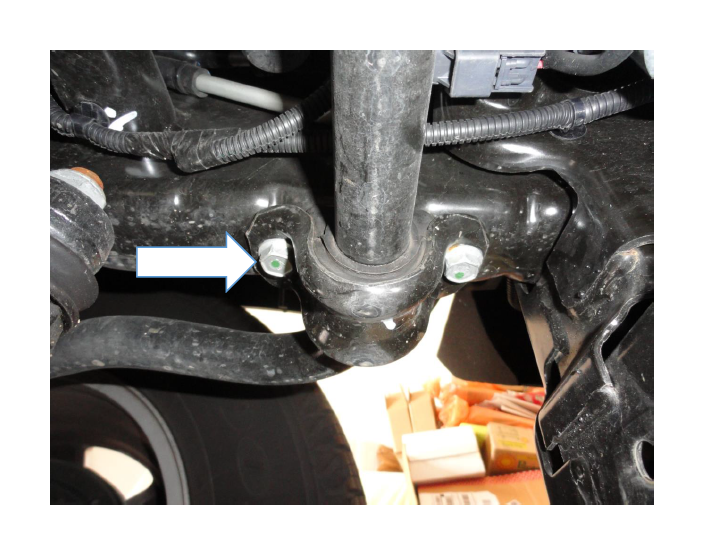
2. Use ratchet and 5/8 inch socket to loosen four sway bar mount bolts about ½ inch, (two bolts on each side). Rubicon models will require removing bolts and dropping the sway bar.
2. Use ratchet and 5/8 inch socket to loosen four sway bar mount bolts about ½ inch, (two bolts on each side). Rubicon models will require removing bolts and dropping the sway bar.
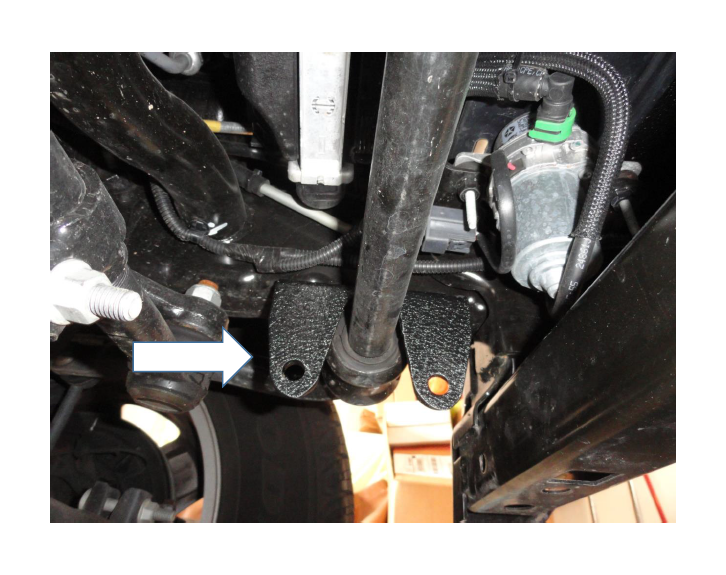
3. Slide the mounting brackets in between sway bar mounts and frame.
3. Slide the mounting brackets in between sway bar mounts and frame.
4. Use hacksaw to cut extensions off frame side support on both sides. (2010 models only)
4. Use hacksaw to cut extensions off frame side support on both sides. (2010 models only)
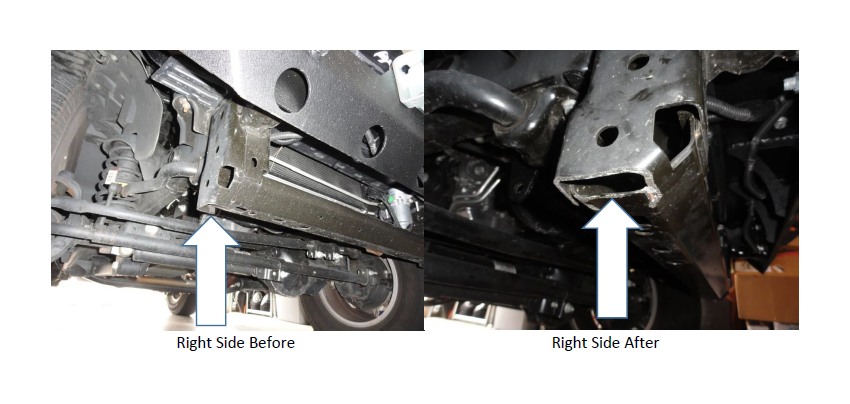
5. Paint sawed ends of frame to prevent rust. (2010 models only)
6. Lift skid plate up and start rear bolts to hold skid plate in place, do not tighten at this time. Start front bolts but do not tighten at this time. Use one washer on each bolt.
5. Paint sawed ends of frame to prevent rust. (2010 models only)
6. Lift skid plate up and start rear bolts to hold skid plate in place, do not tighten at this time. Start front bolts but do not tighten at this time. Use one washer on each bolt.
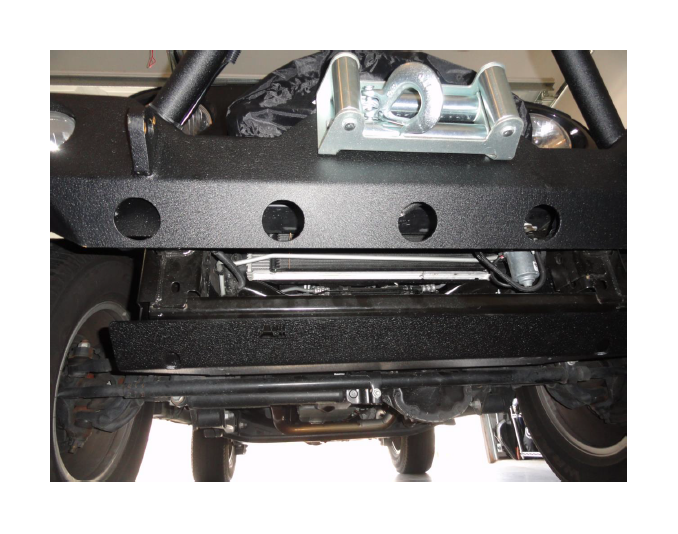
7. Install bolts into cross member with washers on top and bottom; do not tighten at this time.
7. Install bolts into cross member with washers on top and bottom; do not tighten at this time.
8. Tighten bolts from brackets to skid plate using 5/8 inch socket, tighten sway bar bracket bolts using 5/8 inch socket and tighten cross member bolts using 5/8 inch socket on bolt and 11/16 inch deep socket with extension on nut.
8. Tighten bolts from brackets to skid plate using 5/8 inch socket, tighten sway bar bracket bolts using 5/8 inch socket and tighten cross member bolts using 5/8 inch socket on bolt and 11/16 inch deep socket with extension on nut.