FREE 1 to 3-Day Delivery on Orders $149+ Details

How to Install Rugged Ridge Off Road Jack Roll Bar Mounting Bracket, Hi-Lift Style on your 92-18 Jeep Wrangler YJ, TJ, JK & JL

Shop Parts in this Guide
| SR No. | CONTENTS: | QTY |
|---|---|---|
| 1 | U-bolt | 2 |
| 2 | Base Bracket | 1 |
| 3 | Beam Bracket | 1 |
| 4 | M8 Flange Nut | 4 |
| 5 | Button Head Bolt | 2 |
| 6 | M12 Wing Nut | 3 |
| 7 | Plastic Retaining Washer | 1 |
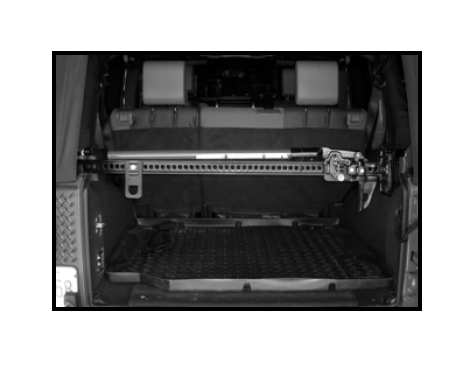
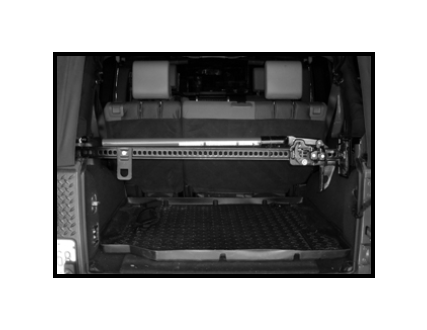
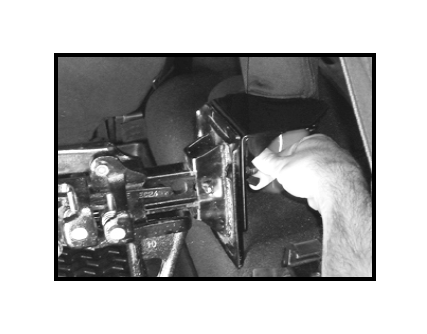
1. Install the Base Bracket on the passenger side roll bar. Place
the U-bolt about 5” above where the roll bar meets the body as shown
in the image. Tighten the M8 Flange Nuts making sure the mounting
flange of the bracket remains vertical and facing the driver side roll
bar.
Warning: Make sure when placing U-bolts around the roll bar that
they do not interfere with the seat belts. This will prevent seat belts
from functioning properly.
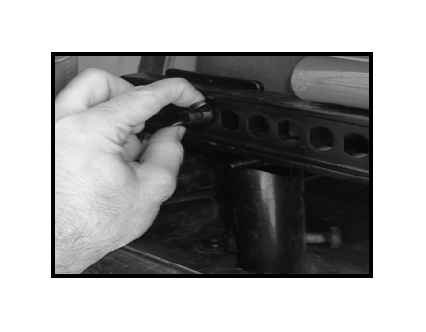
2. Install the Beam Bracket on the driver side roll bar about 3” above where the roll bar meats the body. For JK, install this bracket with the mounting flange facing upward as shown in the image. For YJ and TJ models, the bracket should be installed with the mounting flange facing downward. In all cases, be sure the U-bolt does not interfere with the seat belts, wires or roll bar covers.
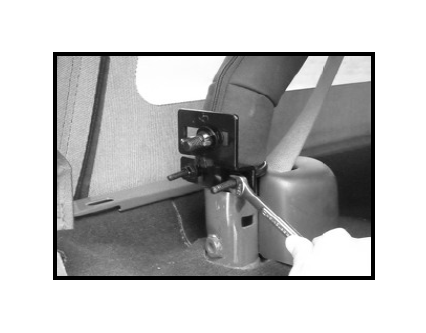
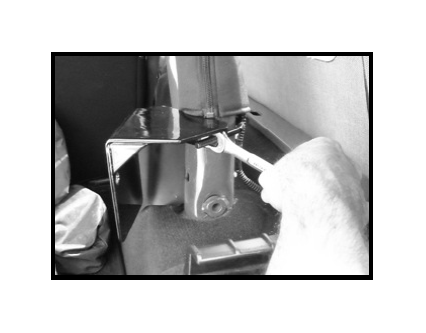
3. Place the base of the jack onto the mounting flange of the passenger side bracket and line up the base holes with the two mounting holes in the bracket. Slide the bolts through the base of the jack and through the holes in the bracket and loosely attach the wing nuts to the backside of the mounting bracket.
4. Align the bolt of the Beam Bracket with a hole in the jack’s beam. Tighten the remaining M12 Wing Nut.
5. Adjust the bracket so that the jack is in the horizontal position. Fully tighten all nuts and wing nuts and check for interference.