FREE 1 to 3-Day Delivery on Orders $149+ Details

How to Install Rugged Ridge Evaporator Skid Plate on your 2007-2013 Wrangler
Shop Parts in this Guide
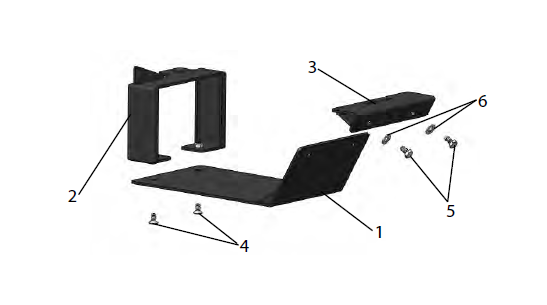
| SR No. | Content | QTY |
|---|---|---|
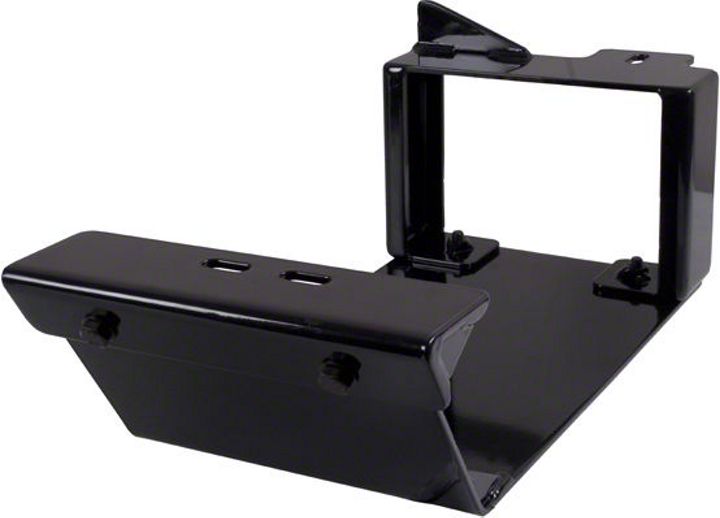
| 1 | Skid Plate | 1 |
| 2 | Rear Bracket | 1 |
| 3 | Front Bracket | 1 |
| 4 | Countersunk Bolt | 2 |
| 5 | Hex Head Bolt | 2 |
| 6 | Lock Washers | 2 |
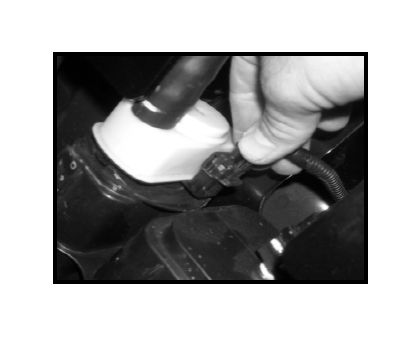
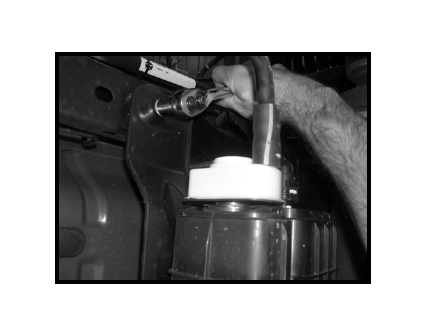
1. Start by disconnecting the electrical connector that attaches to the rear of the vapor canister.
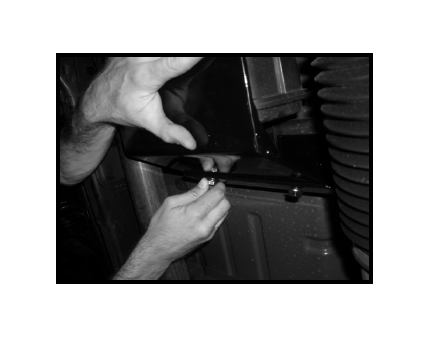
2. Remove the 3 bolts securing the vapor canister to the frame rails. 1 bolt is located at the rear of the canister and 2 are located at the front. When these bolts are removed, the canister will be suspended from the vehicle by hoses only so be sure not to let it hang.
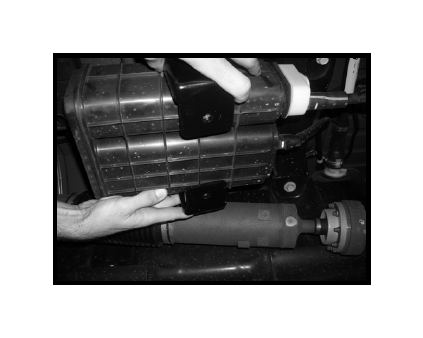
3. Slide Rear Bracket over the rear of the vapor canister toward the front of the vehicle being sure to keep the canister from hanging. It might be easier to have a partner hold the canister while sliding on the bracket.
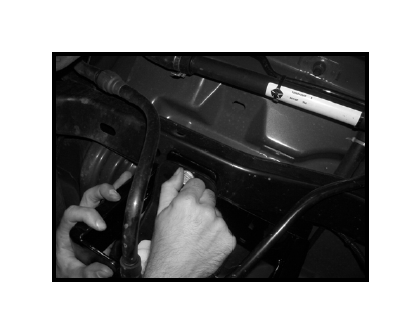
4. Secure Rear Bracket to frame rail by reinstalling the rear bolt removed in step 2. The bolt should secure both the vapor canister and the Rear Bracket to the frame rail. Do not tighten as assembly will have to be adjusted when skid plate is installed. Reroute electrical connector around the Rear Bracket and reconnect to the vapor canister.
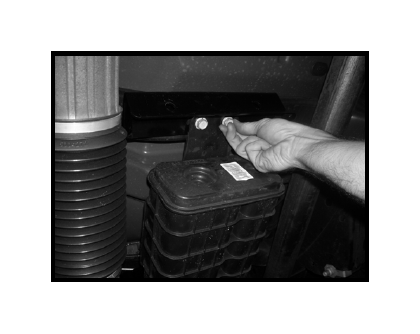
5. Install Front Bracket by replacing bolts removed in step 2. Do not tighten as assembly will have to be adjusted when skid plate is installed.
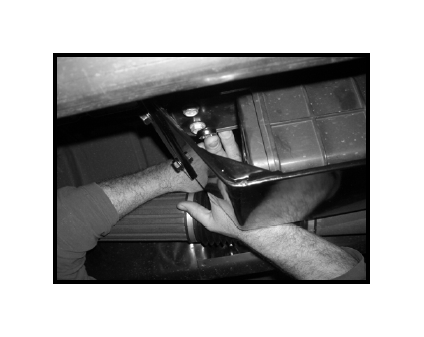
5. Fasten Skid Plate to brackets installed in steps 4 and 5. Adjust brackets and vapor canister if necessary to line up holes. Push Skid Plate up as far as it will go when tightening.
6. Tighten all bolts securing brackets to frame rails. For the bolts attaching the Front Bracket to the frame rail, use a wrench rather than a ratchet for easier access. Make sure there is no interference with any components of the driveline or exhaust before operating the vehicle.