 FREE 1 to 3-Day Delivery on Orders $149+ Details

How to Install Rugged Ridge Quick Release Mirror Kit, Textured Black, Rectangle on your Wrangler
Installation Time
2 hours
Tools Required
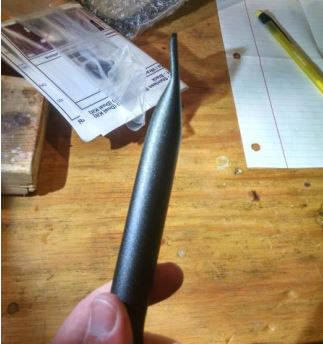
- T40 Torx Screwdriver
- 11 mm Socket
- Phillips Screwdriver

Shop Parts in this Guide
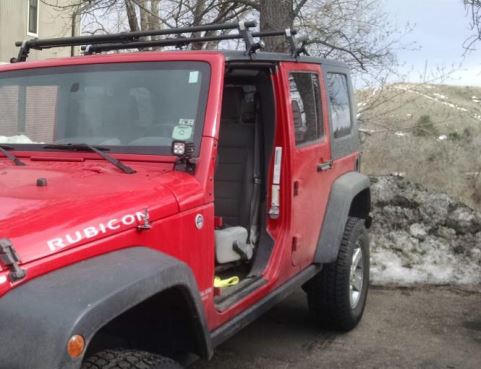
1. For full installation, either remove the stock mirrors from the doors or remove the doors.
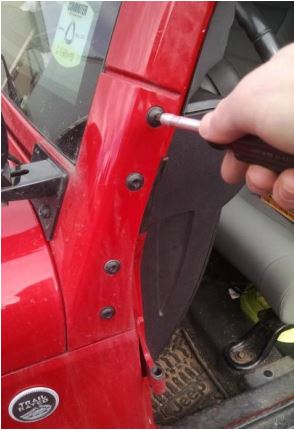
2. Using the T40 Torx screwdriver, remove the upper two bolts in windshield bracket located on the A-pillar.
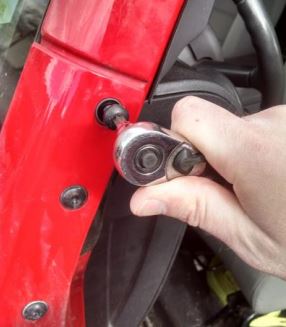
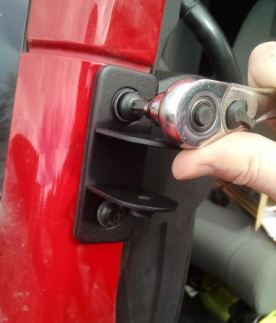
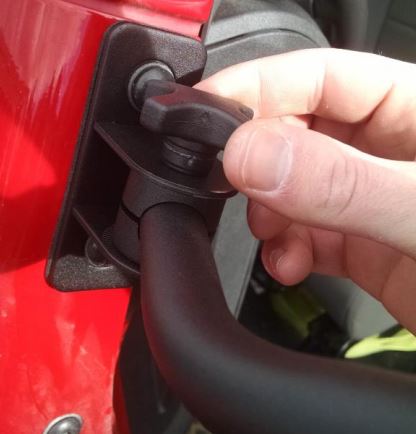
3. Mirror Bracket Installation (driver side):
b) Install the mirror bracket using the proper hardware.
Install with the welded nut on the lower side.
c) Tighten the bolts.

4. To install the passenger side mirror bracket, repeat steps 1-3 on the passenger side.
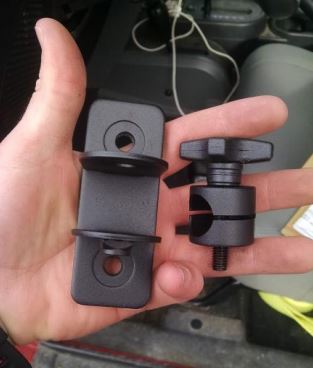
5. Mirror Assembly (both sides)
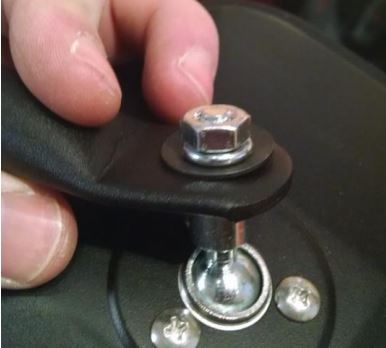
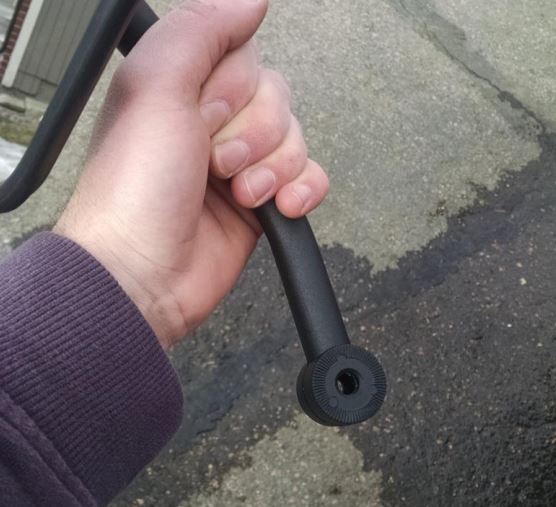
6. Aligning mirror bushing (driver side): Each arm has 4 holes drilled out where the bushing sits for left-right reversibility. This step shows how to pick which holes to use.
7. To align the passenger side bushing, repeat step 6 except hold the arm with your left hand.
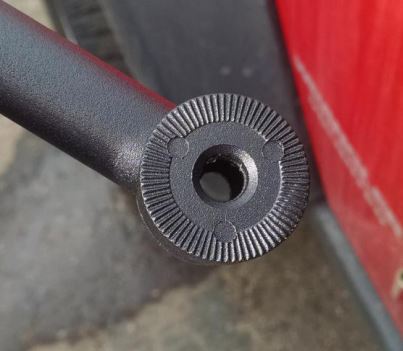
8. Slide the arms into the brackets on the Jeep at the angle you want. Use the thumbscrew to tighten the assembly into place.
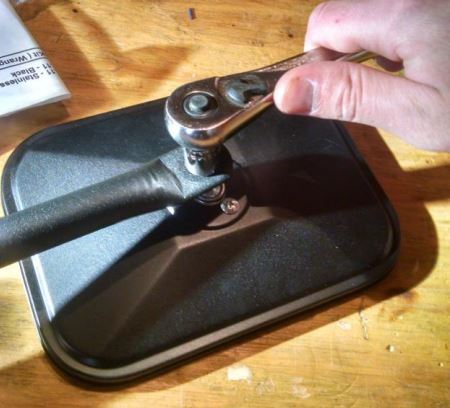
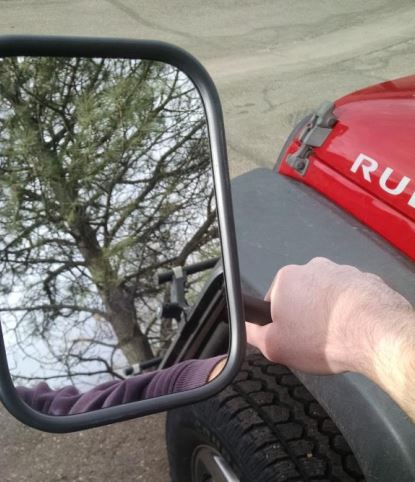
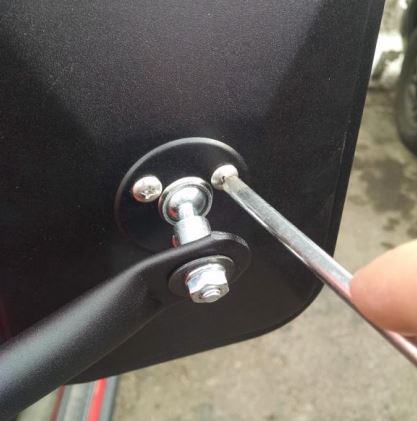
9. For each mirror, rotate and align the mirror as desired. Once aligned, use a phillips screwdriver to tighten the three screws on the reverse face of the mirror. This will help prevent the mirror from moving while driving. Do not over tighten these screws
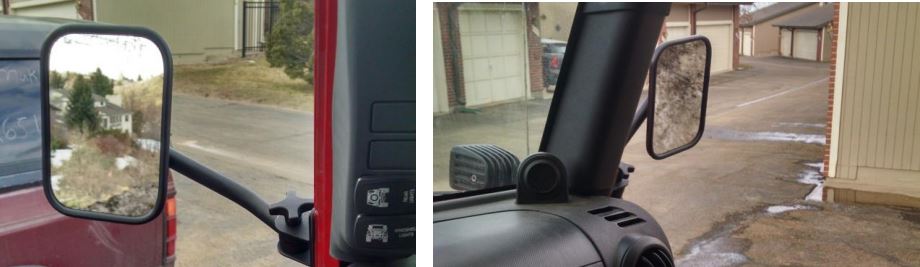
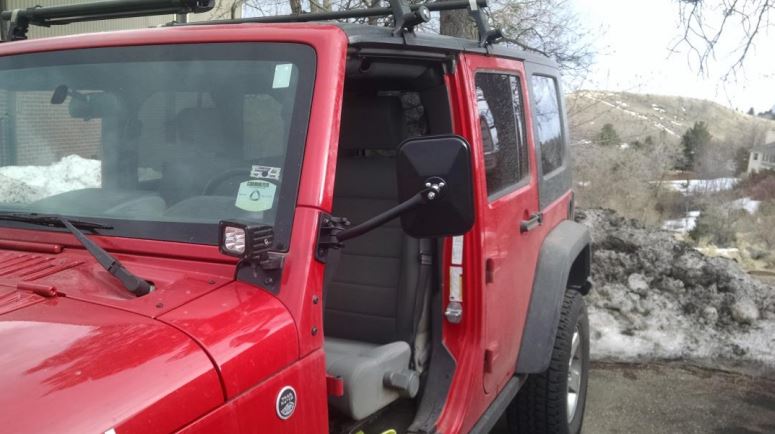
10. Enjoy street legal doorless driving and slick new looks!
Installation Instructions written by ExtremeTerrain Customer Eric Miller on 2/14/2016

