 FREE 1 to 3-Day Delivery on Orders $149+ Details

How to Install RedRock 4x4 Side Armor on your 1987-2006 Jeep Wrangler YJ or TJ
Installation Time
2 hours
Tools Required
- Drill Motor with 5/16” bit
- Ratchet with ½” socket
- Hammer and Center Punch
- Smaller diameter drill bit for pilot holes (optional)
- Socket extension(s) (optional)
- Jack and stands (optional)
- Lug wrench (optional)

Shop Parts in this Guide
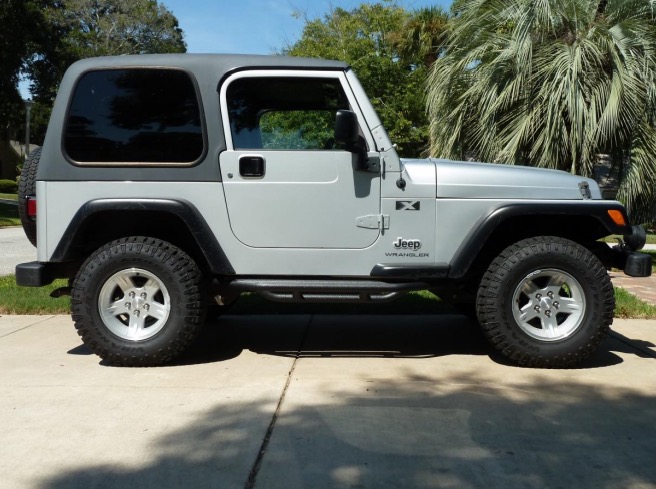
This guide illustrates the installation of the product listed on a 2003 TJ - X.
Always wear appropriate personal protective equipment when working on your vehicle.
Ensure parking brake is set and vehicle cannot roll before beginning installation.
Depending on tire size, removal of rear tire may be necessary. If so, ensure all safe jacking and stabilizing precautions are taken.
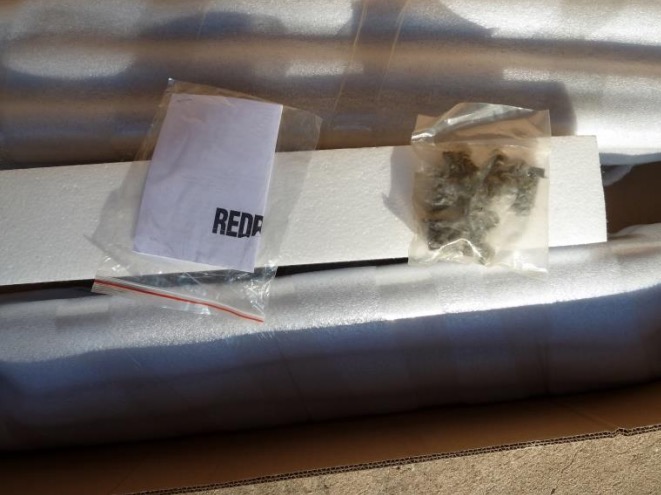
Package Contents:
1 – Passenger side guard
1 – Driver side guard
1 – Manufacturer instruction sheet
16 – 3/8”-16 self-tapping bolts
Prior to installation, determine which guard is the passenger side and which is the driver side.
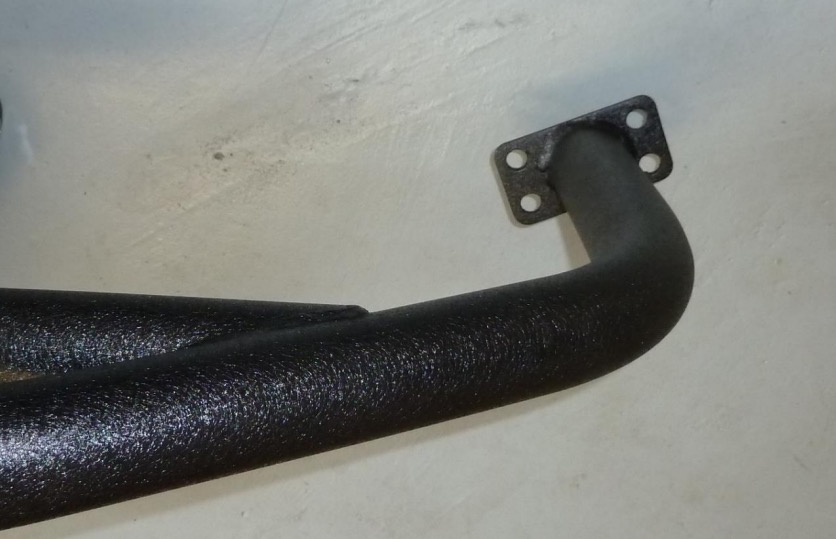
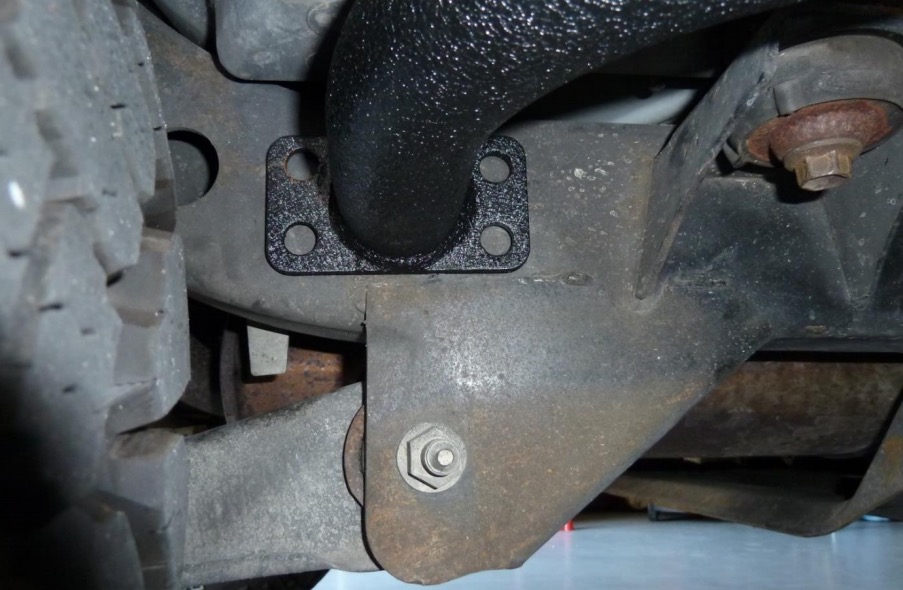
The front end of each guard has the mounting bracket welded on at an angle to match the upturn of the frame.
(Passenger side front bracket)
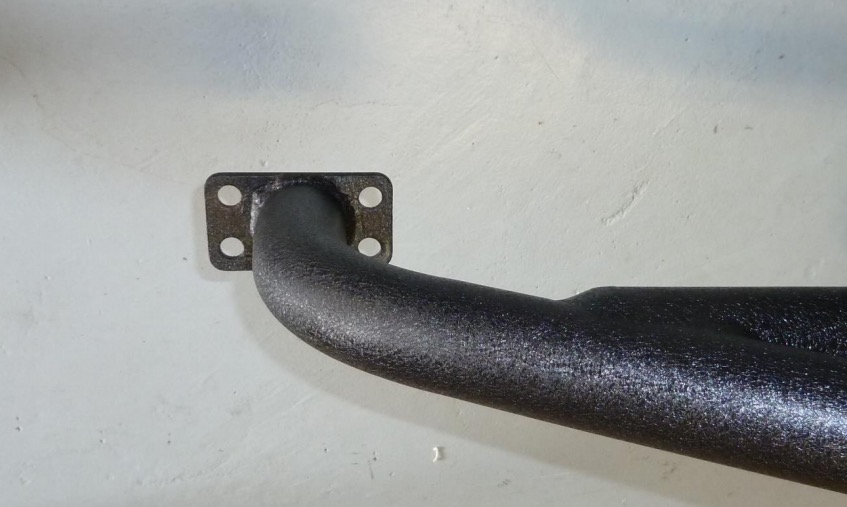
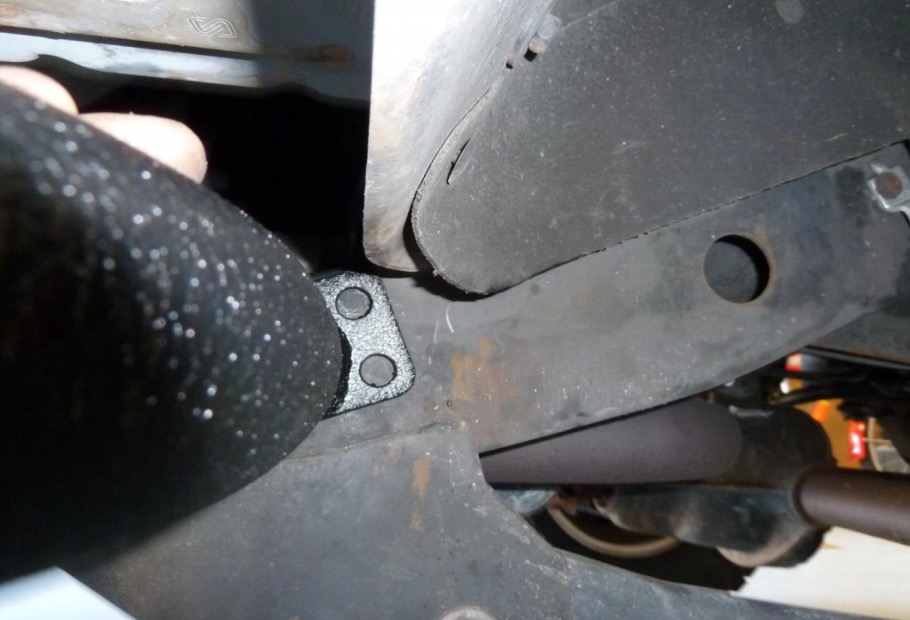
The rear bracket of each guard is mounted straight.
(Passenger side rear bracket)
Installation Instructions:
1. Position the passenger side guard against the frame on passenger side of vehicle. Maintain a minimum of ½” clearance between top of guard and body of vehicle. Position the guard so it is parallel to frame and body of vehicle. Assistance may be needed. Jack stands or some form of lift may be utilized to support guard.
2. Check placement of mounting brackets to ensure they are not resting on, or coming in contact with other brackets or components, and do not extend above or below frame.
3. With guard in final mounting position, mark the frame using the mounting holes in the guard as a template. Be careful not to move guard while marking holes.
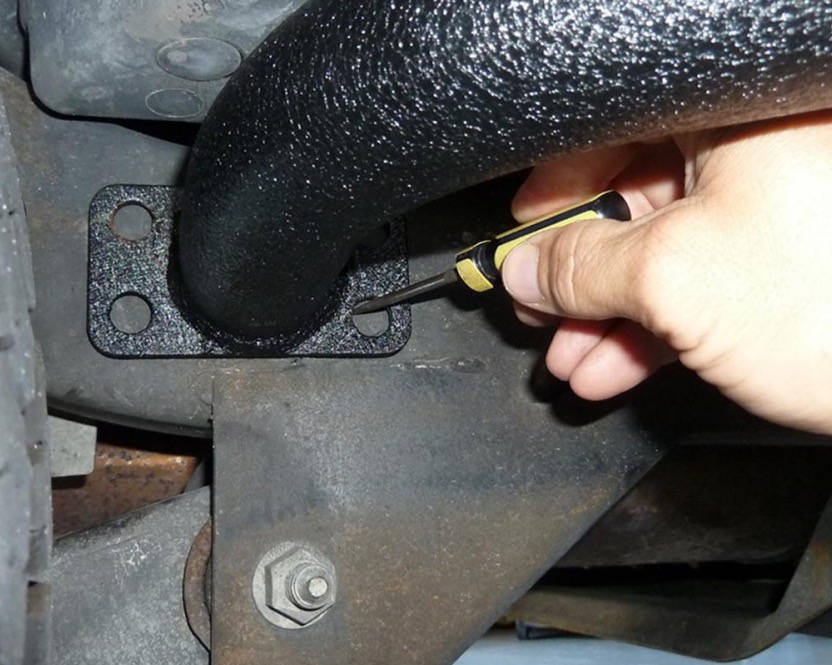
4. After marking all holes, move the guard out of the way. Center punch all marked locations. To ensure precise placement, drill pilot holes at all locations using smaller diameter bit. Check for hazards or obstructions before drilling. After all pilot holes are drilled; drill all holes with 5/16” bit.
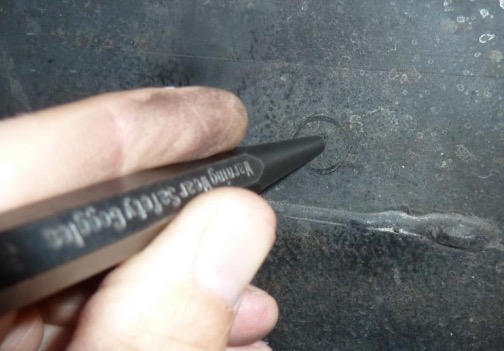
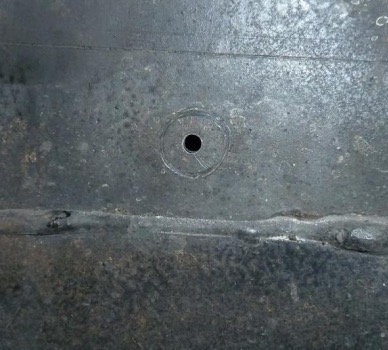
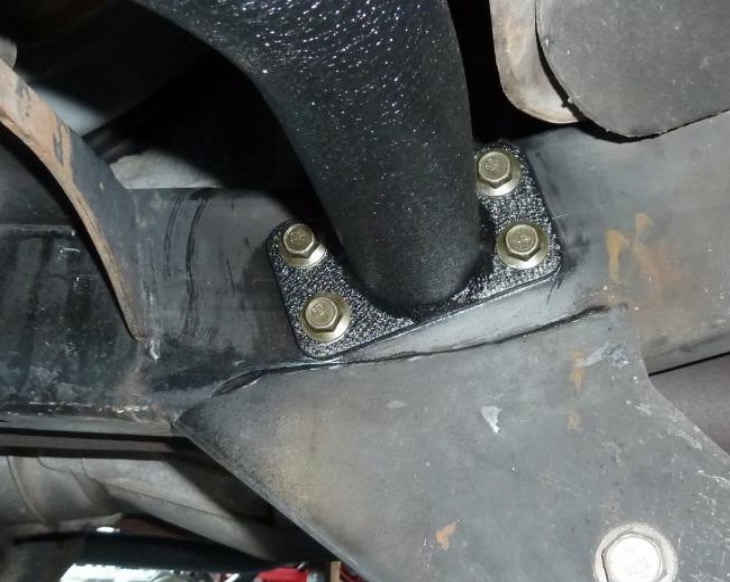
(Rear drilled to 5/16”)

(Front drilled to 5/16”)
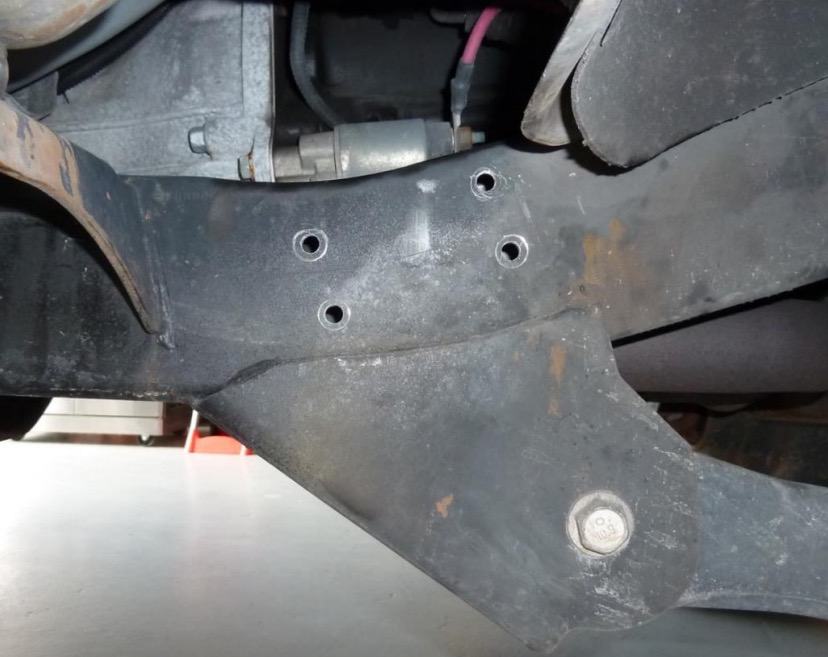
5. Re-position guard against frame and align mounting bracket holes with holes in frame. Install self-tapping bolts in all holes. Do not tighten bolts completely until all bolts are started. Once all bolts are in place, tighten all bolts securely. Alternatively, you may pre-tap all holes with the guard out of the way. Be careful not to damage threads when removing bolts.
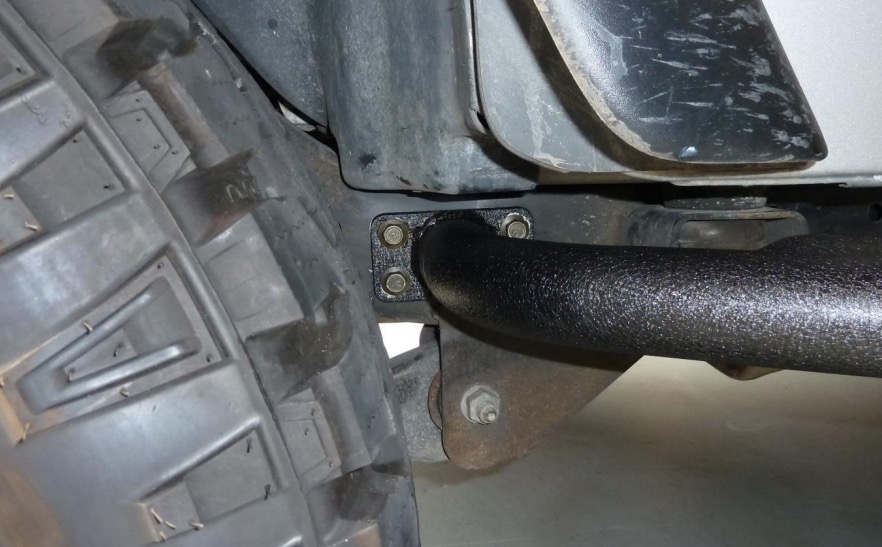
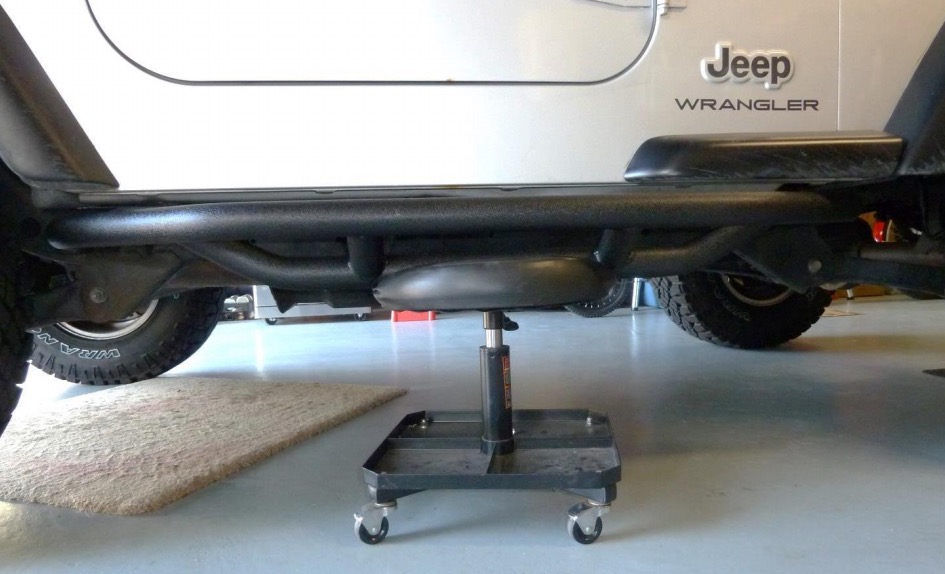
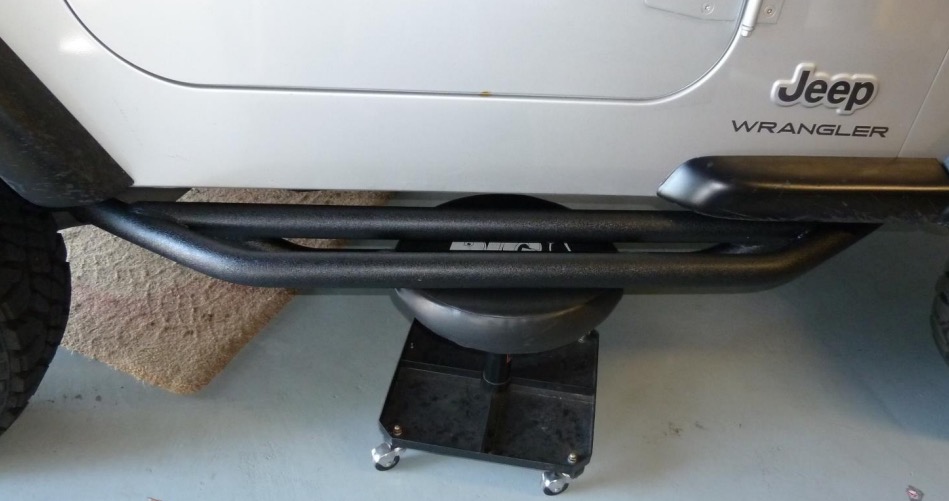
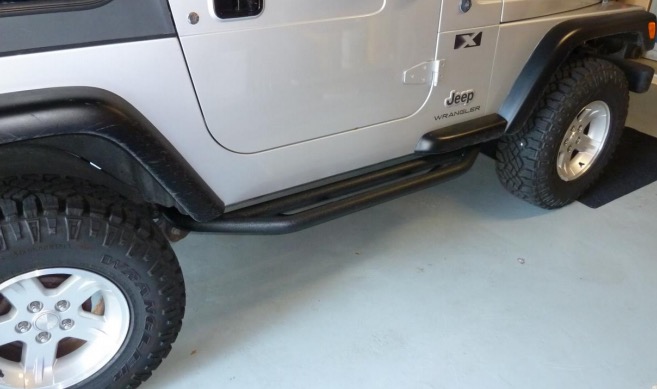
Passenger side finished view:
6. Repeat steps 1 through 5 to install driver side guard on driver side of vehicle.
Installation Instructions Written by ExtremeTerrain Customer Tommy Bozeman 10/07/2014

