FREE 1 to 3-Day Delivery on Orders $149+ Details

How to Install Rally Tops 2-Piece Hardtop for Full Doors on your Wrangler

Shop Parts in this Guide
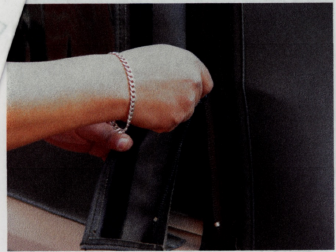
1 Unzip side windows and remove.
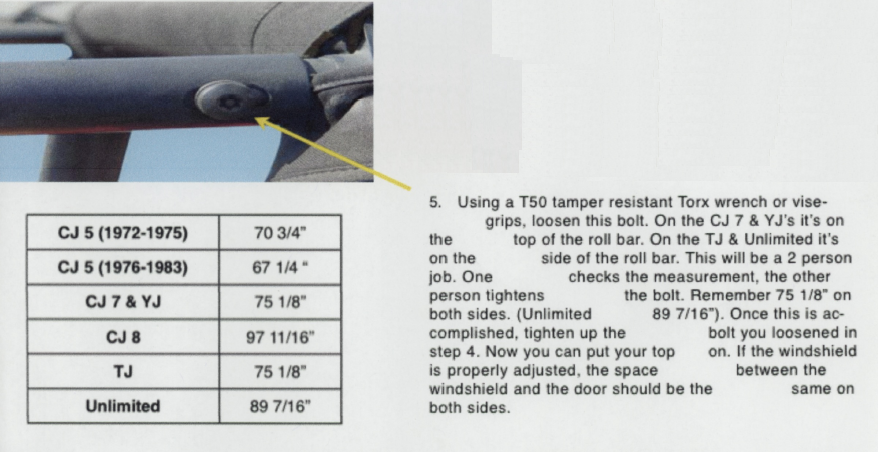
2. Unzip rear window and remove.
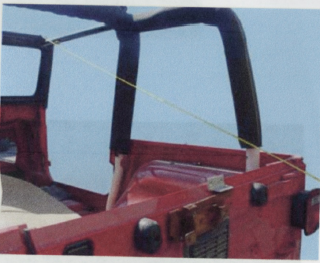
3. Pull back bar off and remove.
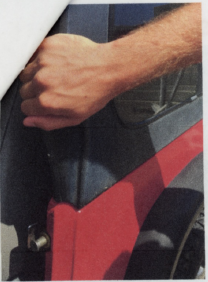
4. Pull down on corners and disengage.
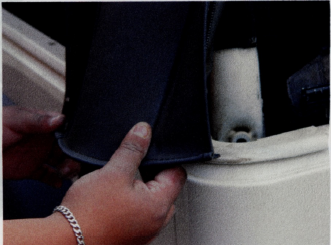
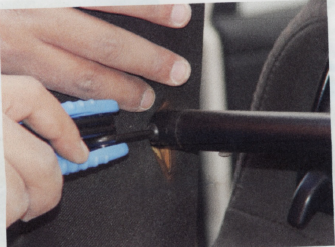
5. Pry open side connections with screwdriver
6. Remove side connections to door frame.

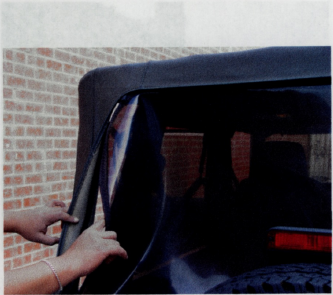
7 Disengage soft top from windshield.
8. Pull back soft top.
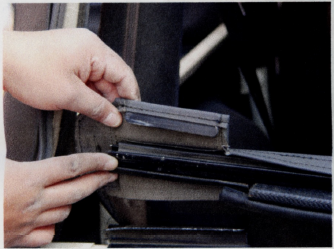
9. Remove bolt from soft top frame.
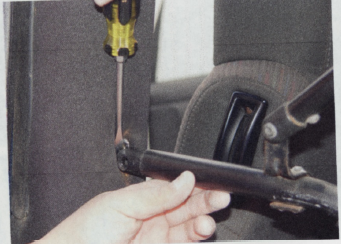
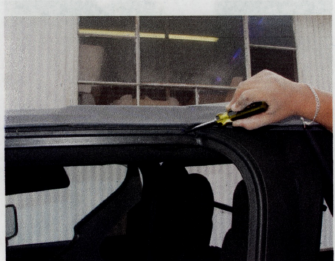
10. Pry off soft top frame from roll bar
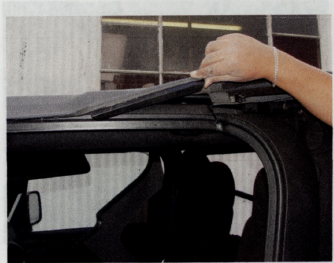
11 Remove soft top.

12. Unscrew door pins & remove frames.
13. Remove rear bar holders.
14. See pre-installation instruction sheet.
15. Do not remove front corner seal.
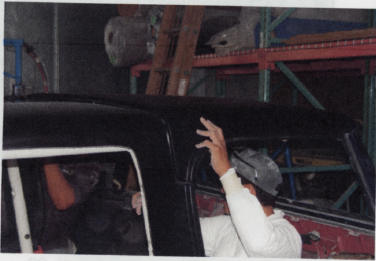
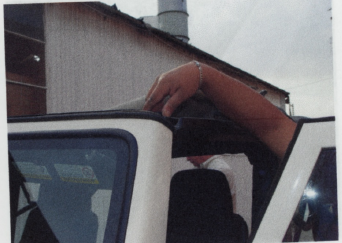
16. Using 2 or more people put the rear section on, followed by the front section. Do not put bolts in yet.
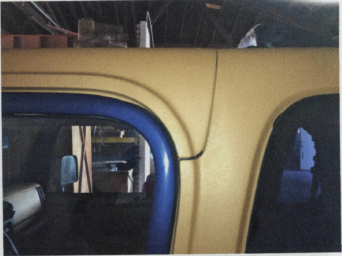
17 Sit in the front seat. Make sure the windshield stop is not hung up on the molding. It should look like this.
19. Make sure the front section is centered on the windshield. Look at the corners, make sure they are even .driver and passenger side.
Next engage the front cam locks
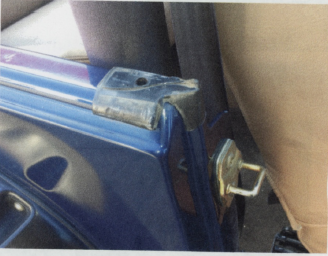
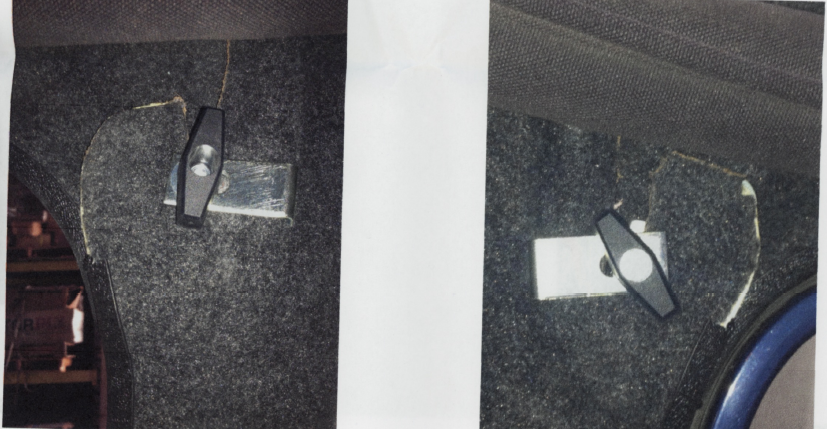
20. Install the side clamps, using the washers and wing nuts. The clamp should be installed with the 90 degree angle facing the back and inward. Do not tighten.
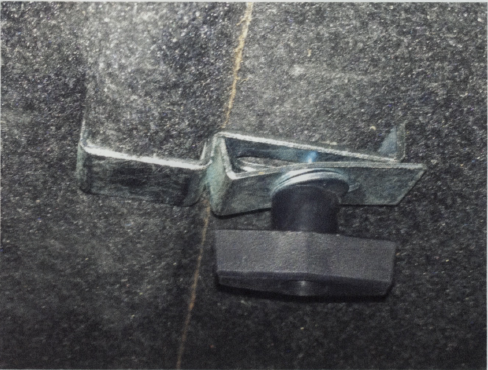
21 Install the center brackets, their are 2 of them, they look like this when done, tighten lightly
22. Now that the front section is in the proper position. Install the side flange bolts using the washers and nuts, tighten the bolts down lightly
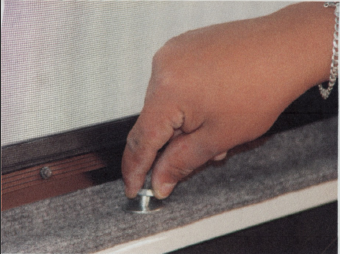
23. Pull out hardtop flush to the body and tighten rear bolt
24. Pull out the front flush to the body, tighten bolt. Now tighten the remaining bolts

23. It should look like this after the flange bolts are tighten, you can make adjustments by moving the back section front to back.
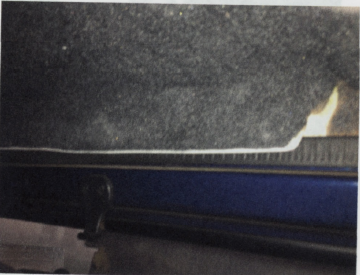
22. Make sure the seal is pushed up into the hardtop. Then in-stall the factory supplied tape. If it's a reinstall then use a piece of electrical tape. To insure the joint between the hardtop and the windshield plastic is smooth and flush.
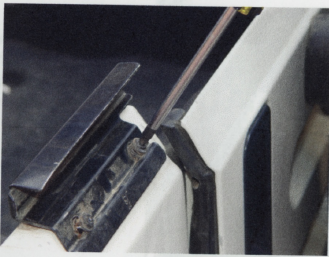
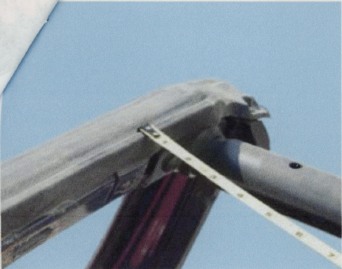
Place your tape on top ledge of the windshield.
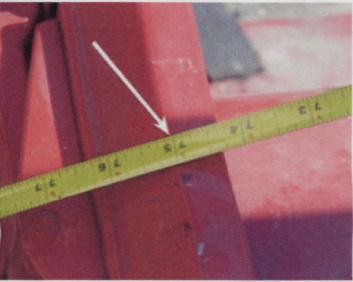
2. Extent the tape to the rear of the body.
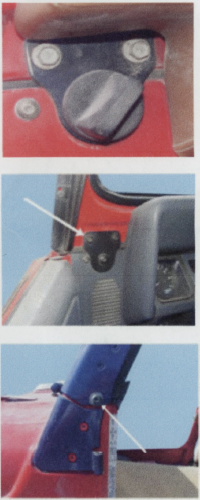
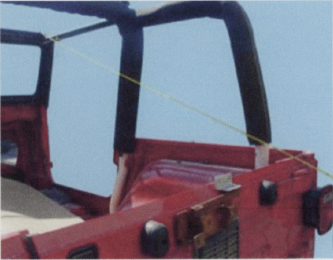
4. CJ 5 Loosen the bolts and wing nut. Adjust windshield and tighten.
4. CJ7 - CJ 8 - YJ Loosen bolts using a T40 torx wrench. Go to step 5.
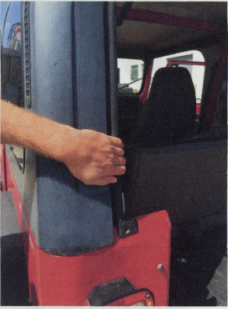
4. TJ & Unlimited Using a T40 Torx wrench, loosen the bolt above the doors hinge. Go to step 5.
3. Where the tape hits the body , it should read the value in the chart below. Measure both sides, if it does, put the top on. If not. go to step 4.