 FREE 1 to 3-Day Delivery on Orders $149+ Details

How to Install RedRock 4x4 Dead Pedal - Driver Side (07-18 Jeep Wrangler JK w/ Automatic Transmission) on your Jeep Wrangler
Installation Time
60 minutes
Tools Required
- Box Cutter/Knife
- 10mm Socket
- Socket Wrench
Shop Parts in this Guide
Installation Instructions:
1. Carefully open the package using a box cutter or knife (Figure A) and ensure the hardware is included and undamaged.
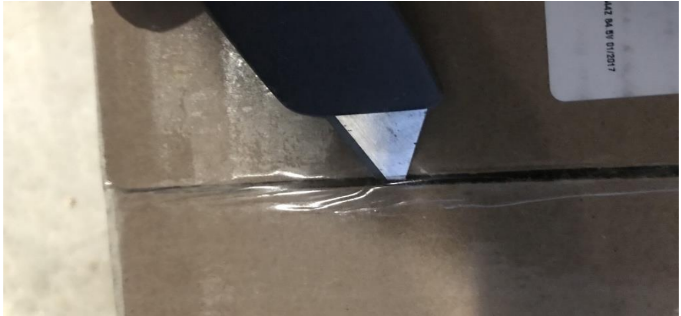
Figure A
2. Disconnect the electrical plug on the interior of the driver's side (Figure B).
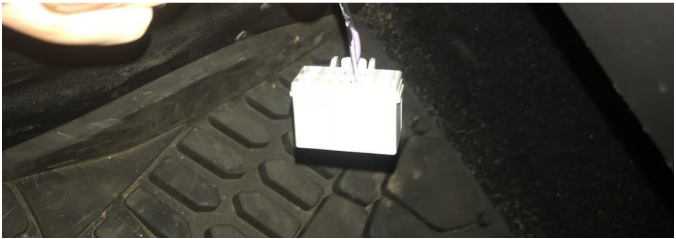
Figure B
3. Unhook the strap from the metal hook (Figure C).
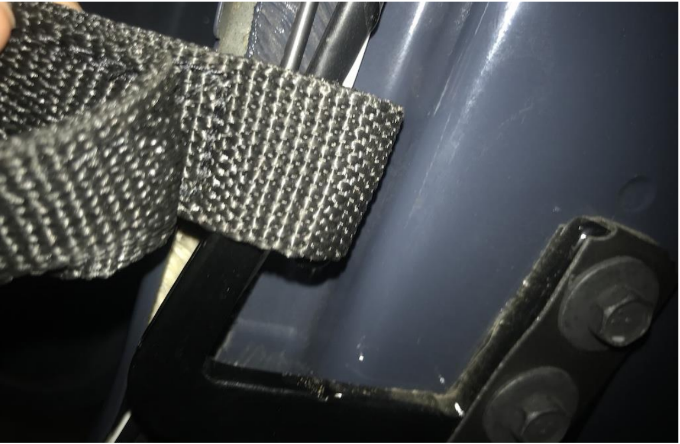
Figure C
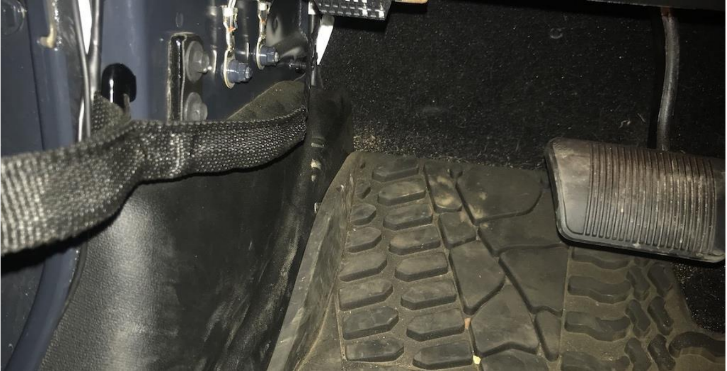
4. With the strap and electrical wiring out of the way, locate the door strap metal hook and remove the two bolts using a 10mm socket wrench (Figure D).
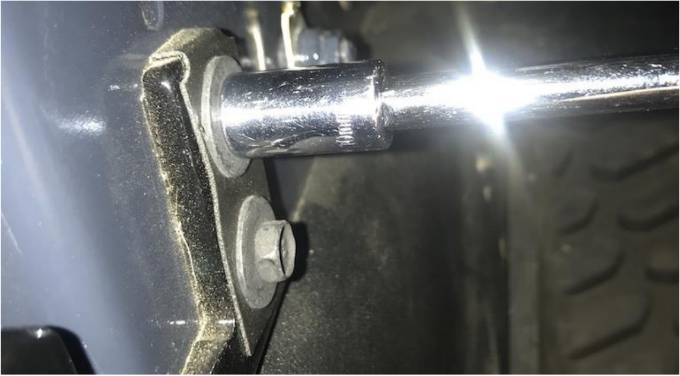
Figure D
5. Locate the two electrical ground nuts near the metal hook bolts and remove the two bolts using a 10mm socket wrench (Figure E).
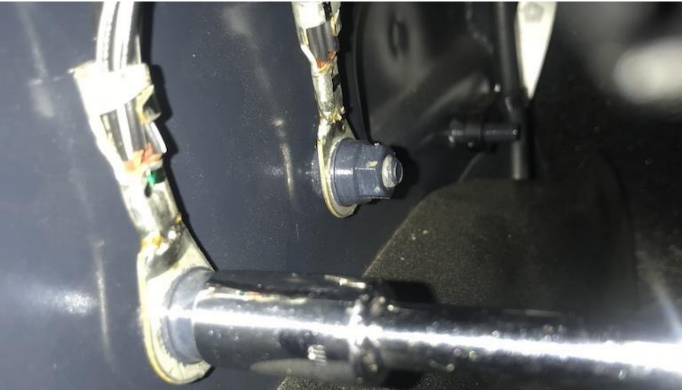
Figure E
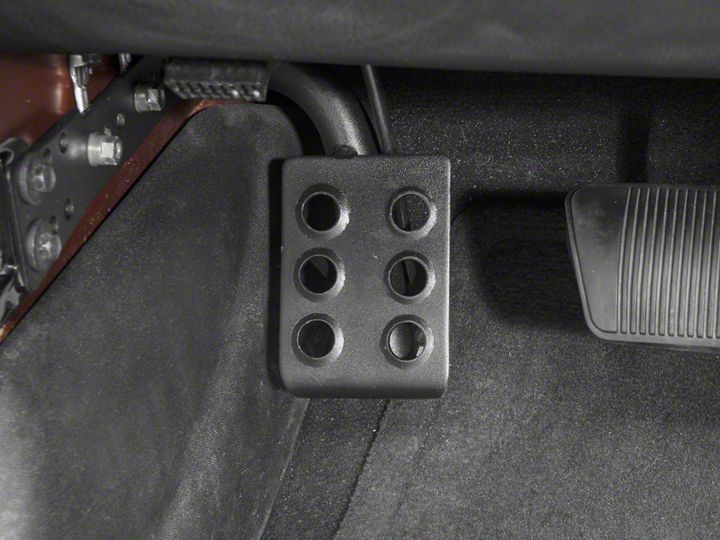
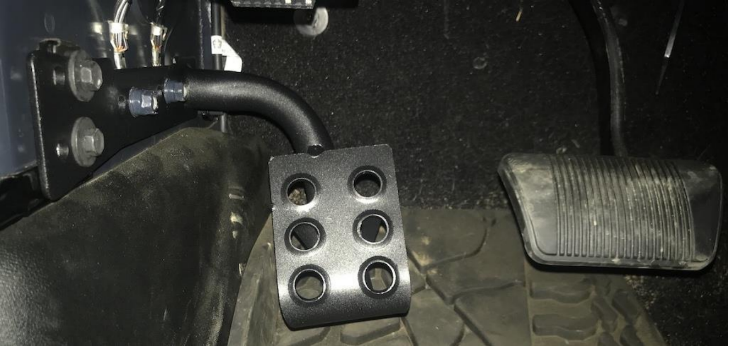
6. Place the mounting side of the dead pedal along the inner side, aligning with the holes of the removed bolts (Figure F).
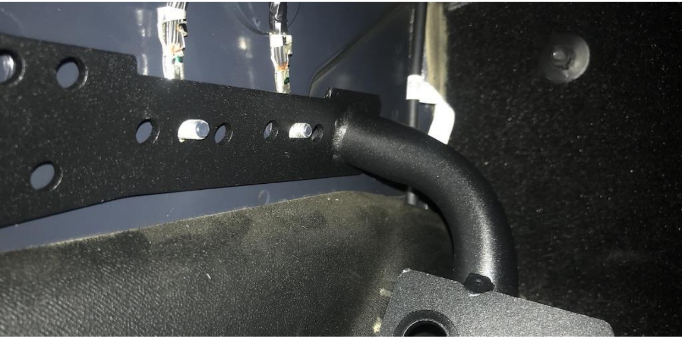
Figure F
7. Return the two metal hook bolts (Figure G) and tighten using a 10mm socket wrench.
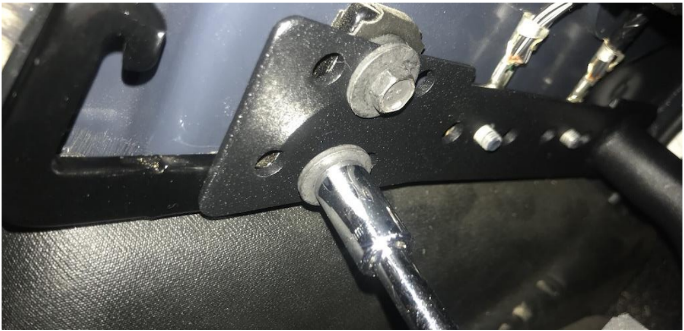
Figure G
8. Return the two electrical ground nuts (Figure H) and tighten using a 10mm socket wrench (Figure H).
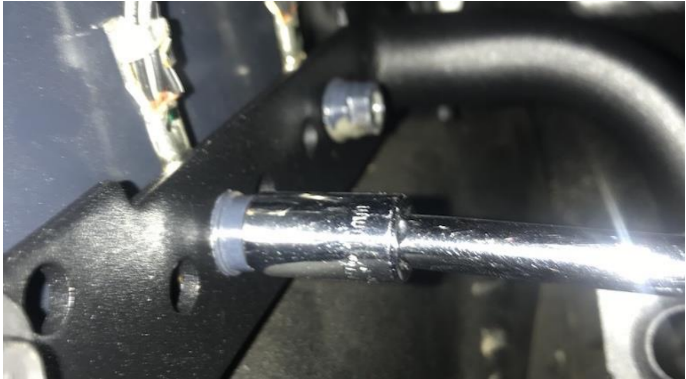
Figure H
9. Reconnect the door strap to the metal hook (Figure I) and reconnect the electrical connection inside the door (Figure J).
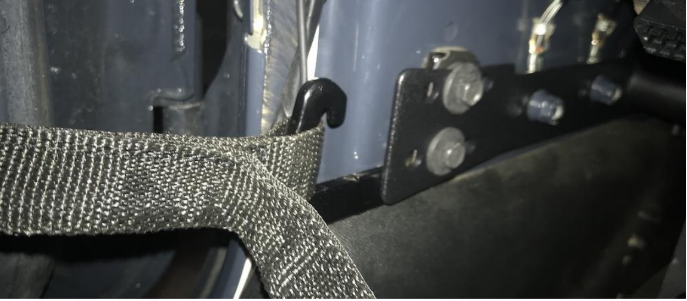
Figure I
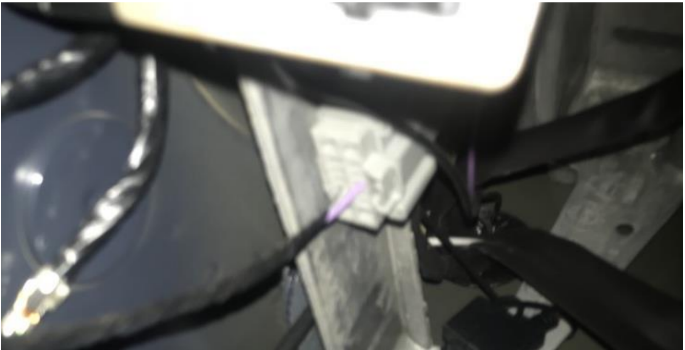
Figure J
Before
After
Installation Instructions Written by ExtremeTerrain Customer J. Sandlin 04/01/2018
