 FREE 1 to 3-Day Delivery on Orders $149+ Details

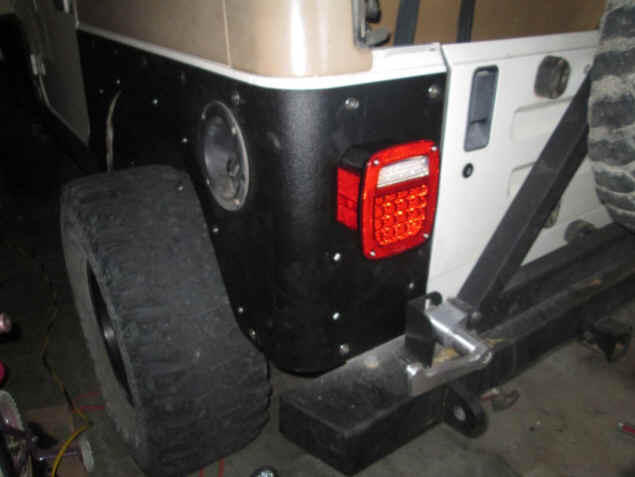
How to Install a Barricade Corner Guard on your 1997-2006 Jeep Wrangler TJ
Installation Time
3 hours
Tools Required
- Power Drill
- Allen Key Set
- 10mm Socket
- 17mm Socket
- 3/8 Drill Bit
- Phillips Screw Driver

Shop Parts in this Guide
| Parts Included | Qty |
|---|---|
| Driver Corner Guard | 1 |
| Passenger Corner Guard | 1 |
| Sm Lock Nut | 14 |
| Sm Flat Washer | 14 |
| Sm Allen Bolt | 14 |
| Lg Lock Nut | 24 |
| Lg Flat Washer | 24 |
| Lg Allen Bolt | 24 |
| Long Head Bolt | 2 |
| Short Head Bolt | 4 |
Installation Instructions:
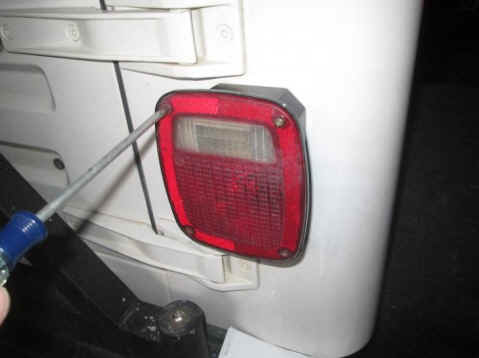
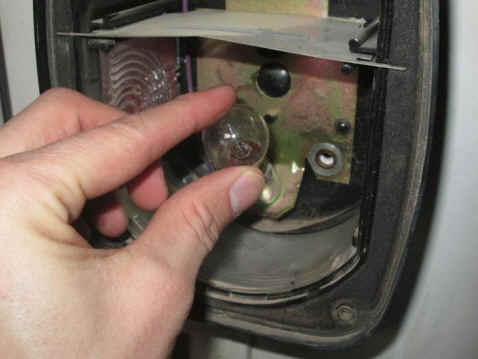
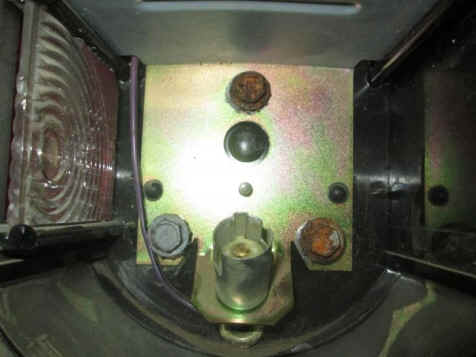
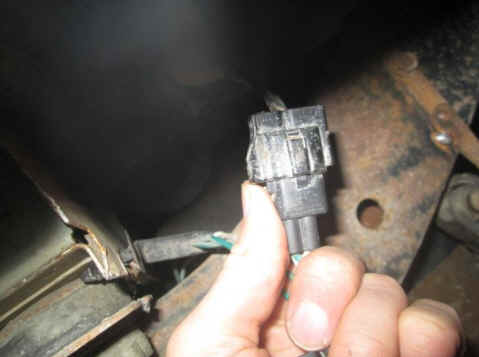
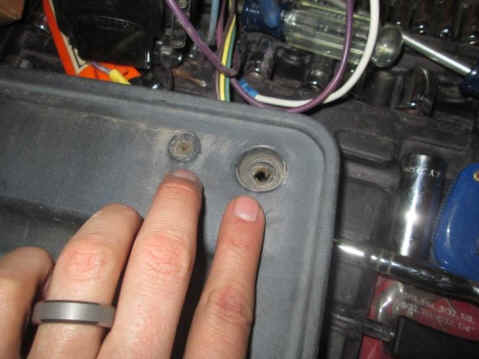
1. Disconnect rear tail lights, and secure wiring out of the way. There will be 4 screws to remove the tail light cover (1.1), then remove both bulbs (1.2), remove 3 bolts (1.3), and finally disconnect the wiring (1.4).
1.1
1.2
1.3
1.4
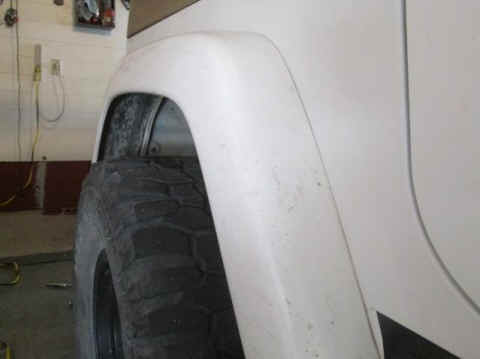
2. Remove the plastic flares from your vehicle; removing the liner will make installation easier (1.5).
1.5
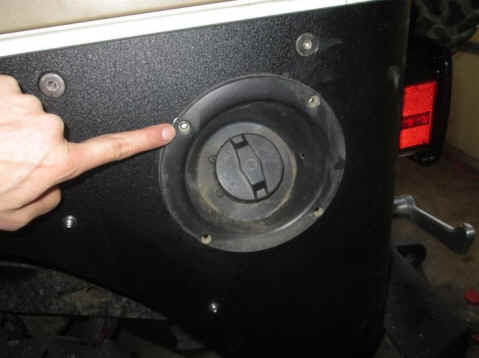
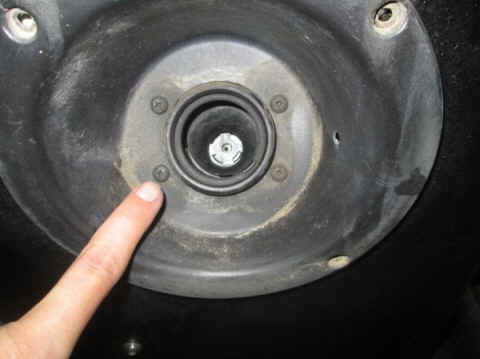
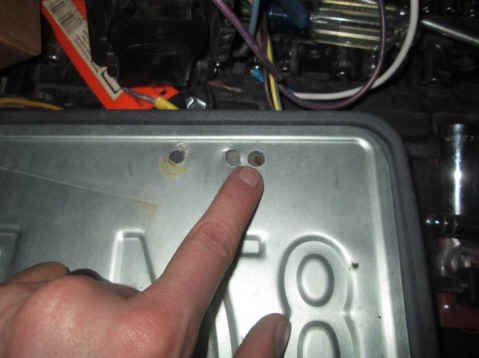
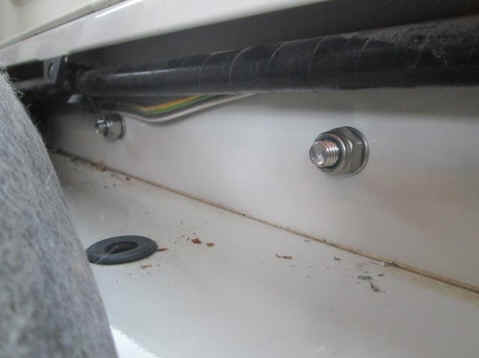
3. Remove gas cap and plastic surrounding. You will need to remove 4 outer screws on the gas neck (2.1) and 4 others that cannot be seen until the gas cap is removed (2.2). Remove license plate and holder. 4 screws to remove your license plate (2.3), and 4 more to remove the holder from by body (2.4).
2.1
2.2
4. Remove license plate and holder. 4 screws to remove your license plate (2.3), and 4 more to remove the holder from by body (2.4)
2.3
2.4
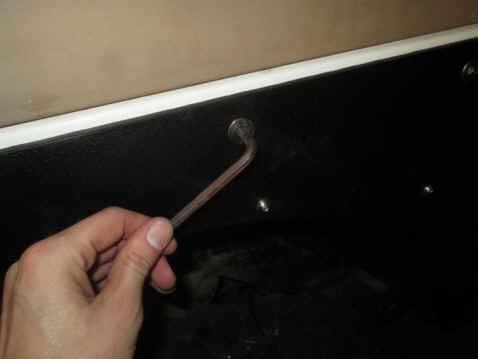
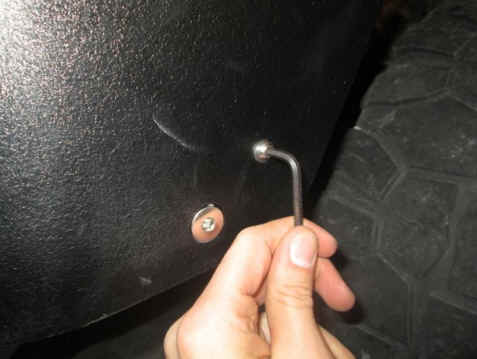
5. Position the corner guard on your vehicle by placing it over the corner guard and line it up with the lower factory holes from the flares. You may need 2 people to hold this in place. Temporarily install the lower bolts, the small allen bolts (3.1). If this does not hold the guard in place and you do not have a second person to help, you can also use vice grips (3.2)
3.1
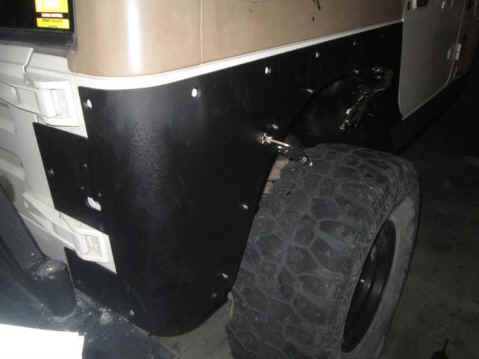
3.2

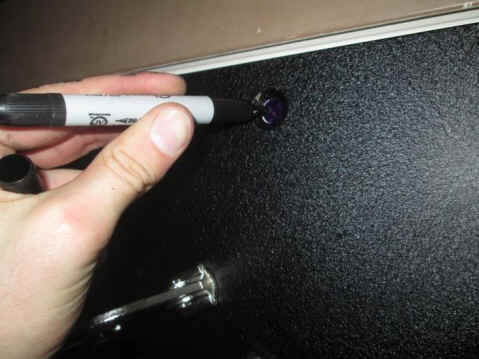
6. Remove interior carpet on the corner guard. Mark the upper holes with a marker (4.1) and either remove the guard or drill while in place (4.2). When drilling, be careful as there is electrical located on the driver side (4.3). For the lower bottom corner holes near the tail gate you will need to drill through the inner pocket wall also. Be careful as there is taillight wiring behind it. (5.3 on next page)
4.1
4.2
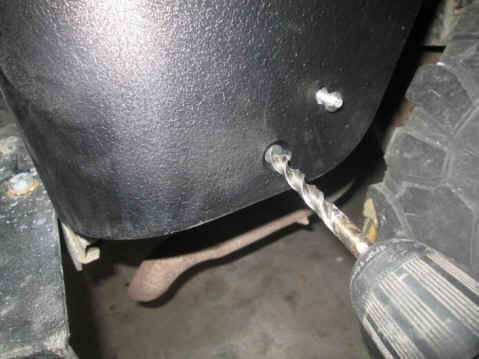
4.3
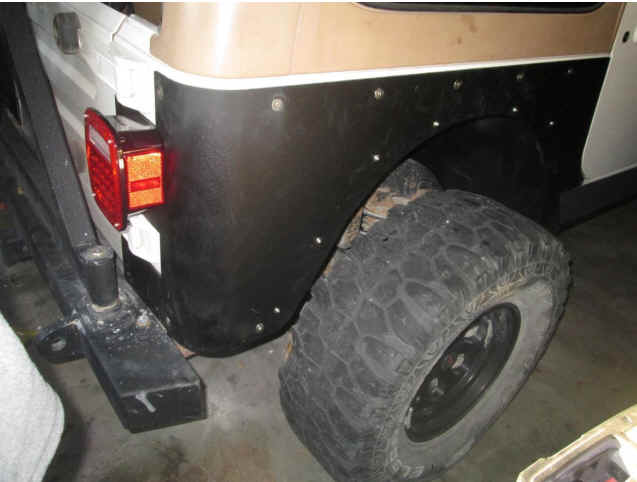
7. Install the large allen bolts in the large upper holes (5.1) and install all of the small allen bolts in the small lower holes that surround the wheel well (5.2). Use the 3 ½" long bolts for the lower bottom corner holes near the tail gate (5.3).
5.1
5.2
5.3

8. Reinstall the license plate holder, taillights, liners, and gas cap & surround.
Installation Instructions Written by Nathan Andrews, ExtremeTerrain Customer 12/16/2014


