FREE 1 to 3-Day Delivery on Orders $149+ Details

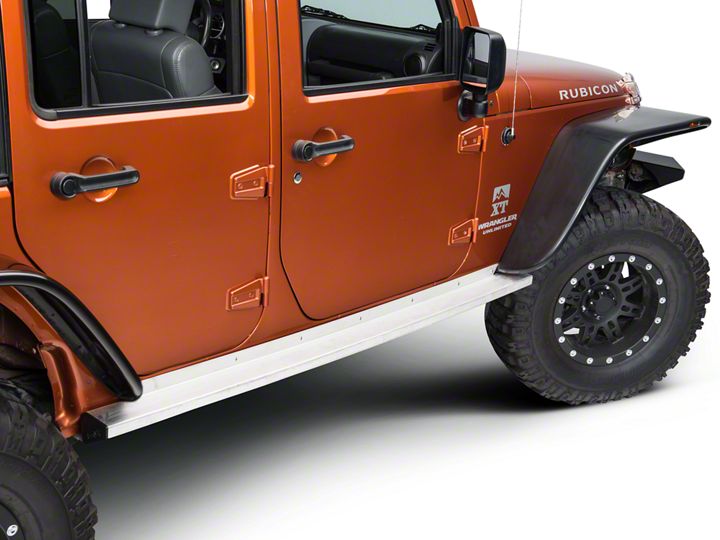
How to Install Teraflex Rock Guard Rock Sliders on your Wrangler
Installation Time
2 hours
Tools Required
- Jack
- Block of Wood
- 1/2” Wrench
- 9/16” End Wrench
- 3/16” Allen Wrench
- 5/32” Allen Wrench
- Drill
- 1/8” Drill Bit
- 25/64” Drill Bit
- Painter’s Tape
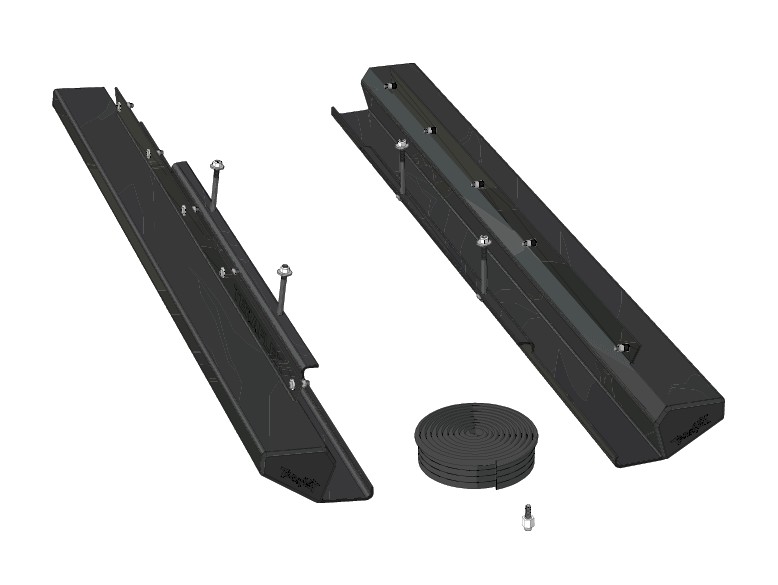
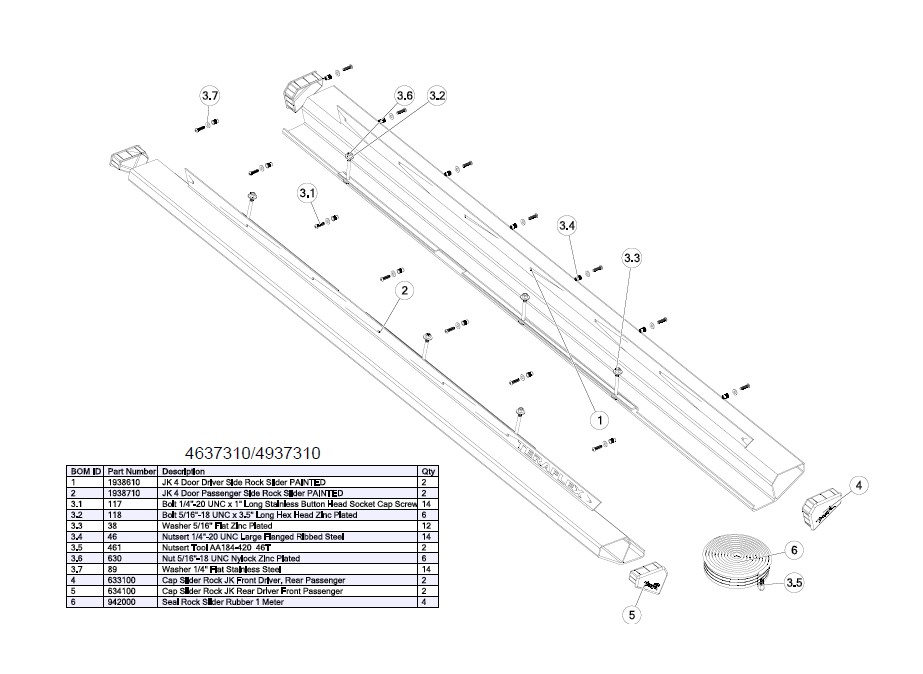
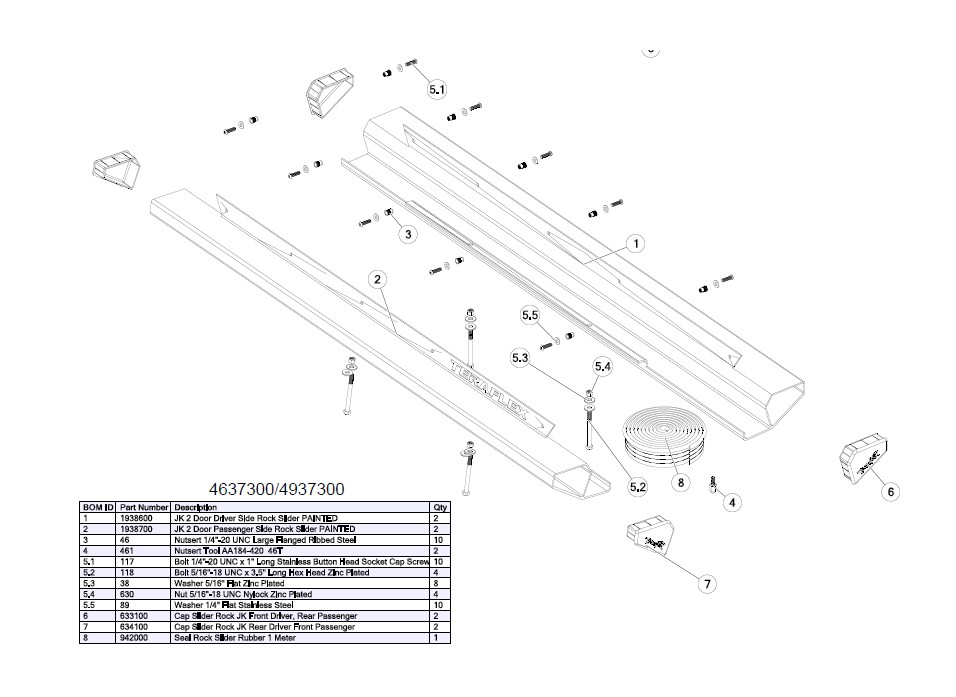
Shop Parts in this Guide
Important Notes:
Prior to beginning this or any installation read these in-structions to familiarize yourself with the required steps and evaluate if you are experienced and capable to per-sonally perform these modifications.
Refer to the parts list to ensure that all necessary compo-nents and hardware has been included. If any parts are missing please contact your local retailer for assistance.
Drilling through the body is required for the installation of these rock sliders. Use caution when drilling through both the sides and bottom of the Jeep to insure that you do not damage the wiring harness that runs along the bottom of the door frames or the carpet on the floor of the Jeep.
Installation:
1. Remove the factory steps (if equipped) from each side of the vehicle.
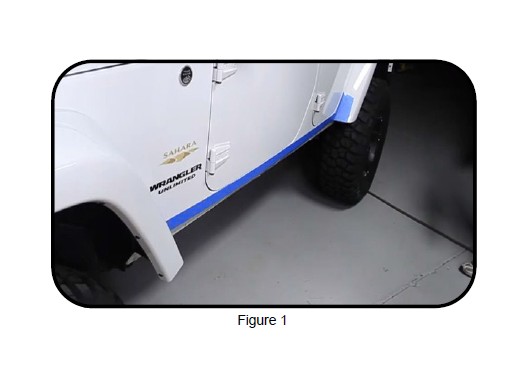
2. Put tape along the body under the door and on the fend-er flares to protect the paint from scratching during in-stallation. (Figure 1)
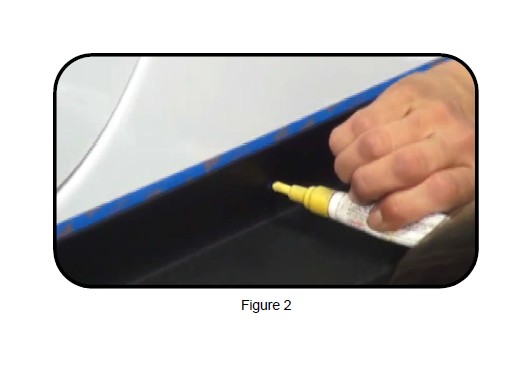
3. Hold the new rock slider up in place. Make sure it is cen-tered and fits up flush against the fender flares. Mark all holes on the tape using a marker. It is helpful to use a jack with a block of wood on top to hold the slider in place while marking holes. Use a center punch on all of the holes to help center the drill bit when drilling.
4. Drill a 25/64” hole at each mark to prepare for installa-tion of the nut inserts. Paint the drilled holes to help pre-vent rust from forming.
Note: It is helpful to drill a pilot hole using a smaller drill bit. Use caution when drilling through the body to avoid damaging the wiring harness that runs along the bottom of the door frame.
5. Install the nut inserts along the body using the included insert tool. (Figure 3)
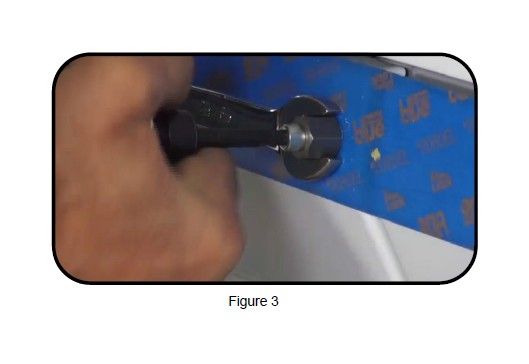
Note: Thread a bolt into each of the nut inserts. If any of them don’t thread in smoothly, be sure to use a 1/4”-20 tap to clean the threads up.
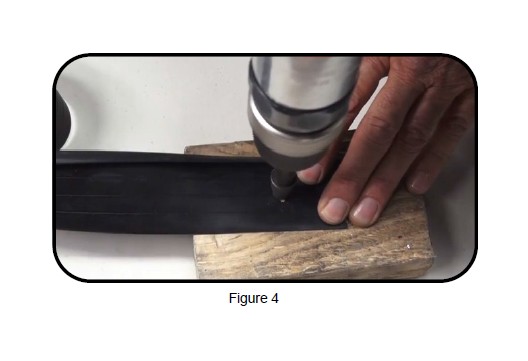
6. Put the rubber seal along the top edge of the rock slider and cut to length. While holding the gasket in place on the back of the slider, mark the gasket where the bolt holes need to be drilled. Using the same 25/64” drill bit, drill holes in the gasket at all of the marks. Set the gasket aside. (Figure 4)
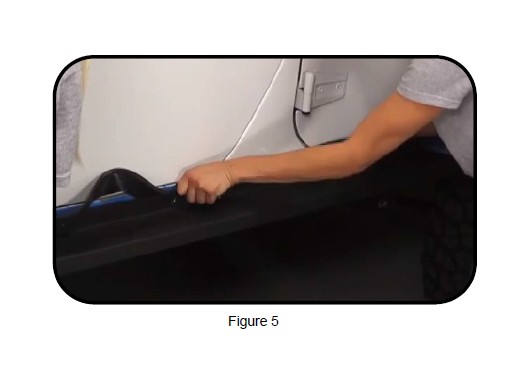
7. Hold the rock slider up to the side of the Jeep and start the front and rear bolt to hold the slider in place. Grab the gasket, and starting at the middle of the rock slider, slide the gasket in between the body and the slider. Line up the holes in the gasket and start all the bolts. Remove the front and rear bolts and slide the gasket in place. Tighten all the bolts. (Figure 5)
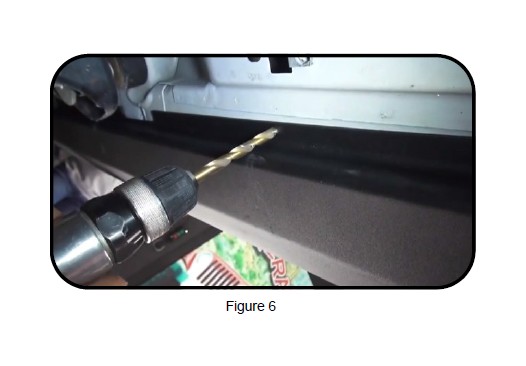
8. With the body side bolts installed, drill up through the bottom holes of the rock slider. Be sure to pull back the car-pet before drilling. (Figure 6)
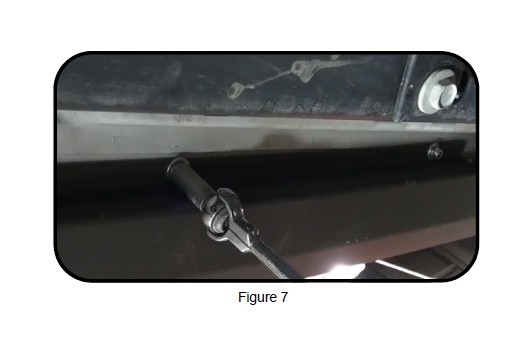
9. After drilling the holes, install and tighten the long through bolts and replace the carpet. (Figure 7)
Repeat steps 2 through 9 for the other side.
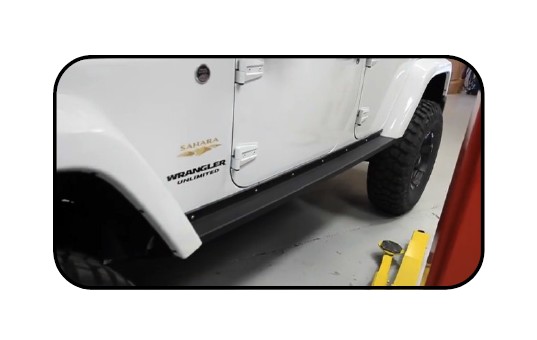
Installation is complete.