FREE 1 to 3-Day Delivery on Orders $149+ Details

How to Install Teraflex Rear Utility Cargo Rack - Black on your Wrangler

Shop Parts in this Guide

Pre-installation notes: There are a variety of bolts used throughout the installation, it’s important to lay everything out and label each group, in order to make the installation easier.
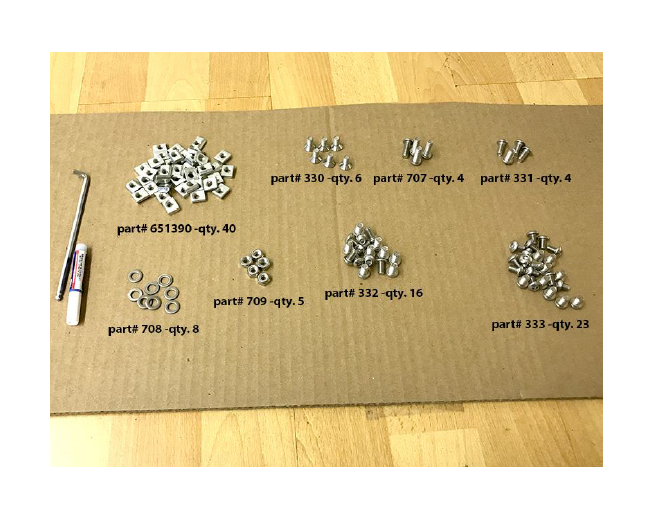
General Packet 5049 includes: part# 651390 – M6x1.0 T-Nut (qty.40) • part#330 – M6x1.0x12mm bolt (qty.6) • part#707 – M6x1.0x16mm bolt (qty.4) • part#332 – M6x1.0x10mm bolt (qty. 16) • part#709 – M6x1.0 Nylock nut (qty. 5) Packet SUB A includes: part# 331 – M6x1.0x12mm bolt (qty. 4) and part#708 – M6 washer (qty. 8) Packet SUB B includes: part#333 – M6x1.0.8mm bolt (qty.23)
Installation Instructions:
1. Start by laying the two base plates flat on a clean surface. Using the cardboard from the box will help prevent any scratches. Make sure the lips are facing up and rounded cutouts are on the outside. Loosely attach both plates together along the center with (5) #333 bolts and (5) #709 nuts, applying thread lock to the bolts.

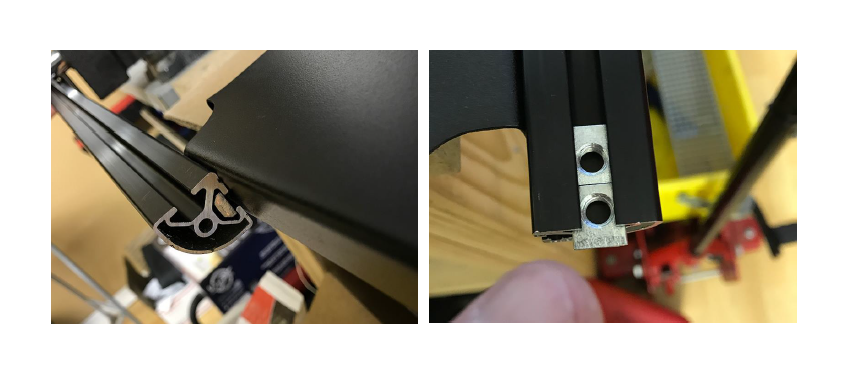
2. Loosely attach (18) #333 bolts and (18) #651390 T-nuts along the outside edges of the plates. Have the T-nut flat face towards toward the plate edges and apply thread lock to the bolts.
3. Turn the plates over and begin to slide the short side rail first over the T-nuts. Ensure that the open channel is facing up. Once both short rails are in place, slide (2) #6511390 T-nuts into each top channel, these will be used for the side brackets. Next slide the remaining long rails into place.
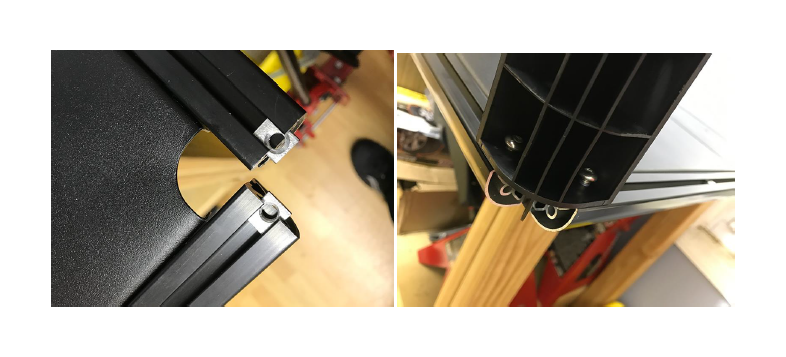
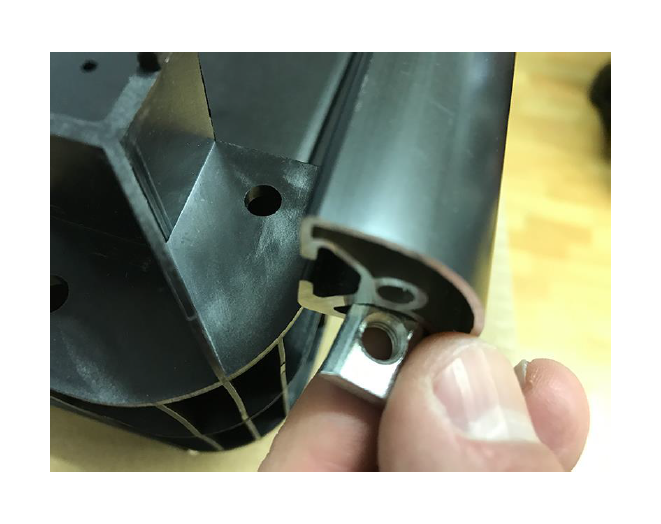
4. Loosely thread (2) #332 bolts with (2) #651390 T-nuts onto a plastic corner post and apply thread lock. Next position into place along the corner joint and slide onto the rail ends.
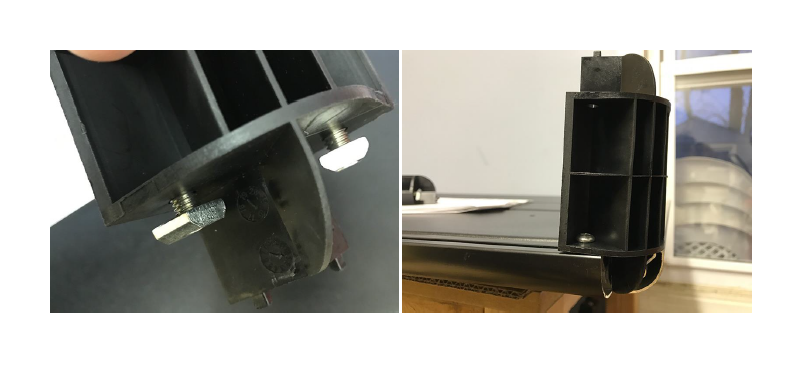
5. Repeating the process for each corner post until you reach the last corner. For the last corner, slide the (2) #651390 T-nuts into the channels and then thread the (2) #332 bolts onto the plastic corner post. Position the T-nut in order engage the bolts and loosely tighten with thread lock.
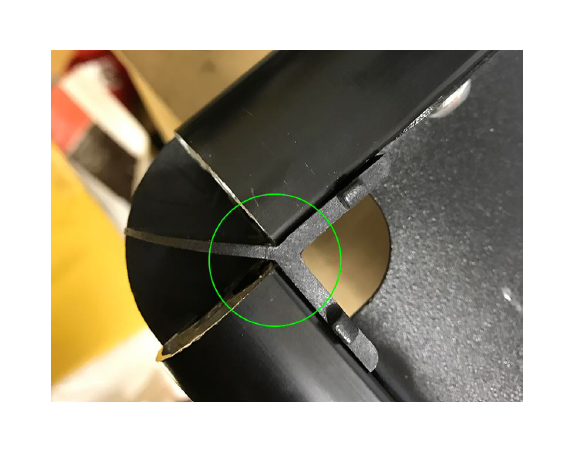
6. Flip the plate over and align each corner to ensure the channel spacing is even all-around.
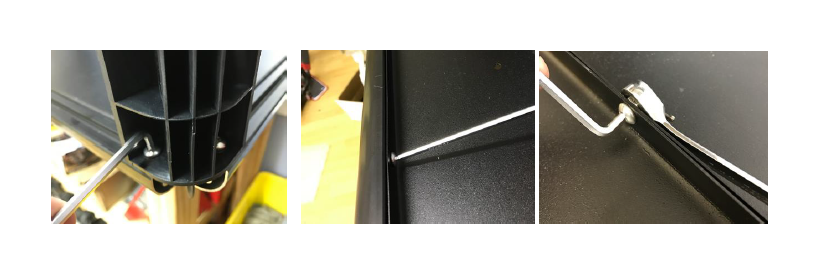
7. Tighten all bolts to 5 ft./lbs (7 nm). The center channel will need a 10mm wrench.
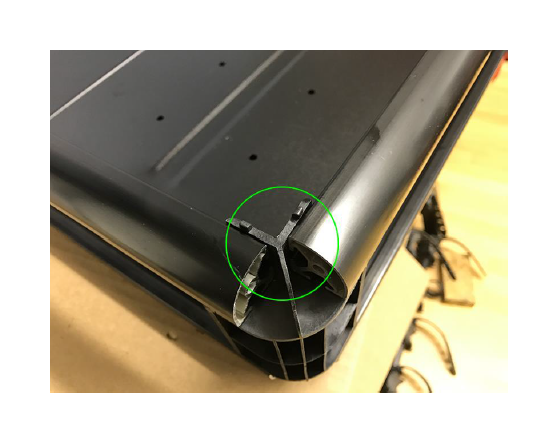
8. Loosely install (2) #332 bolts and (2) #651390 T-nuts with thread lock along the top corner post.
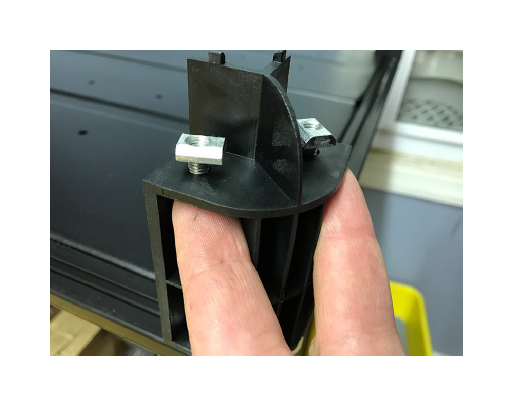
9. Slide one end of the top channel piece (open channel facing into the rack) onto the corner post. On the other end slide (1) #651390 T-nut onto the channel first and use (1) #332 bolt to attach it to the opposite corner post. Repeat the process along all four corners.
10. Shift the rails so they are properly spaced on each end and tighten to 5 ft./lb (7nm).
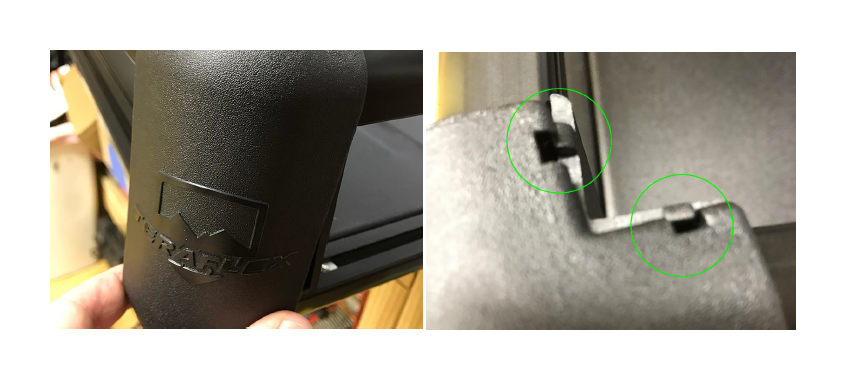
11. Position corner covers, ensuring that the Teraflex logo is facing up. Align the tabs and palm strike into place.
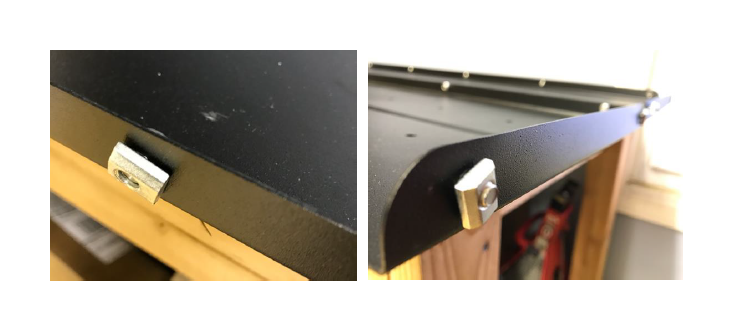
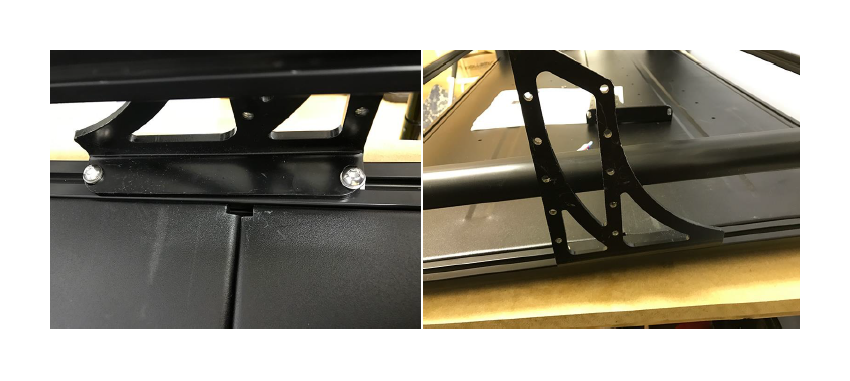
12. Loosely install the (2) side brackets onto the side rails with (4) #331 bolts, (4) #708 washers and T-nuts that were placed into the rails earlier, completing the assembly of the cargo rack.
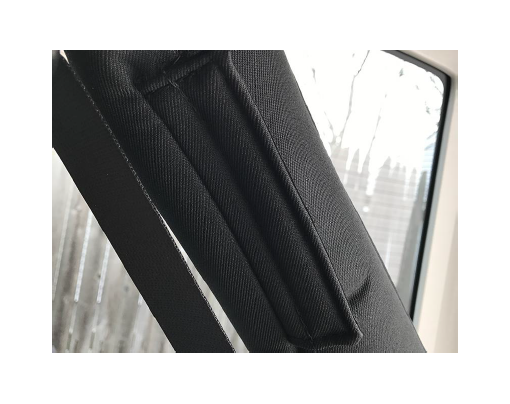
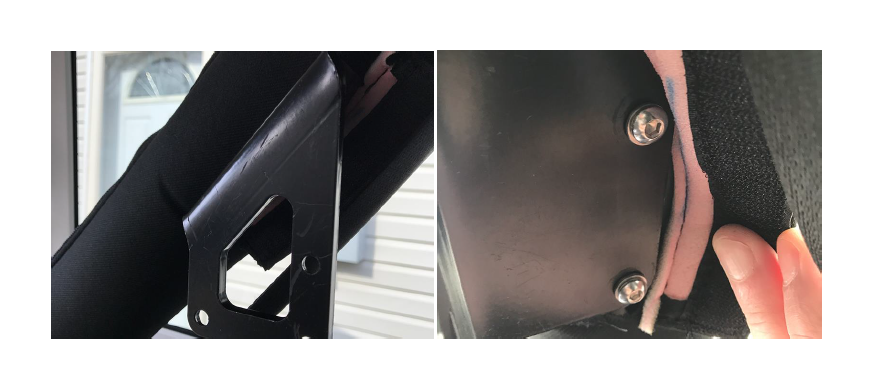
13. Begin the installation of the cargo rack onto the Jeep by locating the (2) mounting locations of the rear sports bar, covered by a Velcro flap on either side.
14. Install the both rack brackets using (4) #7007 bolts and (4) #708 washers and tighten into position.
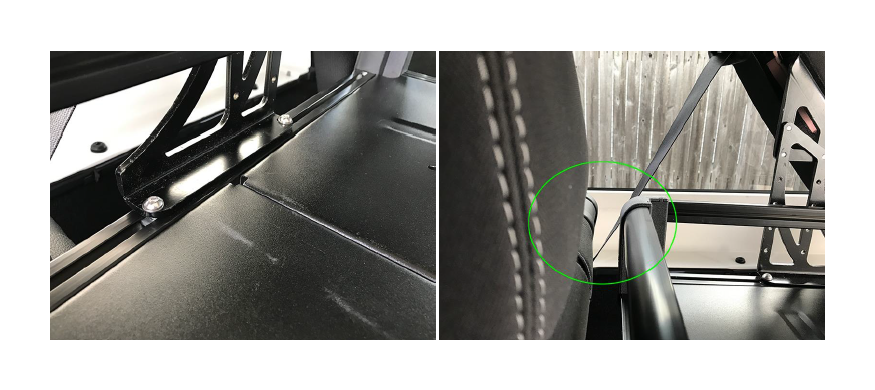
15. Install the rack to both sides of the brackets with (6) #330 bolts. The rack is height adjustable according to the pre-drilled holes along the brackets. The rack can be large and difficult to mount alone, you can zip tie both sides, in order to make the installation easier.

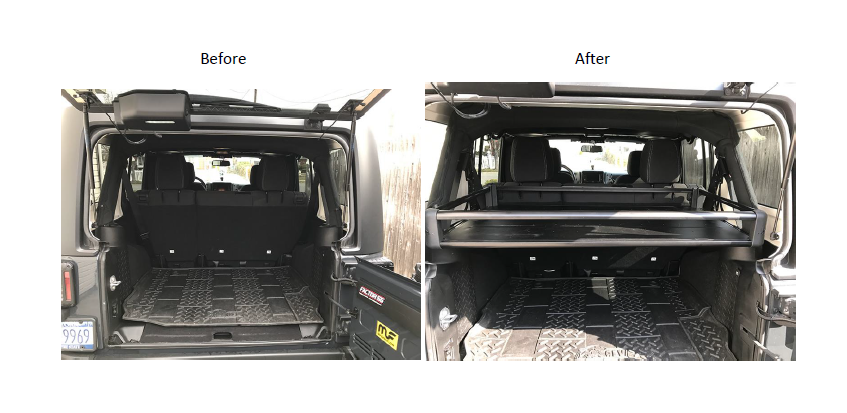
16. Finally, slide the cargo rack forward or back until there is at least ¼-inch of space between the rack and the rear seats. Once positioned correctly, tighten the remaining side brackets to 5 ft./lbs., completing the installation.
Installation Instructions Written by ExtremeTerrain Customer Louis Orellana 3/26/17